3-D Snowman Rice Krispy Treats
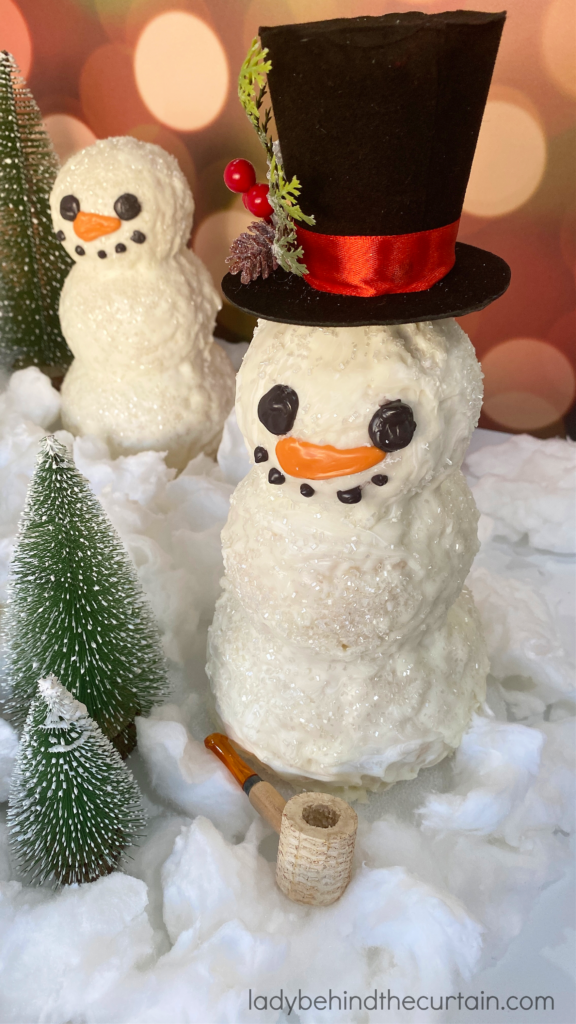
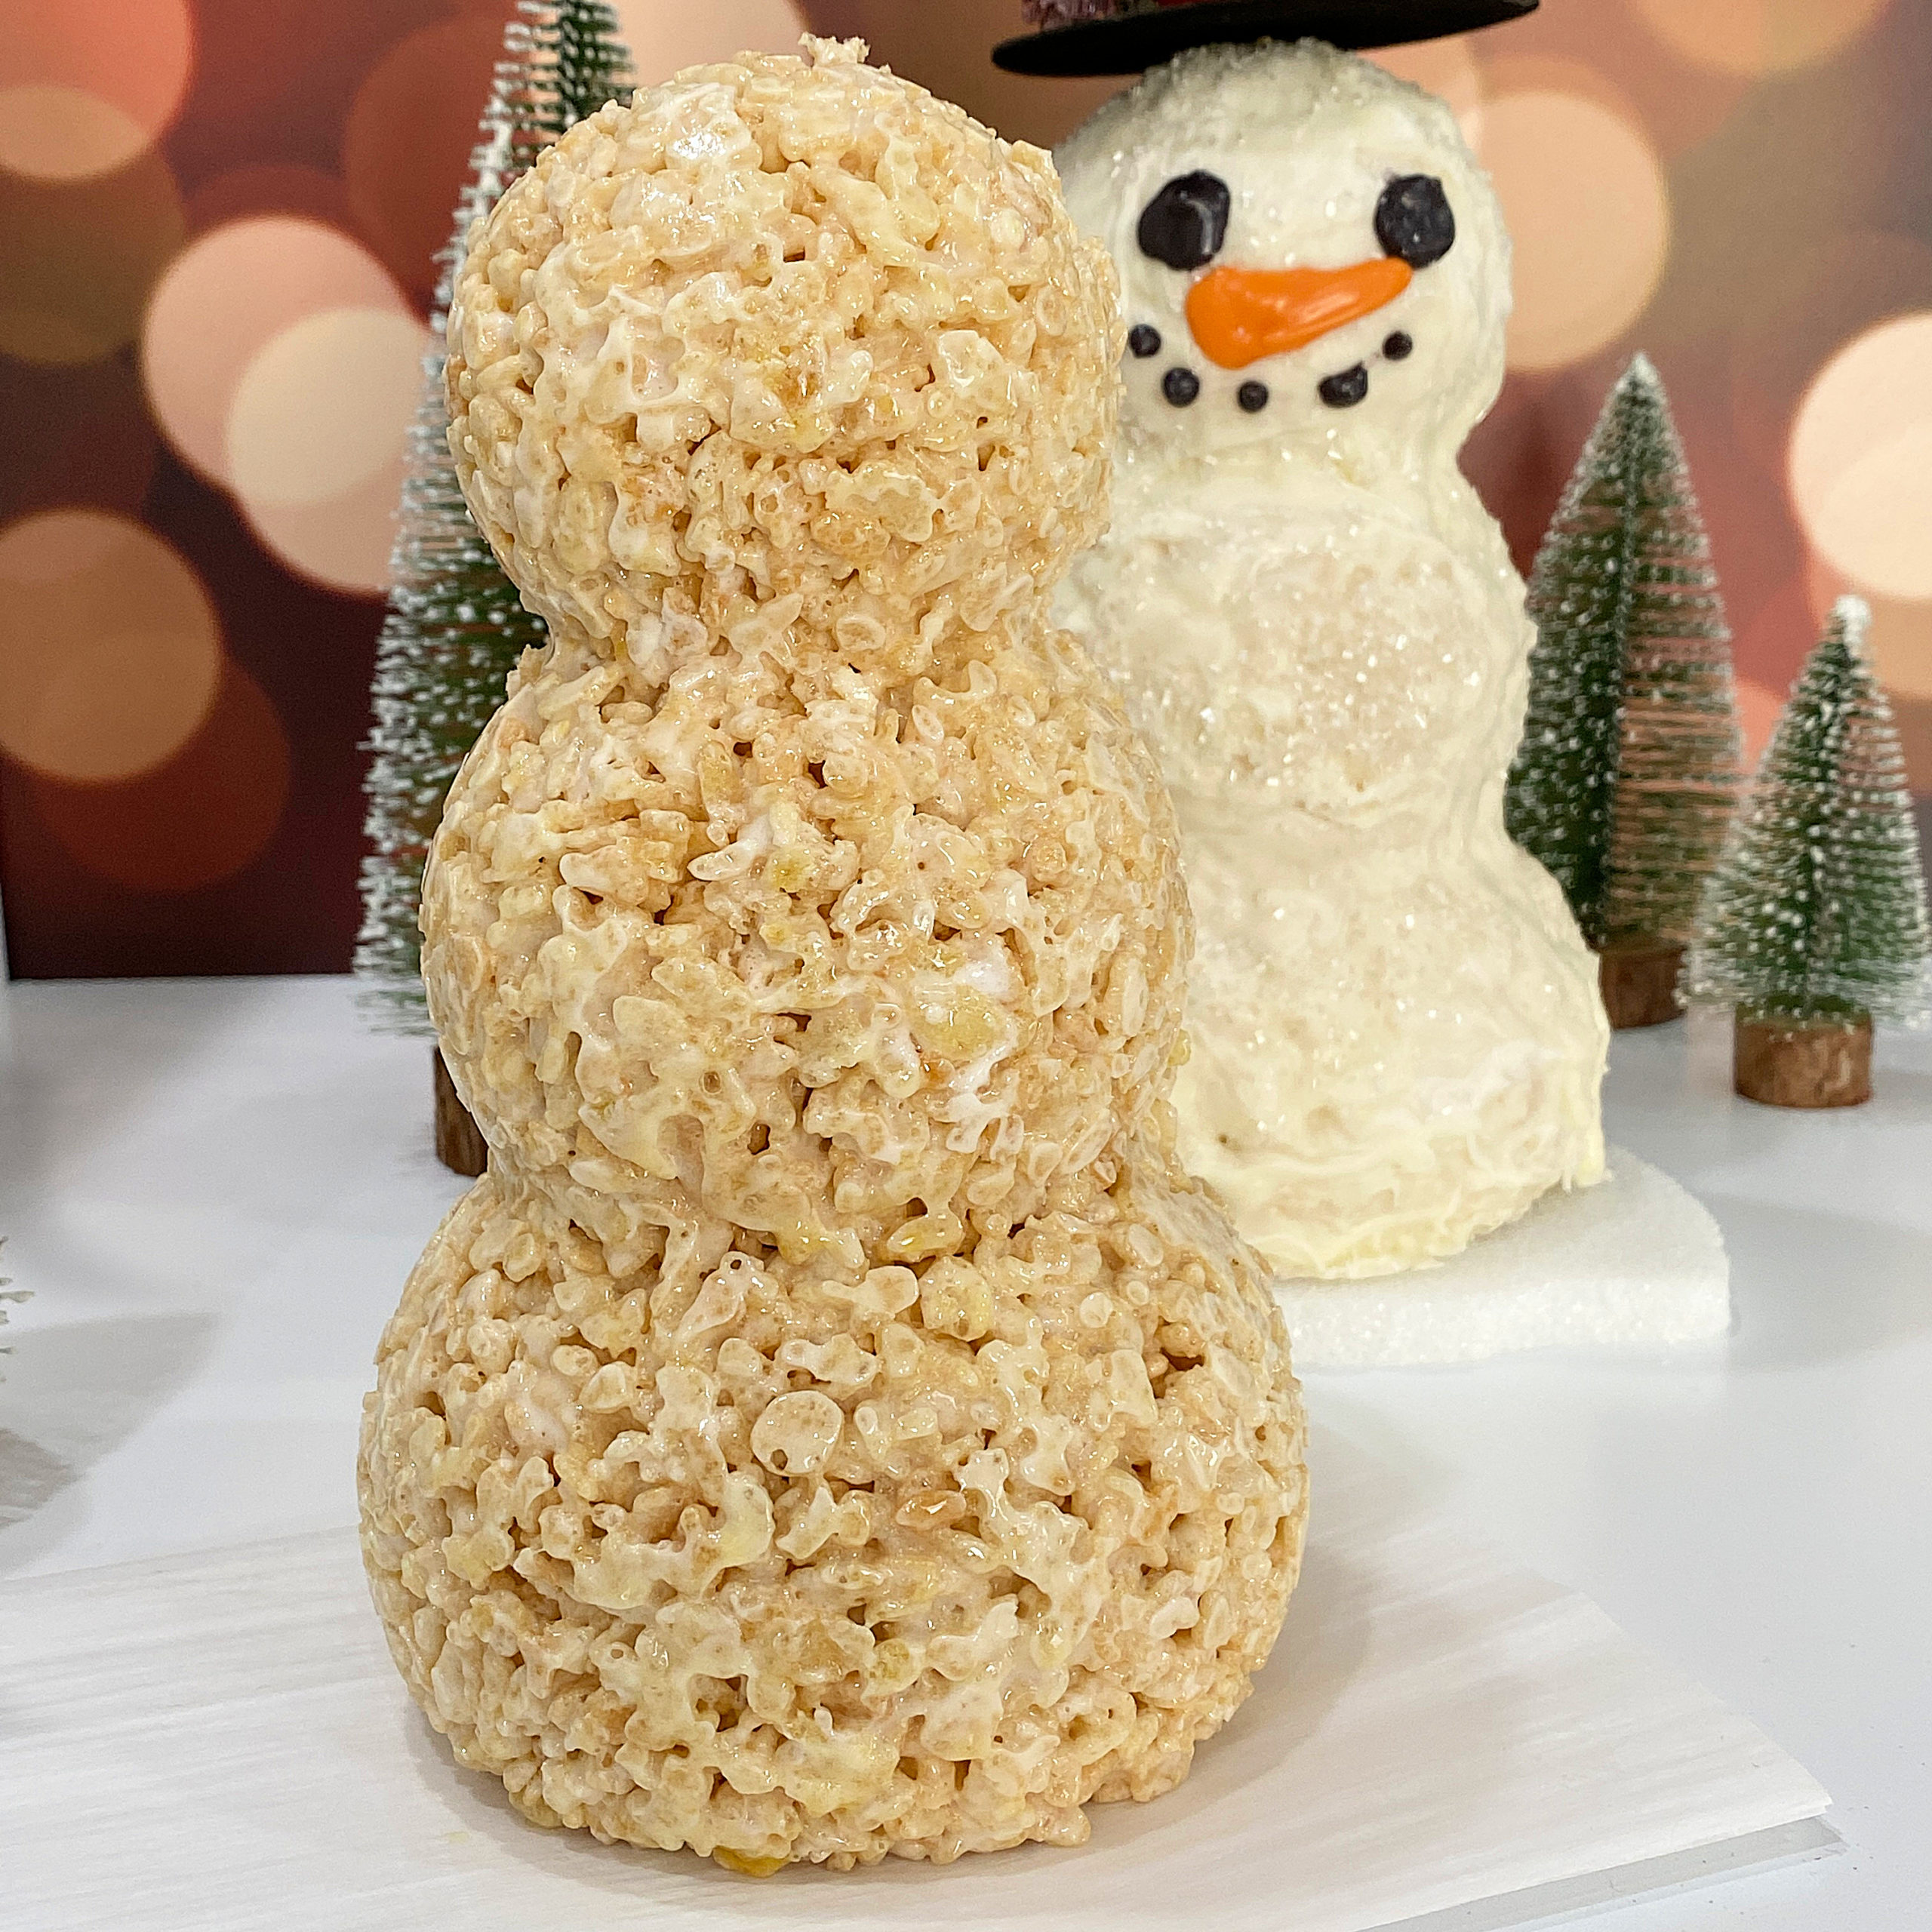
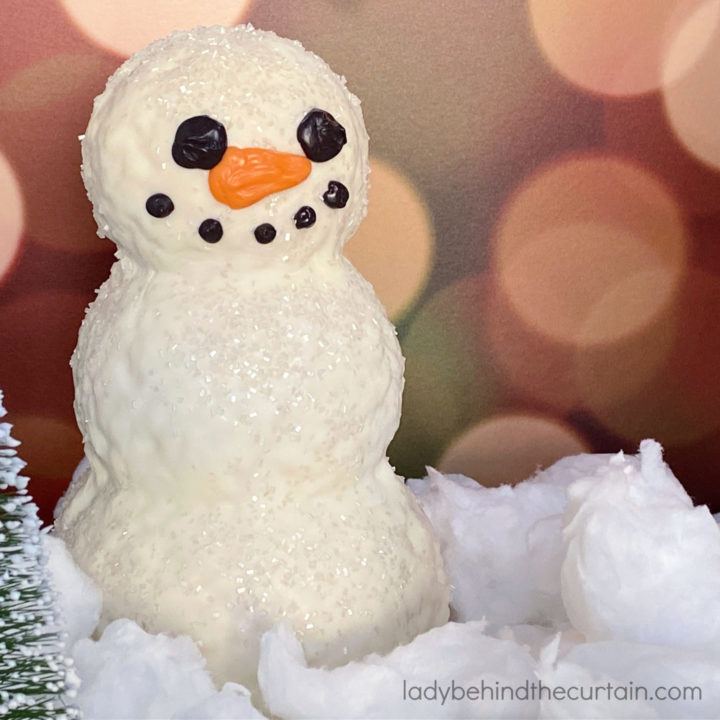
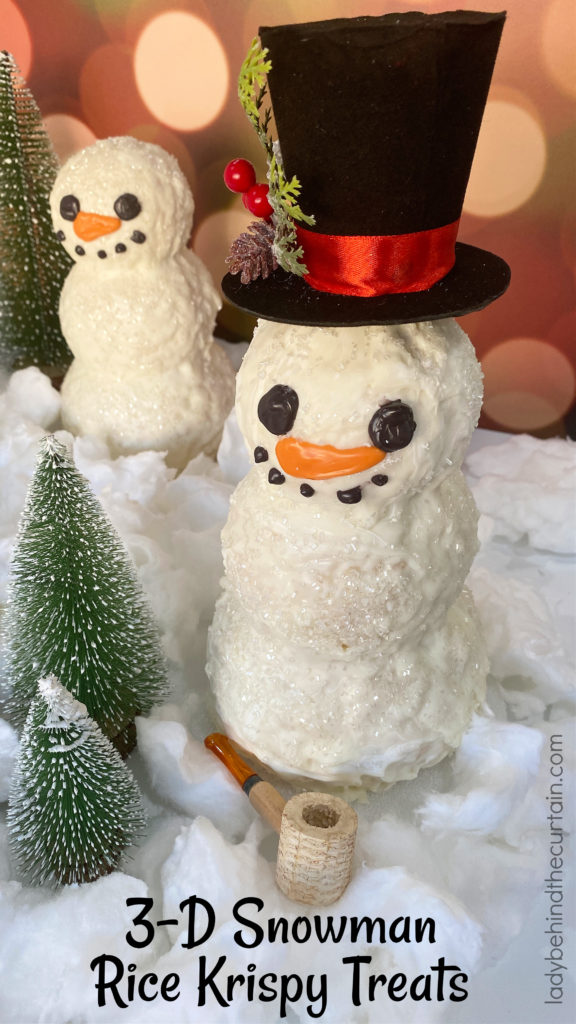
3-D Snowman Rice Krispy Treats: These no bake holiday treats are the perfect Christmas dessert. Add them to a kids table as an edible Christmas Centerpiece! Measuring in at 8 inches each, these snowmen are impressive. Add a tray of Easy Chocolate Covered Marshmallow Snowman Hat Treats. Scroll down for my tips and tricks and a FREE SNOWMAN PARTY PRTINTABLE COLLECTION!
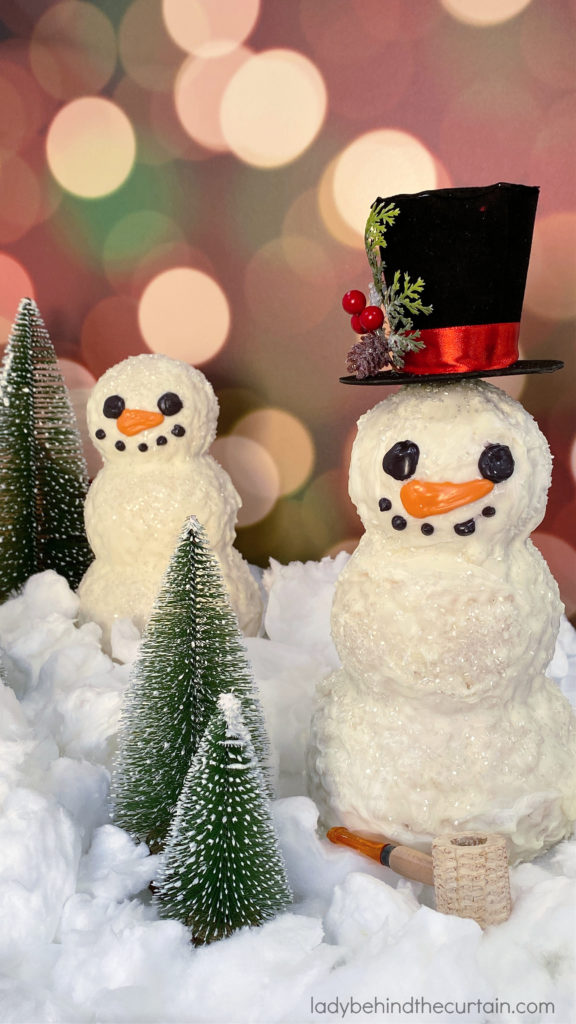
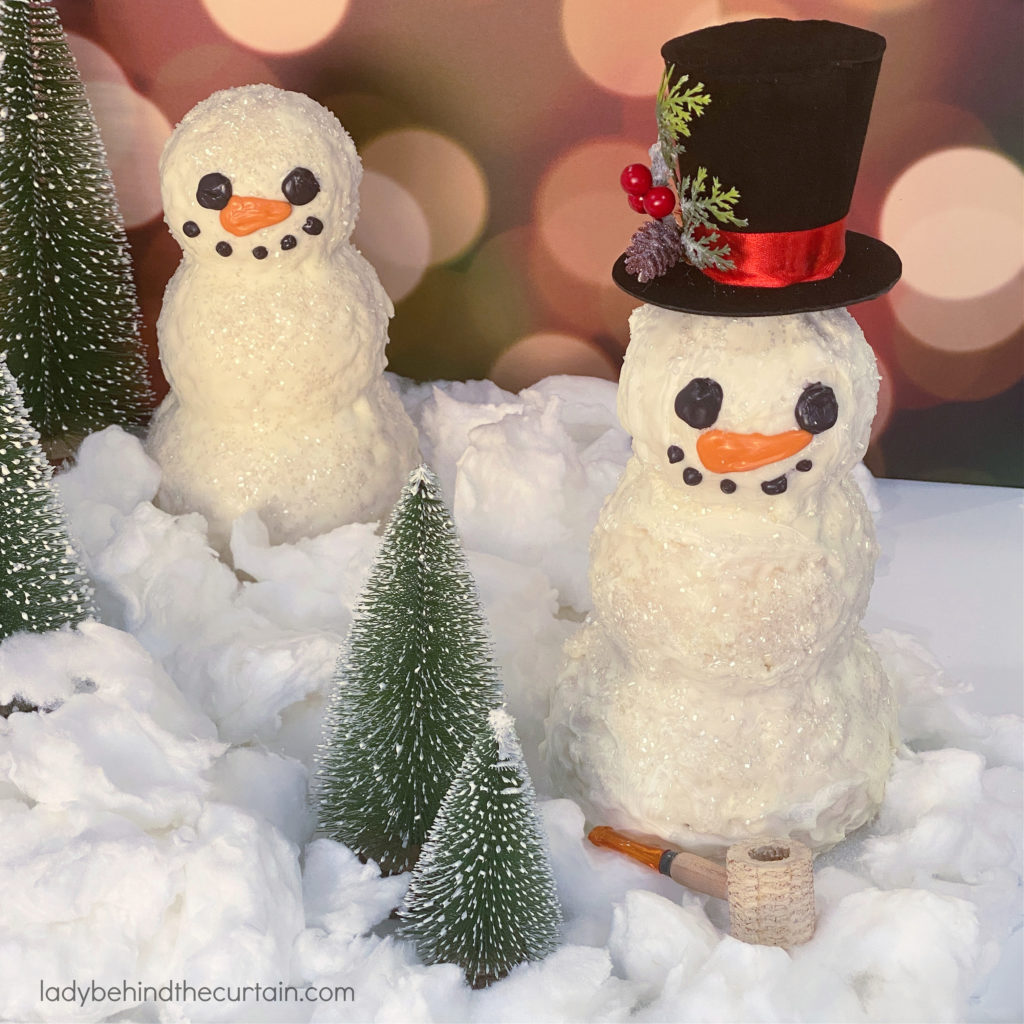
How to Create a Winter Scene for the Snowman Rice Krispy Treats
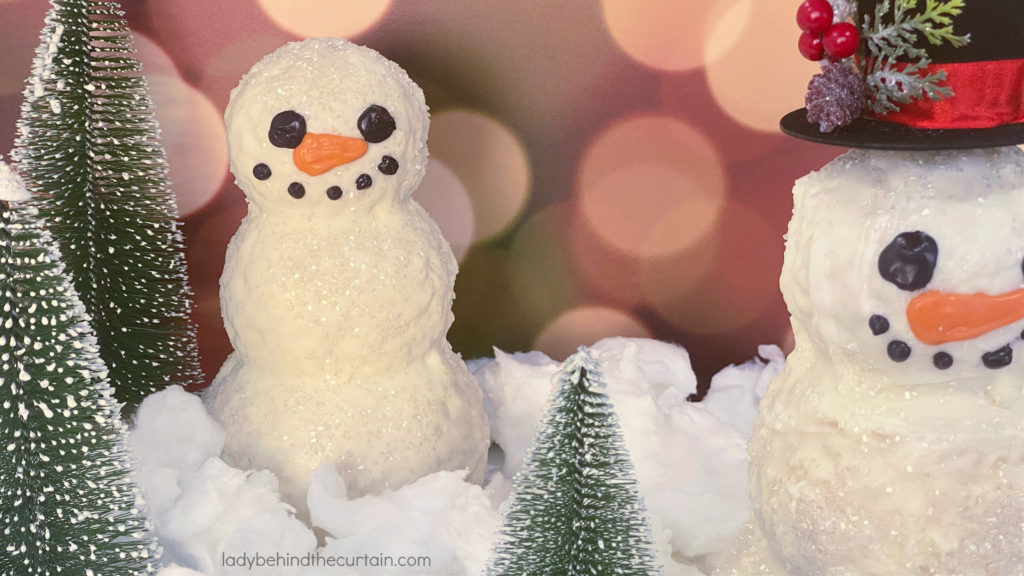
- INGREDIENTS
- White Cotton Candy spread out to look like snow
- Rice Kripsy Treats Snowmen
- Clean (new) bottle brush pine trees
- Thin (about 1 inch) styrofoam cut into floating pieces of ice
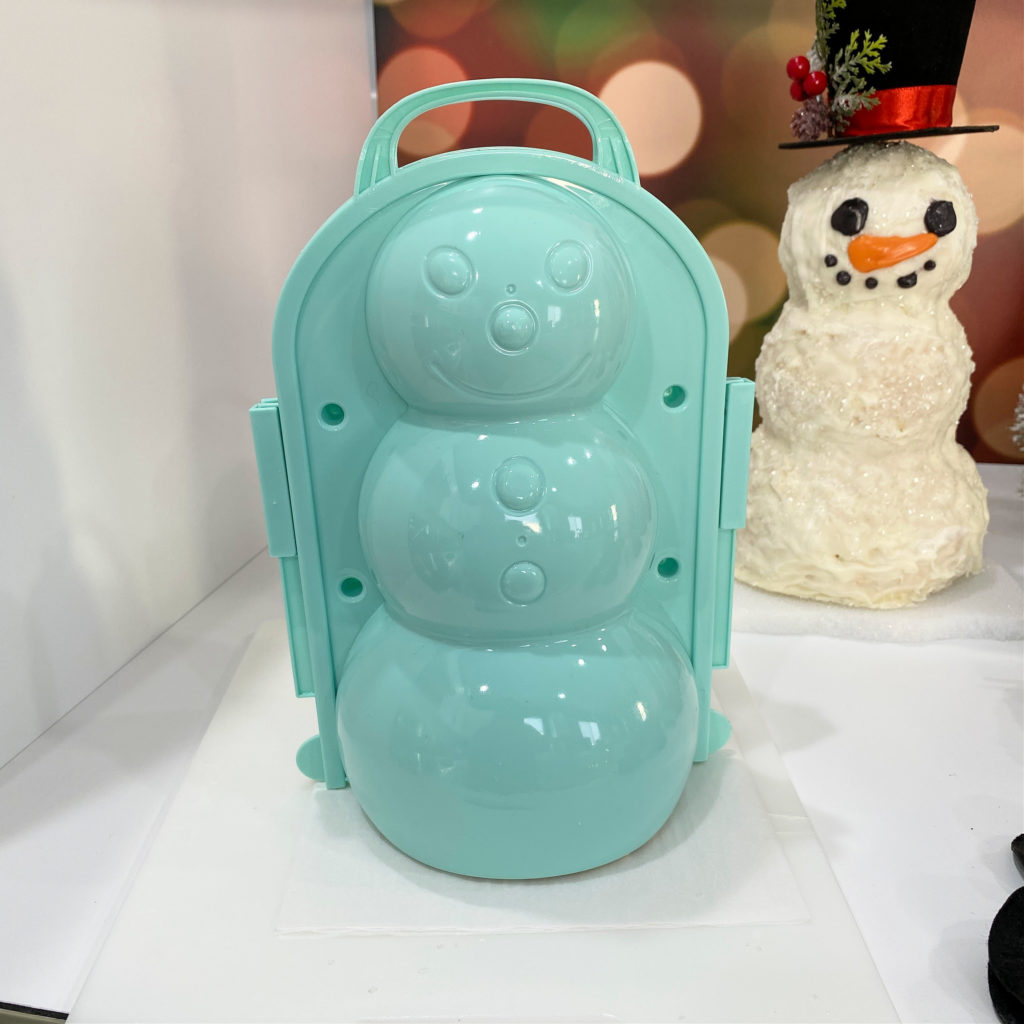
- TARGET ALSO CARRIES PENGUIN AND SNOWBALL MOLDS!
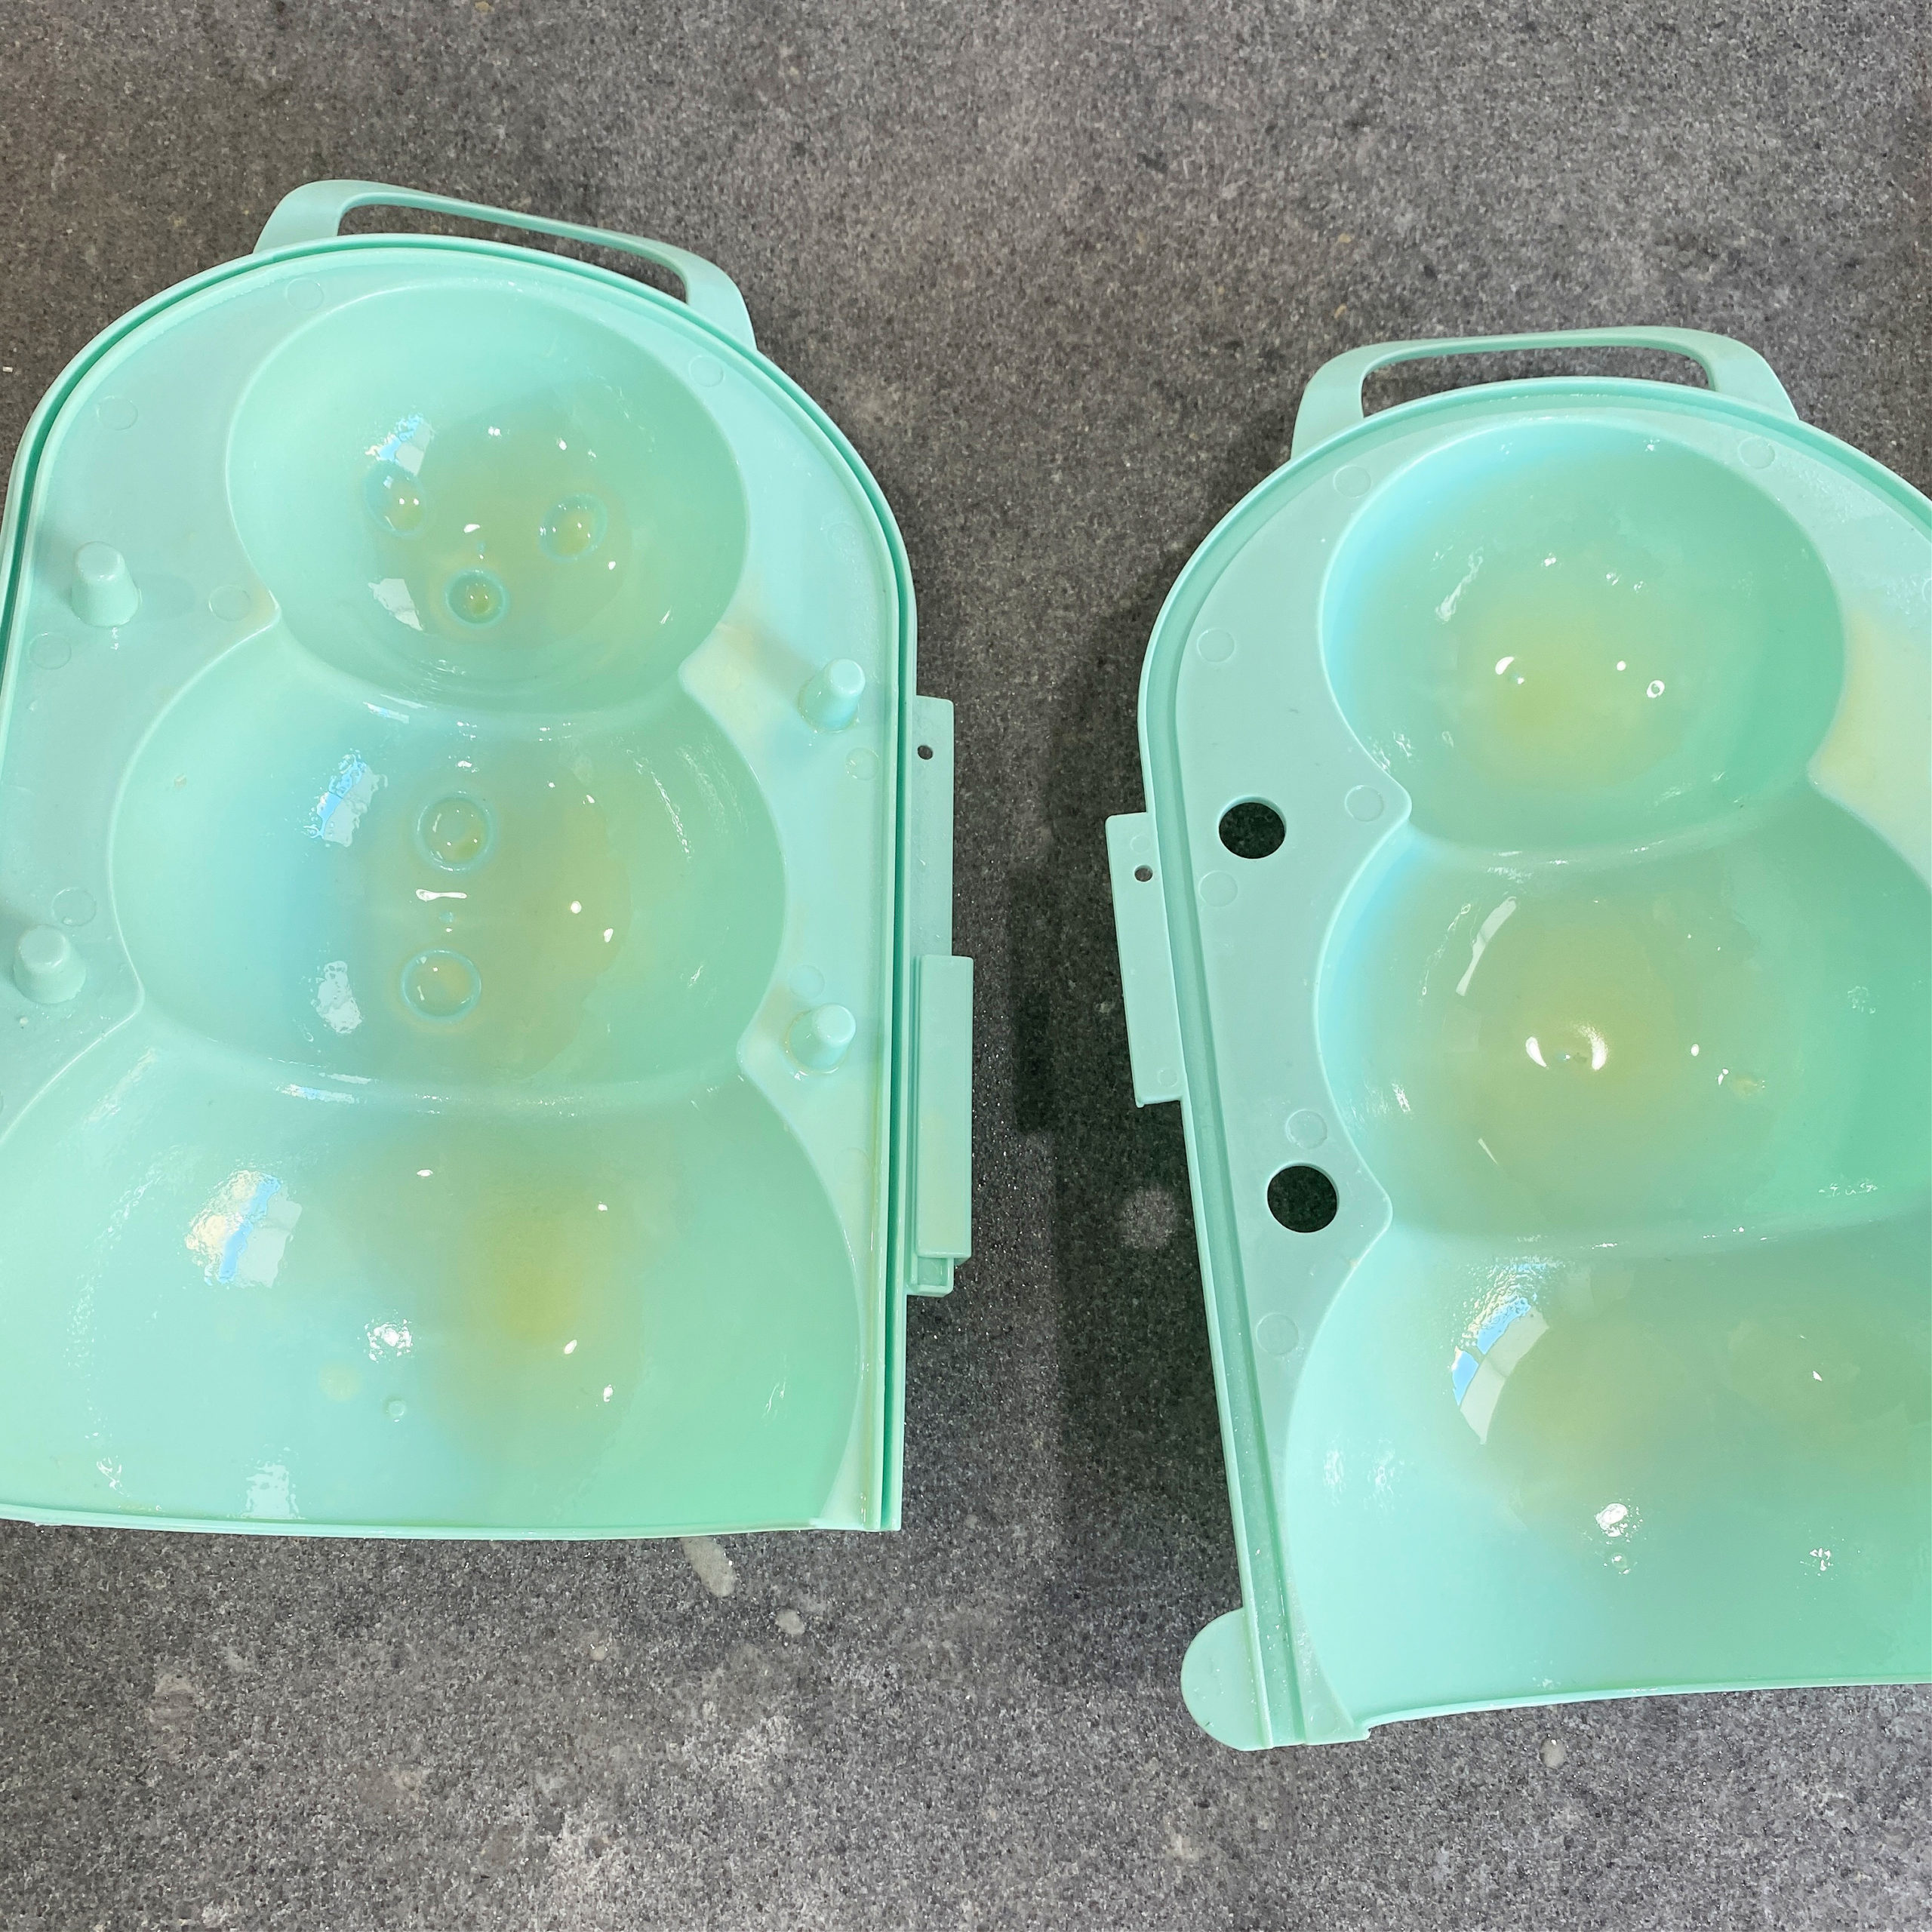
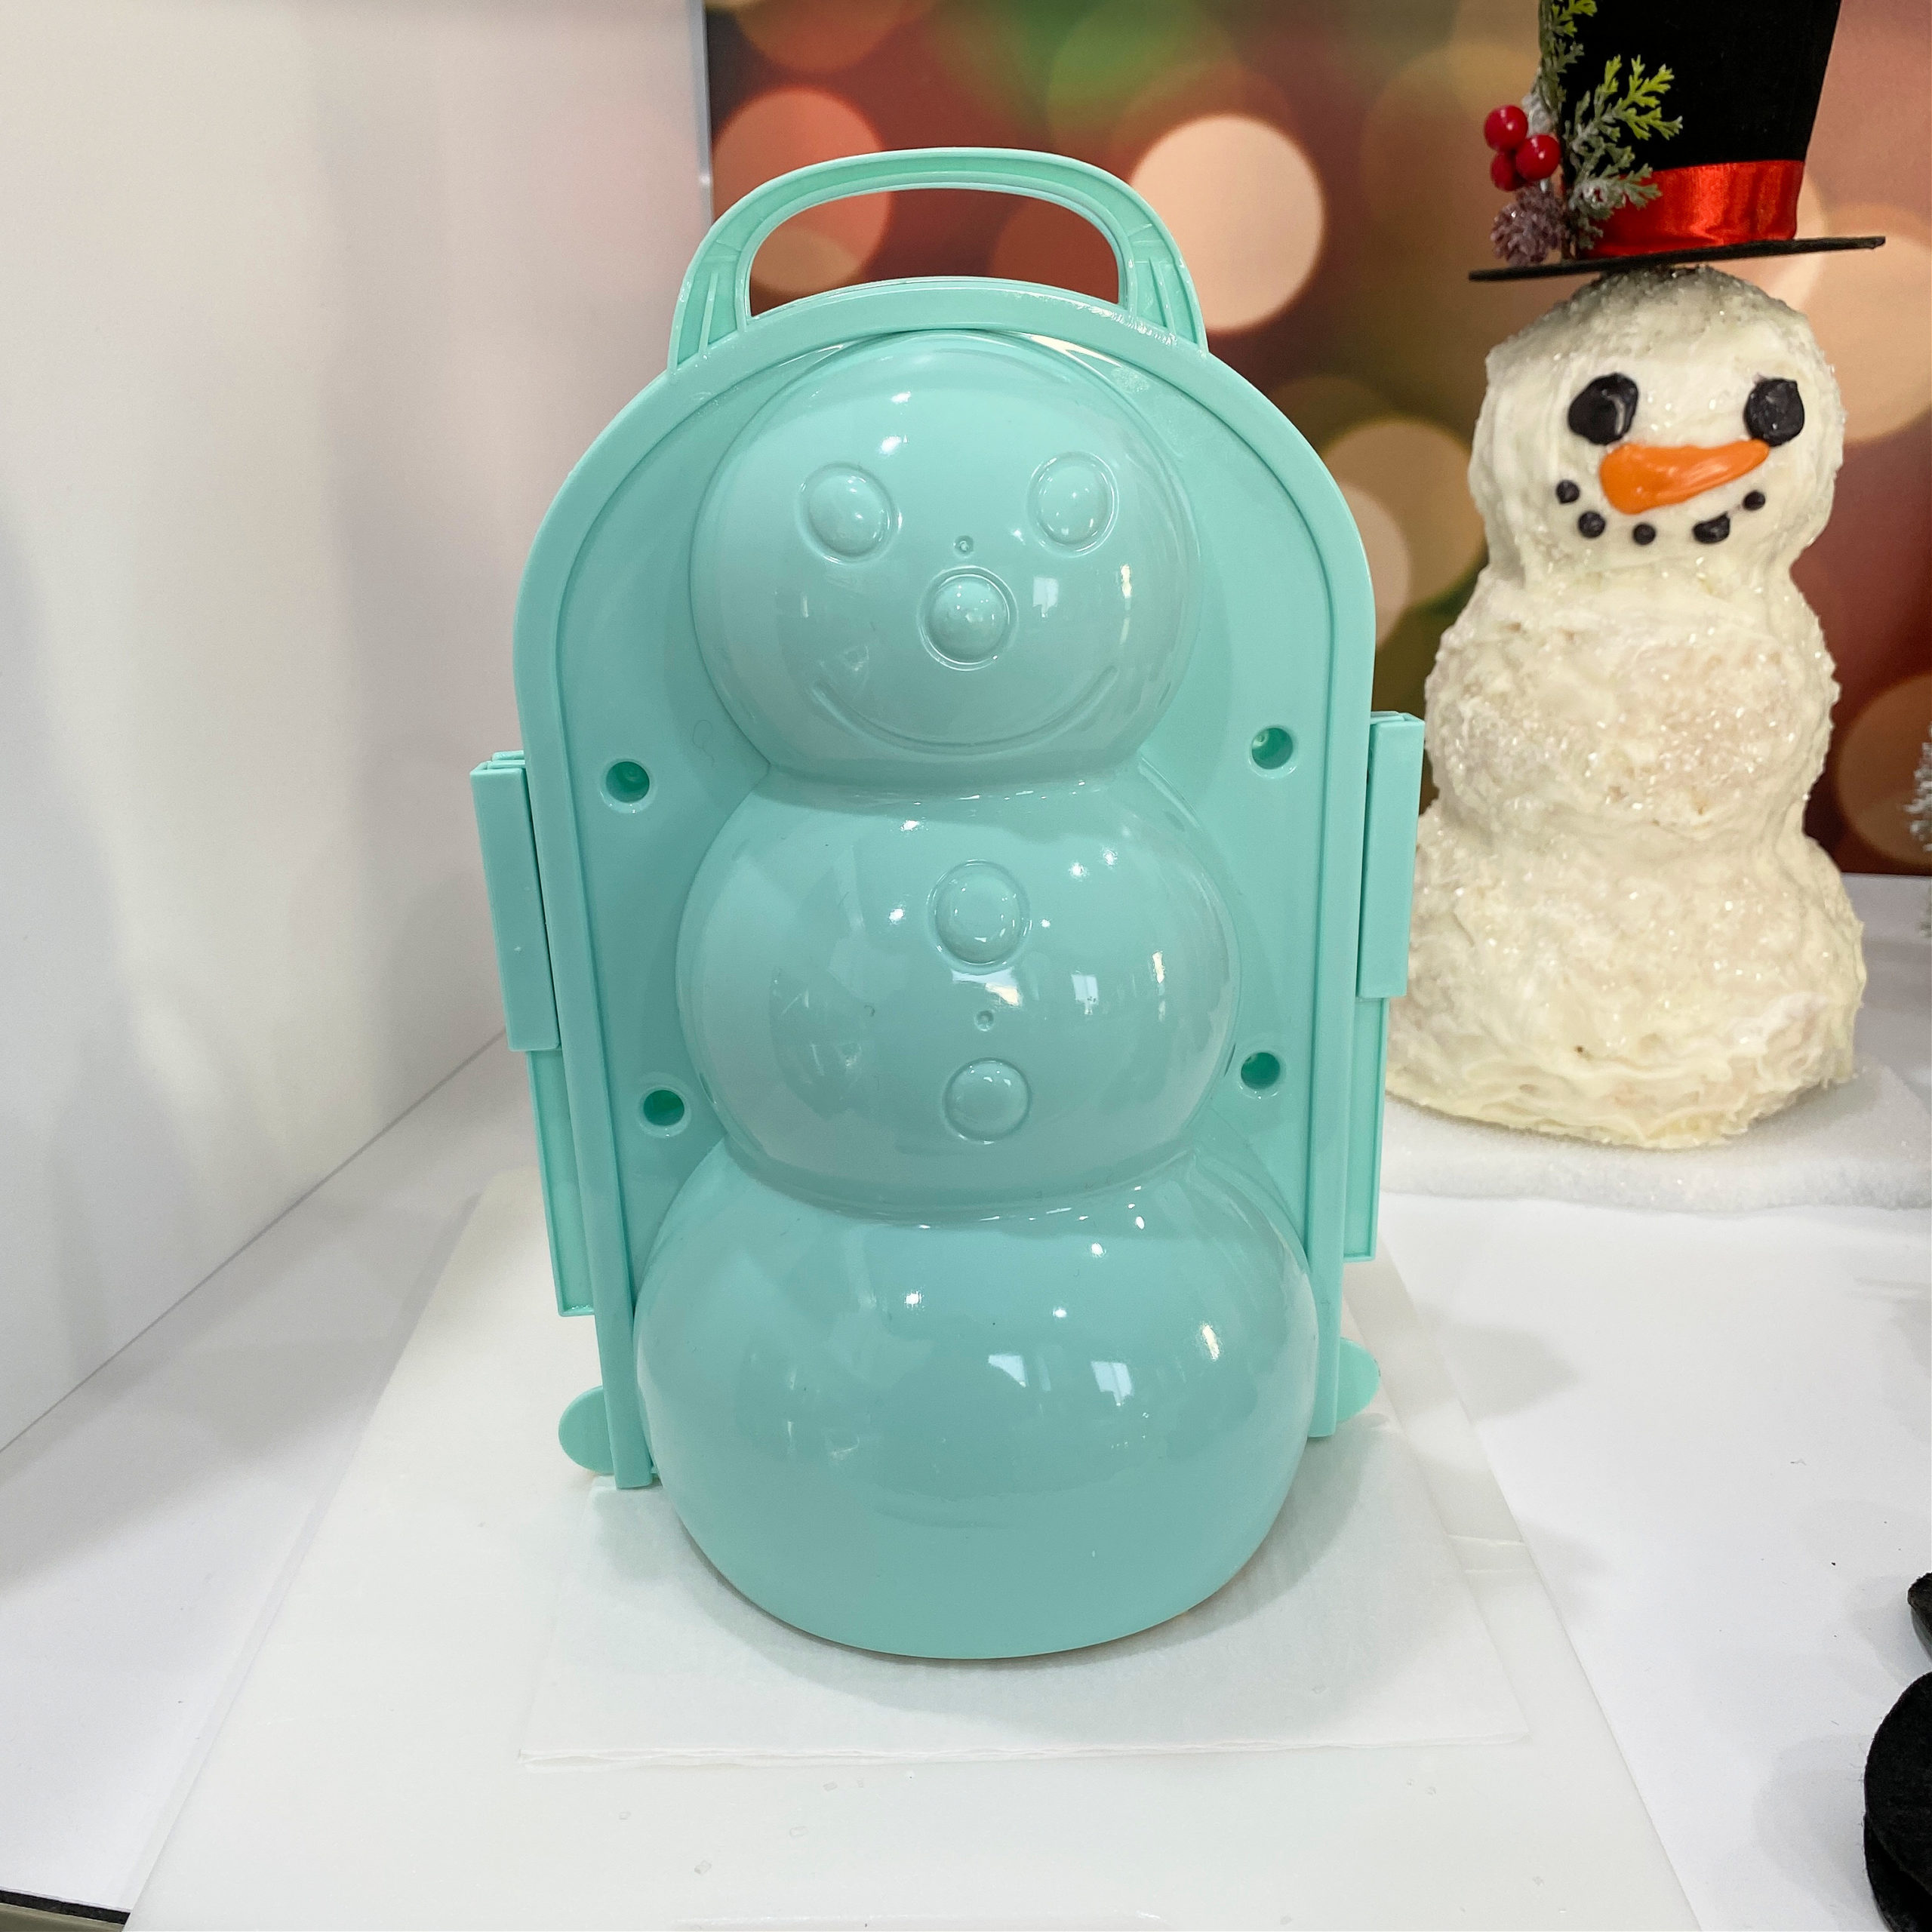
Snowman Snow Mold
Where Can I Find The Snowman Molds?
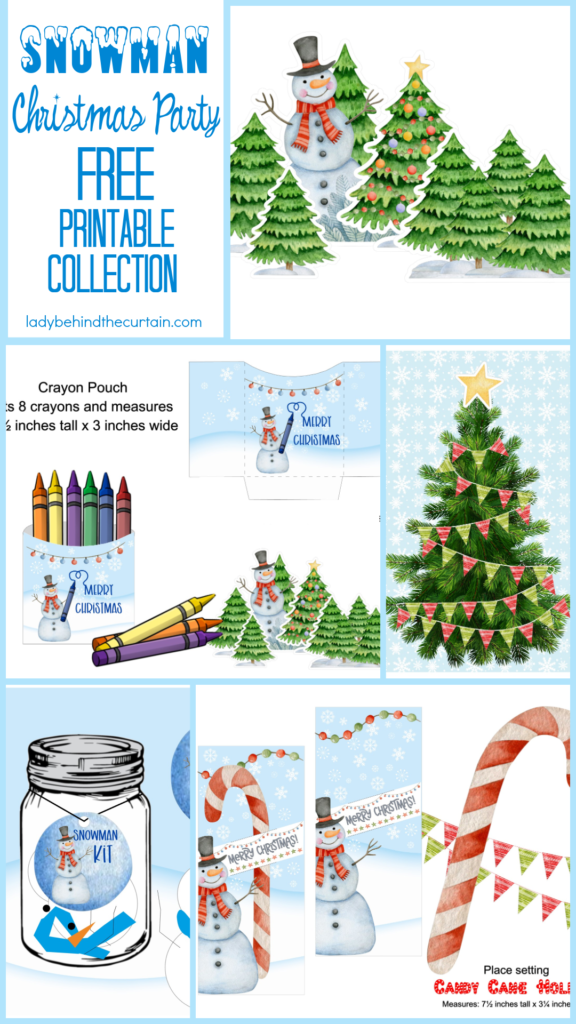
Snowman Christmas Party FREE Printable Collection

How to Make 3-D Snowman Rice Krispy Treats
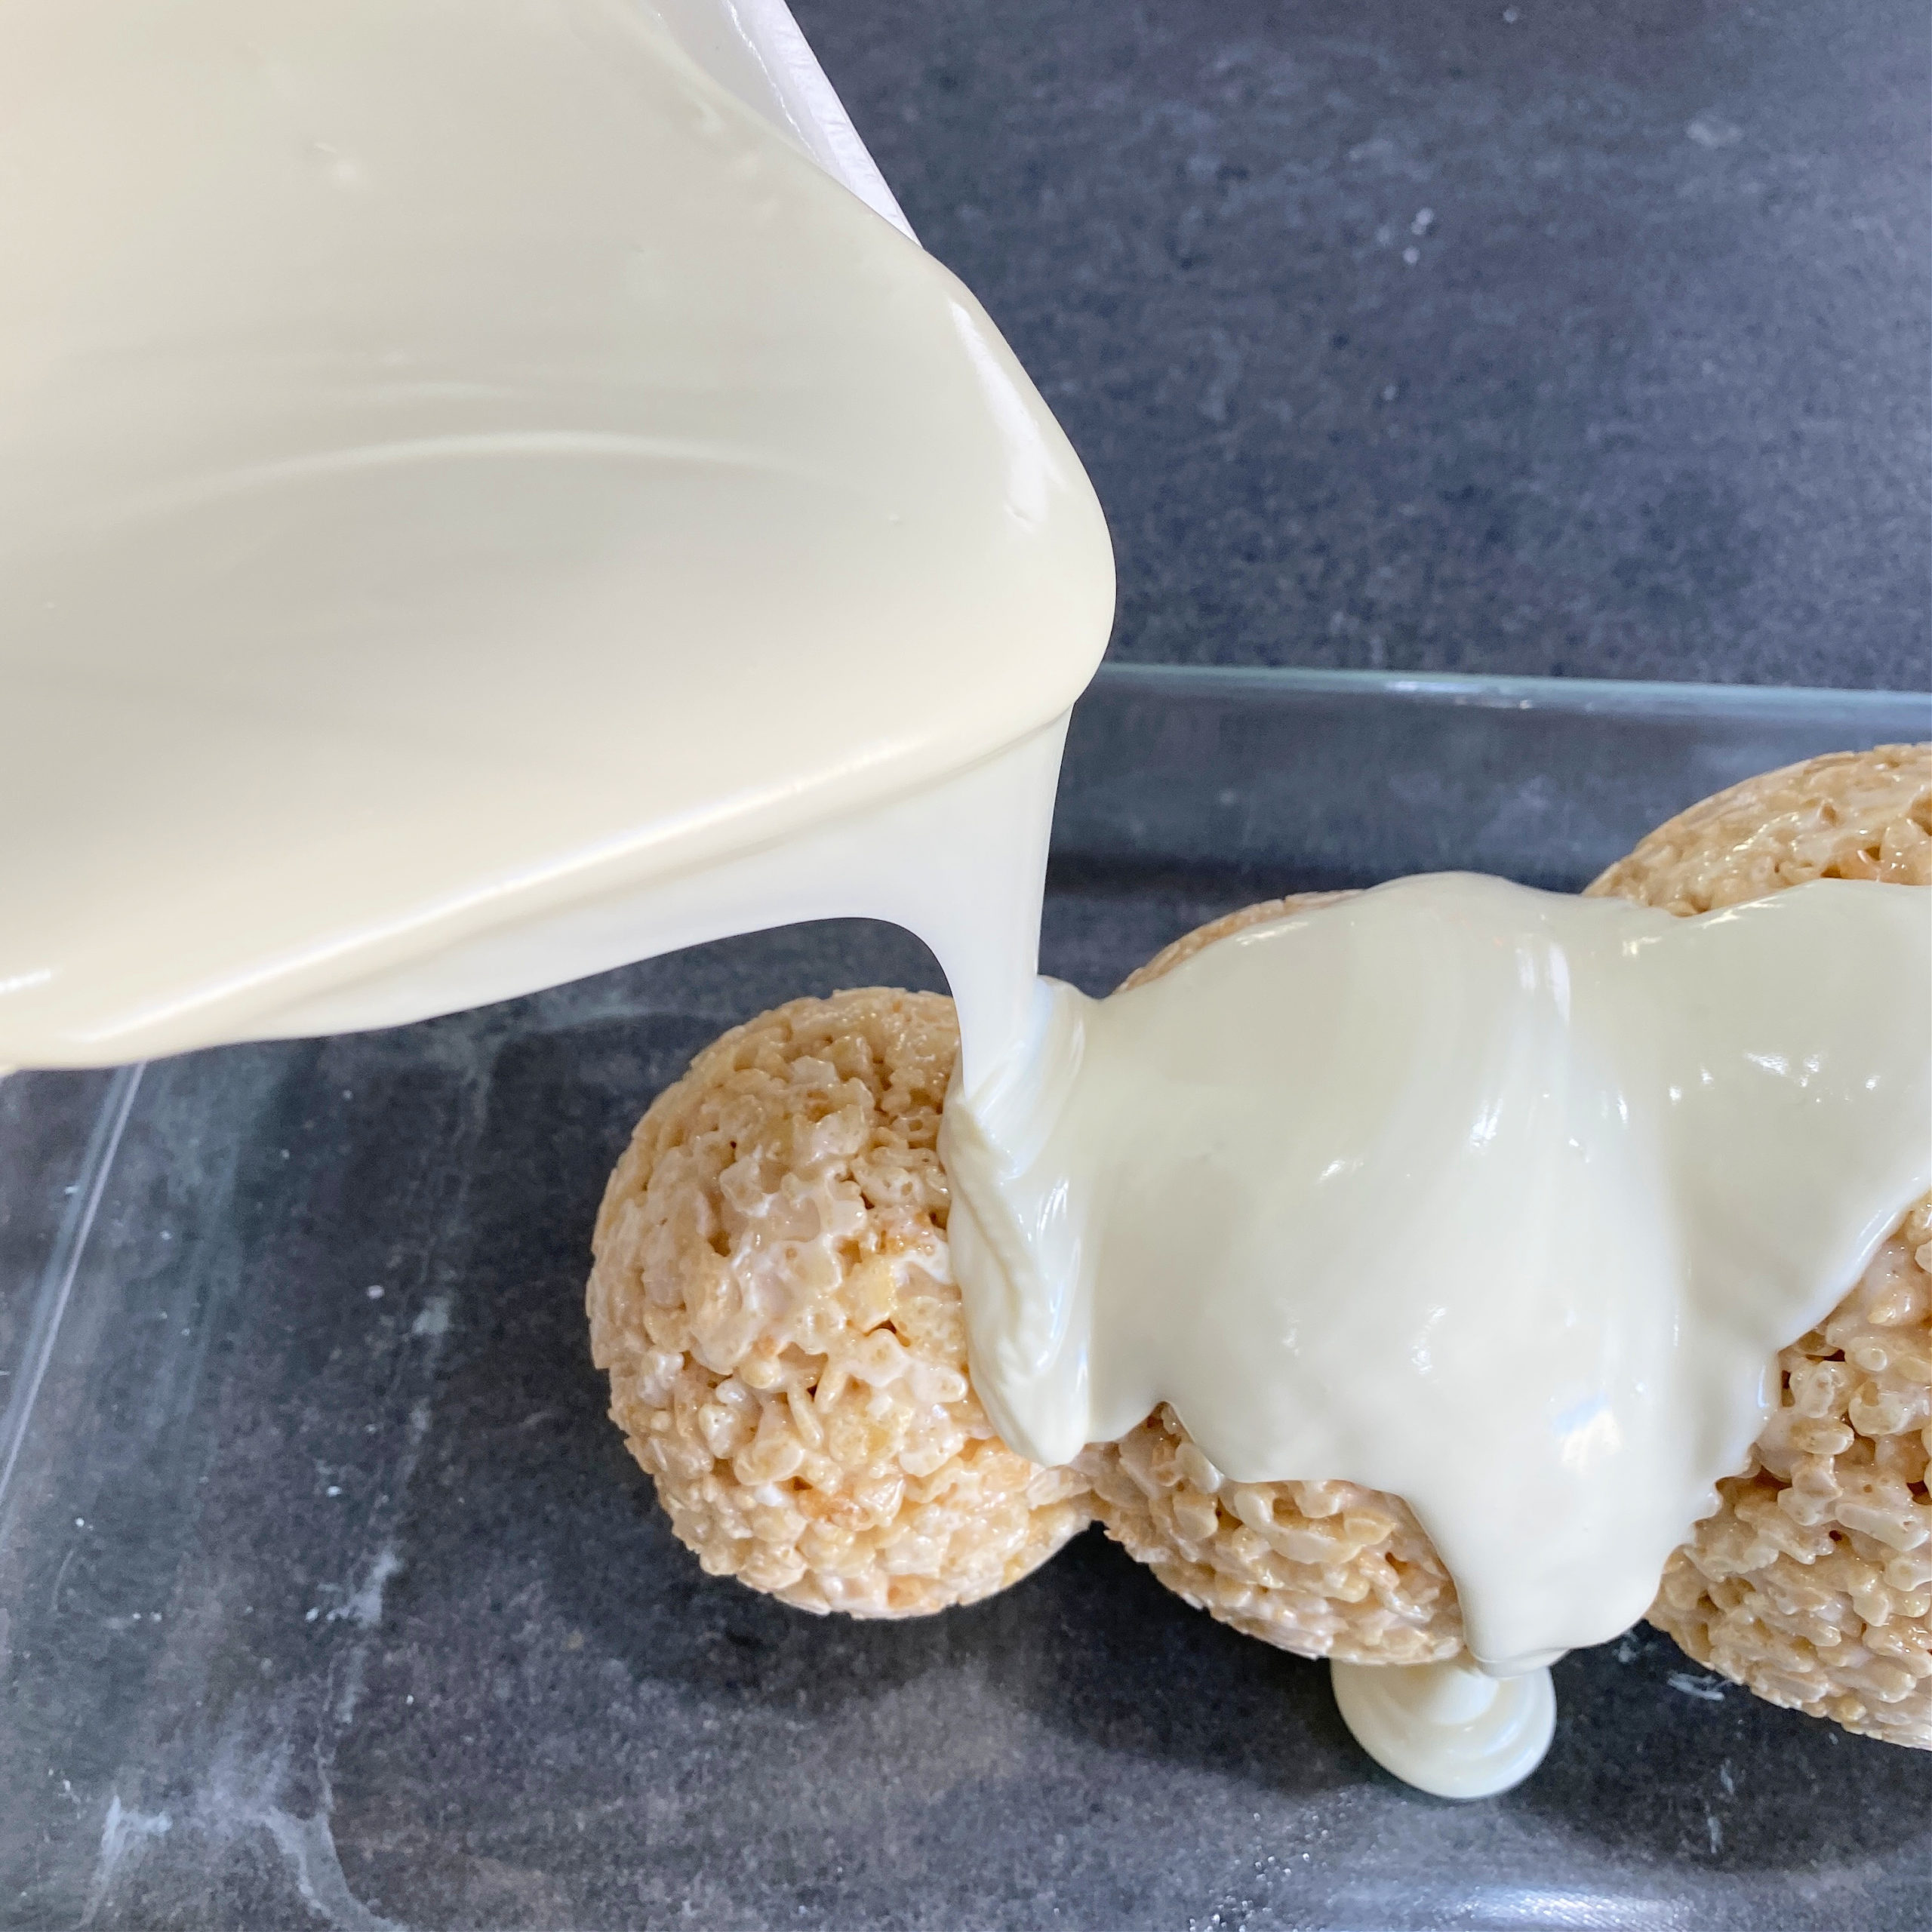
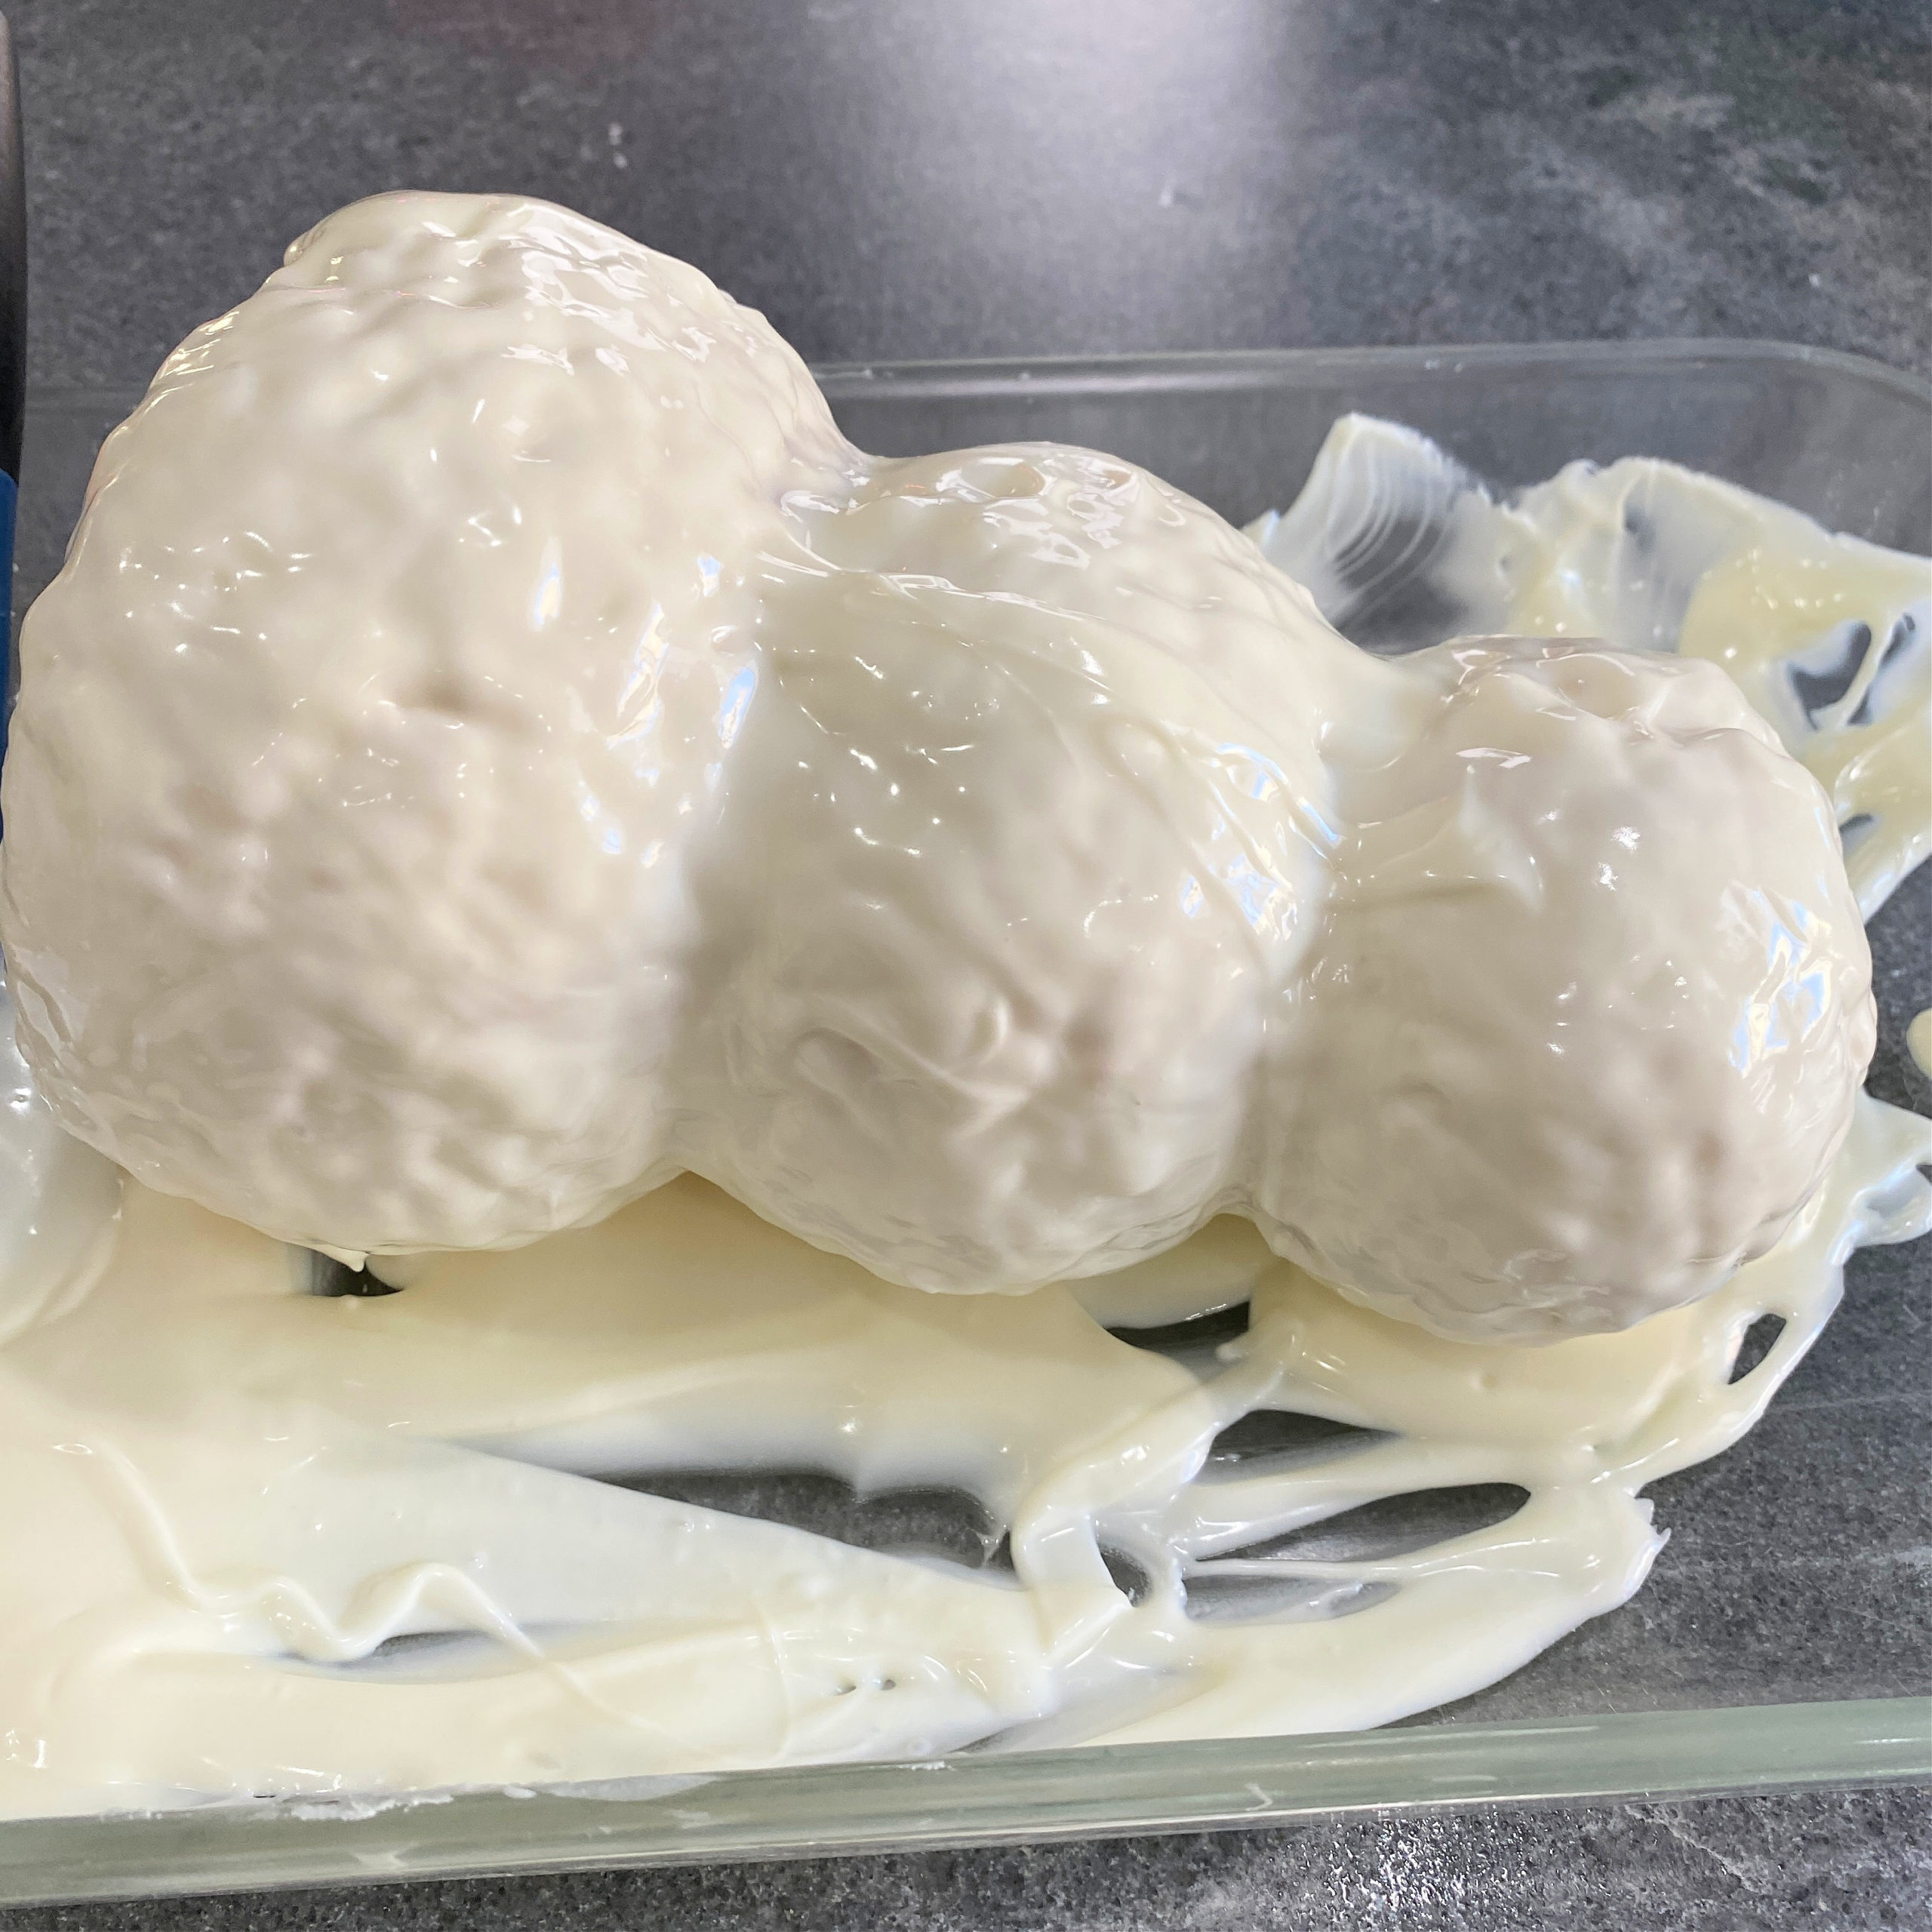
- INGREDIENTS: (scroll down for the full printable recipe)
- Rice Krispy cereal
- mini marshmallows
- butter
- vanilla candy coating
- black candy melts
- orange candy melts
- DIRECTIONS:
- Add measured cereal into a medium bowl.
- Add marshmallows and butter to a large microwave safe bowl.
- Microwave 1 minute, stir, microwave an additional 30 seconds, and stir.
- Pour pre measured cereal into the bowl with the melted marshmallows, stir to combine.
- Spray mold with non stick cooking spray.
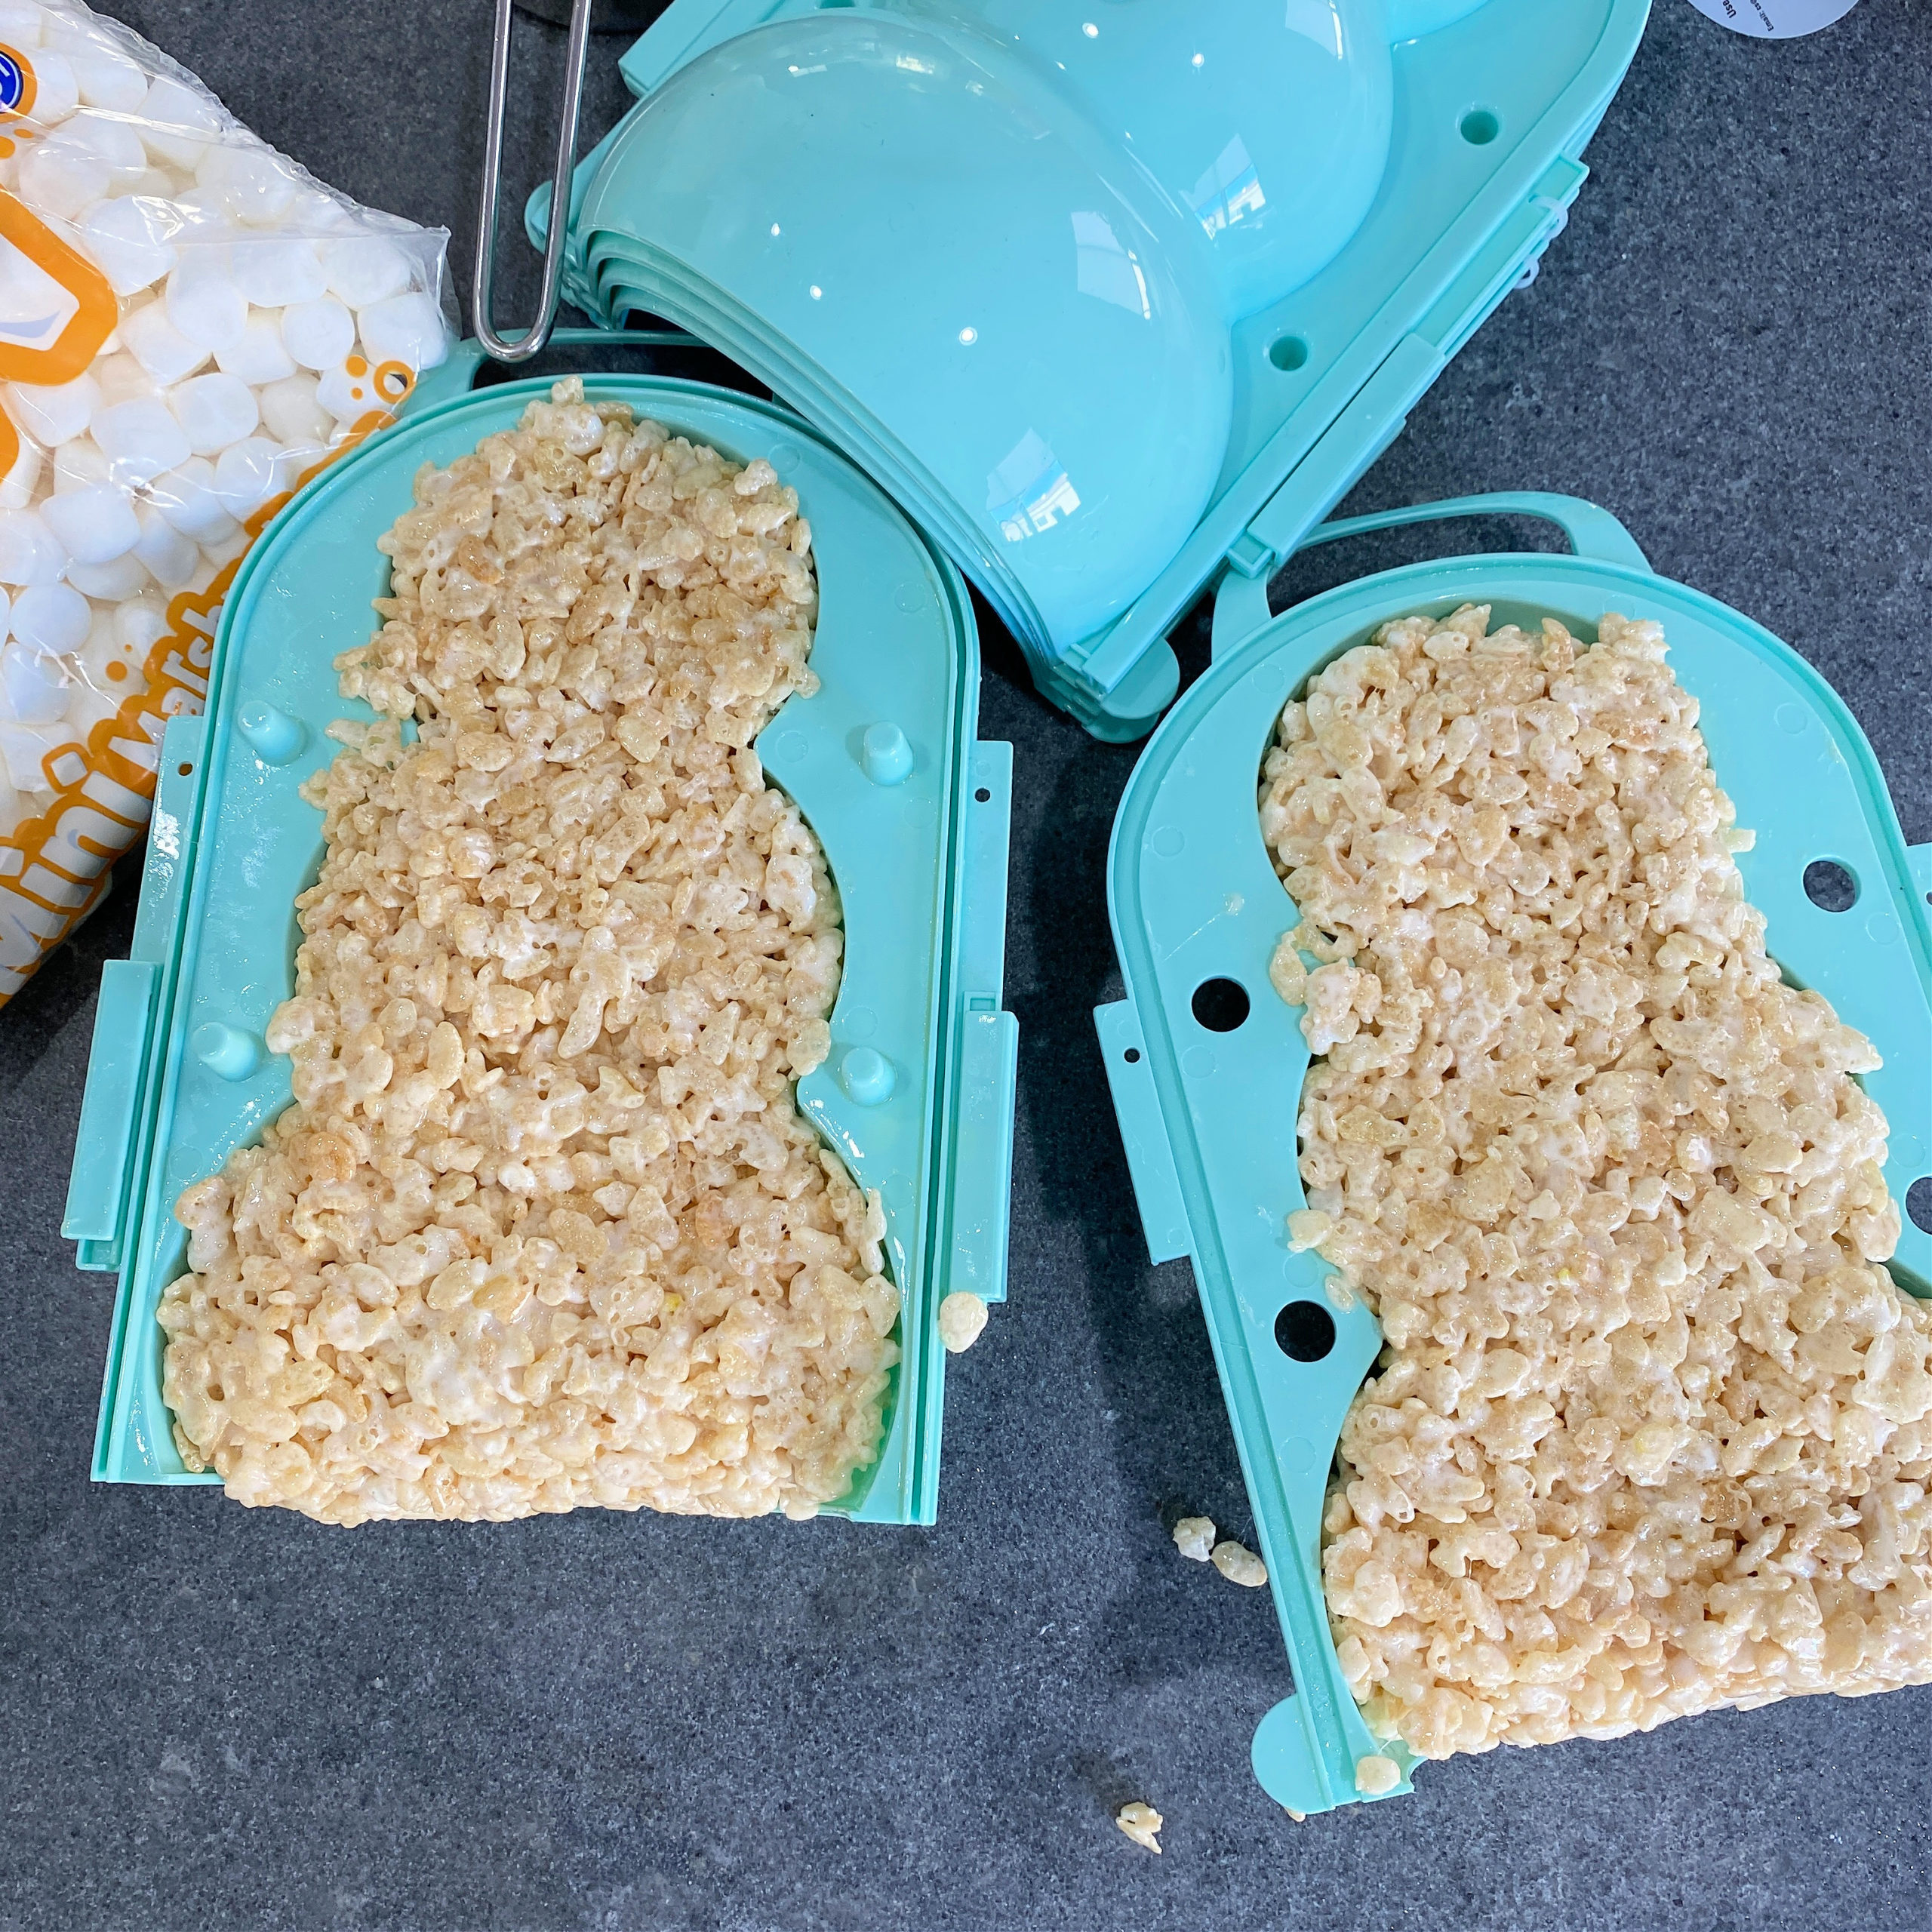
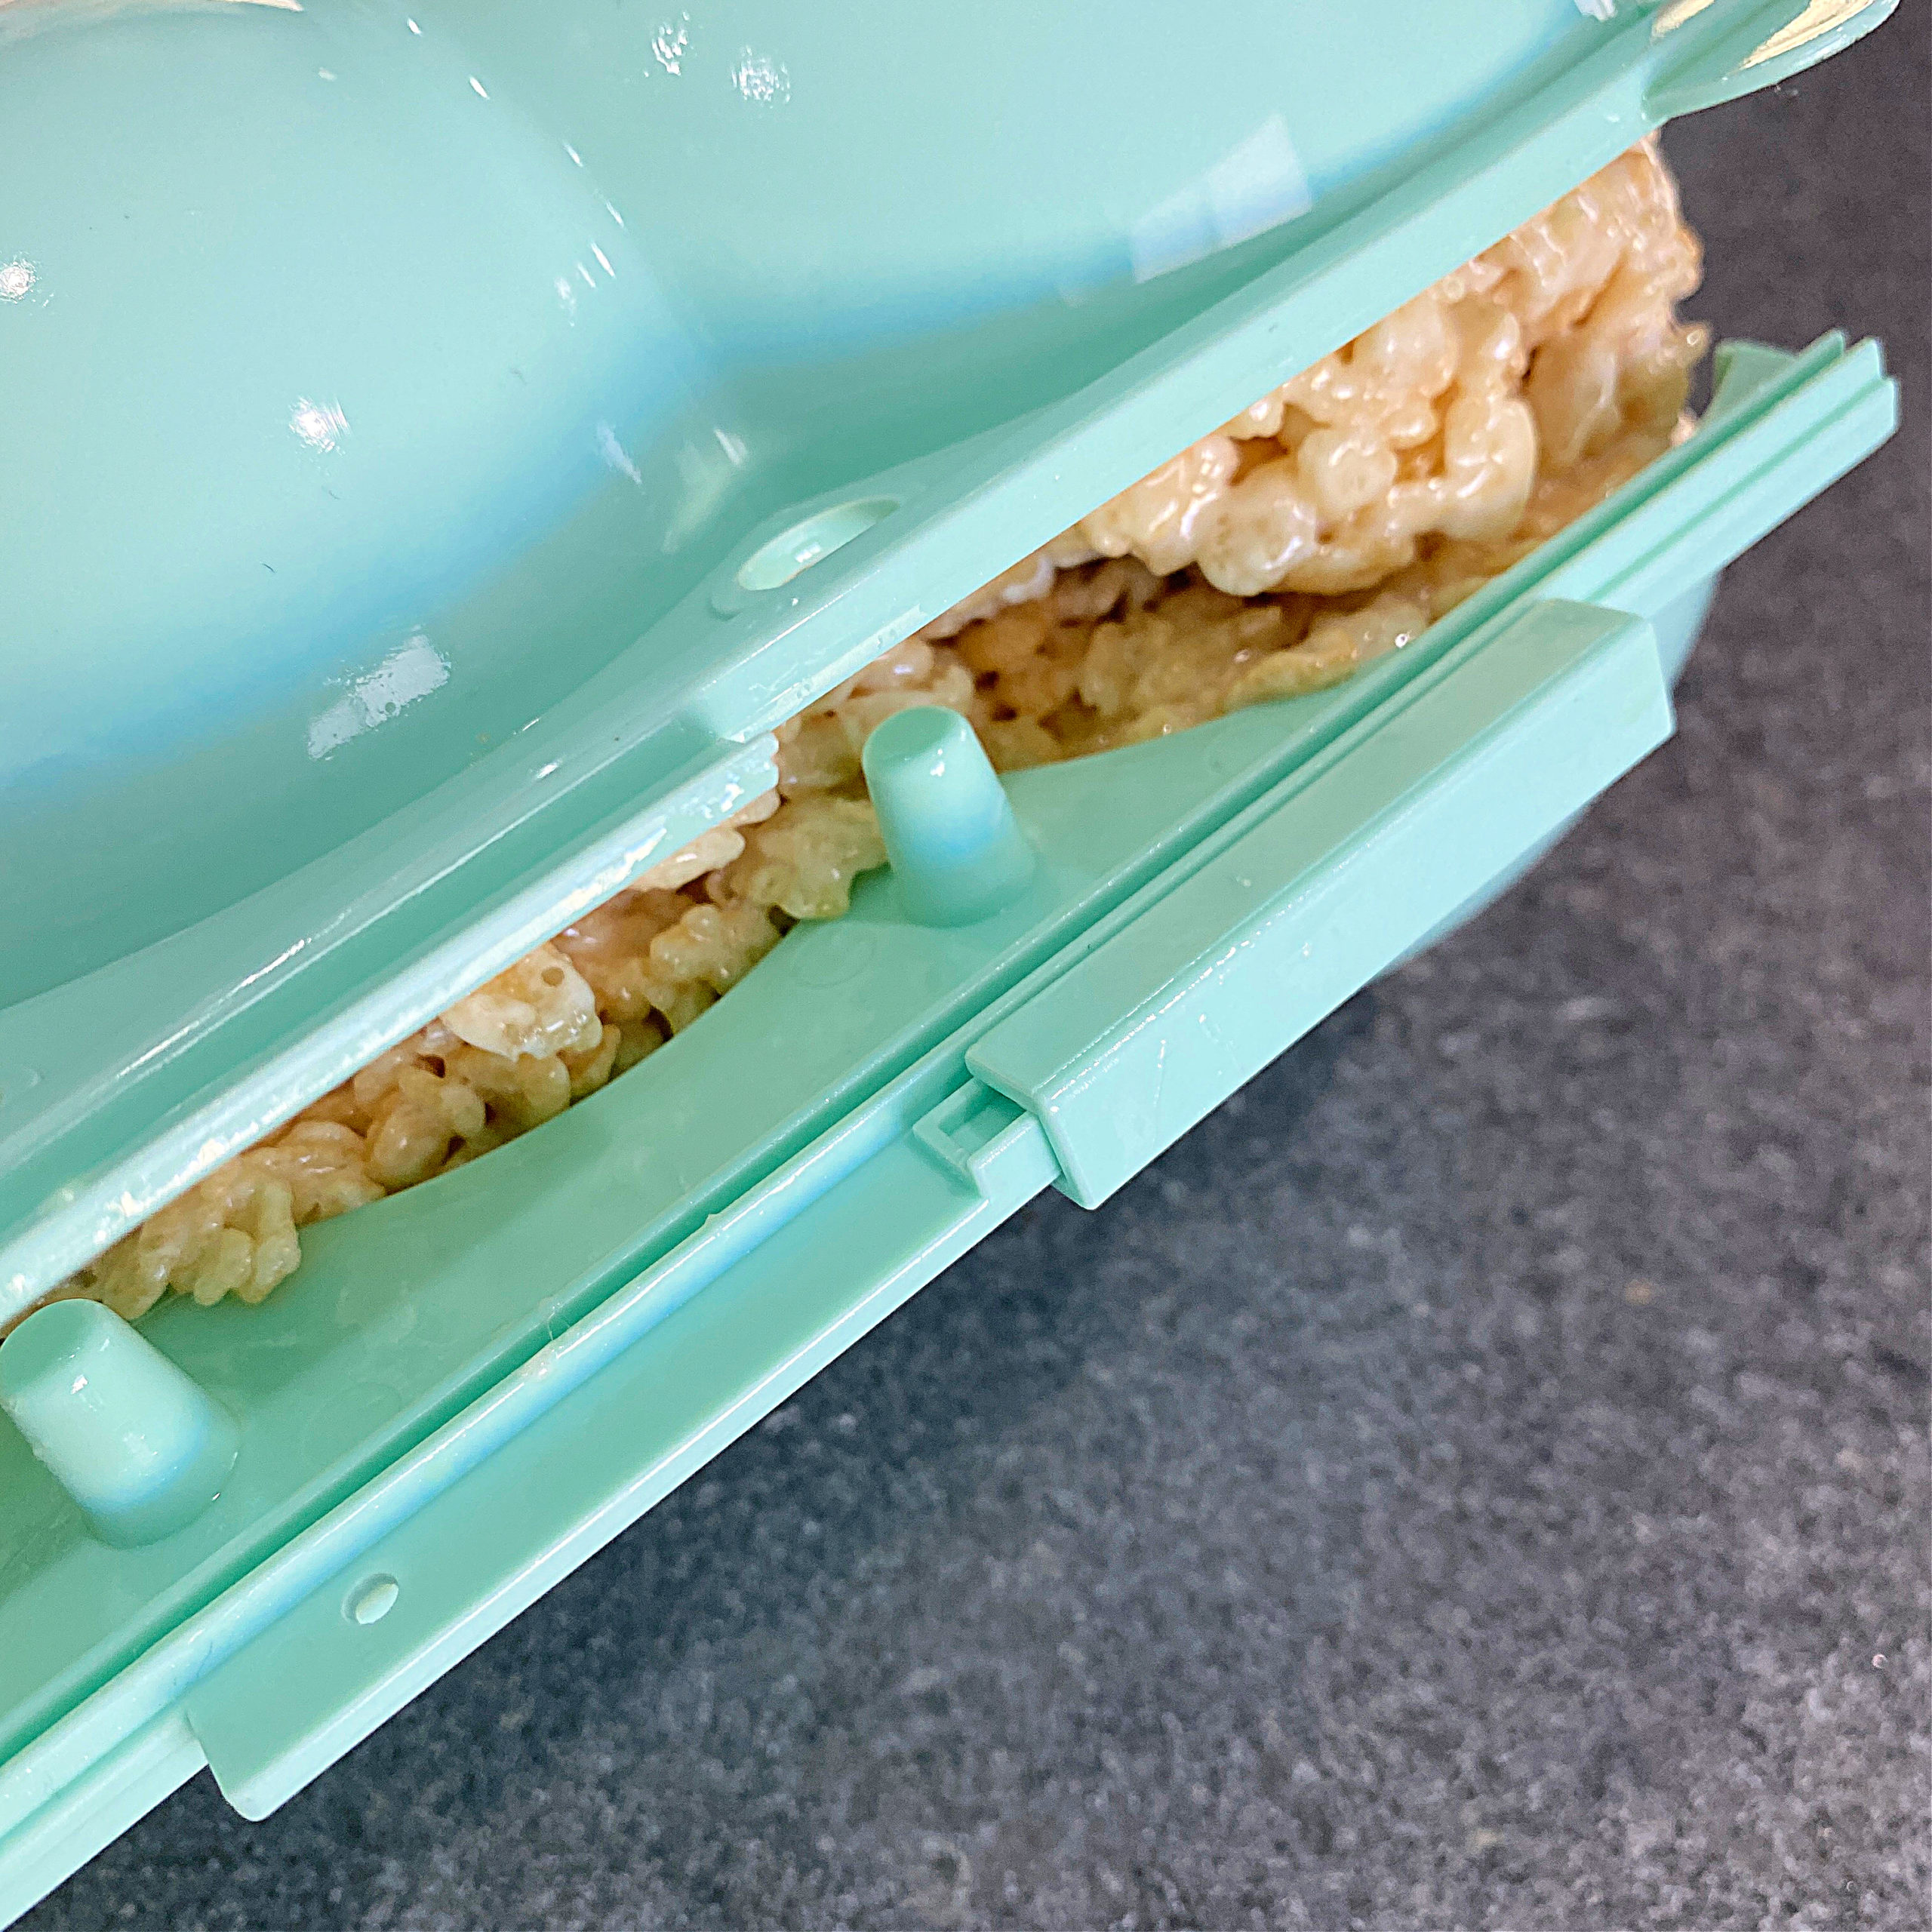
- Divide coated cereal between each side of the mold (back and front), press cereal to pack in.
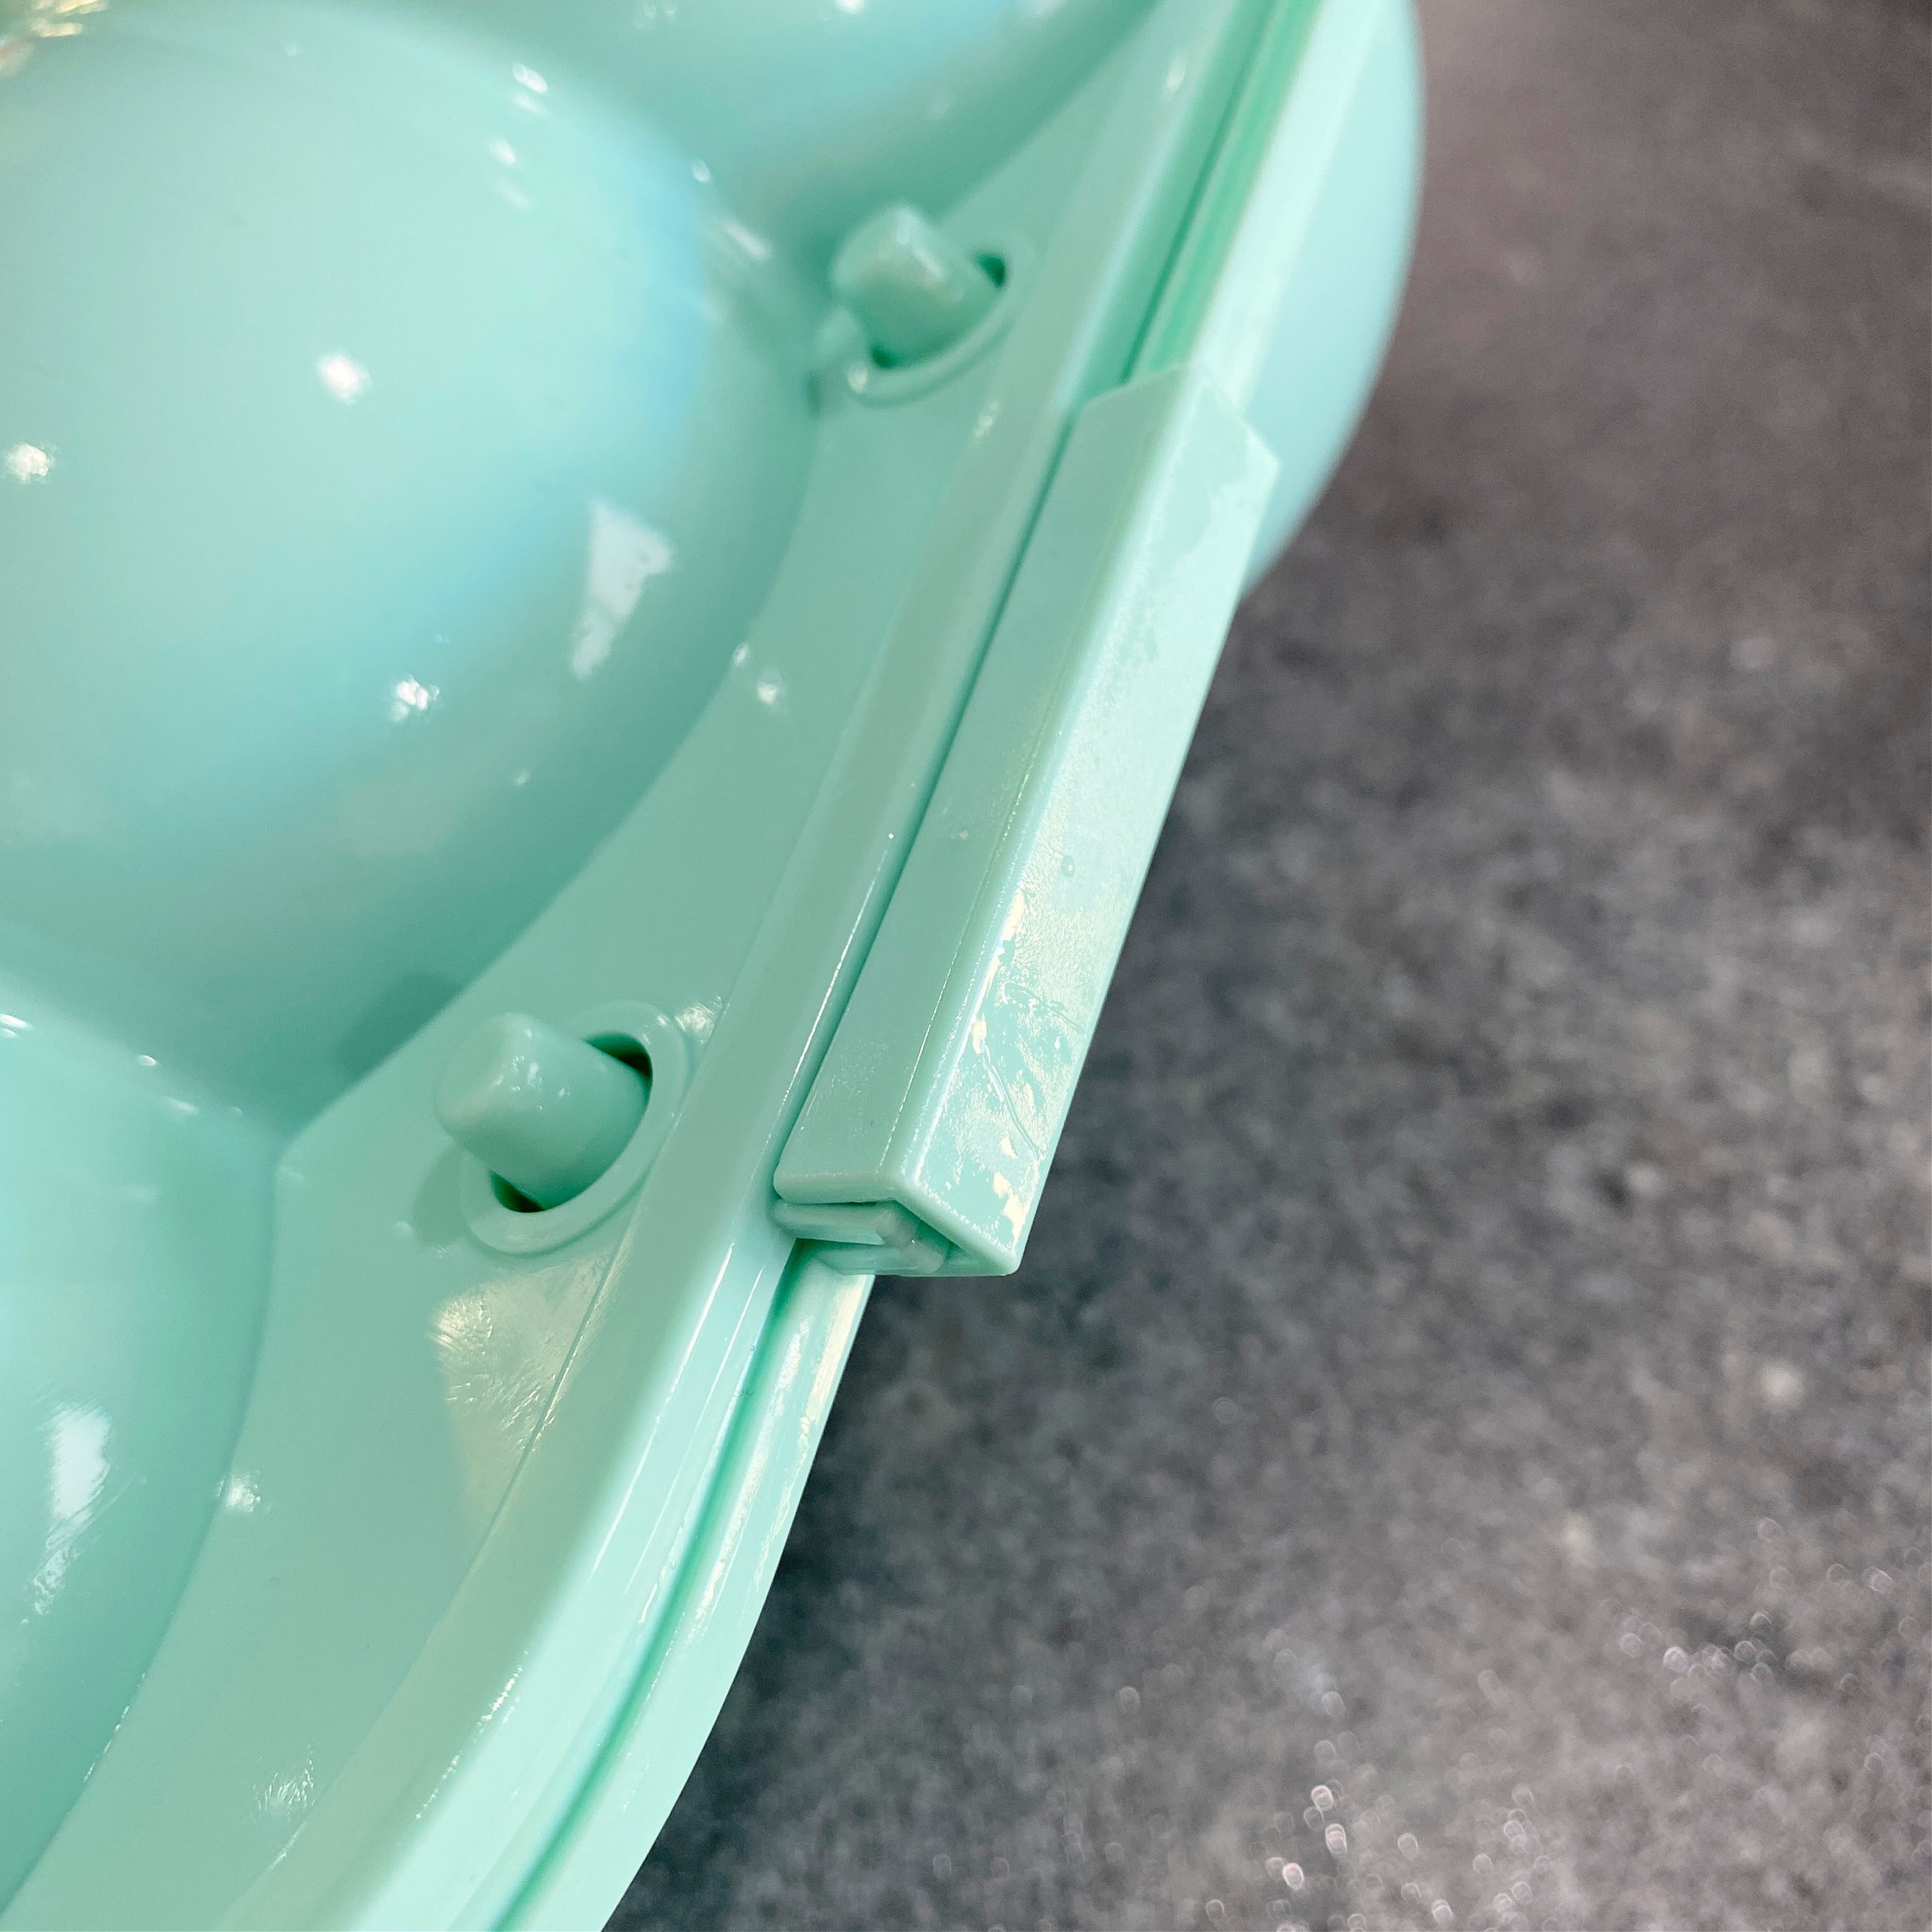
- Slide the sides to lock closed.
- Place in the refrigerator 1 hour to harden.
- Melt vanilla candy and pour over cold snowman (hahaha….cold), use a spatula to cover completely.
- Add sprinkles to we candy, refrigerate 30 minutes to harden.
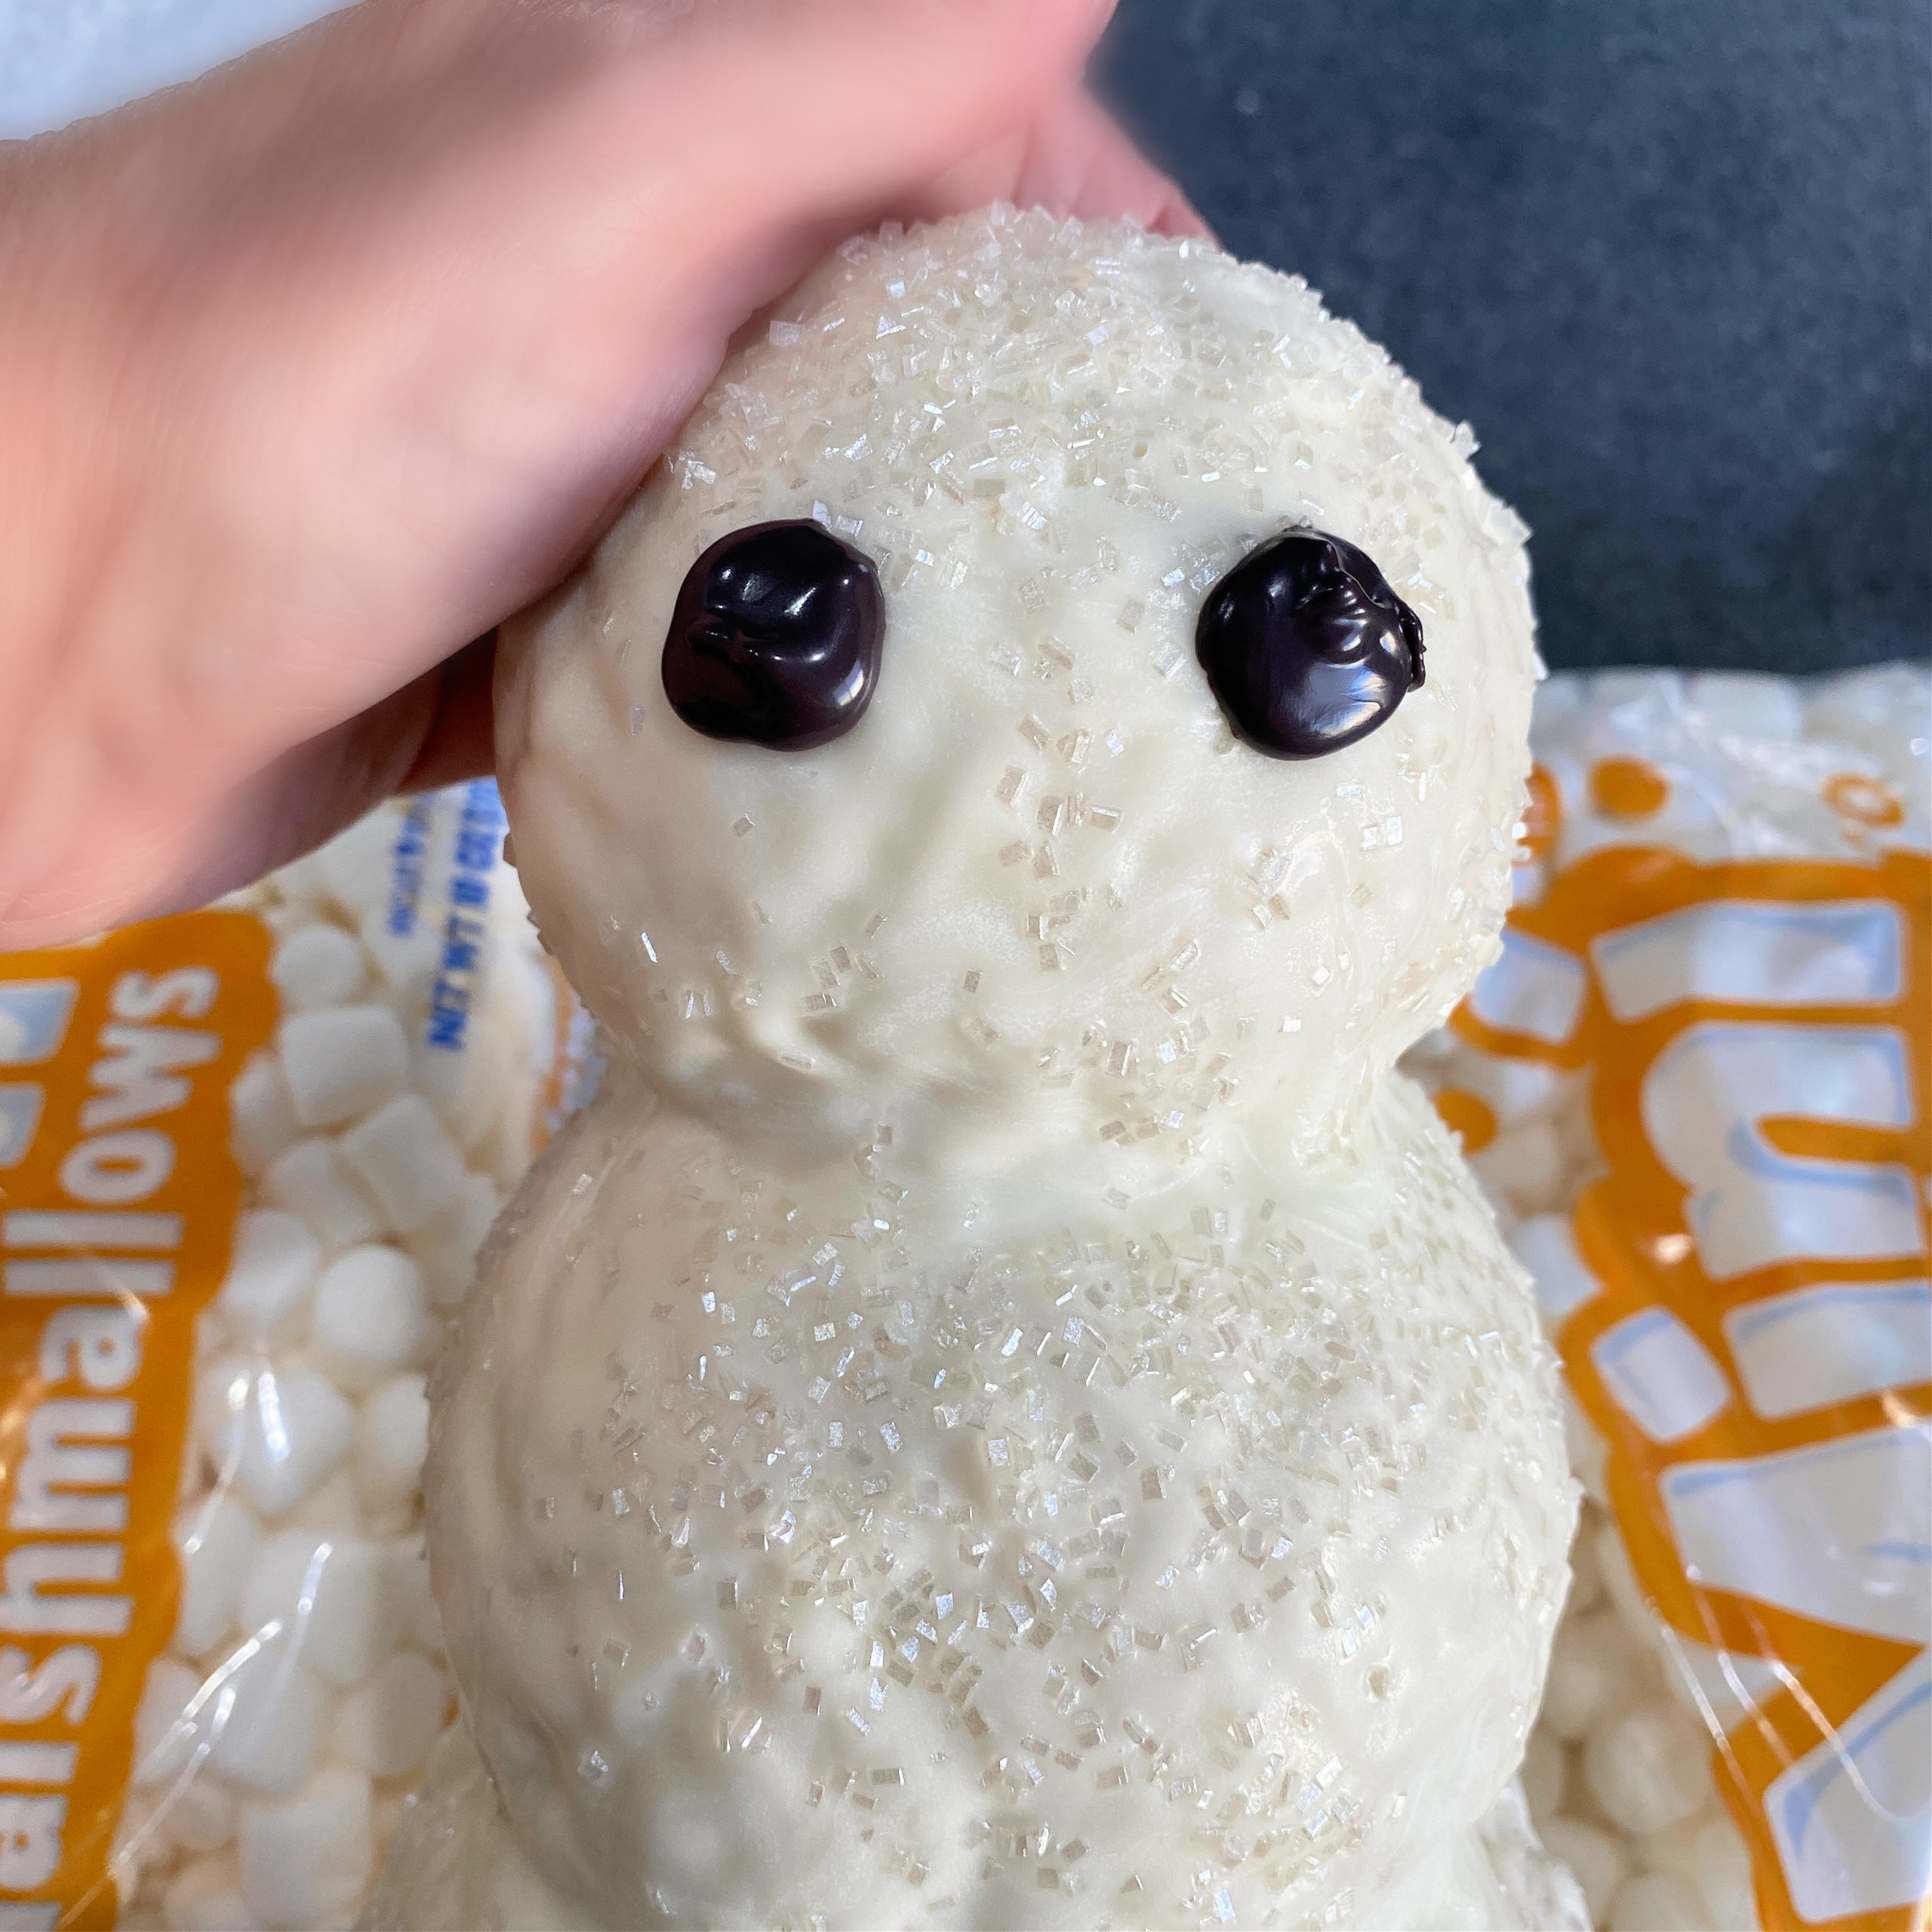
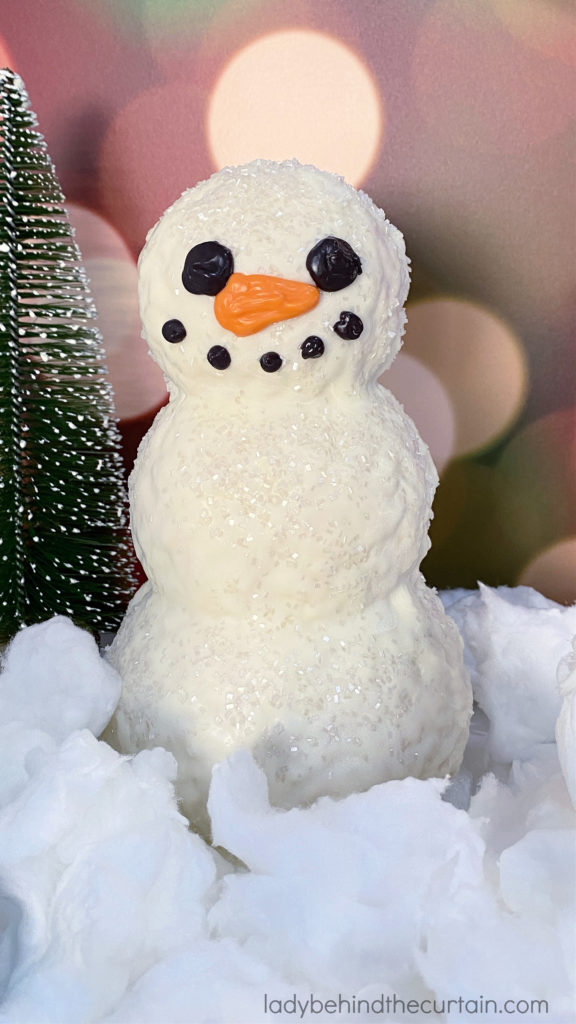
- Use melted black and orange candy melts to add face.
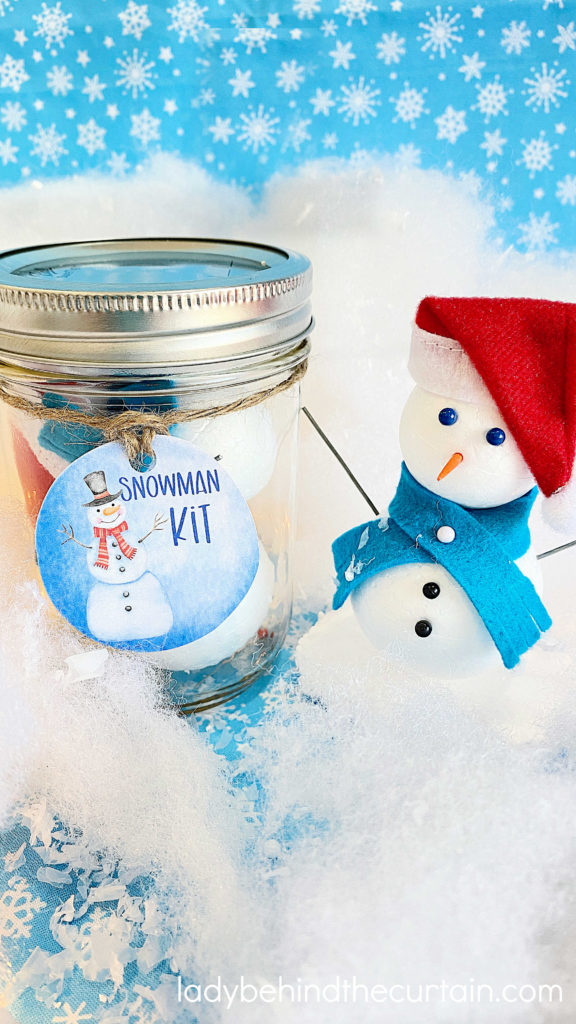
BUILD A SNOWMAN KIT
FREE Christmas or Winter Kid’s Activity Sheets and Coloring Pages
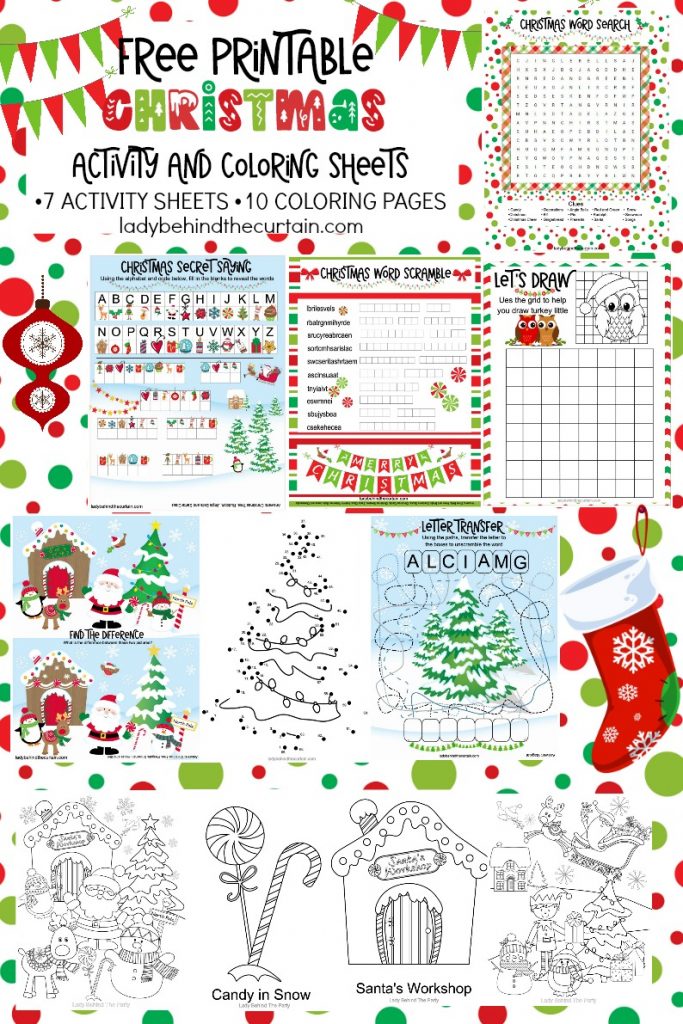
- SOME OF THE FILES HAVE MORE GRAPHICS THEN OTHERS AND WILL TAKE A LITTLE LONGER TO LOAD—BE PATIENT—THEY WILL LOAD
- COLORING PAGE 1
- COLORING PAGE 2
- COLORING PAGE 3
- COLORING PAGE 4
- COLORING PAGE 5
- COLORING PAGE 6
- COLORING PAGE 7
- COLORING PAGE 8
- COLORING PAGE 9
- COLORING PAGE 10
- DOT TO DOT ACTIVITY SHEET
- LET’S DRAW ACTIVITY SHEET
- LETTER TRANSFER ACTIVITY SHEET
- CHRISTMAS SECRET SAYINGS ACTIVITY SHEET
- CHRISTMAS WORD SEARCH ACTIVITY SHEET
- WHAT IS THE DIFFERENCE ACTIVITY SHEET
- WORD SCRAMBLE ACTIVITY SHEET
TIPS AND TRICKS
Below you will find listed some tips and tricks I like to use. Hopefully these ideas will make the process a littler easier.
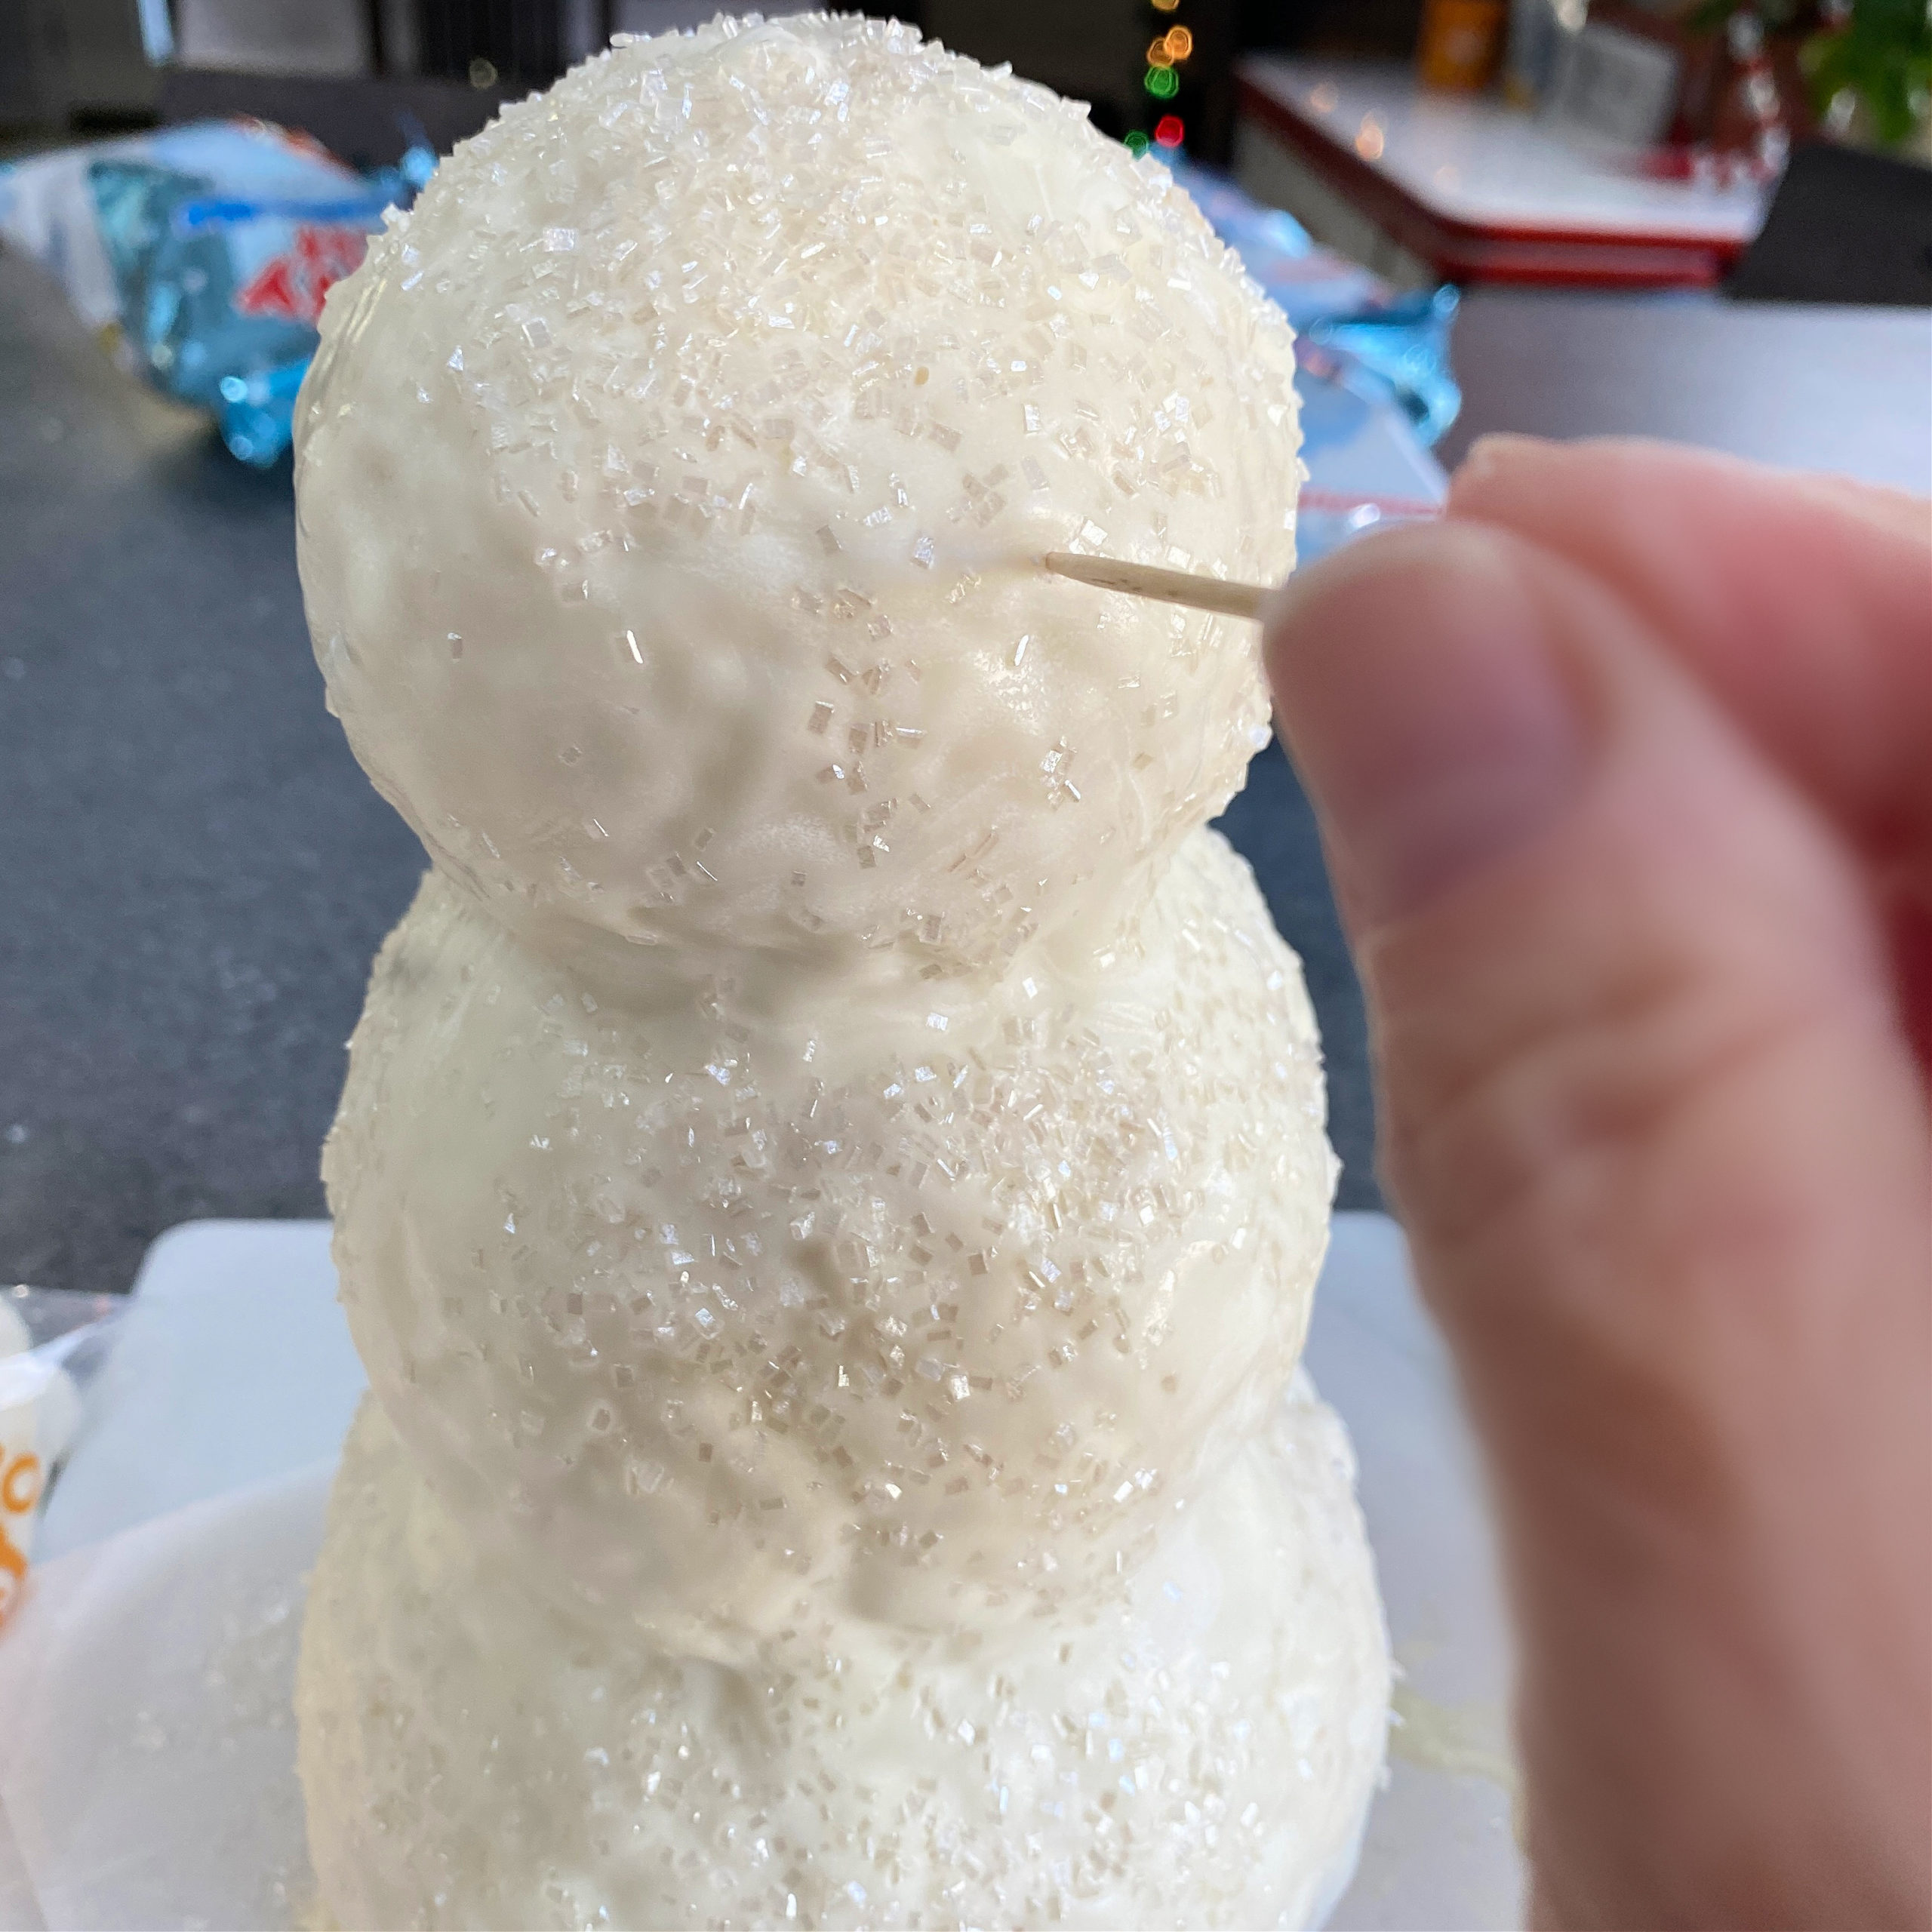
TOOTHPICKS: Once the melted vanilla candy has hardened, use a toothpick to mark where the eyes, nose and mouth will go.
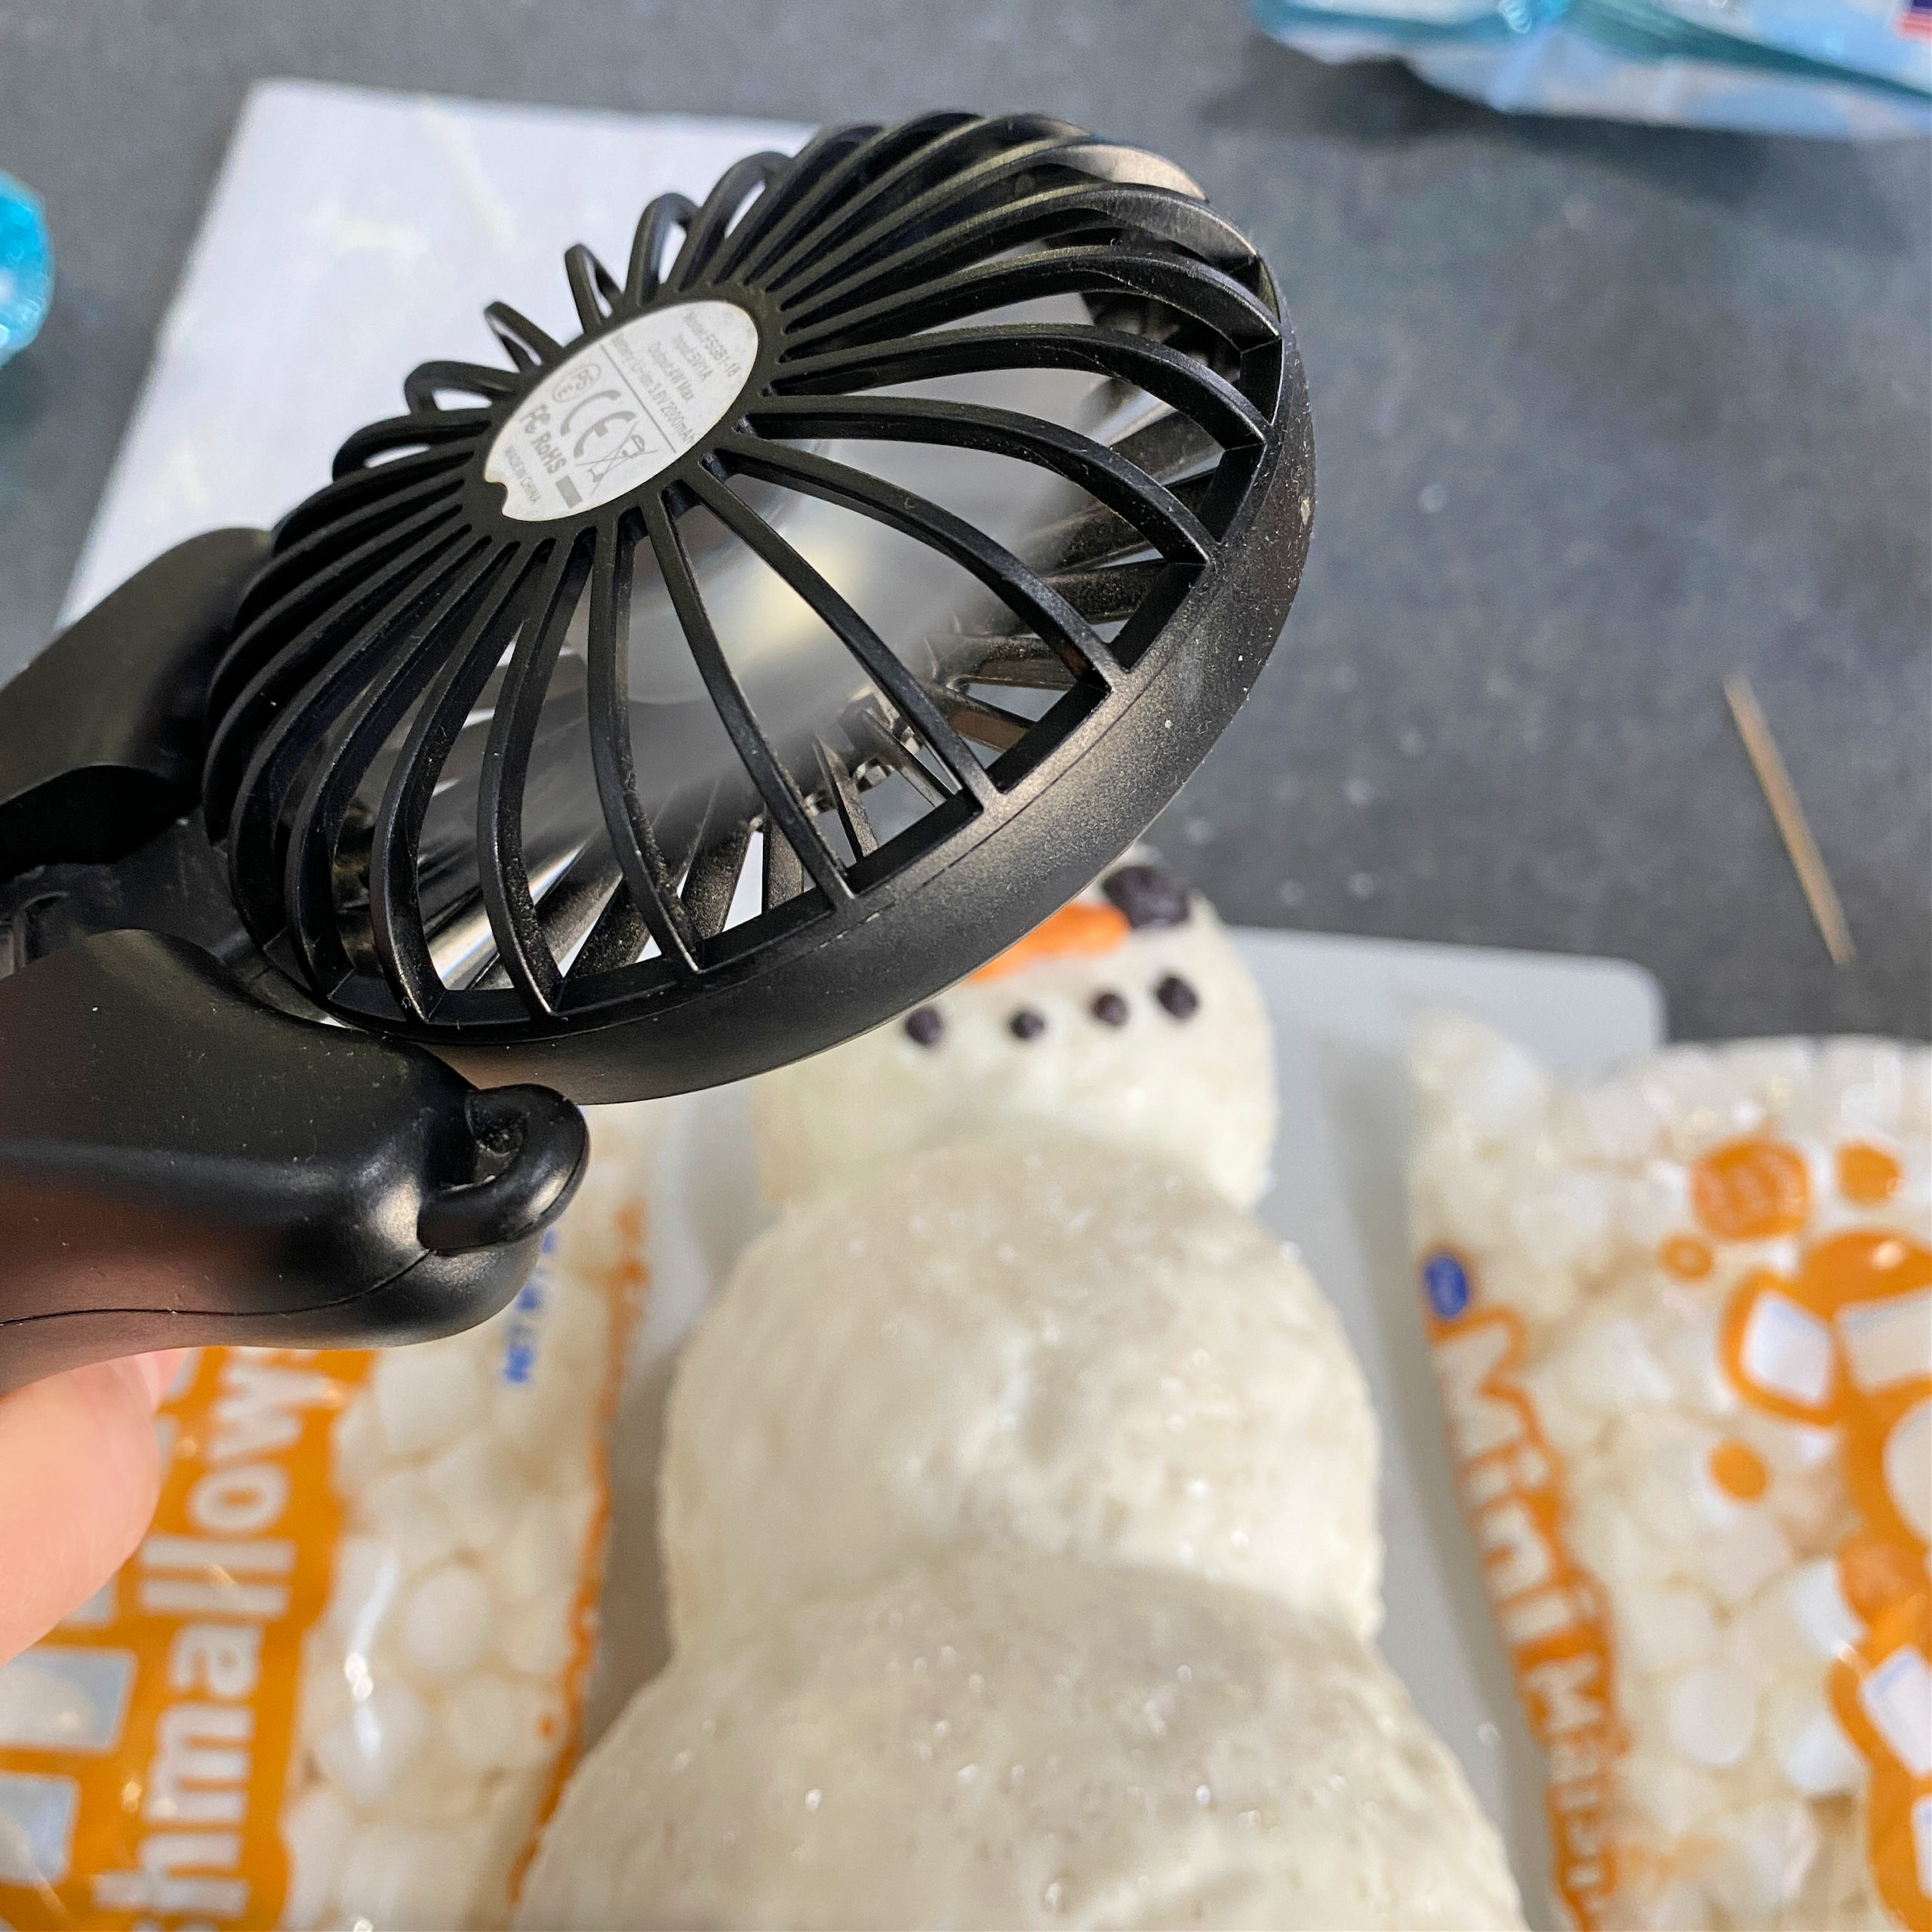
FAN: I use a small hand held fan to quickly cool the melted candy so it doesn’t run either down or when laying down up.
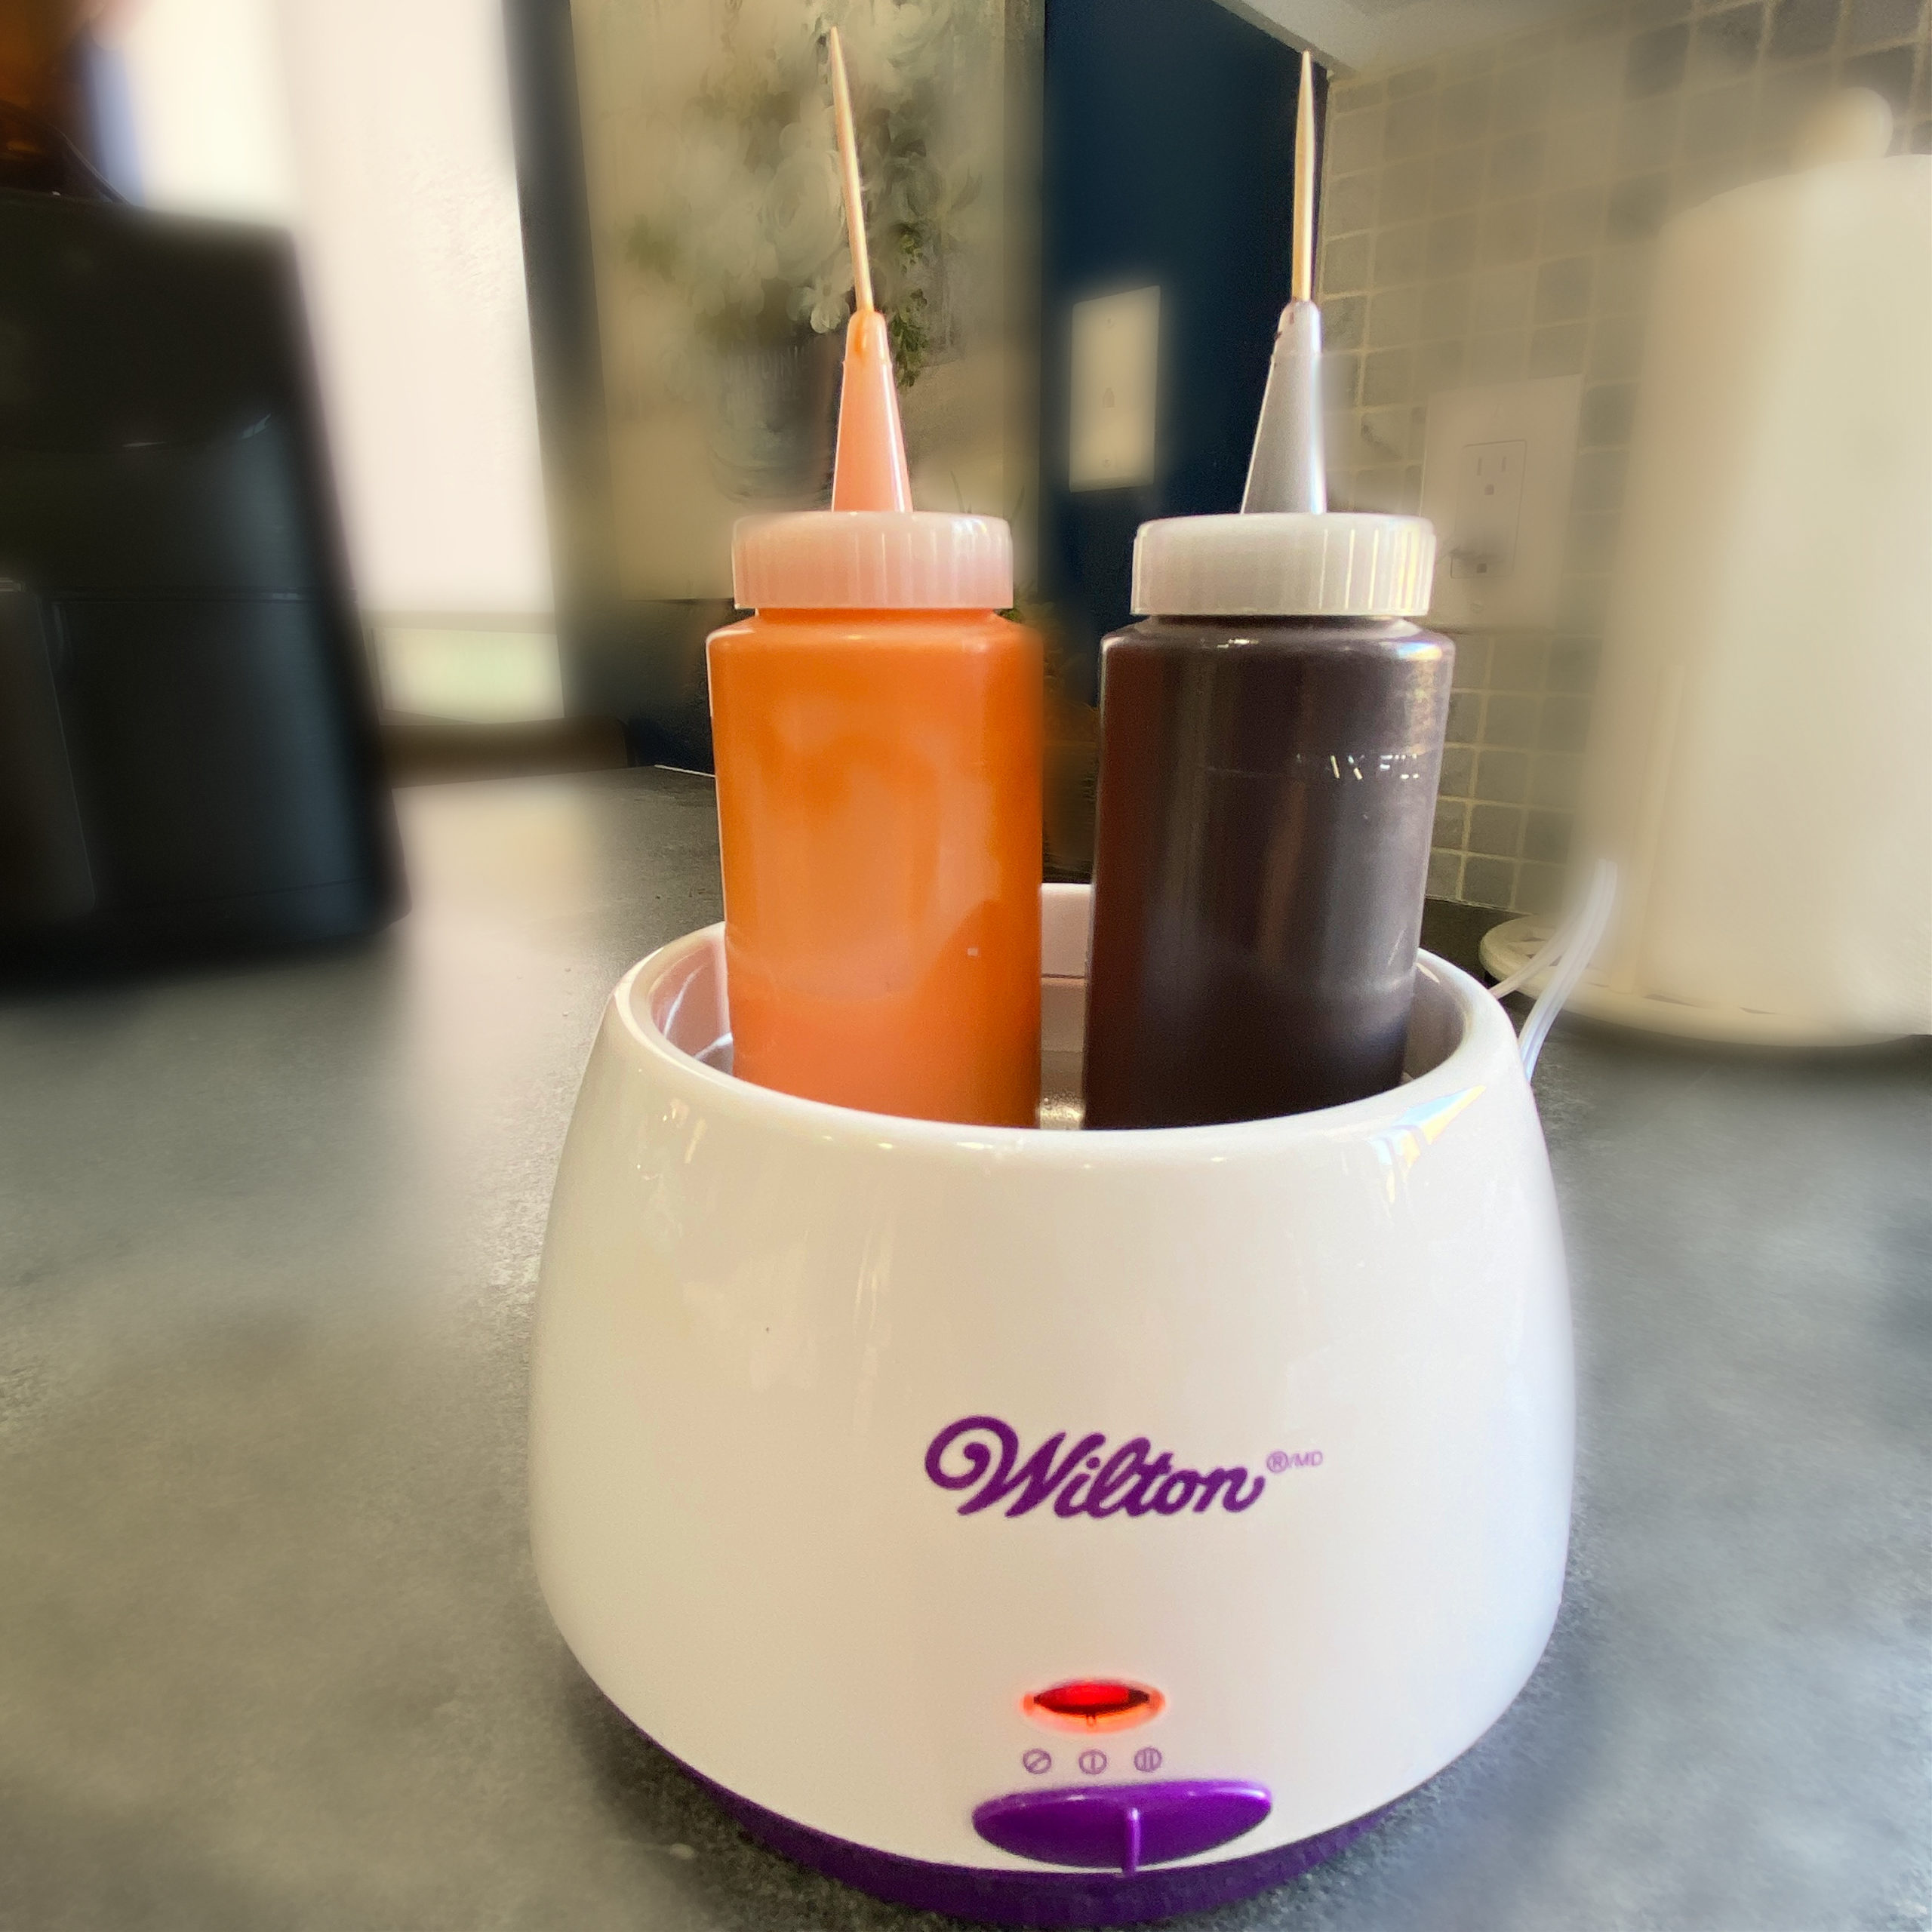
MELTED CANDY: If you’re making multiple snowmen, keep the melted candy warm by placing it in hot water. I took out the silicone insert of my melting pot, added hot water and turned the temp to the melting setting. TRICK: The candy in the tips of the squeeze bottles will harden and clog to avoid that from happening, place toothpicks in the hole.
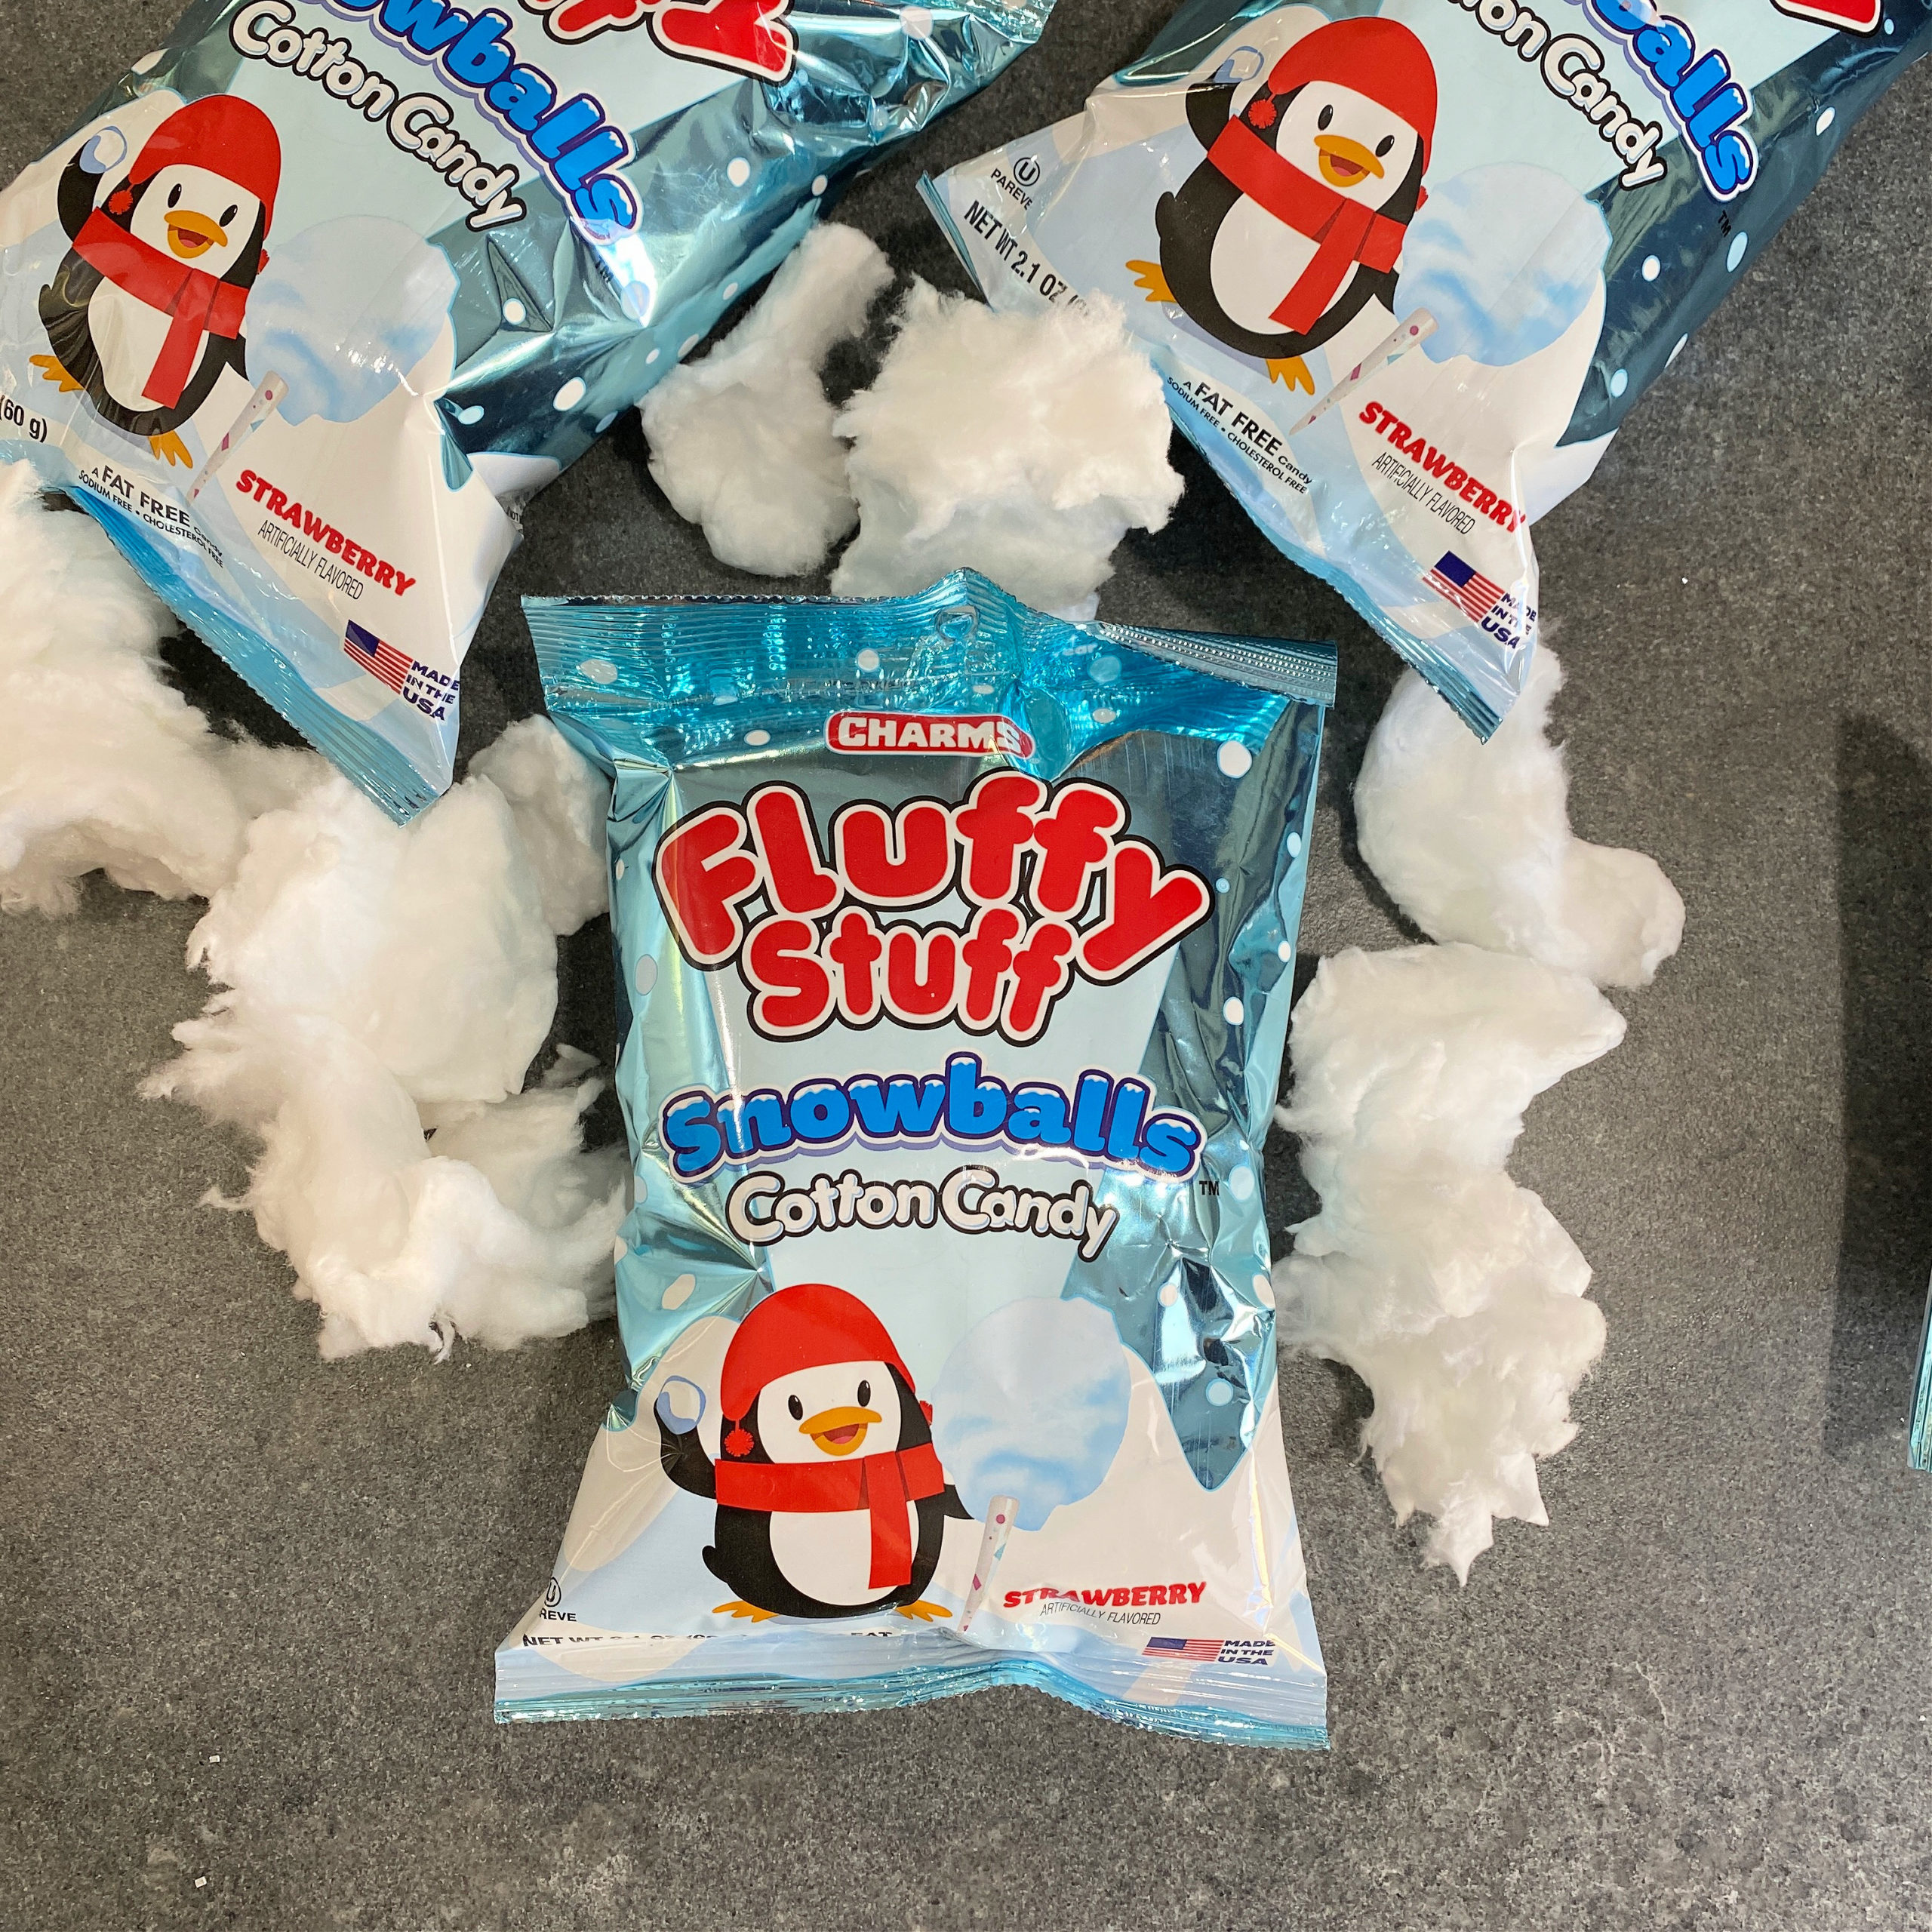
EDIBLE SNOW: Pull apart white cotton candy. I found mine at The Dollar Tree.
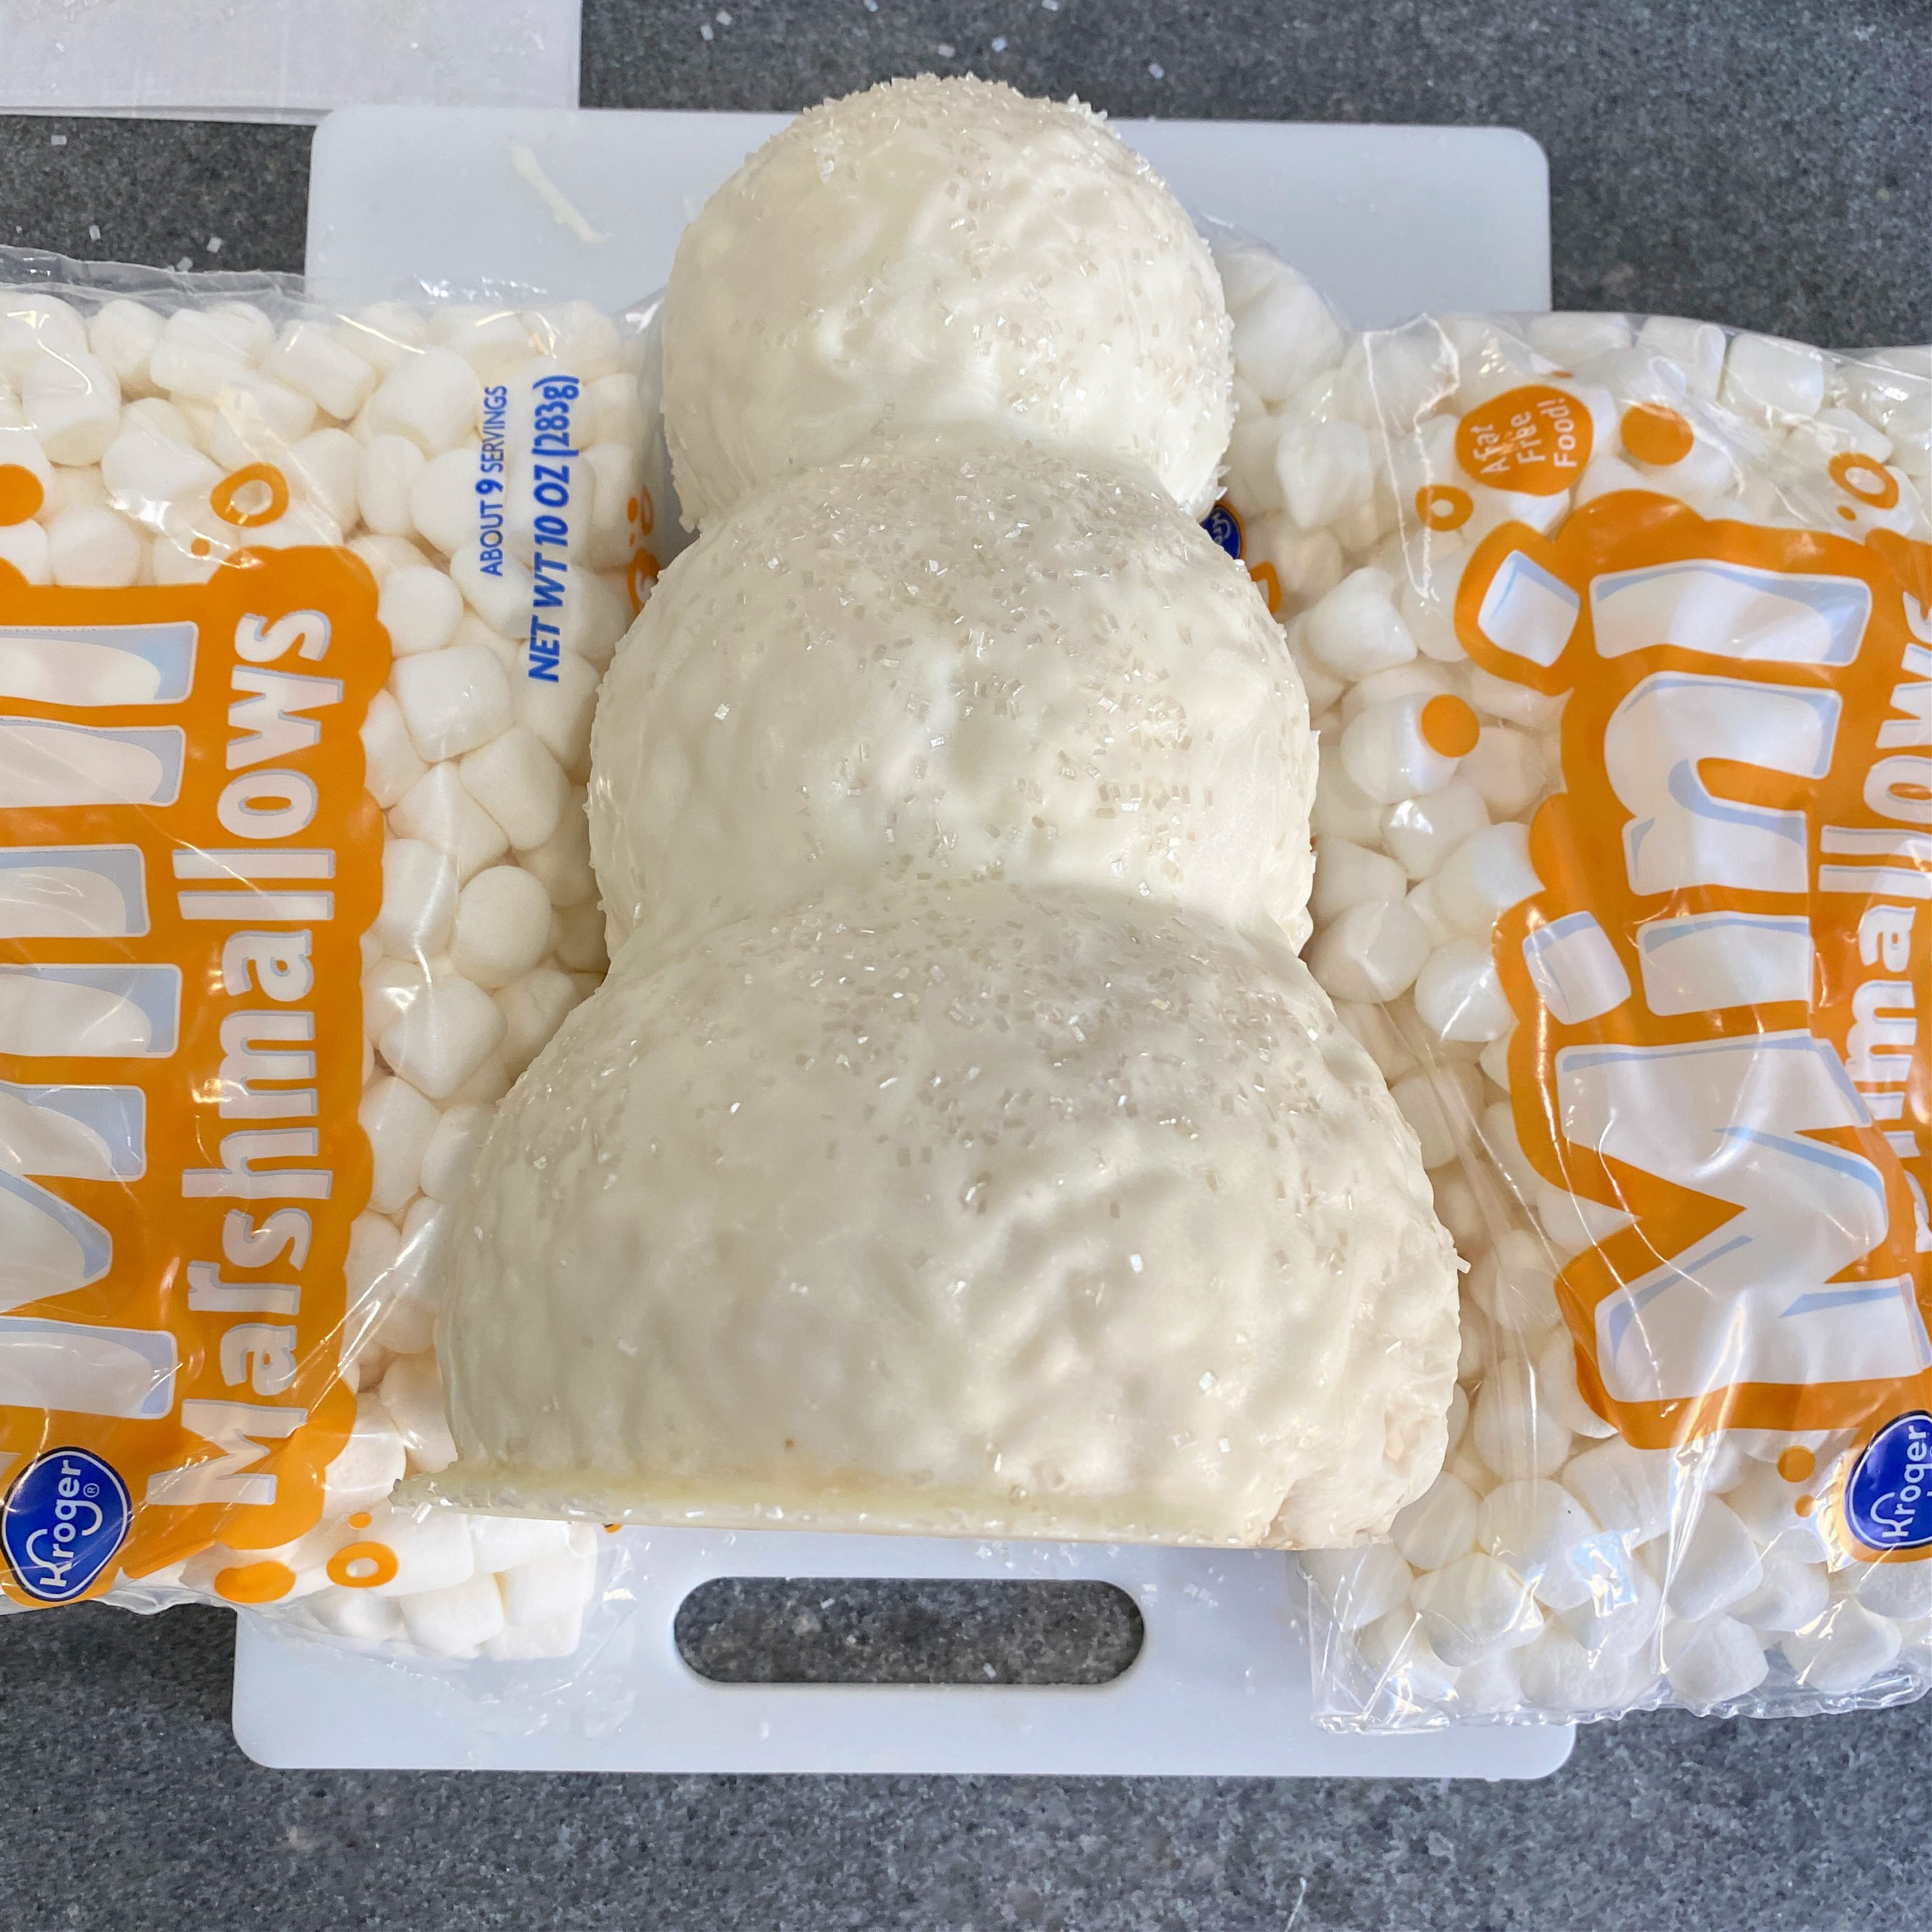
BUMPERS: To avoid the snowman from rolling, add bumpers on each side. I had extra bags of marshmallows so I used them to serve as my bumpers.
IF I REFRIGERATE THE SNOWMEN TO HARDEN FOR DECORATING WILL THEY STILL BE SOFT INSIDE?
HOW DO I SERVE THE 3-D SNOWMAN RICE KRISPY TREAT?
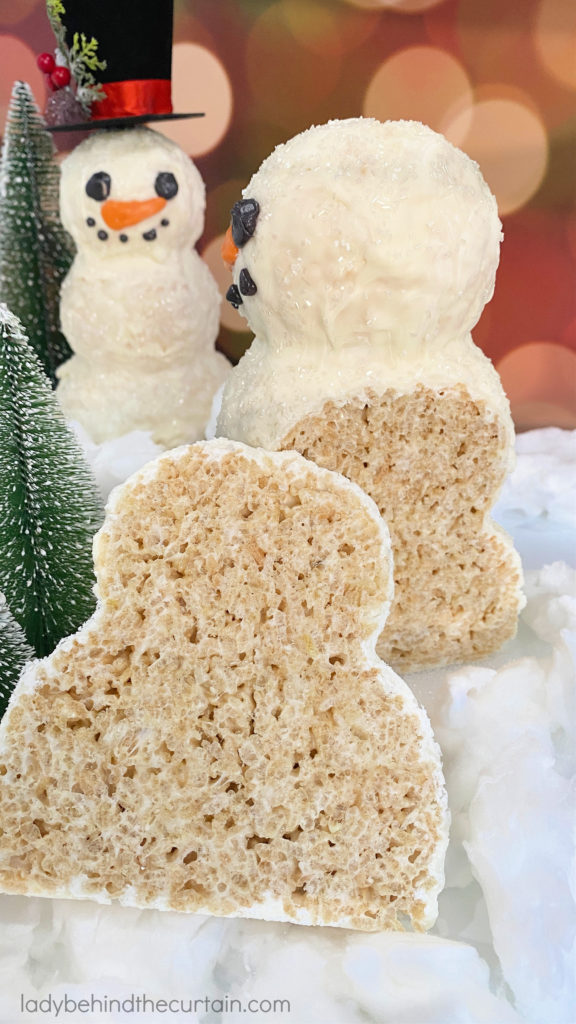
EMBELLISHMENT IDEAS
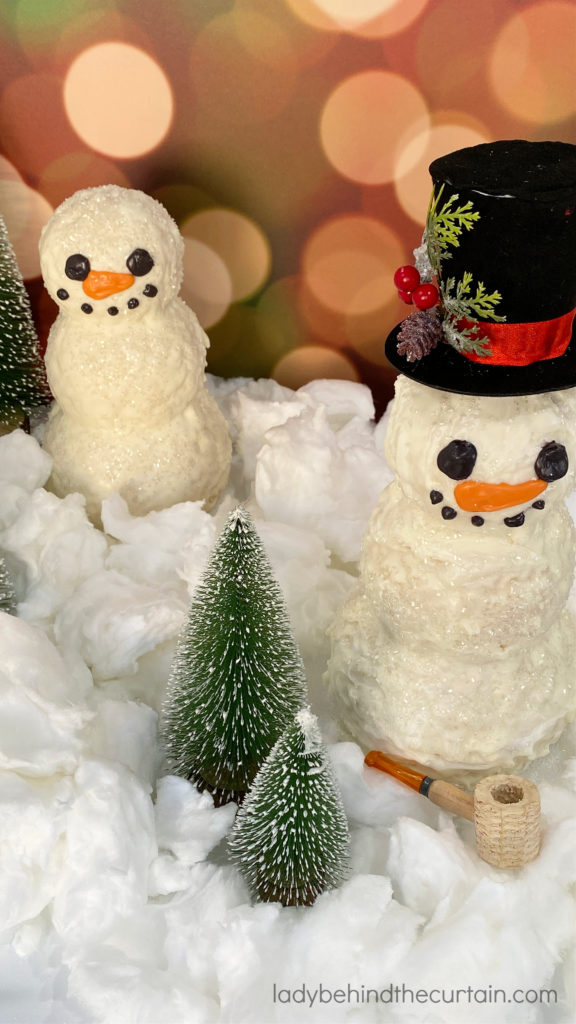
- Candy for the face
- Candy for buttons
- Pretzels for arms
- Fruit roll up for scarves
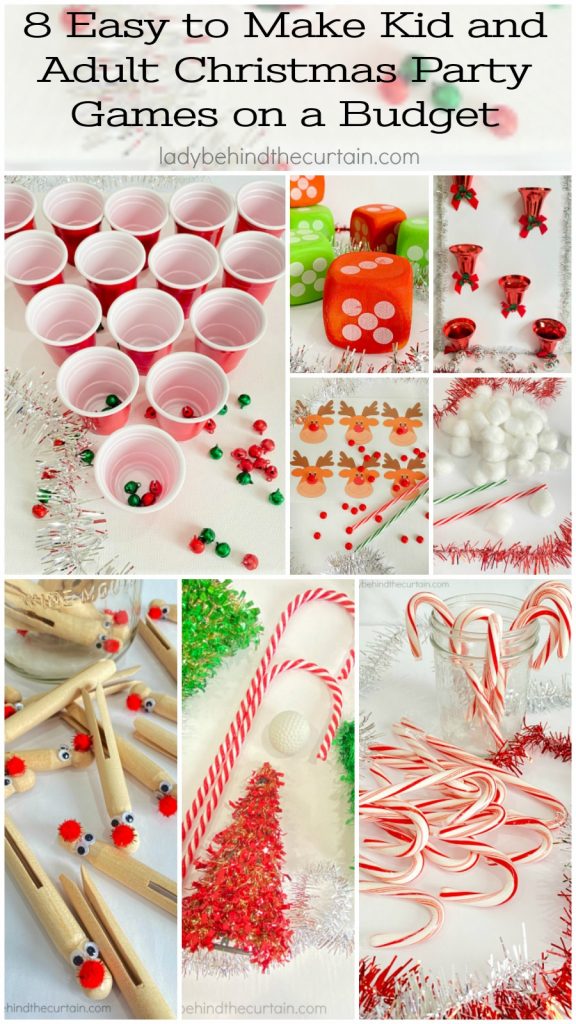
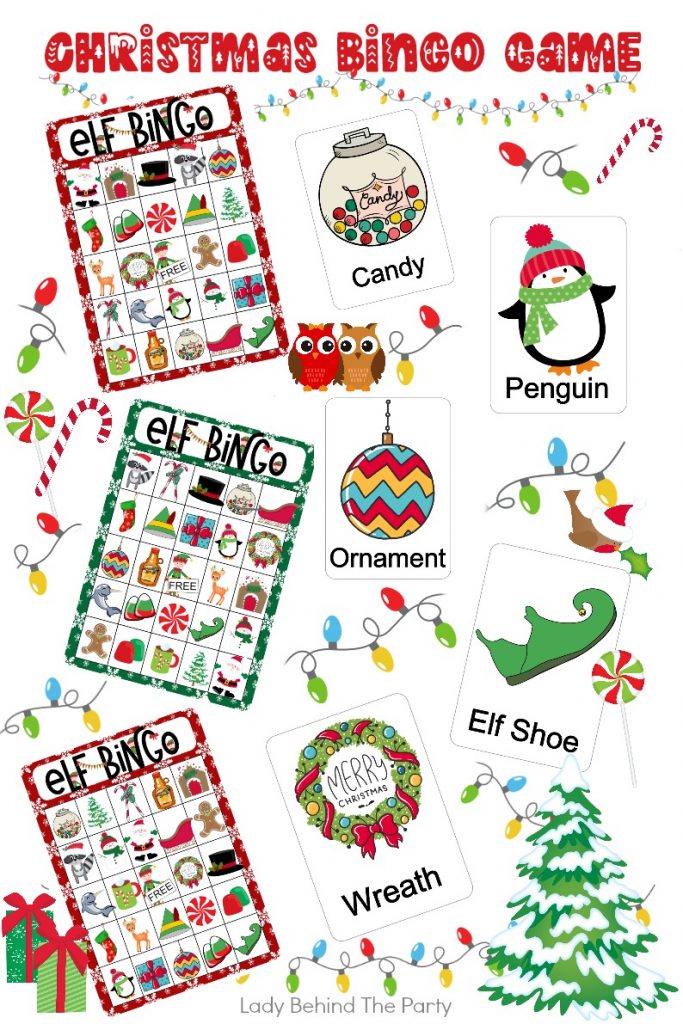
MORE CHRISTMAS FUN IDEAS FOR KIDS
3-D Snowman Rice Krispy Treats
This Christmas create a fun edible centerpiece for the kids table!
Ingredients
- 6 cups krispy rice cereal
- 3 tablespoons unsalted butter
- 1 (10 ounce) bag mini marshmallows
- 1 (16 ounce) vanilla candy coating (found at most grocery stores on the baking isle)
- 1 cup black candy melts
- 1 cup orange candy melts
- Optional: white sugar sprinkles
Instructions
- Spray both sides of the mold with non stick cooking spray; set aside.
- Measure cereal into a medium bowl.
- In a large microwave safe bowl add the butter and marshmallows.
- Heat 1 minute, stir and continue heating 30 seconds.
- Stir marshmallow mixture, pour measured cereal into the marshmallow, and stir to combine.
- Split (as best as you can) the cereal mixture into each side of the mold.
- Press down to compact the mixture.
- Use the slide locks on the side to secure the sides.
- Place filled mold in the refrigerator 1 hour.
- Once the hour is up, place vanilla candy in the tray provided by the packaging, follow melting instruction on the wrapper (about 1 minute 30 seconds). Stir at the one minute mark.
- Lay cold snowman on its side in a 9x13-inch baking dish, pour melted candy evenly over the snowman.
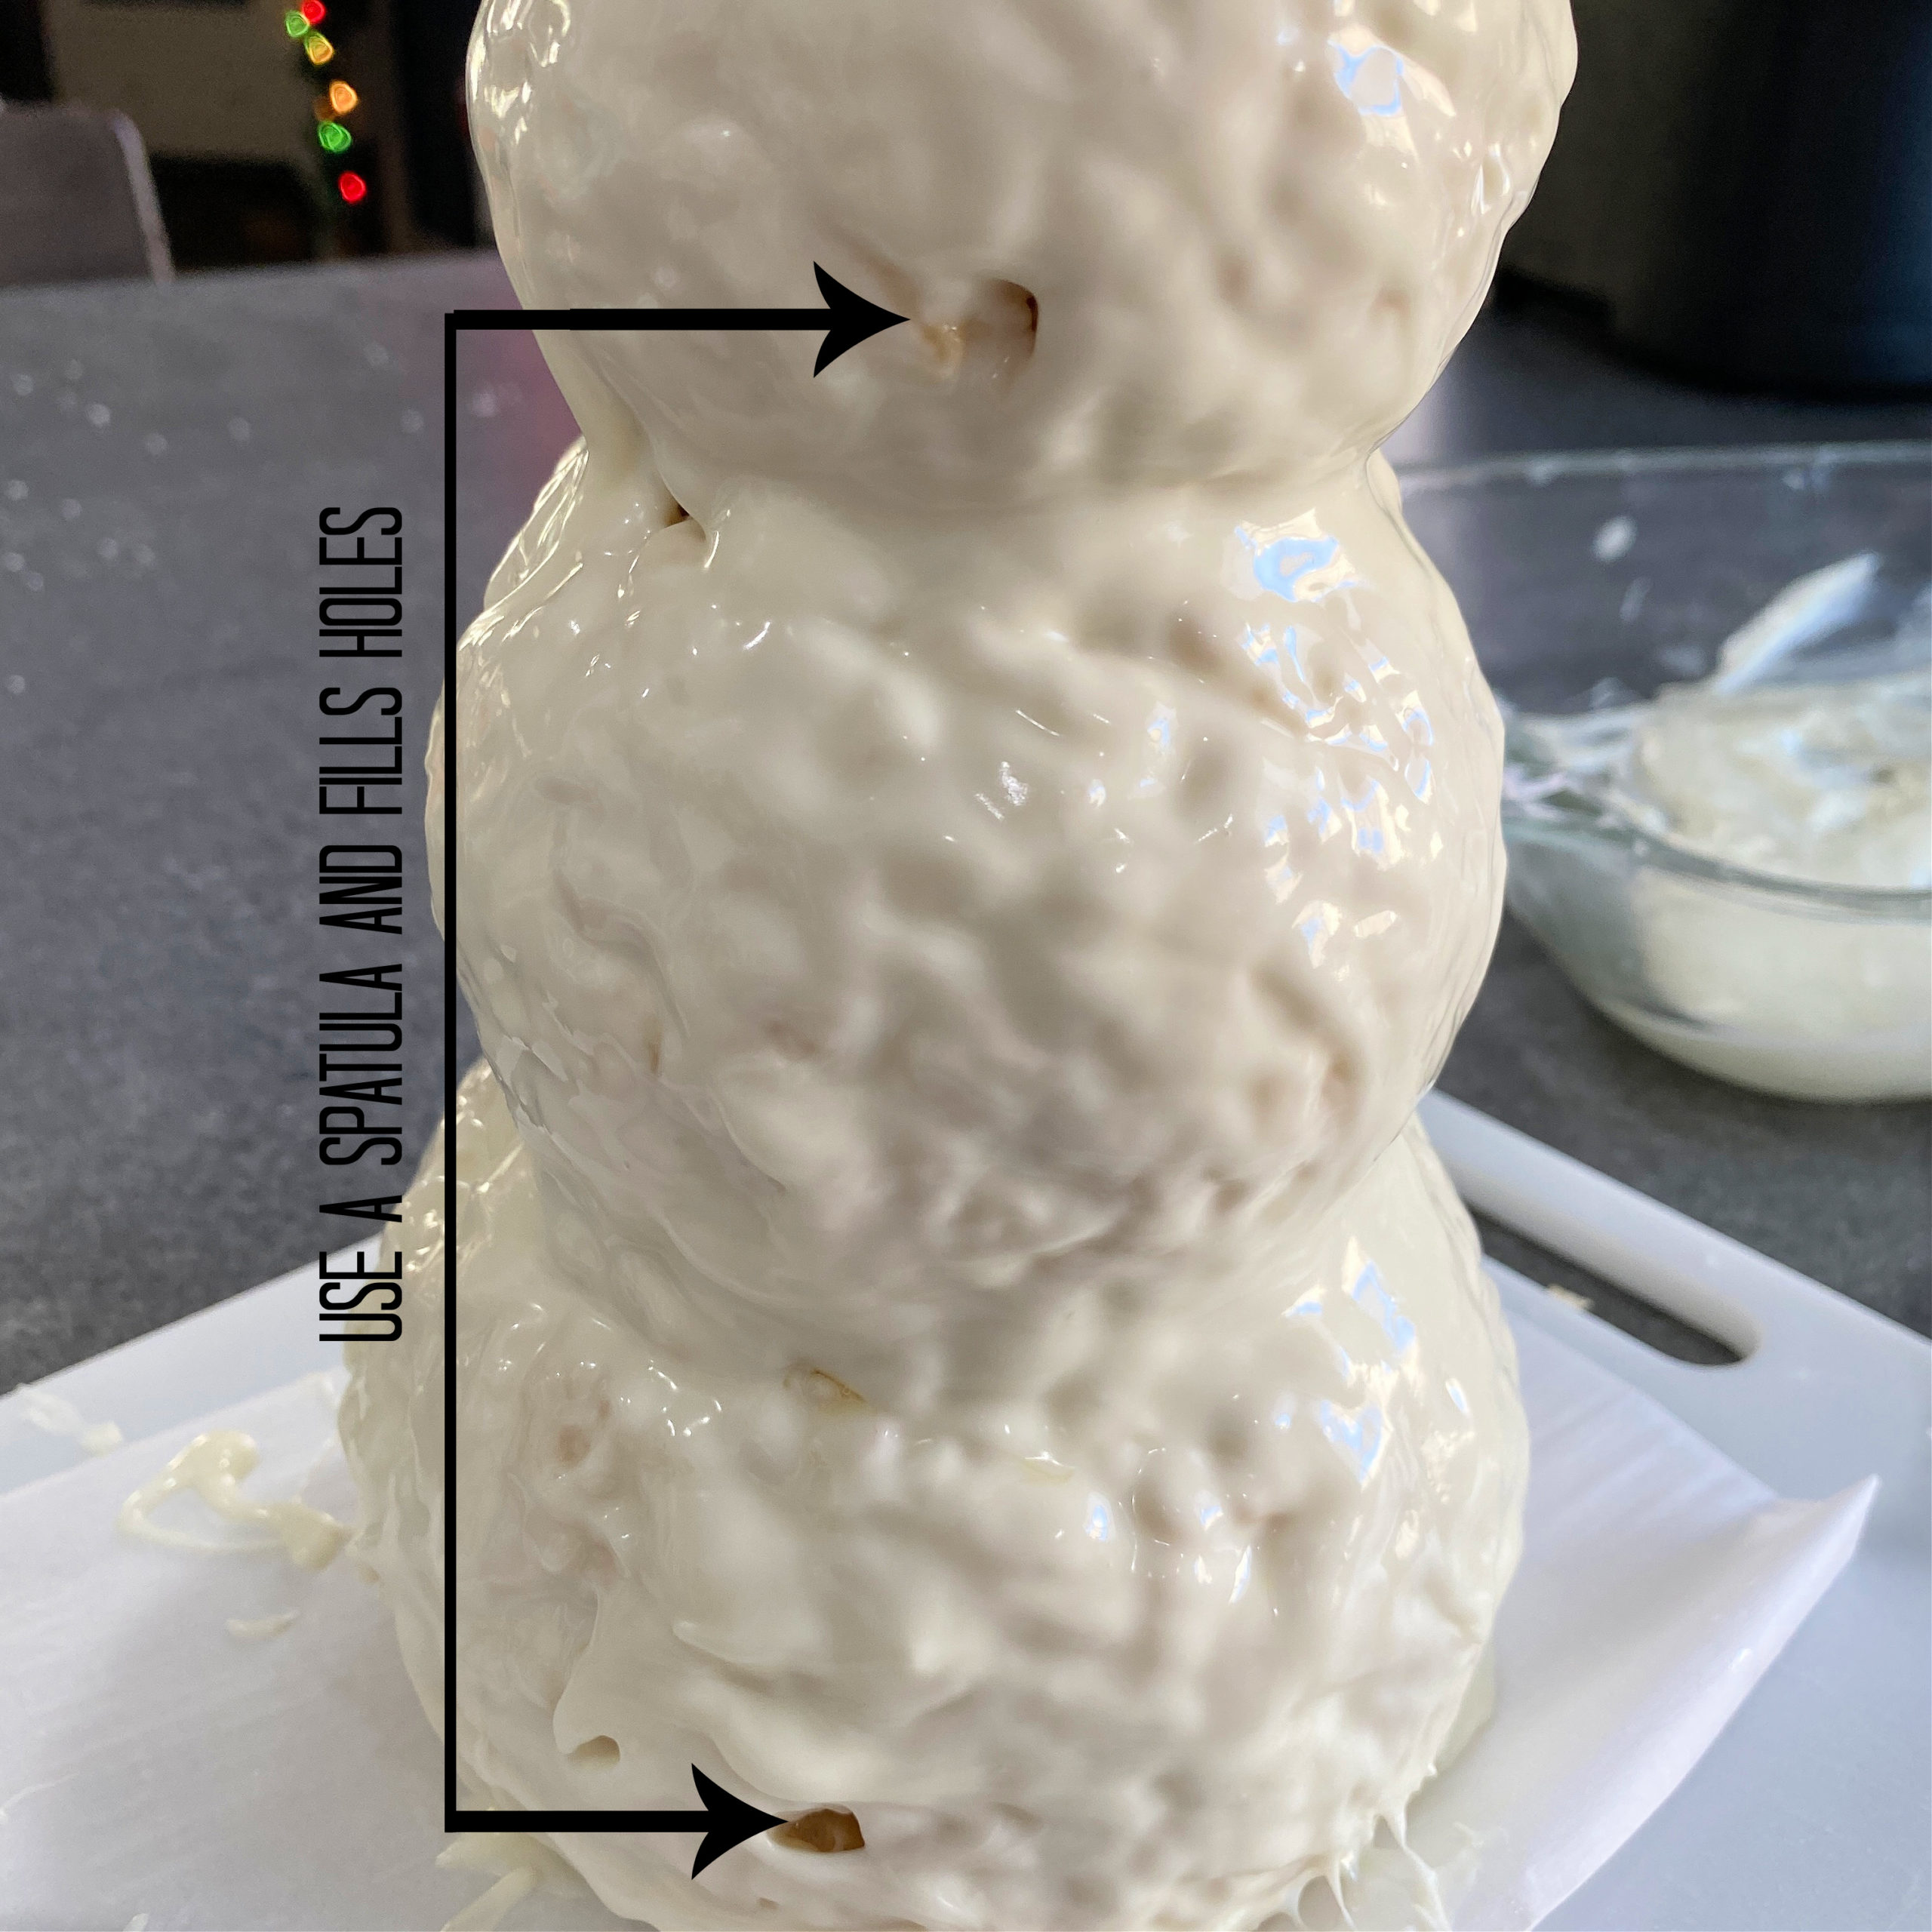
- Using a spatula, scoop up the leftover melted candy, smooth all over the snowman, making sure to fill in any holes.
- Keep rolling and covering the snowman until most of it is covered.
- Lift the snowman out of the baking dish onto a flat surface that can be placed in the refrigerator ( I used a small cutting board). lined with parchment paper.
- Continue using the spatula to cover any holes and where the snowman was lifted.
- While the candy is still wet, add sprinkles.
- NOTE: I had to toss them on.
- Place coated snowman in the refrigerator 30 minutes to harden.
- Meanwhile add black candy melts to a small microwave safe bowl. Heat on high 1 minute, stir, and heat at 70% 30 seconds. Stir and pour into a squeeze bottle. Repeat the same steps for the orange candy melts. Look below for tips about how to keep the candy melted and clog free.
- Use a toothpick to draw the eyes, nose, and mouth.
- To prevent the candy from running down the face, use a hand held fan to quickly dry the candy.
Notes
MELTED CANDY: If you're making multiple snowmen, keep the melted candy warm by placing it in hot water. I take out the silicone insert of my melting pot, add hot water and turn the temp to the melting setting. TRICK: The candy in the tips of the squeeze bottles will harden and clog to avoid that from happening, place toothpicks in the hole.
SIGN UP FOR THE LADY BEHIND THE CURTAIN NEWSLETTER AND FOLLOW THE LADY BEHIND THE PARTY ETSY SHOP

NEWSLETTER: Receive (twice a month) seasonally themed newsletters full of recipes, tips and tricks. Sometimes even FREE gifts! ETSY SHOP: Did you know that Lady Behind the Curtain has an Etsy Shop? LADY BEHIND THE PARTY is a shop full of DOWNLOADABLE hand designed (by me) party supplies. Click here for the Newsletter→CURTAIN CALL NEWSLETTER Click here for the Esty Shop→LADY BEHIND THE PARTY
THANKS FOR VISITING♥


Comments
3-D Snowman Rice Krispy Treats — No Comments
HTML tags allowed in your comment: <a href="" title=""> <abbr title=""> <acronym title=""> <b> <blockquote cite=""> <cite> <code> <del datetime=""> <em> <i> <q cite=""> <s> <strike> <strong>