Candy Corn Decorated Pretzels
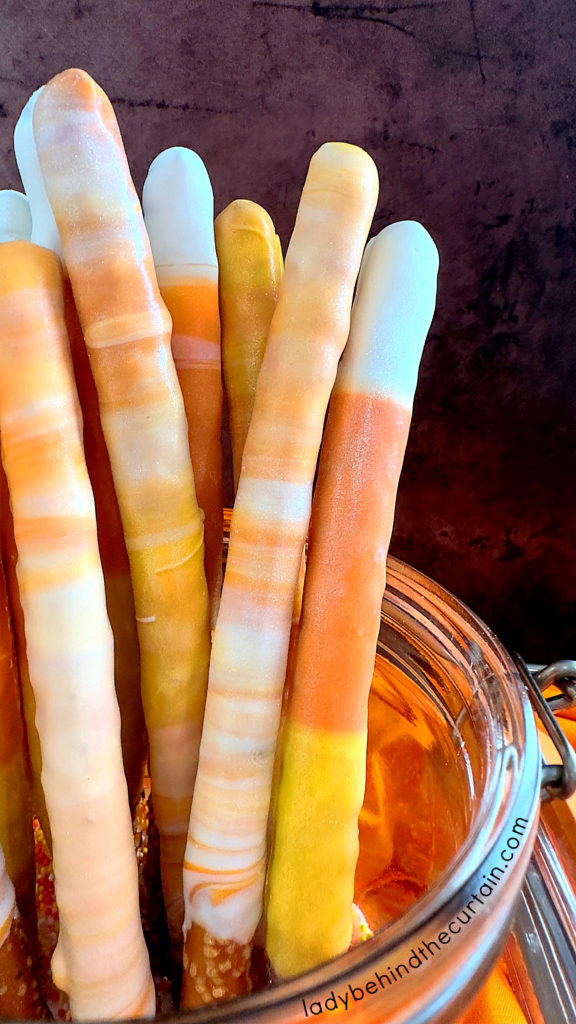
Candy Corn Decorated Pretzels: It’s super easy to transform your beloved candy corn into a fun and festive Halloween Party Decorated Pretzel. In this post you will learn how to create an ombre-ish pretzel and a marbled pretzel using the same melted candy. There is no waist!
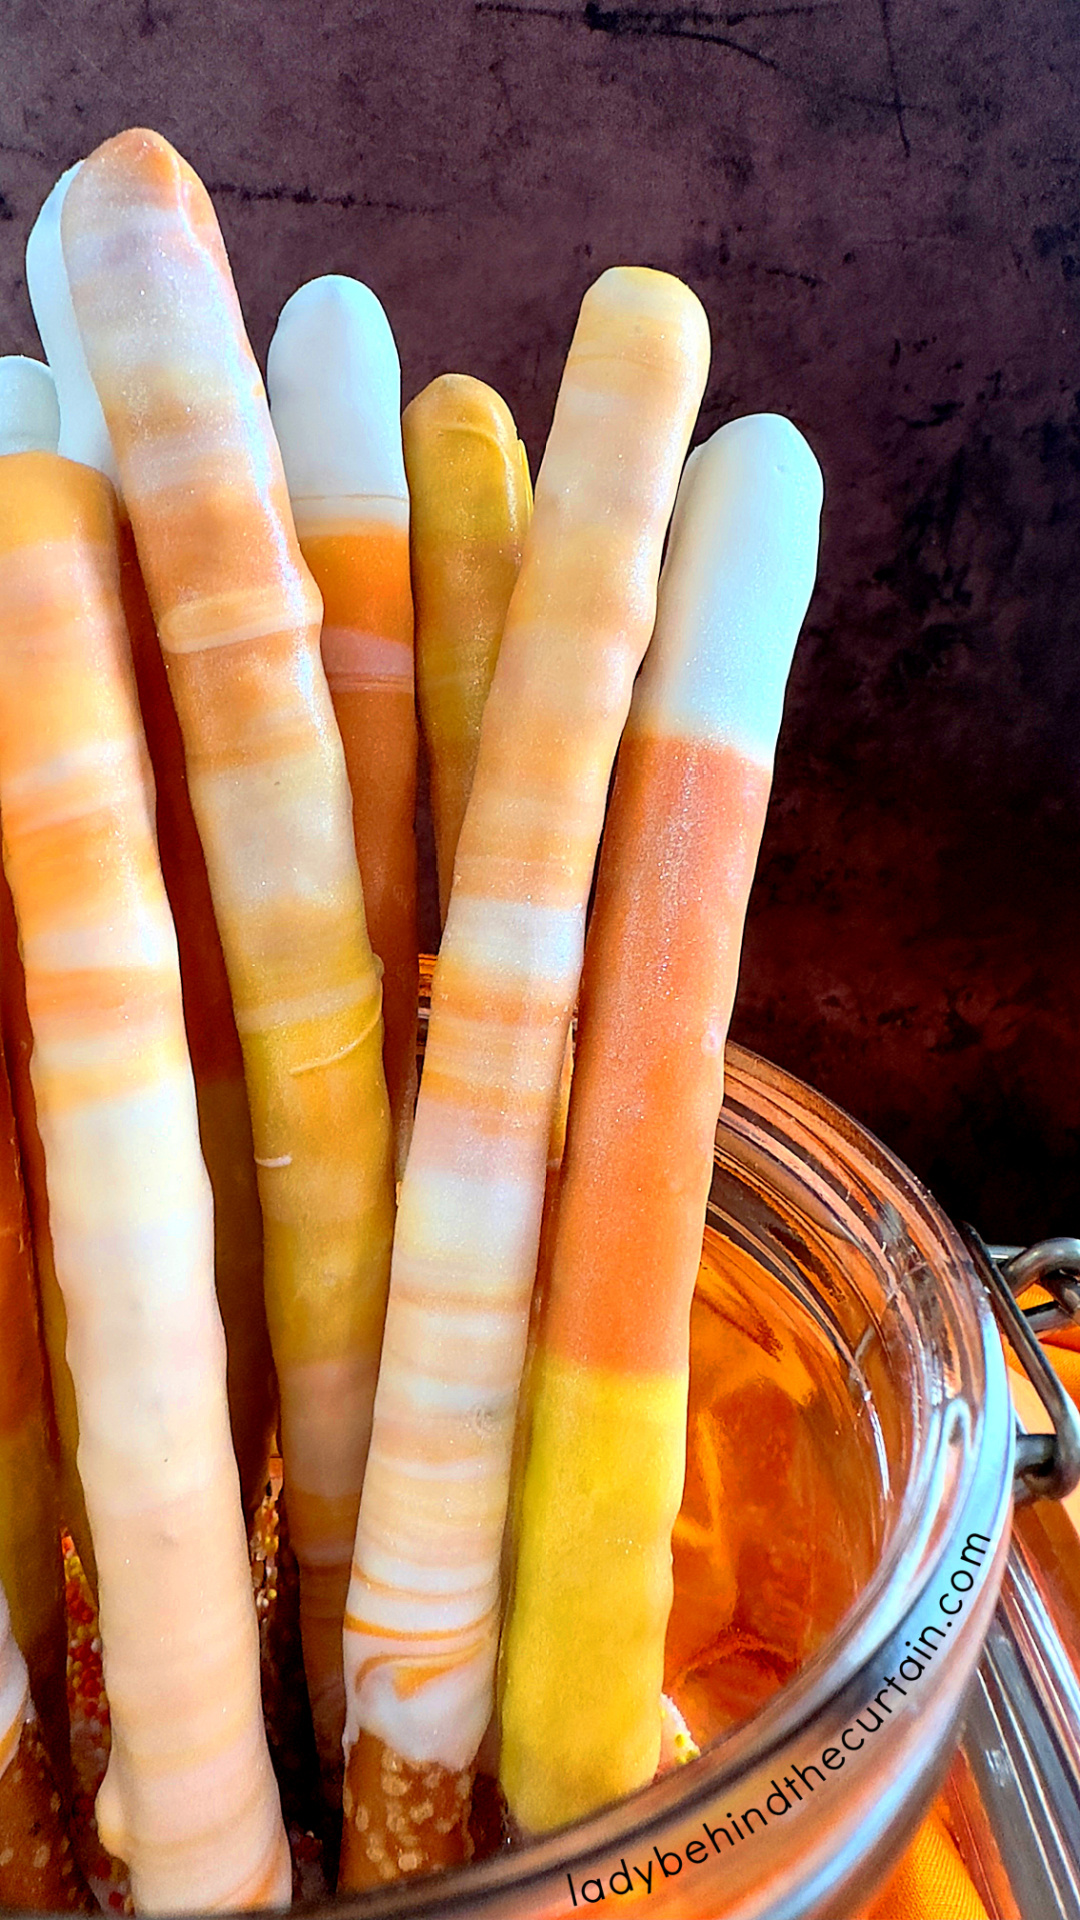
How to Make Candy Corn Decorated Pretzels
- (FULL PRINTABLE RECIPE BELOW) Place a pretzel rod in the center of a piece of parchment paper, with a pencil mark the top of the pretzel, middle, and the bottom of where the candy will end. So the guests can easily handle the pretzels, I like to leave a couple inches at the bottom. This step it to be used as an easy guideline but doesn’t have to be done. Flip the paper over so the pencil marks are on the bottom.
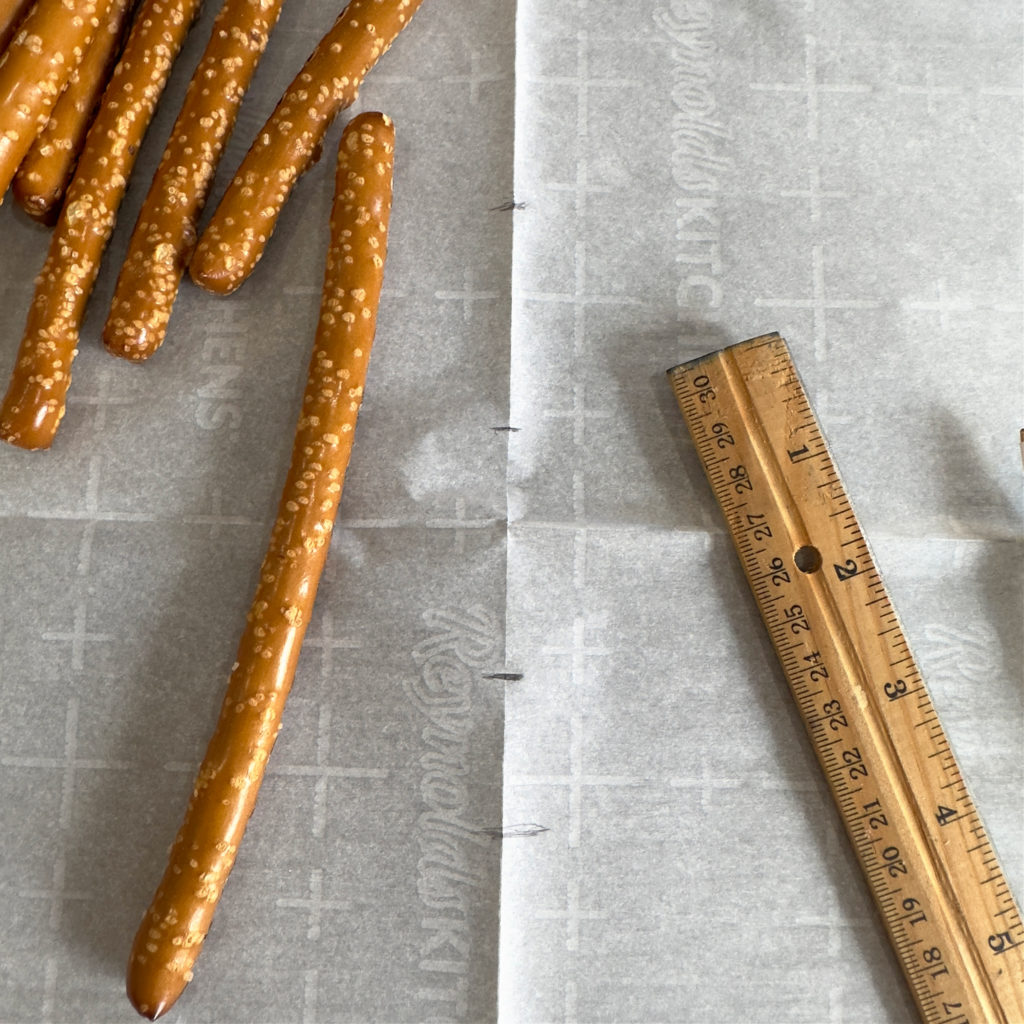
- Place another sheet of parchment paper to the side another one to the side and a fourth piece on a cookie sheet.
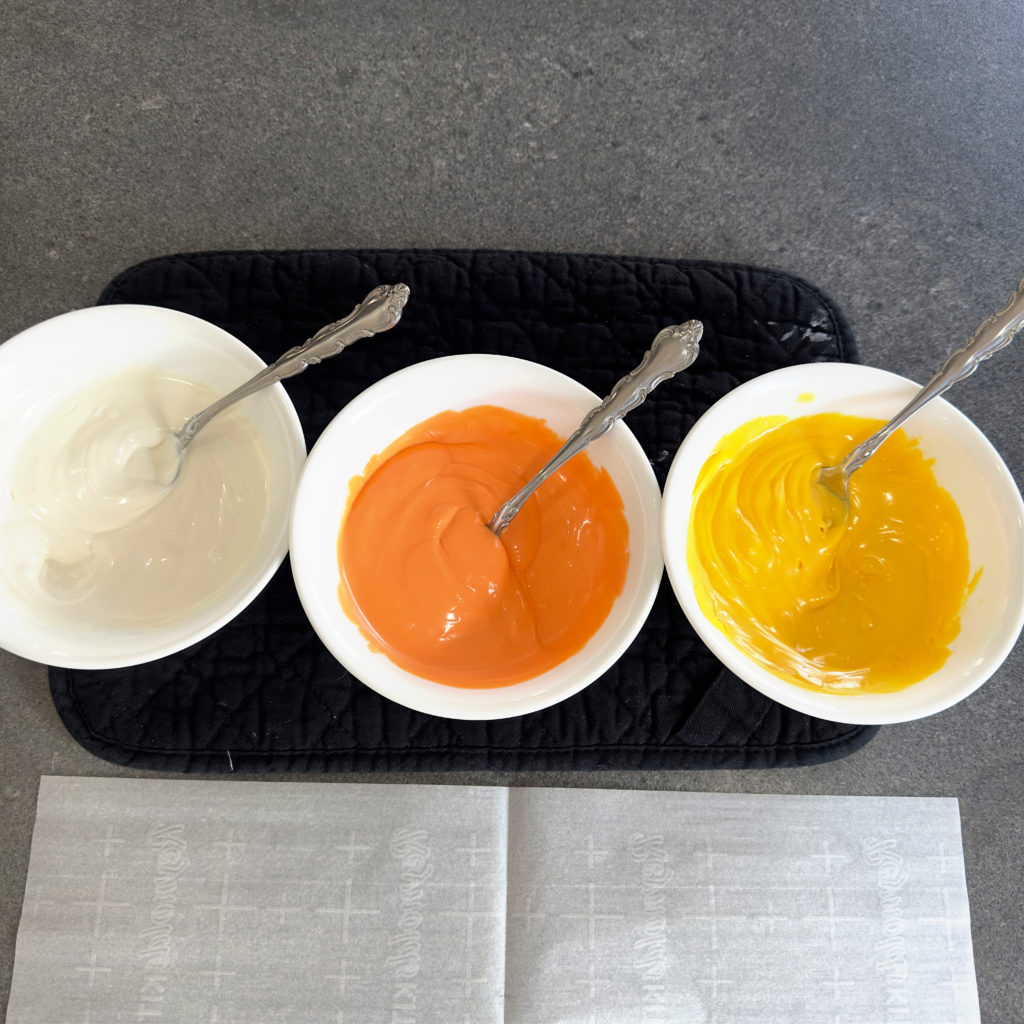
- Pour candy melts in small microwave safe bowls.
- Heat only one color at a time 1 minute for each, stir until melted and creamy.
- TIP: The counter tops are cold, keep your candy warm longer by placing the bowls on a pot holder.
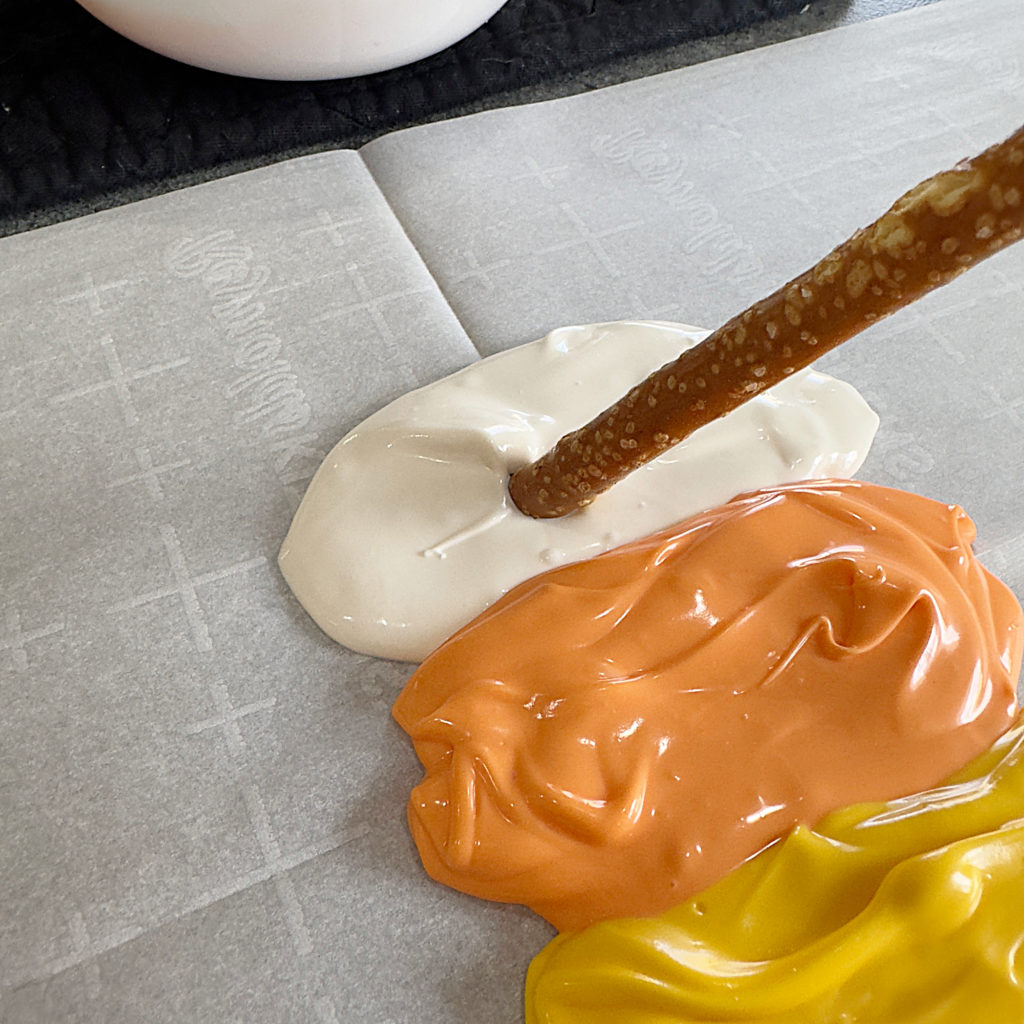
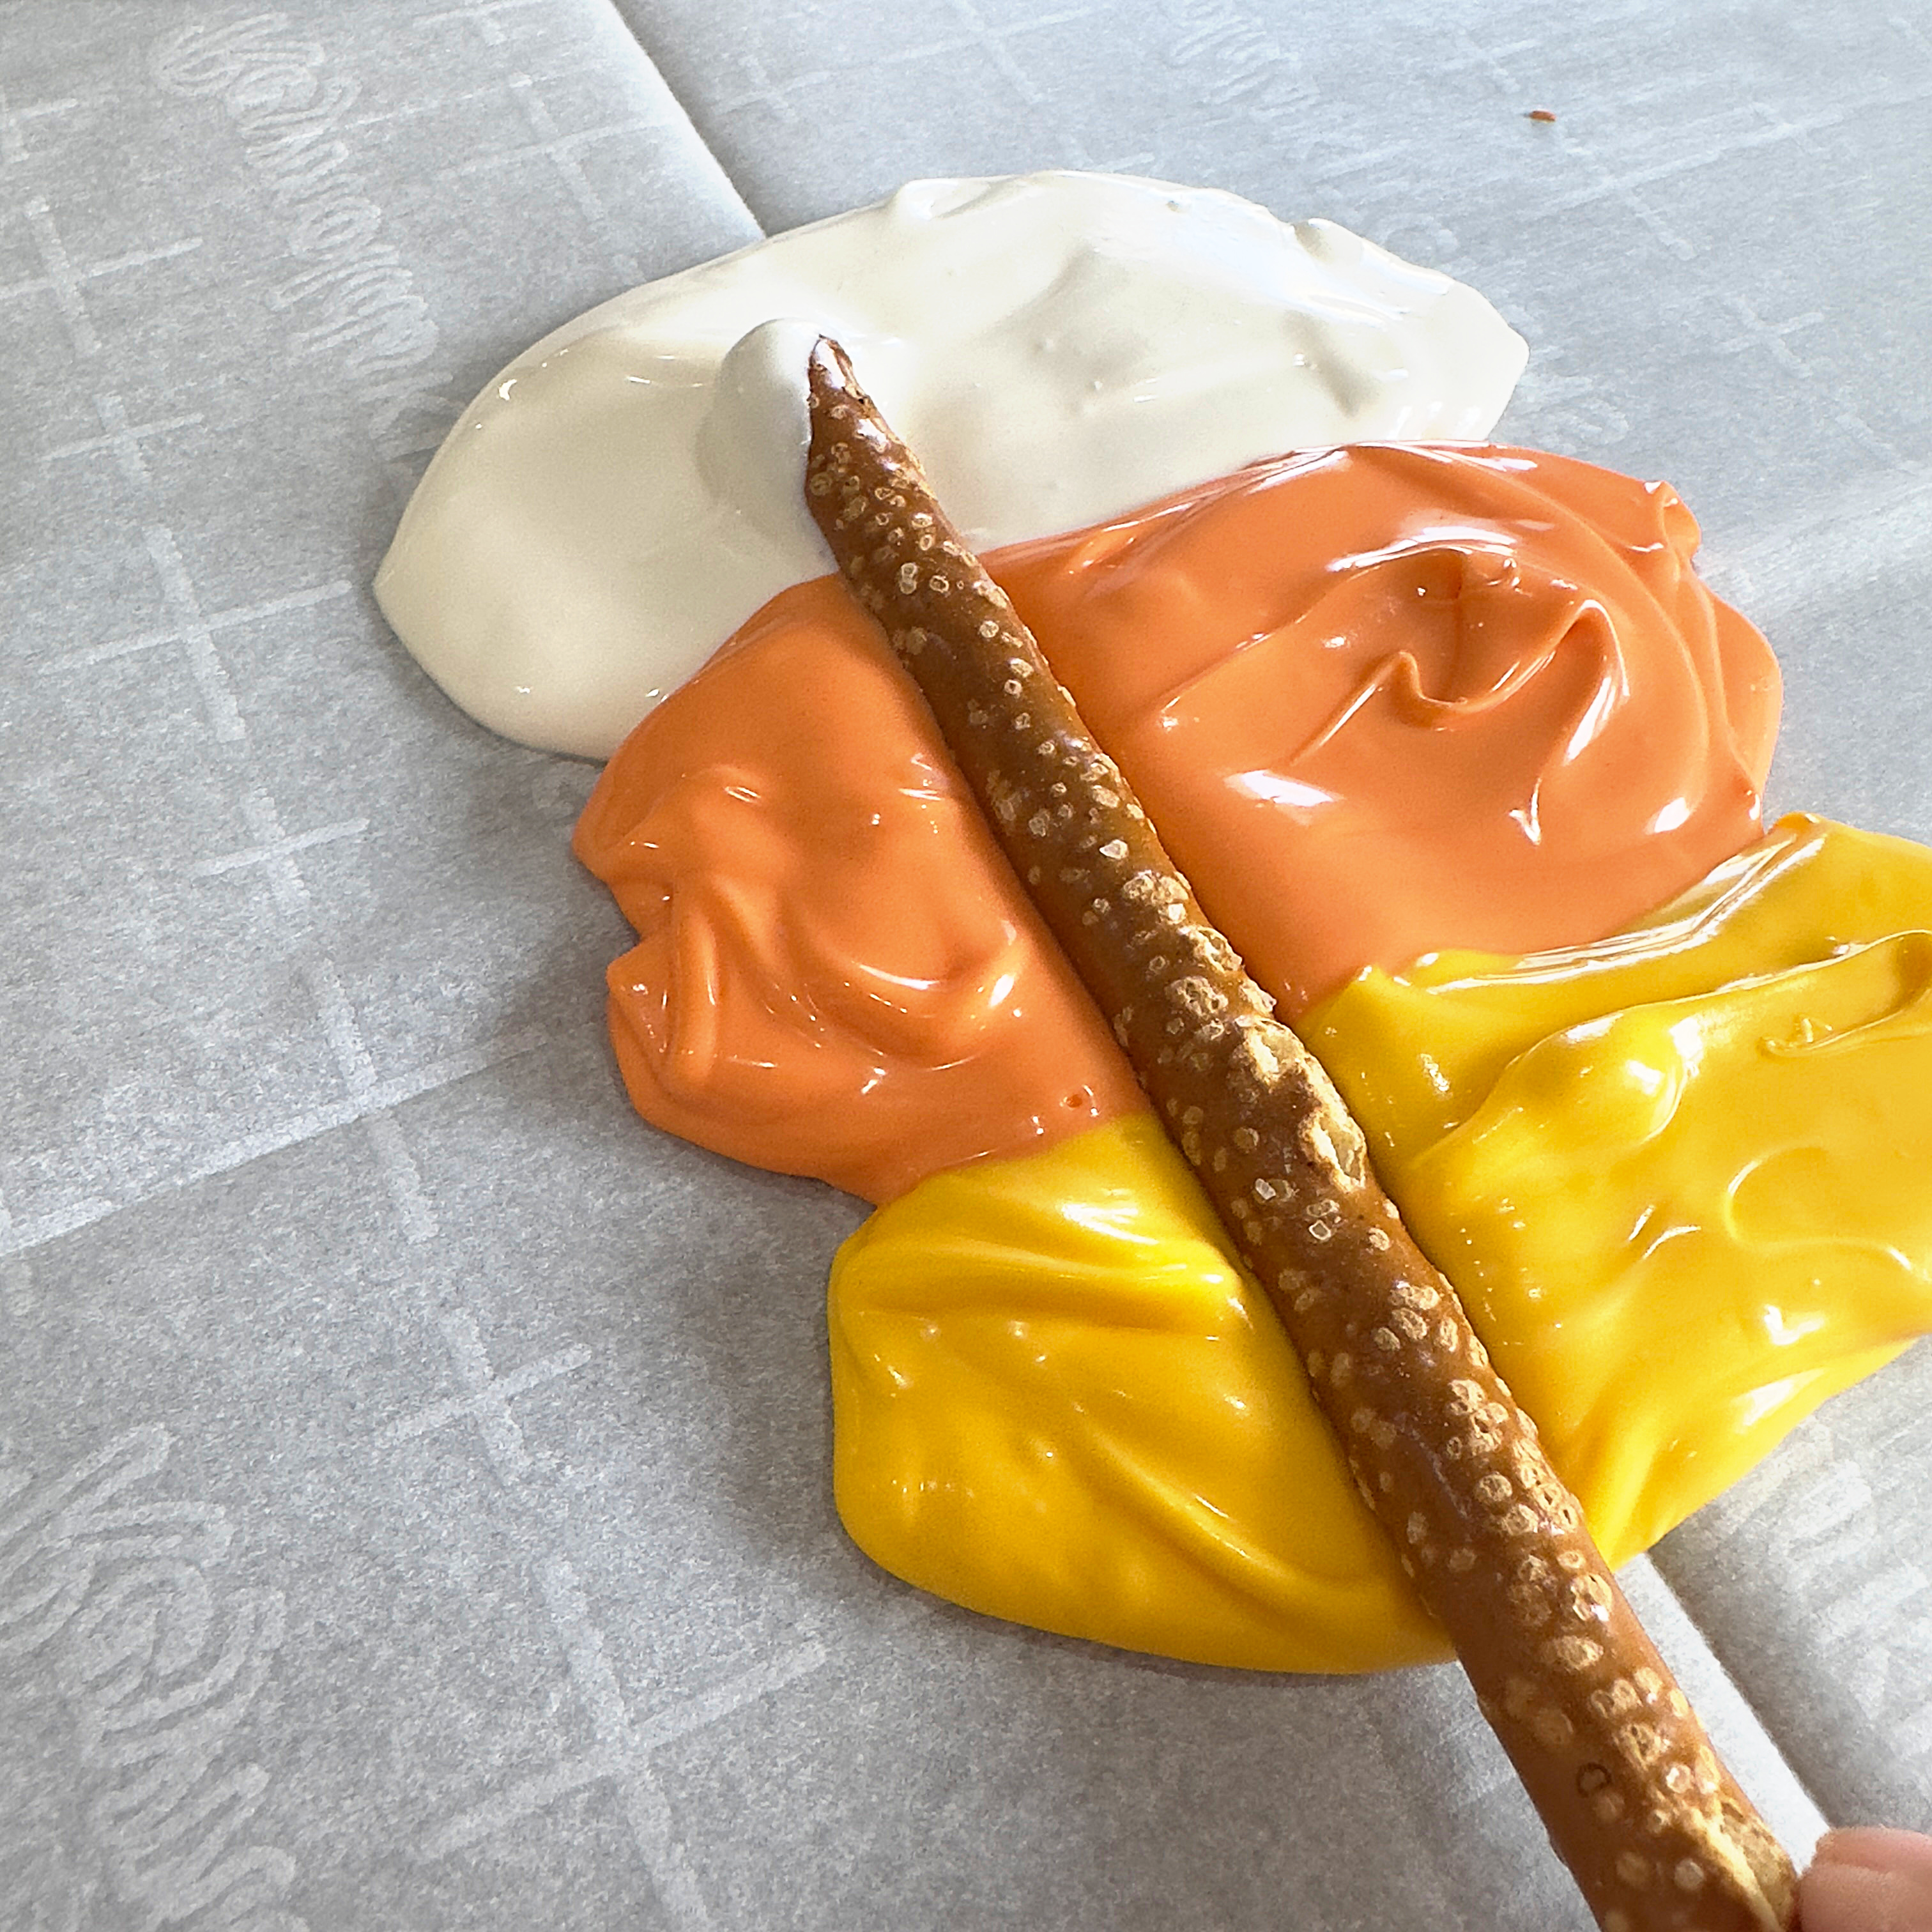
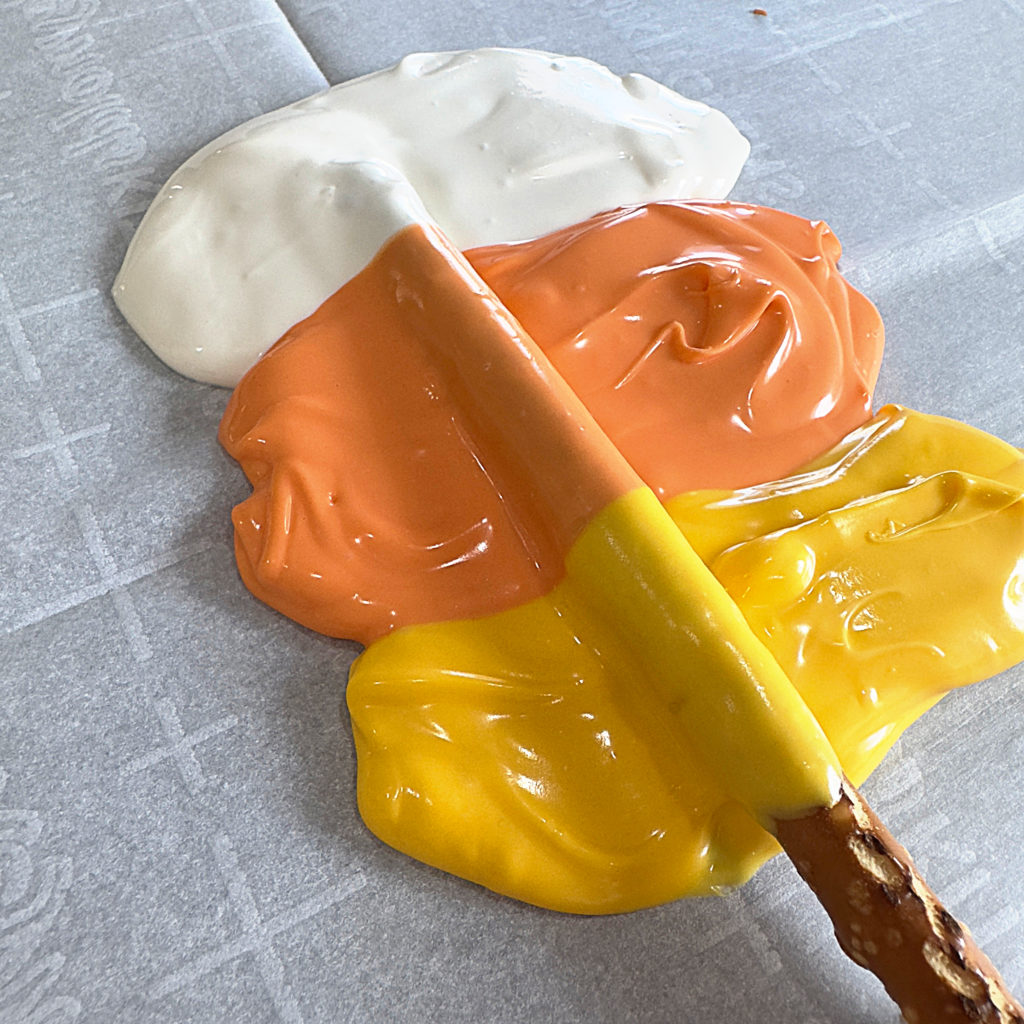
- At the top using your guide line, spoon a good amount of the white melted candy, follow with the orange, and end with the yellow making sure to use the bottom line as your guide. NOTE: DO NOT ADD ALL THE CANDY OF EACH COLOR AT ONCE. SAVE SOME FOR LATER.
- Dip the tip of the pretzel in the white, then lay flat and roll in all three colors.
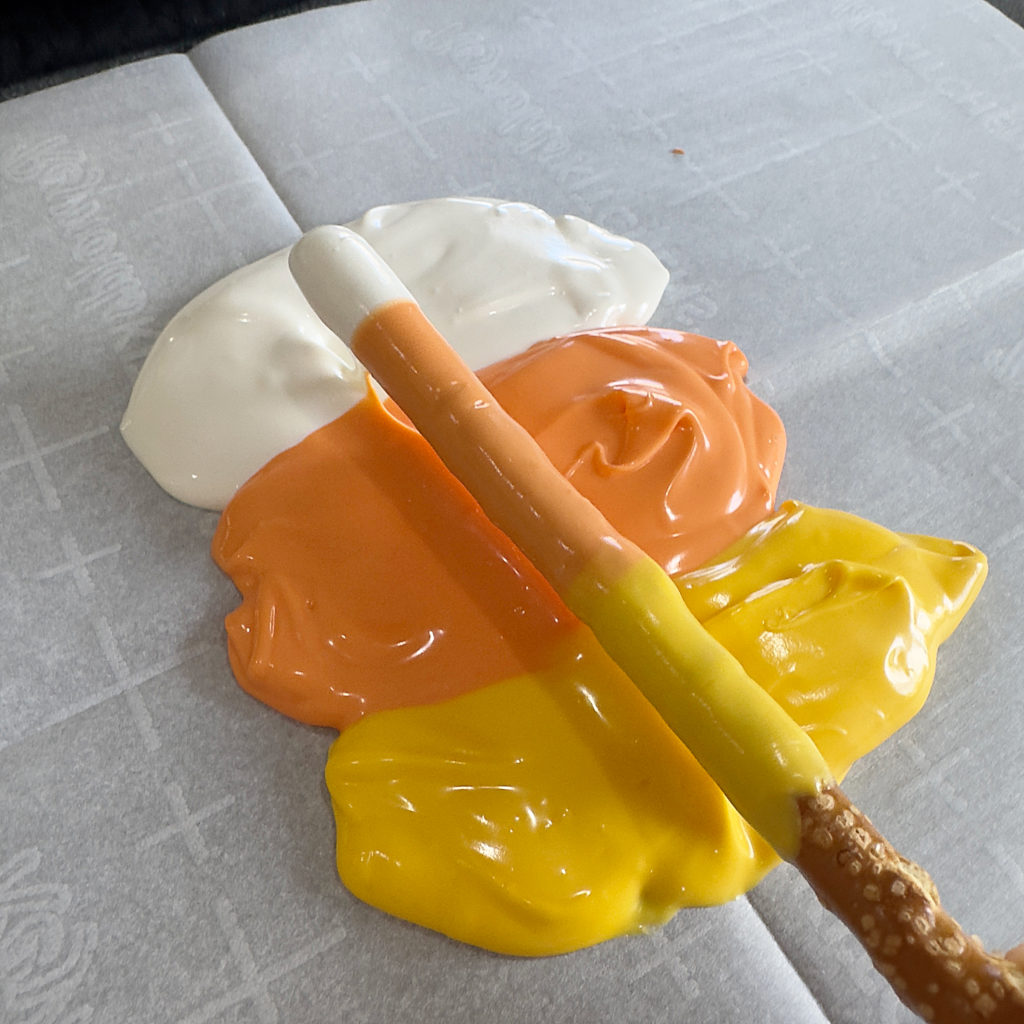
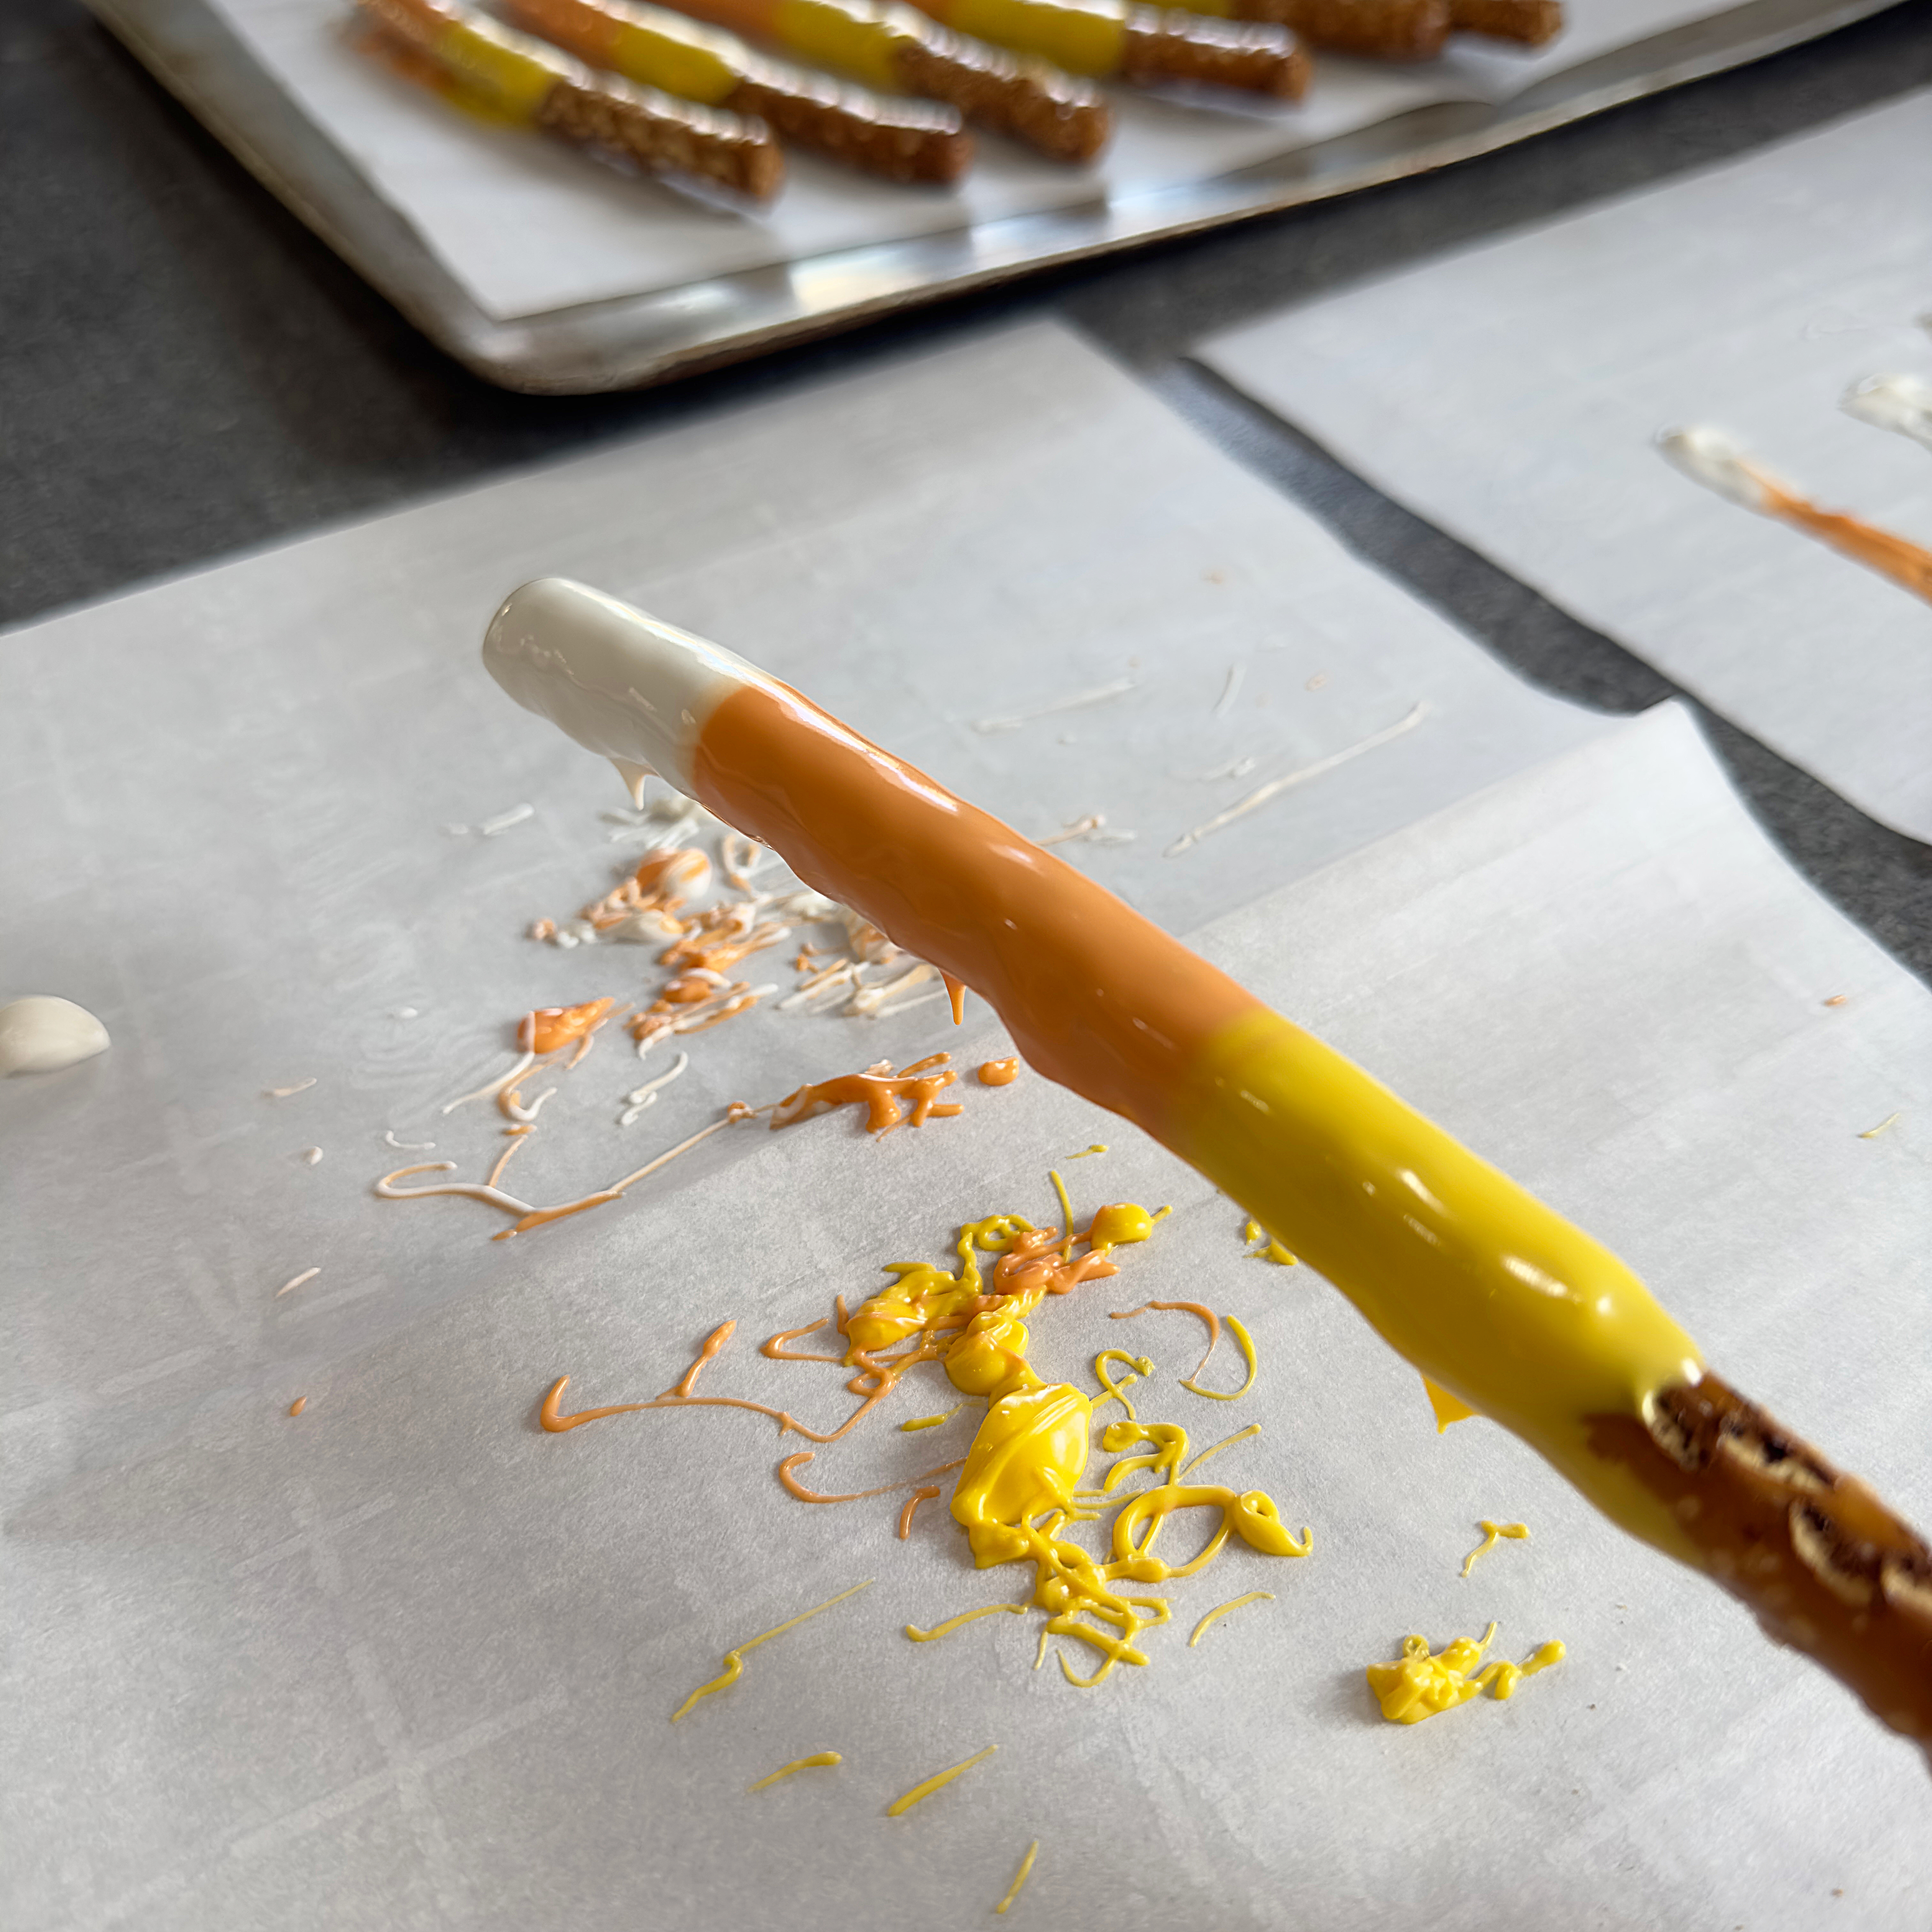
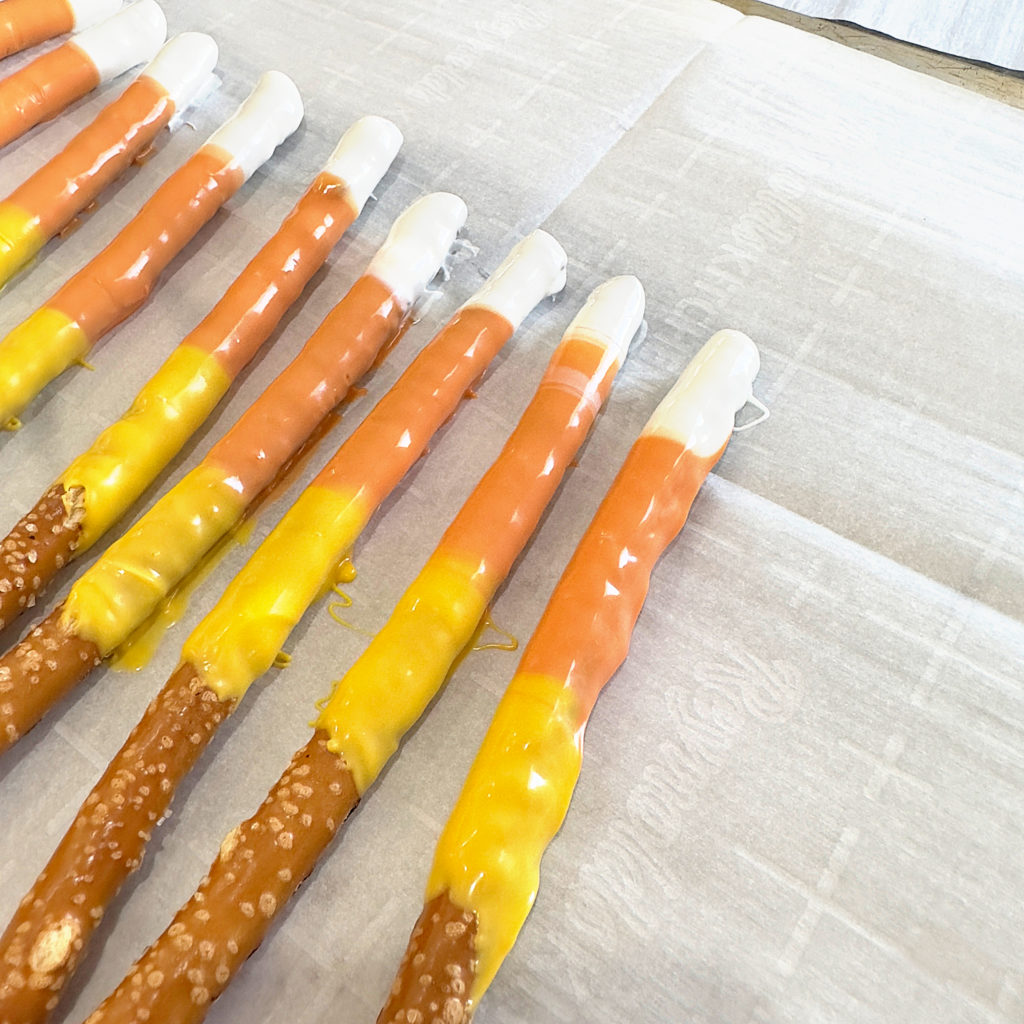
- Swiftly move off the parchment paper with the three colors to a second piece of parchment paper, lightly tap any excess candy off the pretzel.
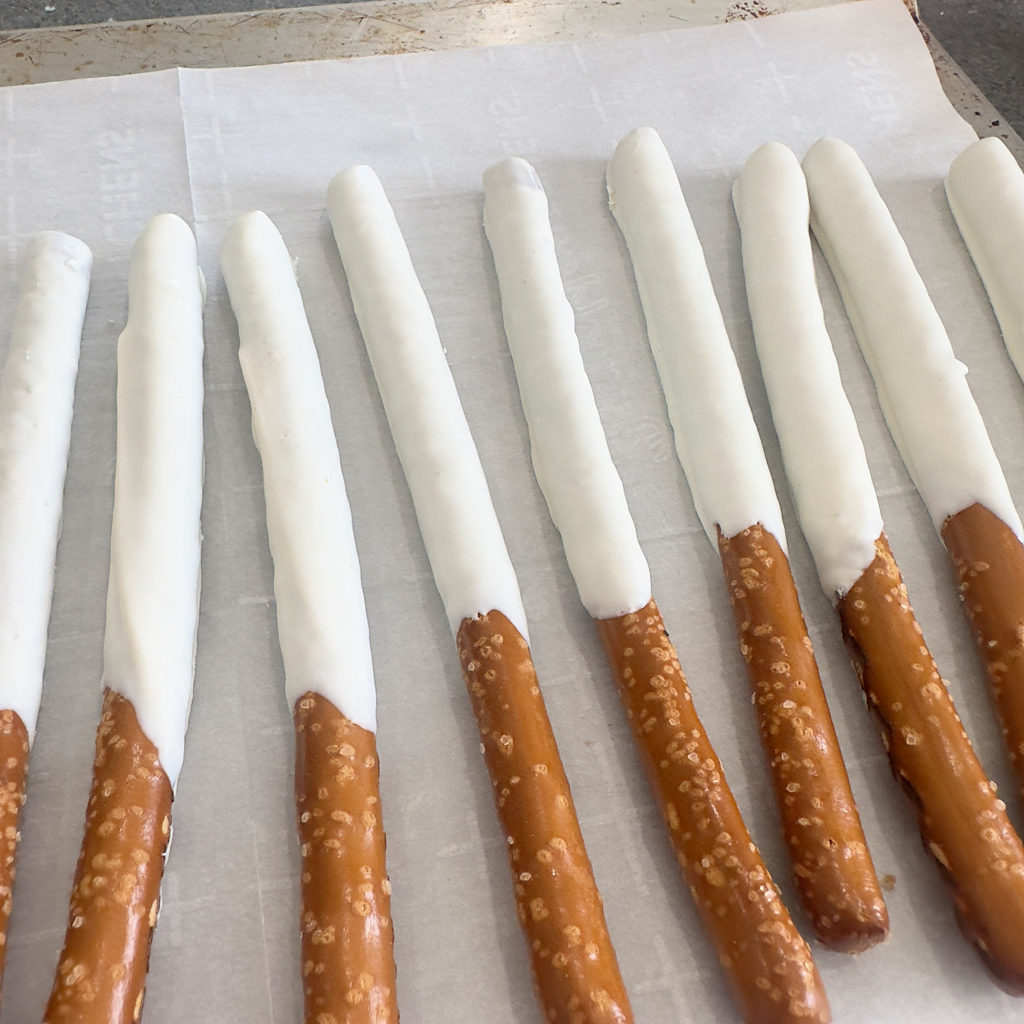
- Lay on the third piece of parchment paper to rest for a minute. Remember your countertops are cold and the candy will set up quickly. While the pretzel is resting continue coating the pretzels (about 5 more). Once the pretzels have rested and are still wet, pull them straight up off the third piece of parchment paper and place on the clean piece of parchment paper that’s on the cookie sheet. NOTE: PLACING YOUR PRETZELS CLOSE TOGETHER BUT NOT TOUCHING WILL HELP WITH THE AMOUNT OF PARCHMENT PAPER USED. Place in the refrigerator to harden (about 10 minutes. *SEE BELOW ABOUT CANDY PUDDLES
- TIP: As the piles of white, orange, and yellow deplete, spoon on the remaining candy and continue coating the pretzels.
- Once all the pretzels have been coated and the candy has hardened, if choosing, it’s time to add the dust luster.
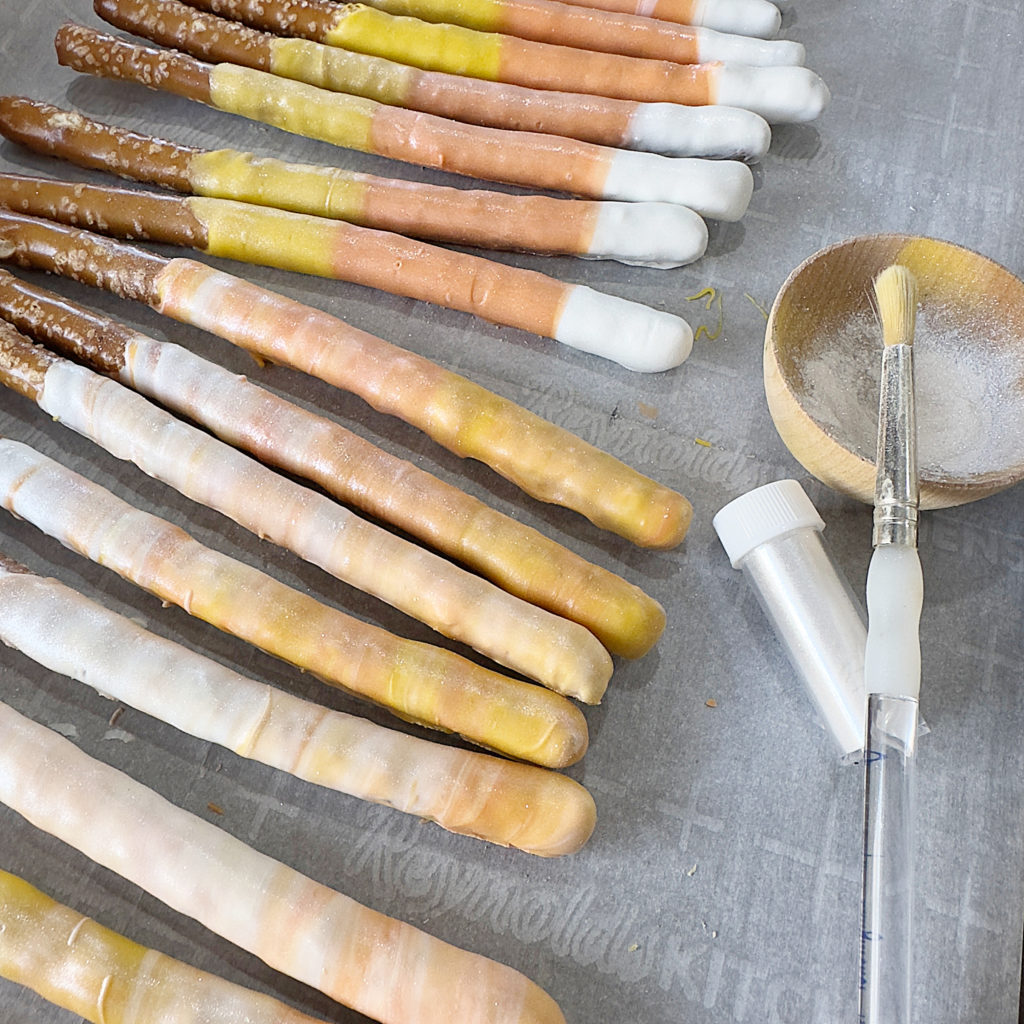
- DUST LUSTER: This step is totally optional but adds a wonderful iridescence to the pretzels. Mine is in powder form, it can also be purchased in spray form. FOR THE POWDER: Pour some of the powder into a small bowl , using a clean brush, dip in the powder and brush onto hardened candy. BEAUTIFUL!
For the Marble Technique:
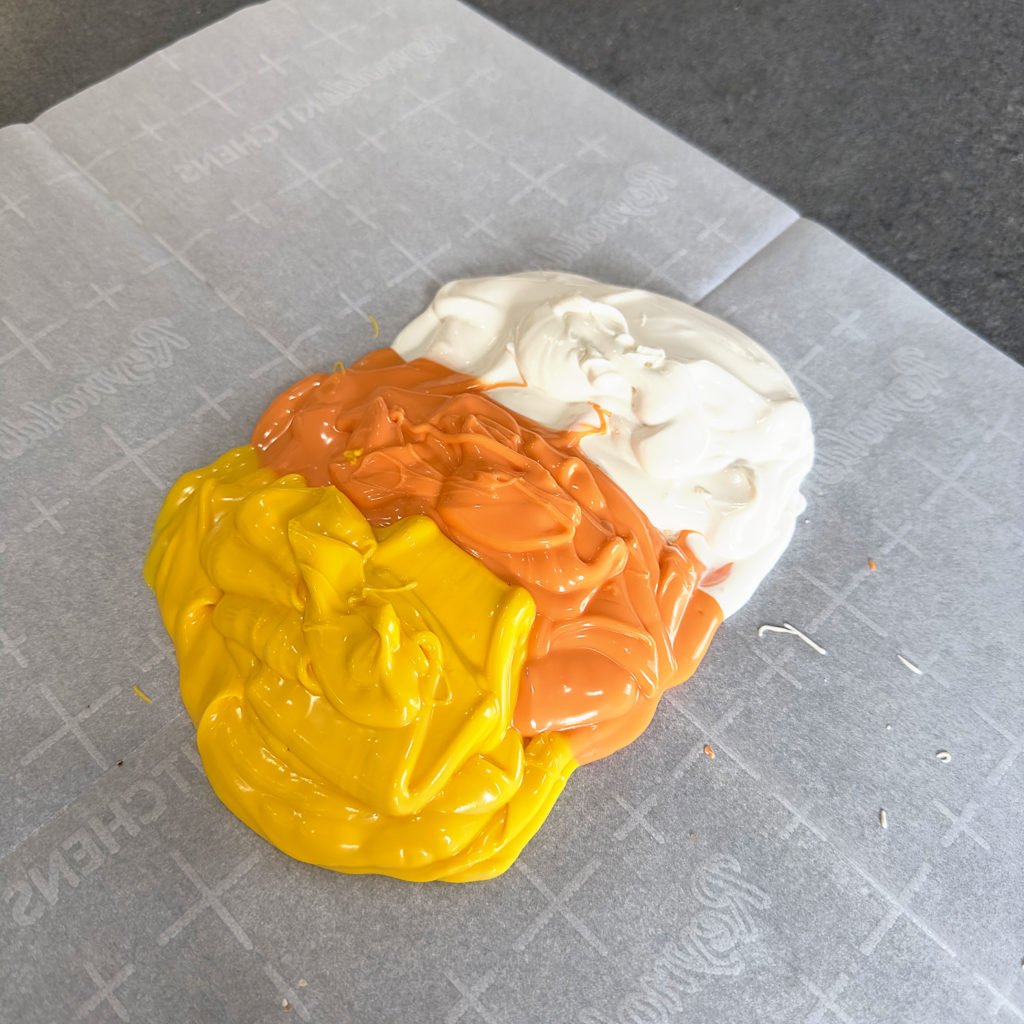
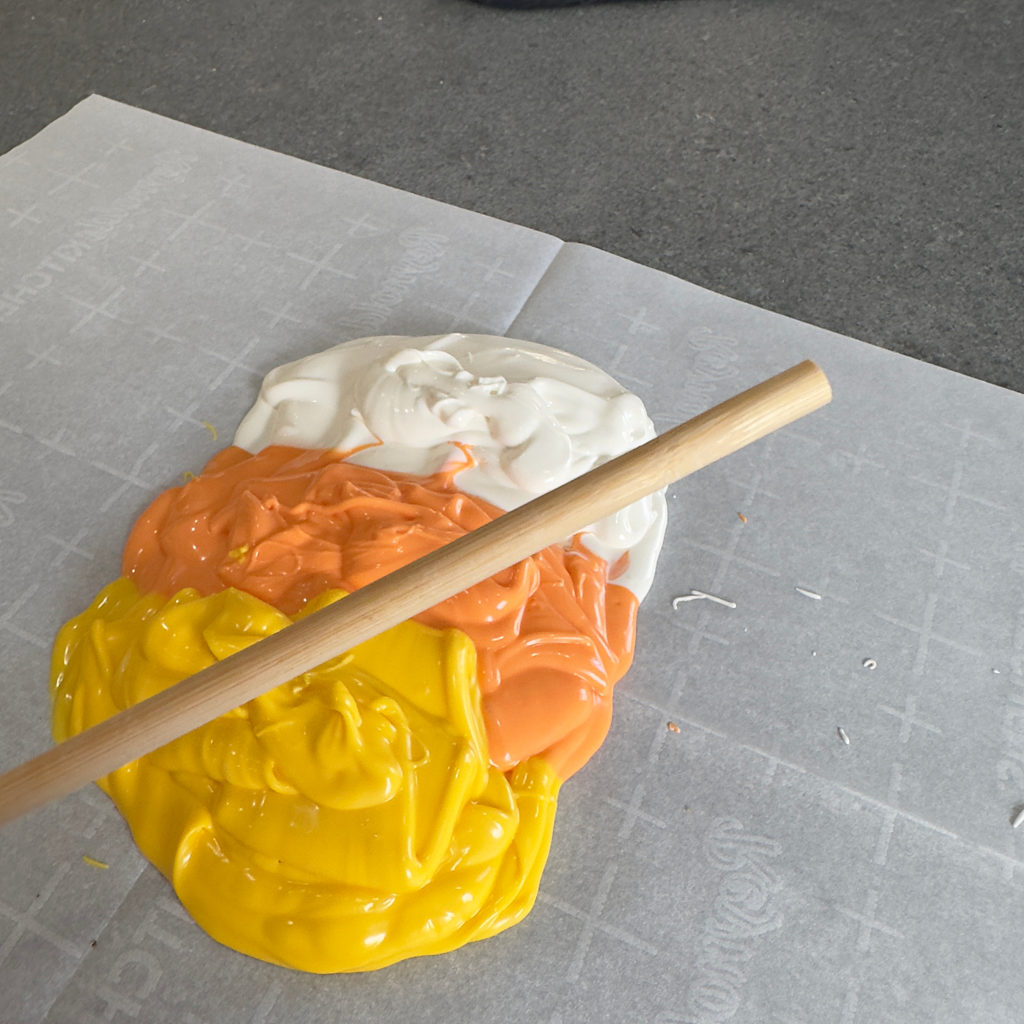
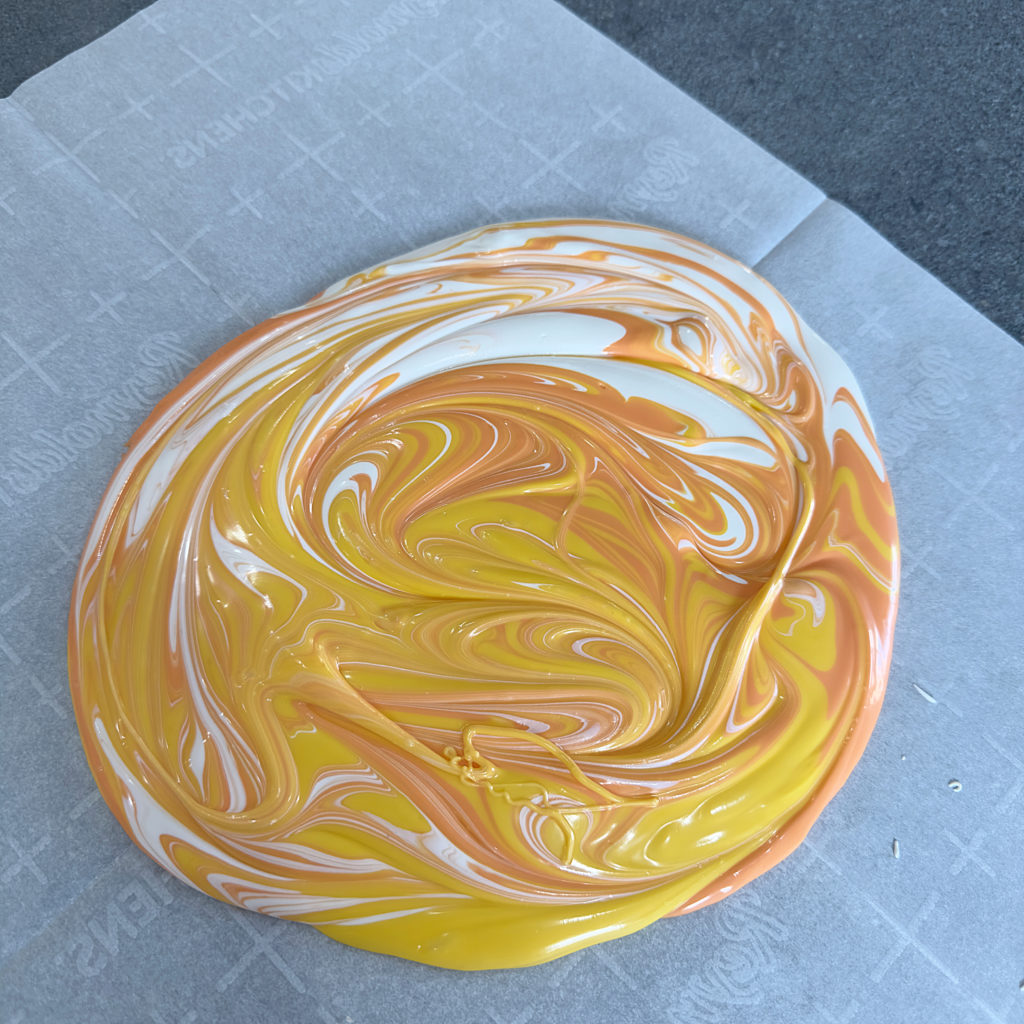
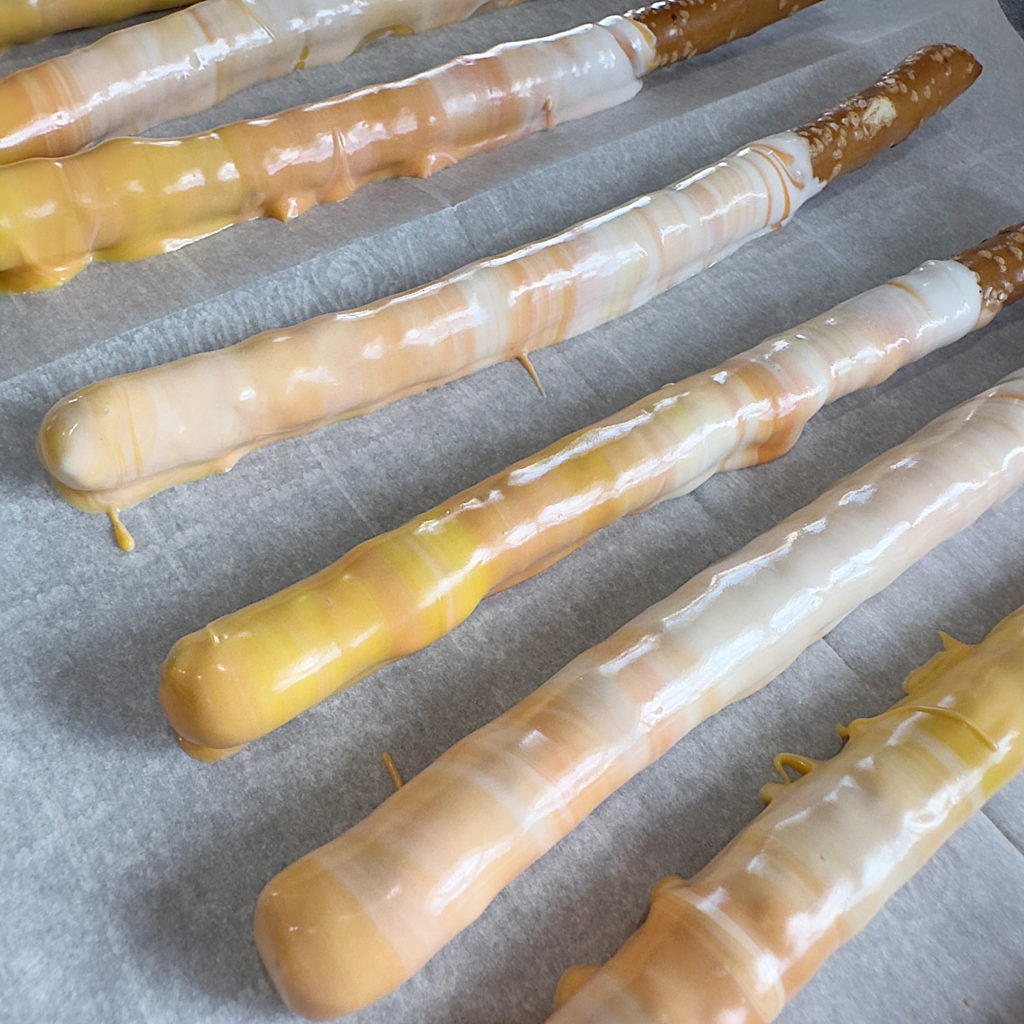
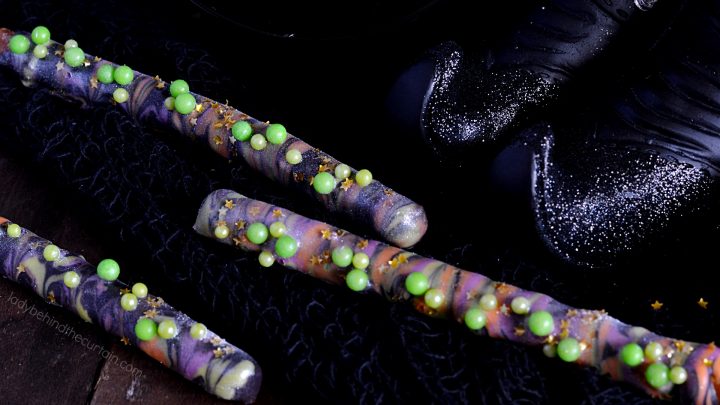
- Switch it up and also add swirled or marbled candy corn pretzels to the batch.
- Once you have made the ombre candy corn pretzels, gather the white, yellow, and orange together, (still in their individual colors but touching), and with a skewer or knife, swirl the colors together making sure not to “mix” the colors. You want to still be able to see all three colors.
- Dip the tip of the pretzel and then roll in the marbled candy.
- Move to a separate piece of parchment paper, tap off any excess candy. NOTE: As you tap off the excess candy the candy will start to become swirled with the marbling.
- Place on a cookie sheet lined with a clean piece of parchment paper. Set aside to harden on place in the refrigerator 10 minutes.
- See about for the dust luster instructions↑.
- *CANDY PUDDLES
- HOW DO I GET RID OF THE CANDY PUDDLES?
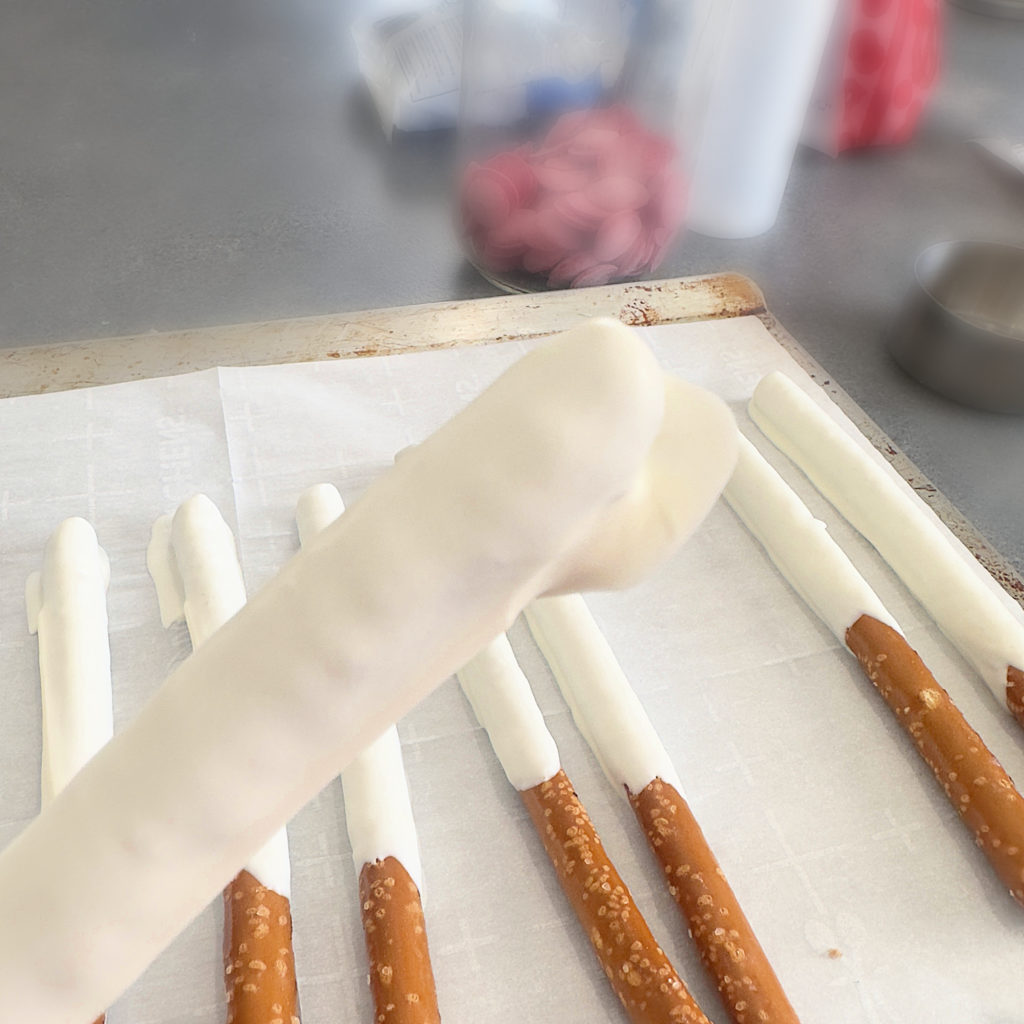
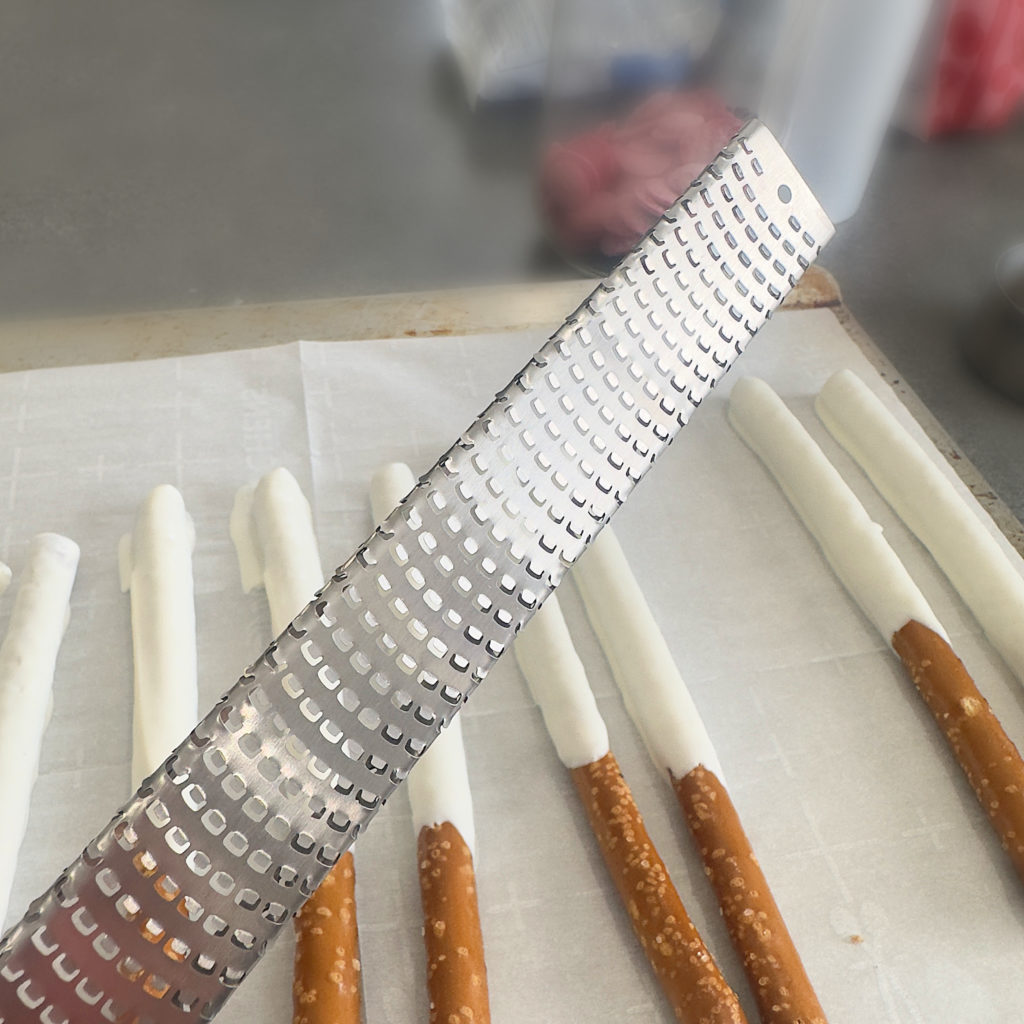
- One of my favorite tips that I use every time I decorate pretzels is using a micro plane tool for the edges that have puddled under the pretzel. Carefully scrape off the excess melted candy. NOTE: CANDY MUST BE HARD FOR THIS TO WORK.
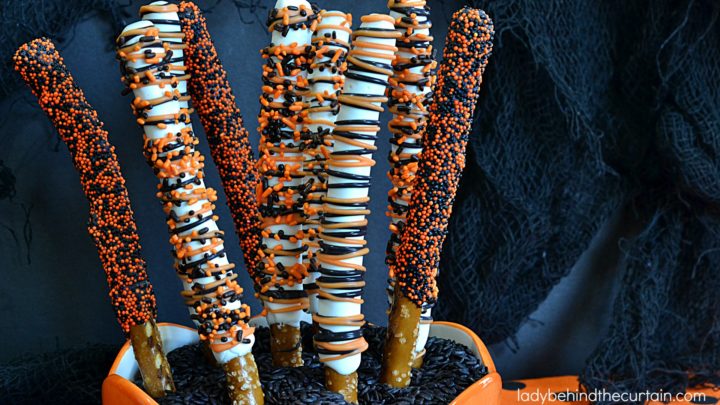
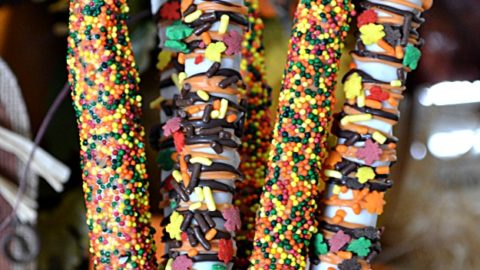
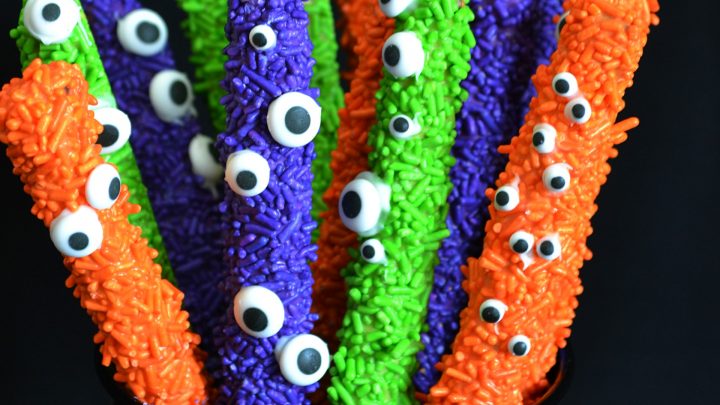
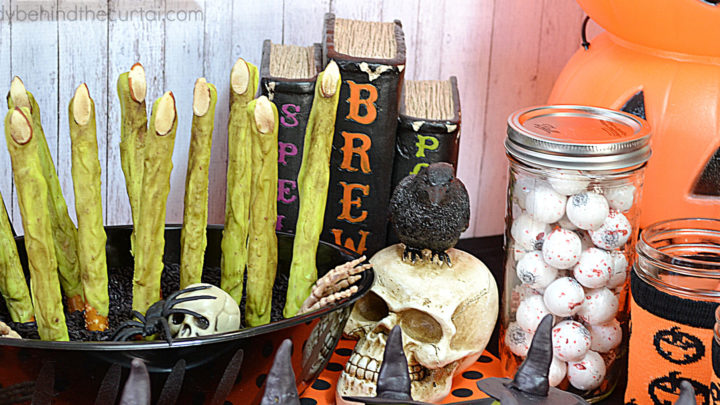
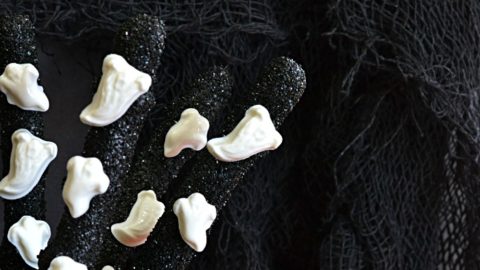
Halloween and Fall Decorated Pretzel Ideas
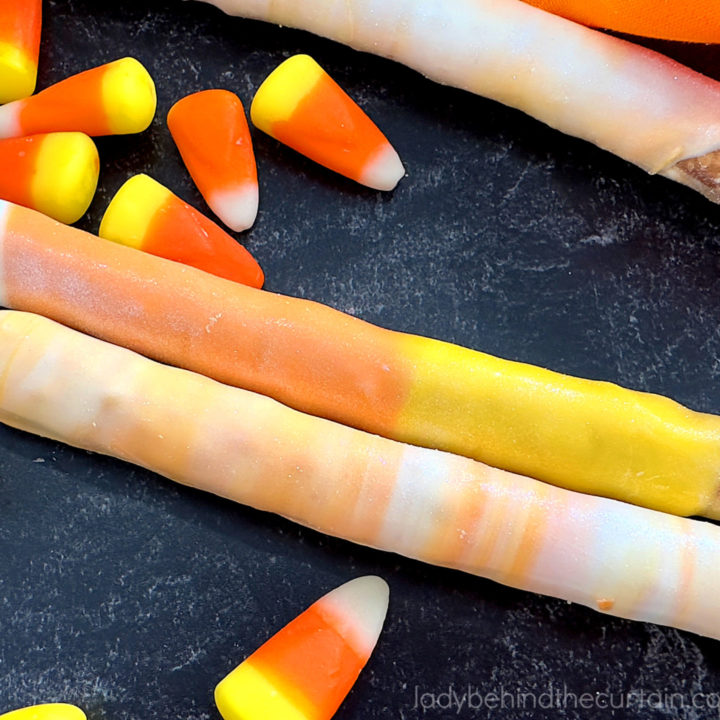
Candy Corn Decorated Pretzels
This new technique is so easy that even if you're new to decorating pretzels you will be successful!
Ingredients
- 1 cup white candy melts
- 1 cup yellow candy melts
- 1 cup orange candy melts
- 20-25 pretzel rods
Instructions
TIP: I don't know about you but my counter tops are cold. To prevent the melted candy from becoming cold too soon, place the bowls of melted candy on pot holders.
For the Ombre Technique:
- Place a pretzel rod in the center of a piece of parchment paper, with a pencil mark the top of the pretzel, middle, and the bottom of where the candy will end. So the guests can easily handle the pretzels, I like to leave a couple inches at the bottom. This step it to be used as an easy guideline but doesn't have to be done. Flip the paper over so the pencil marks are on the bottom. Please refer to the post for visuals.
- Place another sheet of parchment paper to the side another one to the side and a fourth piece on a cookie sheet.
- Pour candy melts in small microwave safe bowls.
- Heat only one color at a time 1 minute for each, stir until melted and creamy.
- At the top using your guide line, spoon a good amount of the white melted candy, follow with the orange, and end with the yellow making sure to use the bottom line as your guide. NOTE: DO NOT ADD ALL THE CANDY OF EACH COLOR AT ONCE. SAME SOME FOR LATER.
- Dip the tip of the pretzel in the white, then lay flat and roll in all three colors. Please refer to the post for visuals.
- Swiftly move off the parchment paper with the three colors to a second piece of parchment paper, lightly tap any excess candy off the pretzel.
- Lay on the third piece of parchment paper to rest for a minute. Remember your countertops are cold and the candy will set up quickly. While the pretzel is resting continue coating the pretzels (about 5 more). Once the pretzels have rested and are still wet, pull them straight up off the third piece of parchment paper and place on the clean piece of parchment paper that's on the cookie sheet. NOTE: PLACING YOUR PRETZELS CLOSE TOGETHER BUT NOT TOUCHING WILL HELP WITH THE AMOUNT OF PARCHMENT PAPER USED. Place in the refrigerator to harden (about 10 minutes. *SEE BELOW ABOUT CANDY PUDDLES
- TIP: As the piles of white, orange, and yellow deplete, spoon on the remaining candy and continue coating the pretzels.
- Once all the pretzels have been coated and the candy has hardened, if choosing, it's time to add the dust luster.
- DUST LUSTER: This step is totally optional but adds a wonderful iridescence to the pretzels. Mine is in powder, it can also be purchased in spray form. FOR THE POWDER: Pour some of the powder into a small bowl , using a clean brush, dip in the powder and brush on hardened candy. BEAUTIFUL!
For the Marble Technique:
- Switch it up and also add swirled or marbled candy corn pretzels to the batch.
- Once you have made the ombre candy corn pretzels, gather the white, yellow, and orange together, (still in their individual colors but touching), and with a skewer or knife, swirl the colors together making sure not to "mix" the colors. You want to still be able to see all three colors.
- Dip the tip of the pretzel and then roll in the marbled candy.
- Move to a separate piece of parchment paper, tap off any excess candy. NOTE: As you tap off the excess candy the candy will start to become swirled with the marbling.
- Place on a cookie sheet lined with a clean piece of parchment paper. Set aside to harden on place in the refrigerator 10 minutes.
- See about for the dust luster instructions.
*CANDY PUDDLES
HOW DO I GET RID OF THE CANDY PUDDLES?
One of my favorite tips that I use every time I decorate pretzels is using a micro plane tool for the edges that have puddled under the pretzel. Carefully scrape off the excess melted candy. NOTE: CANDY MUST BE HARD FOR THIS TO WORK. Please refer to the post for visuals.
SIGN UP FOR THE LADY BEHIND THE CURTAIN NEWSLETTER

NEWSLETTER: Receive (twice a month) seasonally themed newsletters full of recipes, tips and tricks. Sometimes even FREE gifts! Click here for the Newsletter→CURTAIN CALL NEWSLETTER
THANKS FOR VISITING♥







Comments
Candy Corn Decorated Pretzels — No Comments
HTML tags allowed in your comment: <a href="" title=""> <abbr title=""> <acronym title=""> <b> <blockquote cite=""> <cite> <code> <del datetime=""> <em> <i> <q cite=""> <s> <strike> <strong>