How to Make a Pom Pom Garland
How to Make a Pom Pom Garland: Have you ever walked into a room and instantly felt a surge of warmth and cheerfulness? Chances are, a playful and colorful pom pom garland was hanging on the wall, bringing a touch of whimsy and personality to the space. But how exactly do you create this eye-catching decoration? Whether you’re hosting a party, sprucing up your home, or simply looking for a fun DIY project, learning how to make a pom pom garland is a sure way to add a unique and festive touch to any room. Below, also find a FREE Banner Collection.
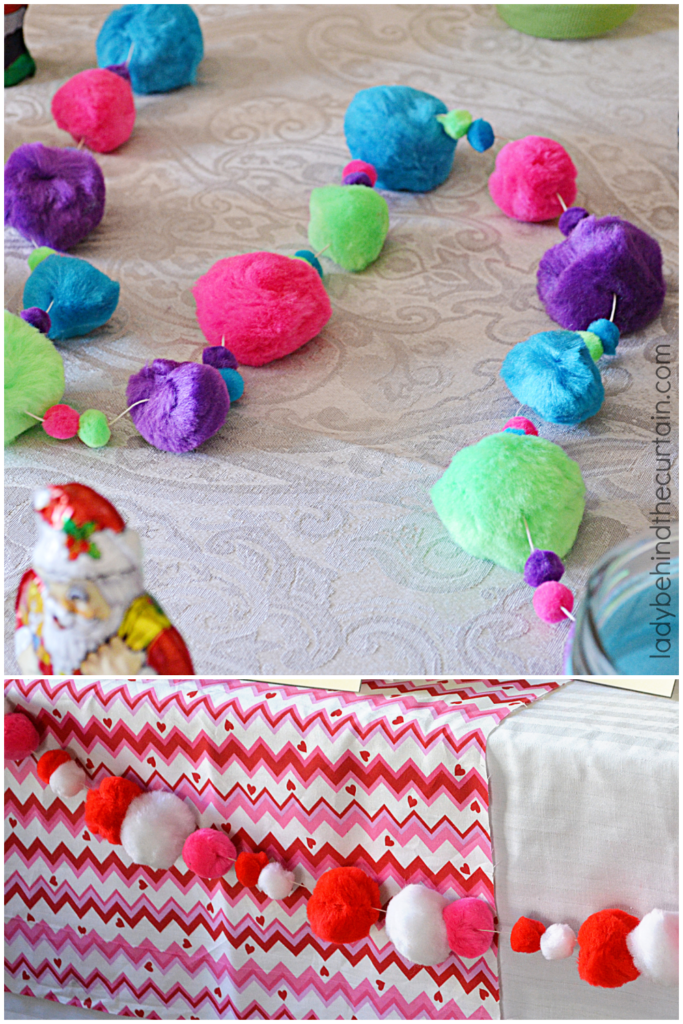
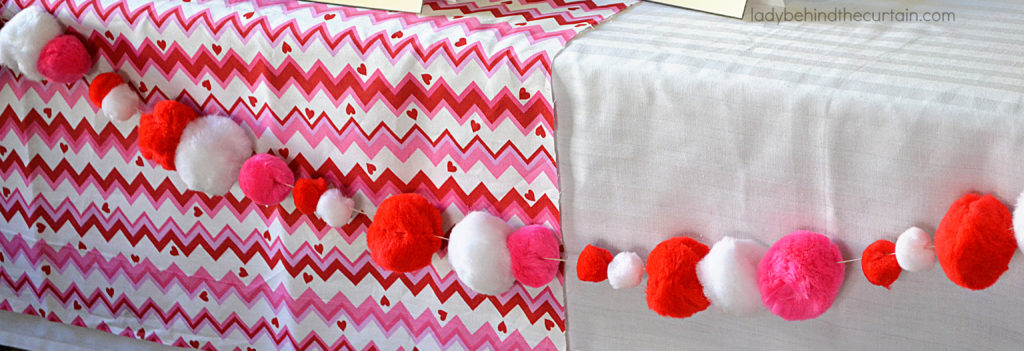
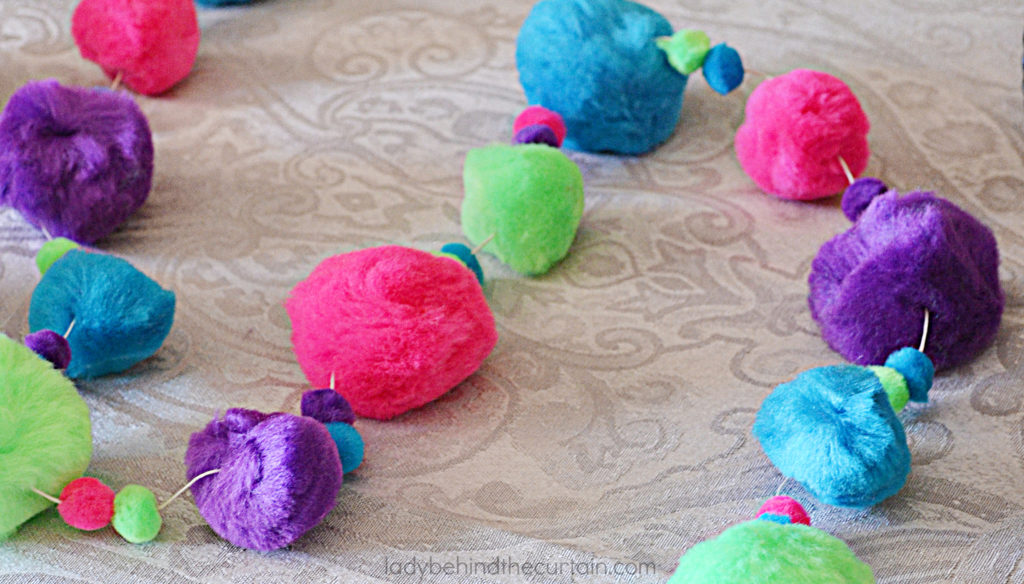
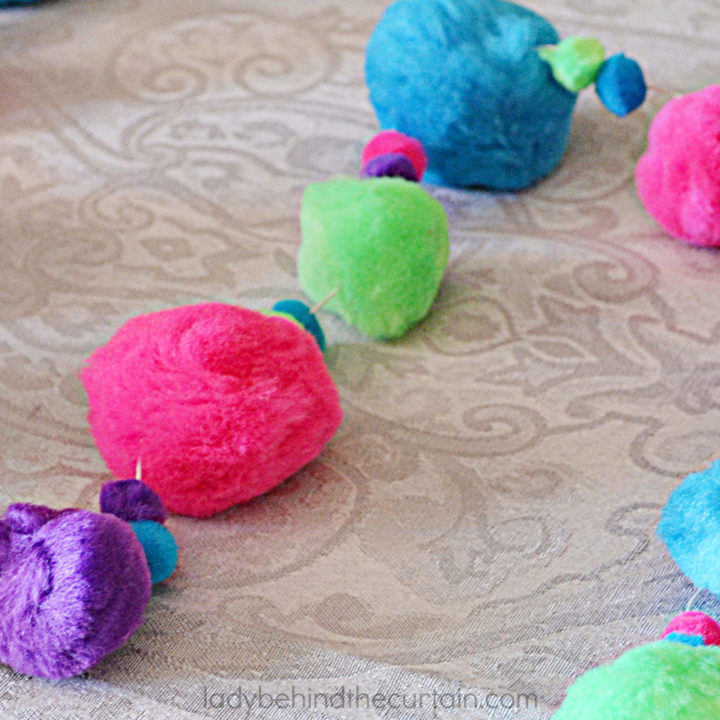
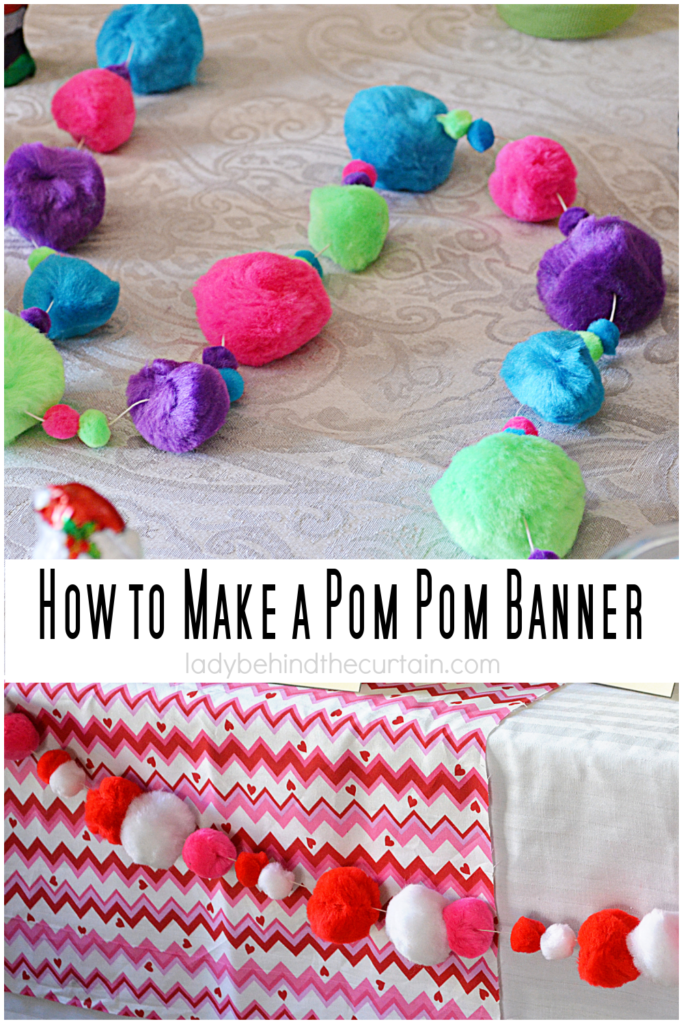
Using different sizes and colors of pom poms add texture and interest to a party table. I’ll show you how easy it is to make a pom pom garland. This colorful garland makes the perfect DIY craft and can be customized for any party. Bring your own special touch to the baby shower, bridal shower, birthday party, or any special occasion photo booth!
How to Make a Pom Pom Garland
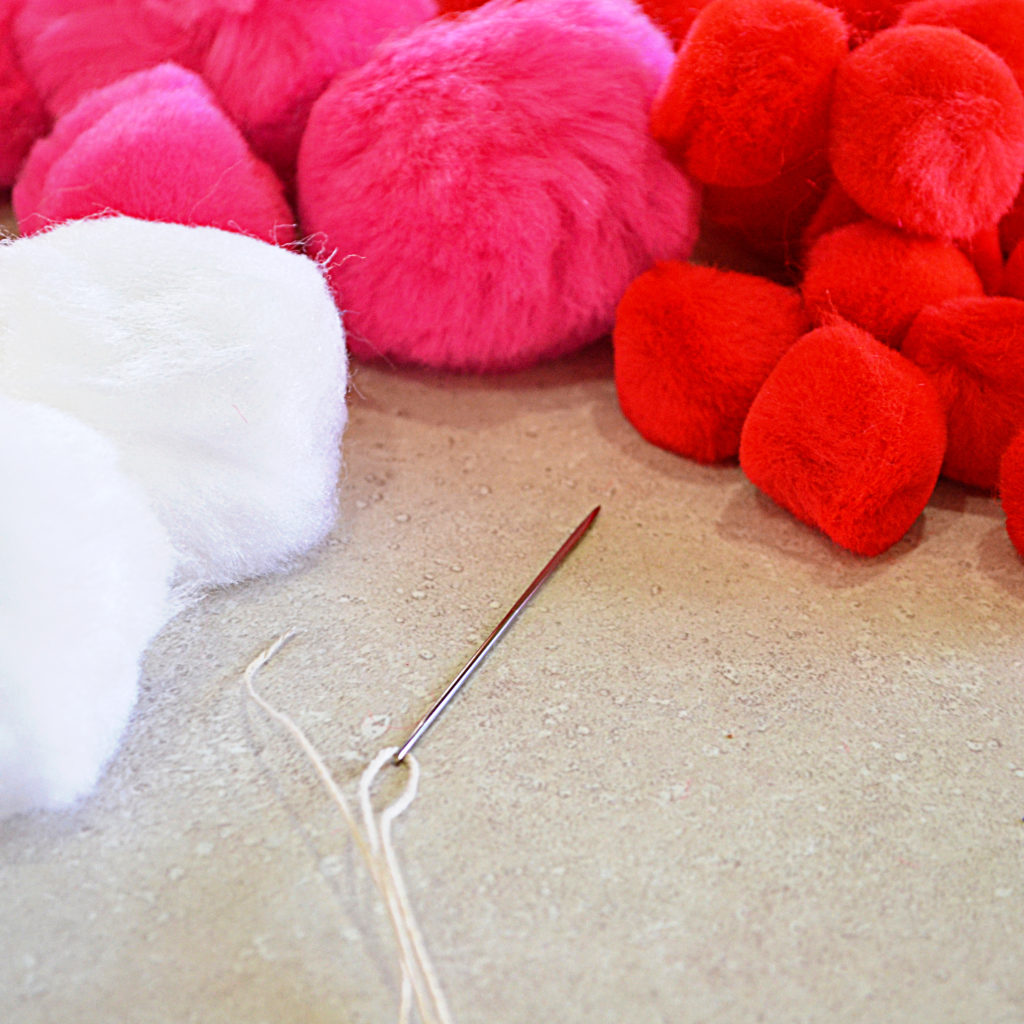
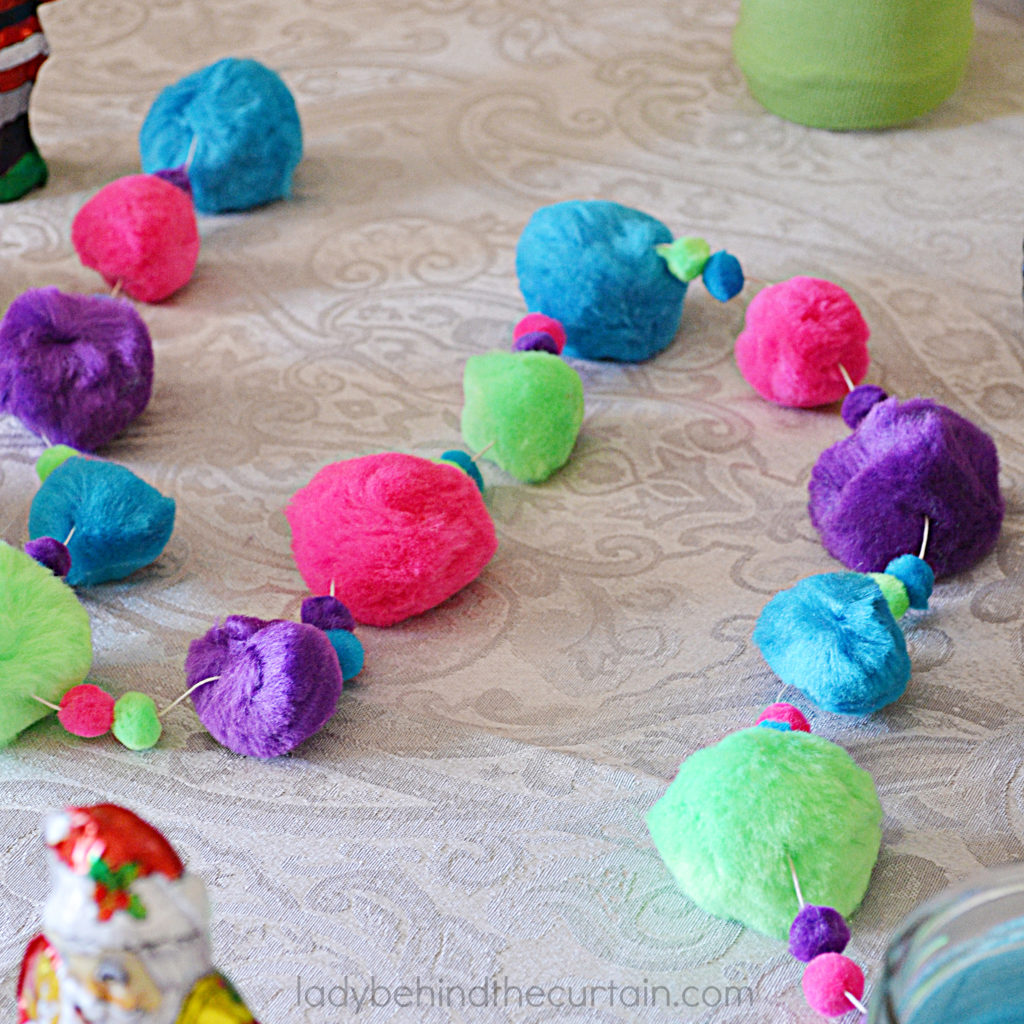
POM POM GARLAND MATERIALS-full printable instructions in below how to card
- variety sizes of pom poms
- crochet thread
- large needle with a large eye
POM POM GARLAND INSTRUCTIONS
- Using the crochet thread as a tape measure.
- String the thread to the desired length of the garland.
- Lay out the pattern you wish the pom poms to be on the garland including what sizes where.
- Repeat that pattern throughout the garland.
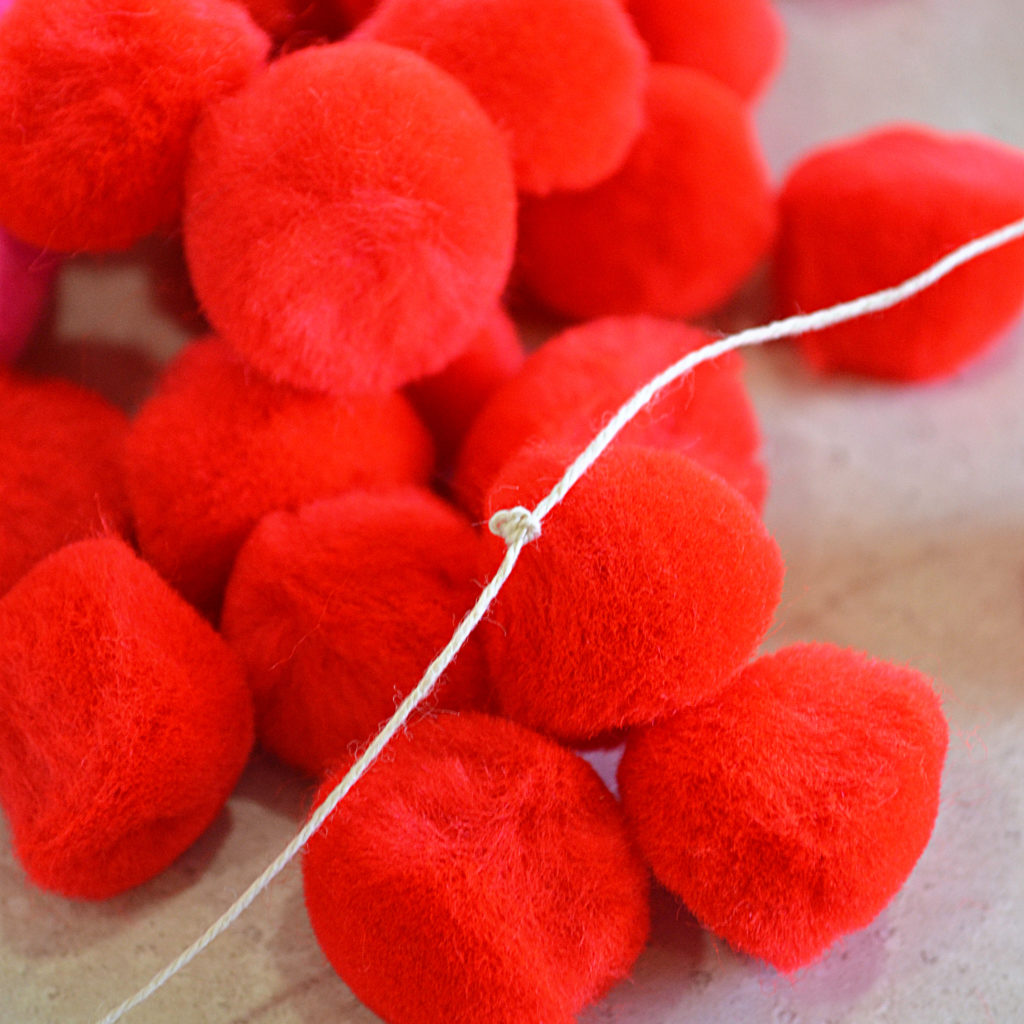
- Pull thread through needle, tie a large knot at one end and start threading. Push the needle through the pom pom, down the string to the end where the knot is and continue with your pattern.
- When finished, tie the end in another knot.
How to Use a Pom Pom Garland
- WALL: The garland is so light it can be hung with regular tape. TIP: This depends on the length of the garland. If it is very long I suggest using clear thumb tacks.
- FABRIC: If attaching to a fabric tablecloth or backdrop use straight pins. This is great for dressing up a plain tablecloth or backdrop.
- TABLETOP: To add a touch of color to a table, simply lay the garland in a swirl position around the centerpiece or desserts.
MORE DIY GARLAND IDEAS
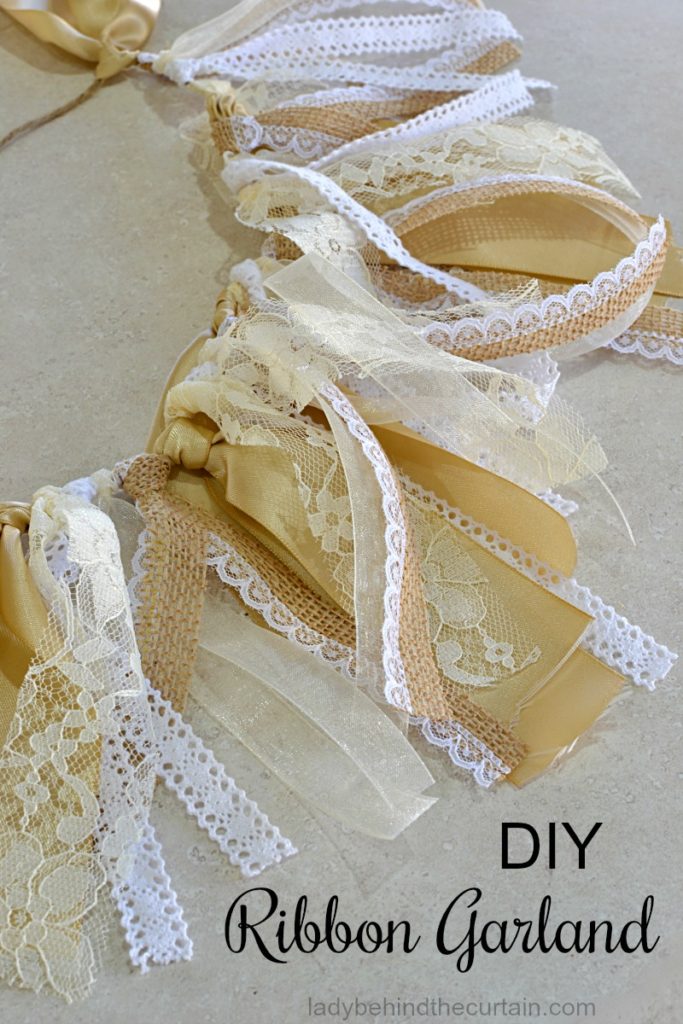
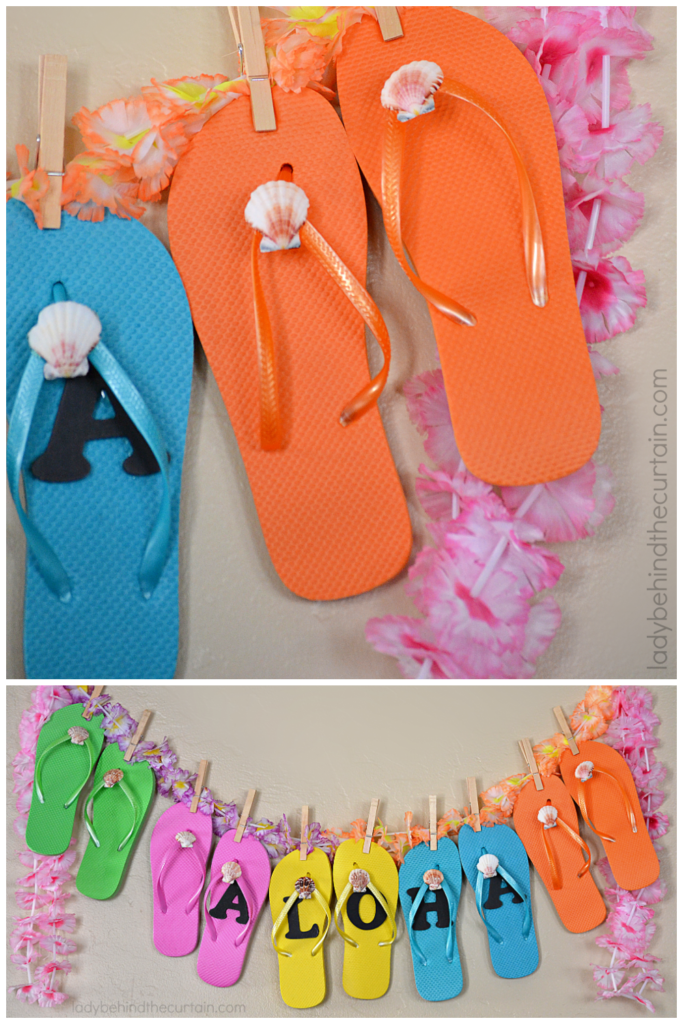
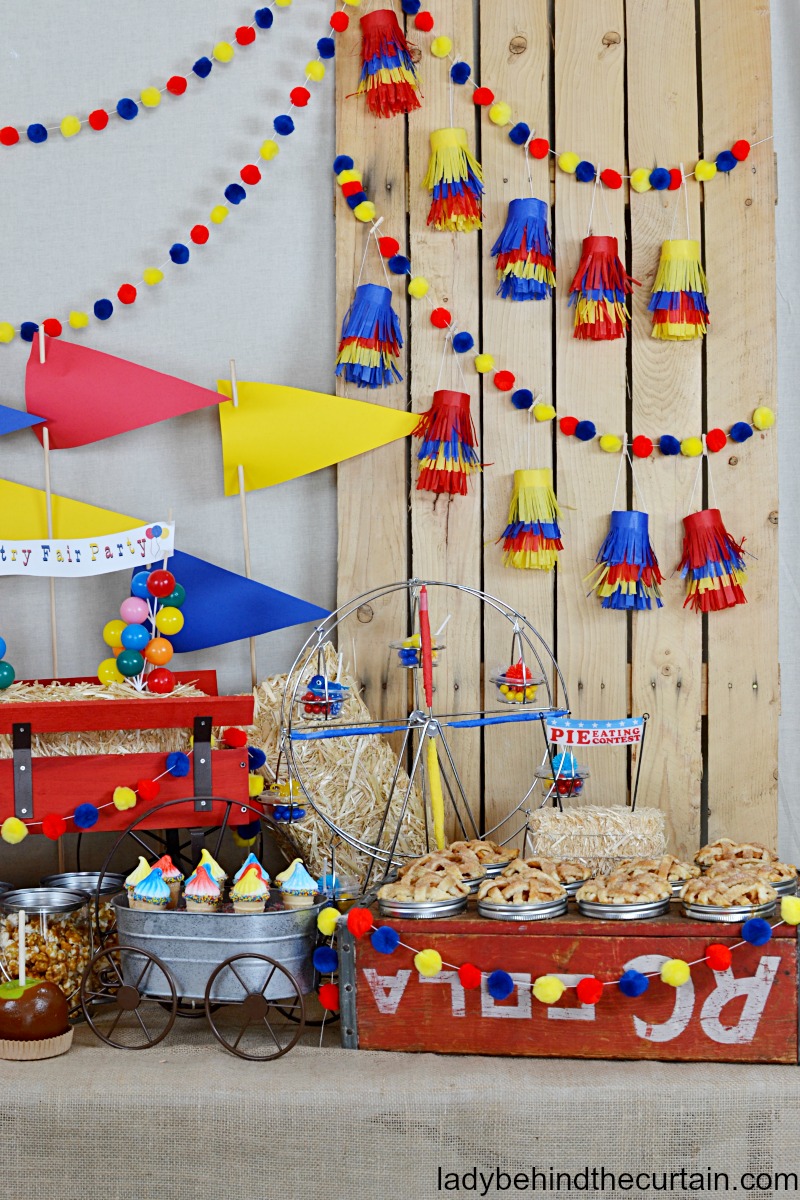
LATEST POSTS
PARTY BANNER PRINTABLE COLLECTIONS
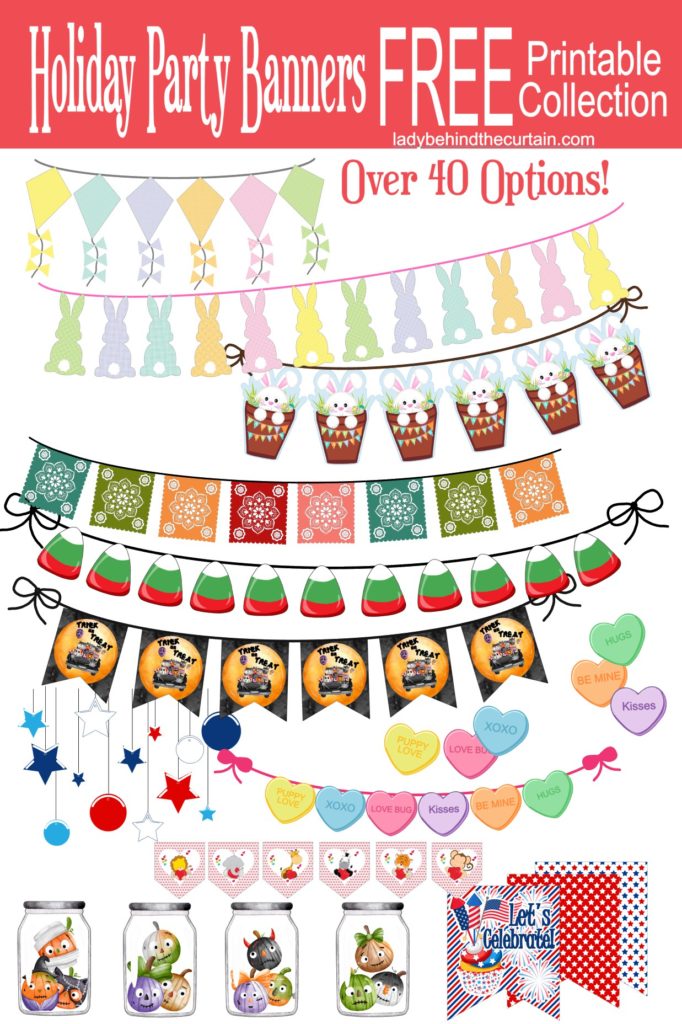
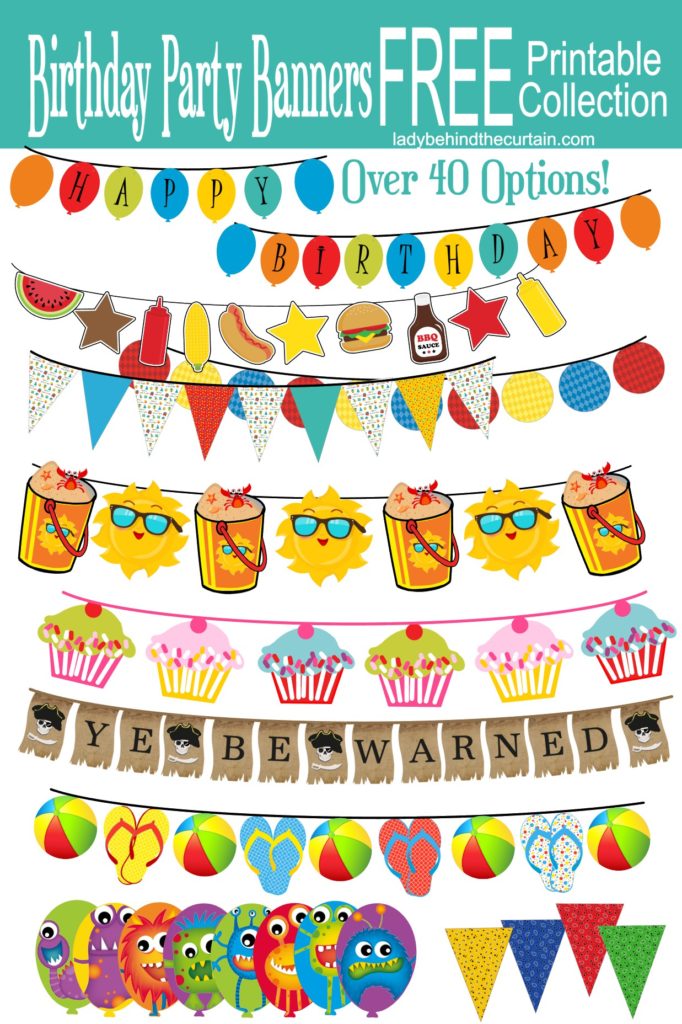
There are so many reasons to use party banners. They brighten up a otherwise dark space, they’re great for photo booths, or decorating behind a dessert table, and many many more ways. Perfect for any celebration. CLICK HERE FOR YOUR COLLECTIONS→PARTY BANNER PRINTABLE COLLECTIONS
In conclusion, making a pom pom garland is not only a fun and creative project, but it also adds a touch of whimsy and charm to any space. By following the simple steps outlined in this post, you can create your very own pom pom garland that will add a unique and personalized touch to your home decor. Remember to choose your colors and materials carefully, experiment with different techniques, and have fun with the process. Grab your supplies and start crafting your own pom pom garland today. The possibilities are endless. Happy Creating! 
How to Make a Pom Pom Garland
Materials
- variety sizes of pom poms
- crochet thread
Tools
- large needle with a large eye
Instructions
Using the crochet thread as a tape measure. String the thread to the desired length of the garland. Lay out the pattern you wish the pom poms to be on the garland including what sizes where. Repeat that pattern throughout the garland. Pull thread through needle, tie a large knot at one end and start threading. Push the needle through the pom pom, down the string to the end where the knot is and continue with your pattern. When finished, tie the end in another knot. This garland is so light you can hang it anywhere using tape. If attaching to a fabric tablecloth or backdrop use straight pins.
SIGN UP FOR THE LADY BEHIND THE CURTAIN NEWSLETTER

NEWSLETTER: Receive (twice a month) seasonally themed newsletters full of recipes, tips and tricks. Sometimes even FREE gifts! Click here for the Newsletter→CURTAIN CALL NEWSLETTER
THANKS FOR VISITING♥


Comments
How to Make a Pom Pom Garland — No Comments
HTML tags allowed in your comment: <a href="" title=""> <abbr title=""> <acronym title=""> <b> <blockquote cite=""> <cite> <code> <del datetime=""> <em> <i> <q cite=""> <s> <strike> <strong>