DIY Halloween Party Snow Globes
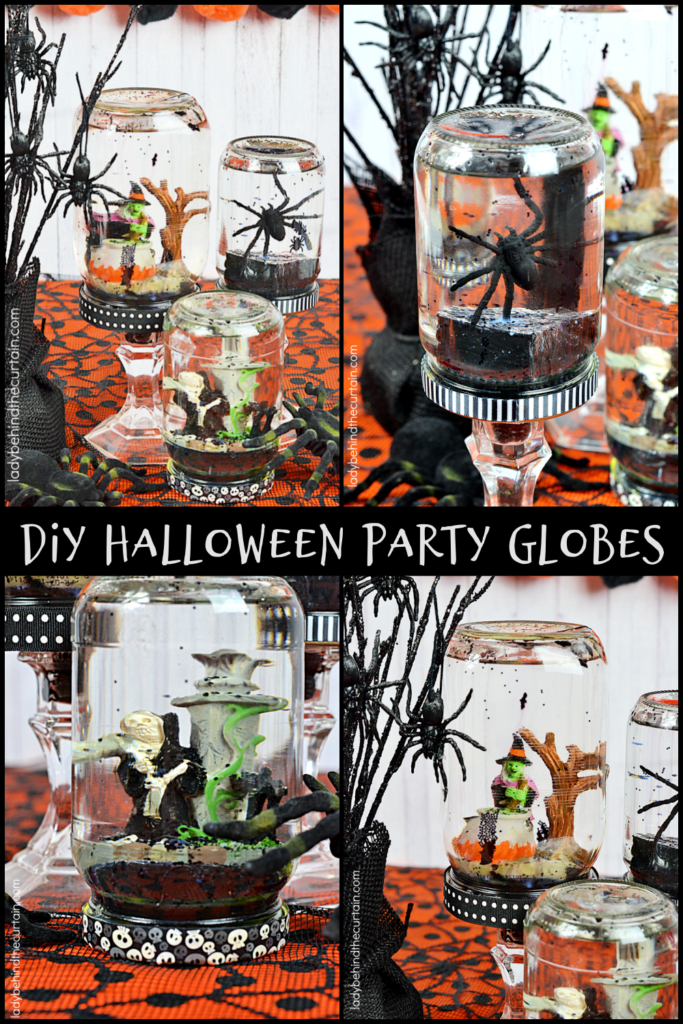
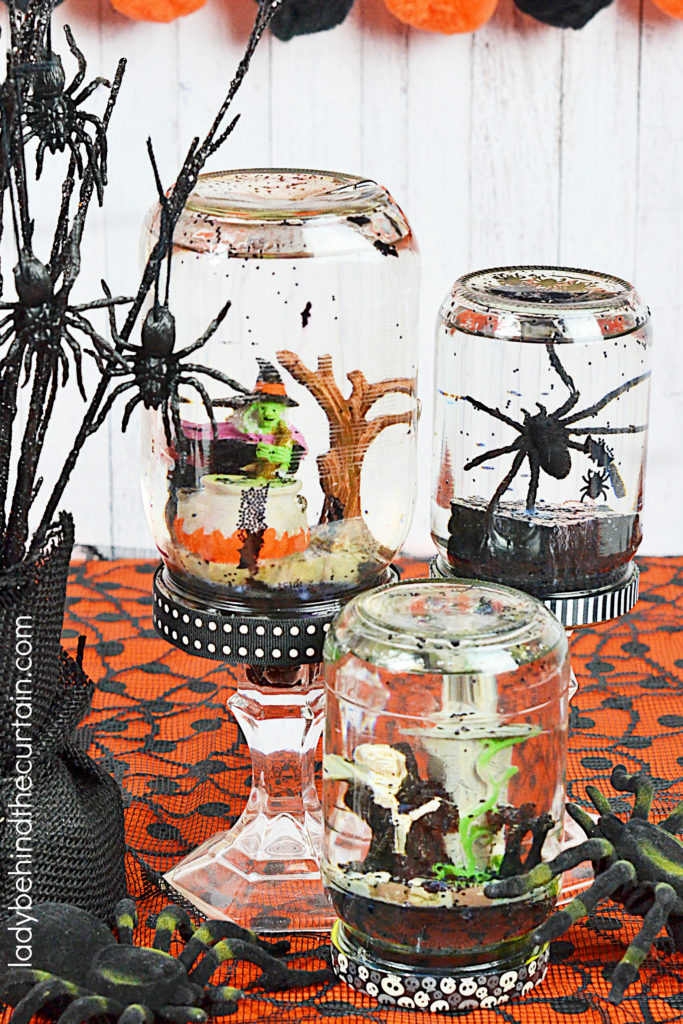
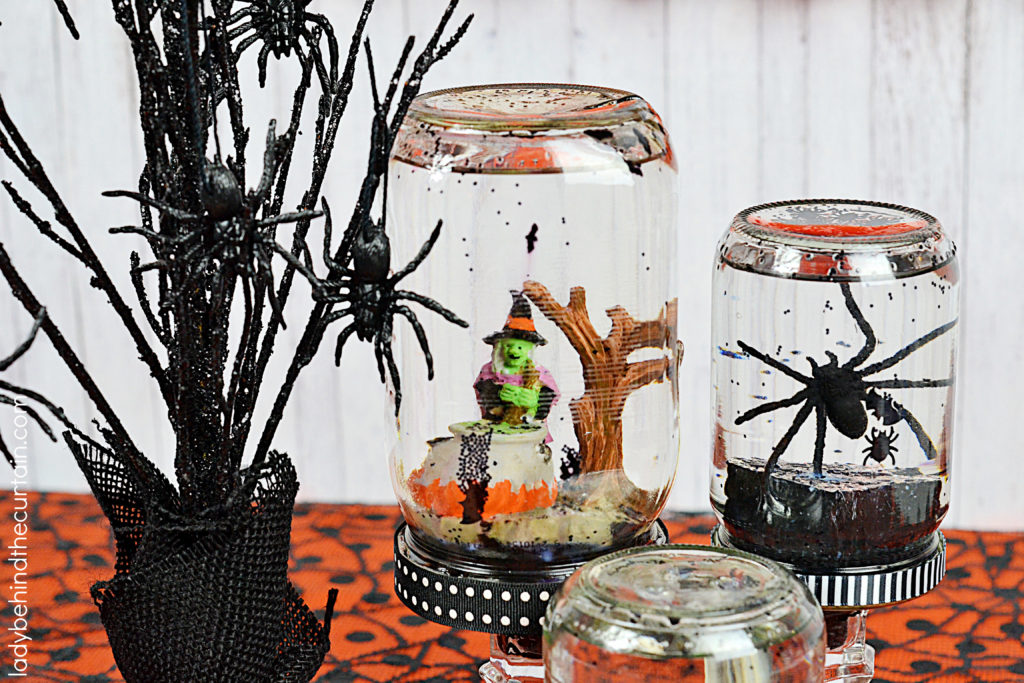
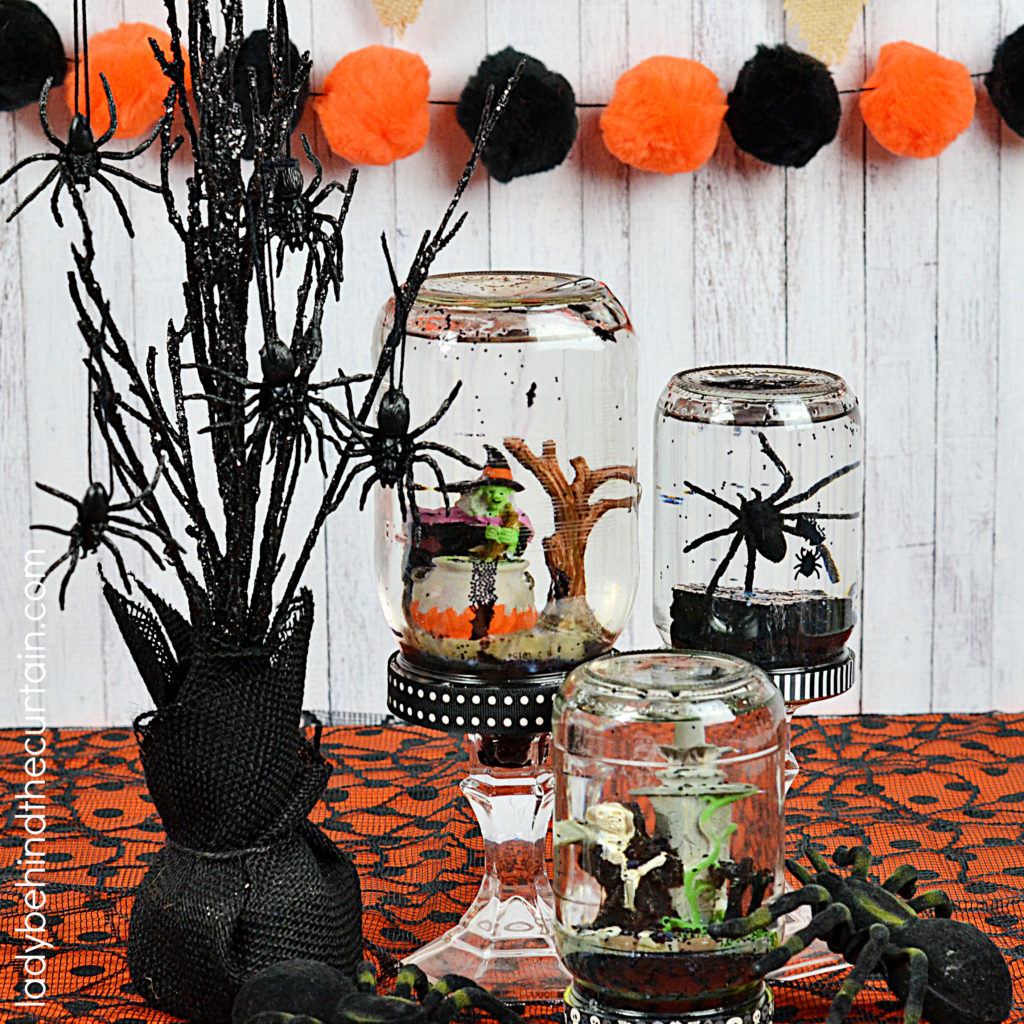
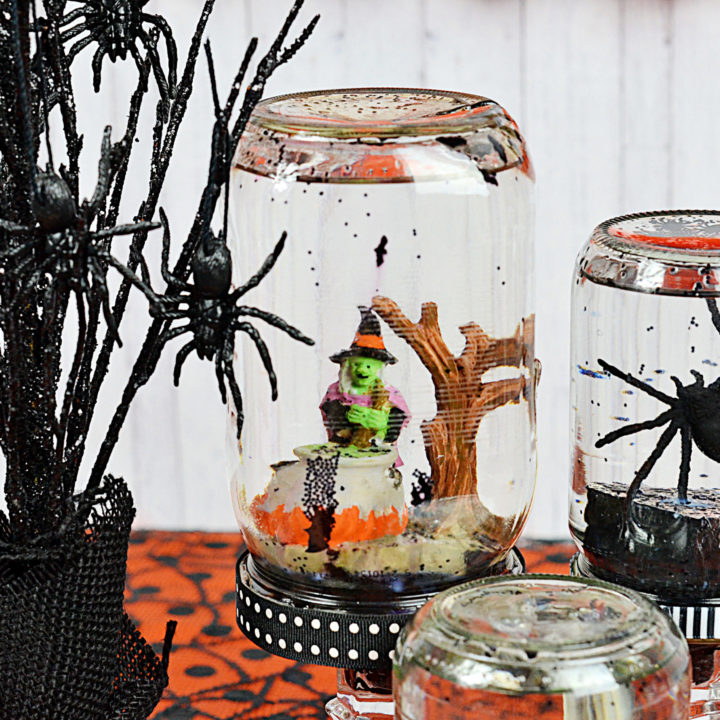
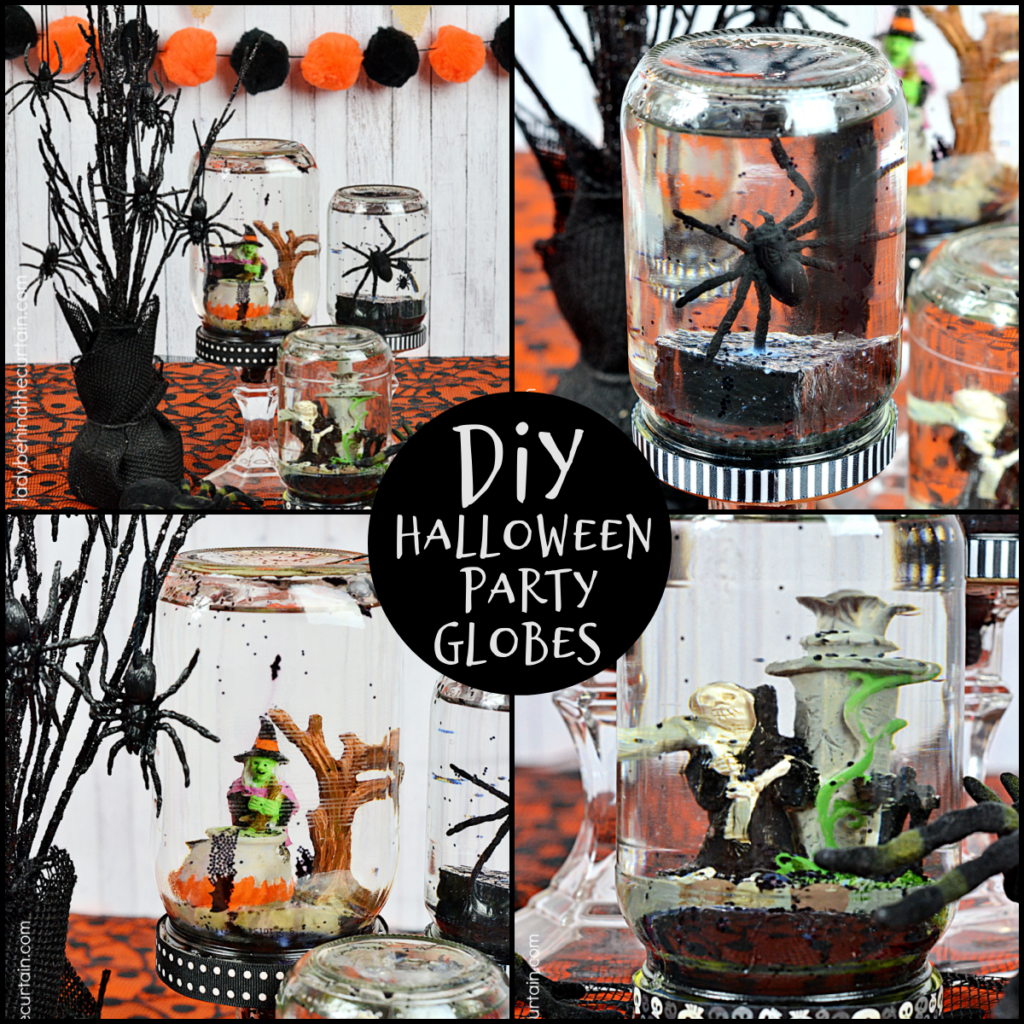
DIY Halloween Party Snow Globes: Upcycle your jelly jars, pickle jars and baby food jars and make a fun and easy Halloween decoration or Halloween party favor!
Where to Shop
Dollar Tree is my go to for all DIY Holiday Decorations. If you don’t have a dollar tree store near you, any store with a dollar section will do. Creating with low cost items allows you to make party favors and party decorations.
Halloween Party Decoration Idea
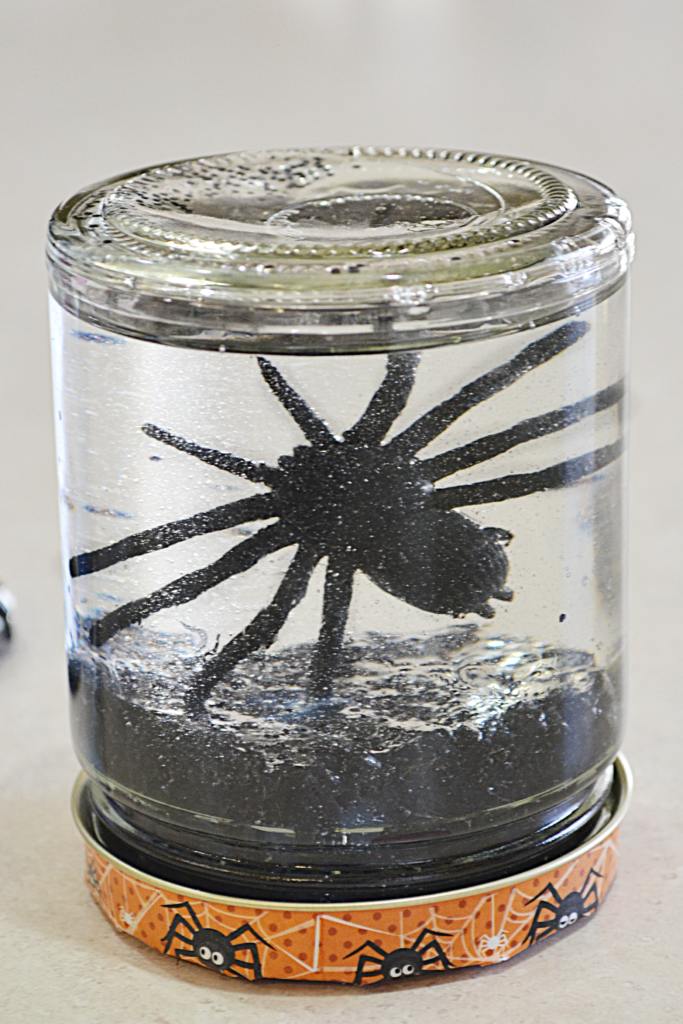
The Best Jar for the Job
How to Make DIY Halloween Party Snow Globes
- SUPPLIES (printable version below↓)
- assorted jars (preferably round)
- styro foam
- black paint
- assorted figurines, spiders, skeleton heads
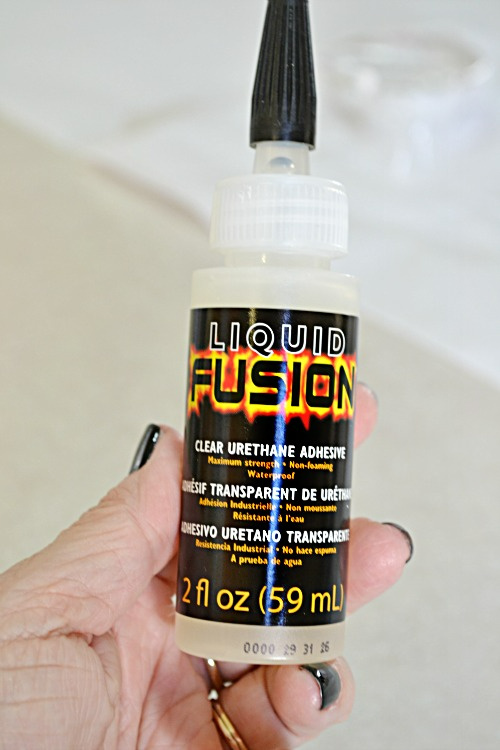
- liquid fusion glue
- black glitter
- black permanent marker
- baby oil
- nail polish remover
- assorted ribbon and tape
- double sided tape
- regular tape
- black card stock paper
- OPTIONAL: candlestick holders
- DIRECTIONS
- The first thing you’ll need to do is clean the label off your jars. If you are having a problem getting the thick glue off pop the jar in the microwave for 30 seconds or until it is hot (I had to use an oven mitten). Use a razor blade to scrape off the glue then to get the sticky residue off spray on some window cleaner; continue using the razor blade with paper towels and the jar should come clean.
- Once your jars are clean it’s time to gather items you’d like to use in your globes. I found Halloween Village figurines at Dollar Tree along with spiders and skeleton heads.
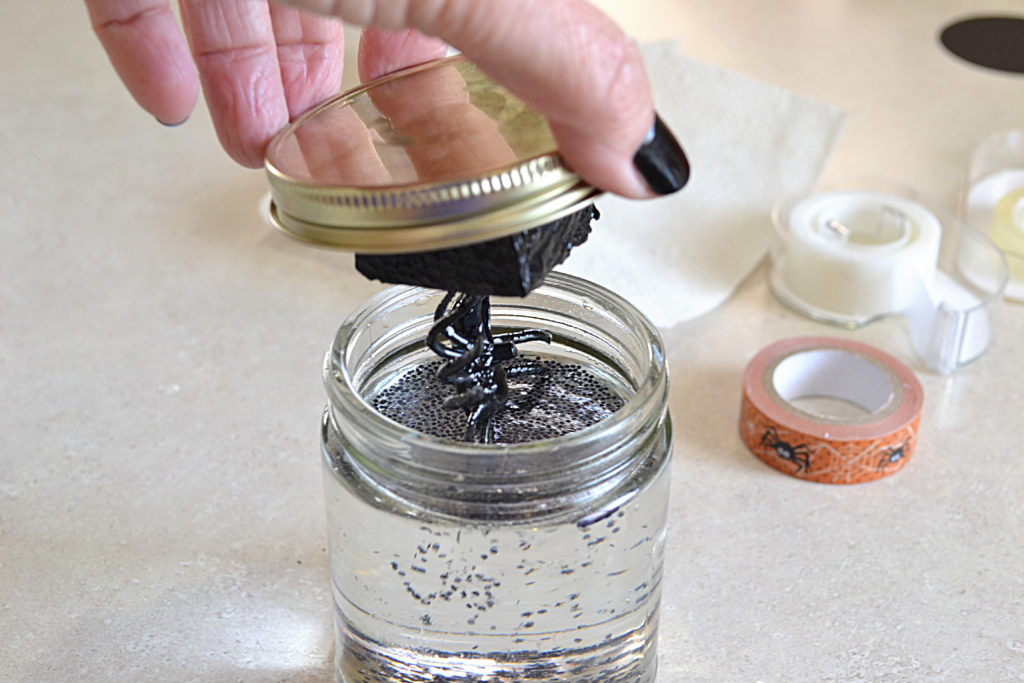
Squeeze oil up to the line.
Sprinkle in some glitter; add more of the glue to the inside rim of the lid.
Screw on the lid as tight as you can and let it sit for another 24 HOURS.
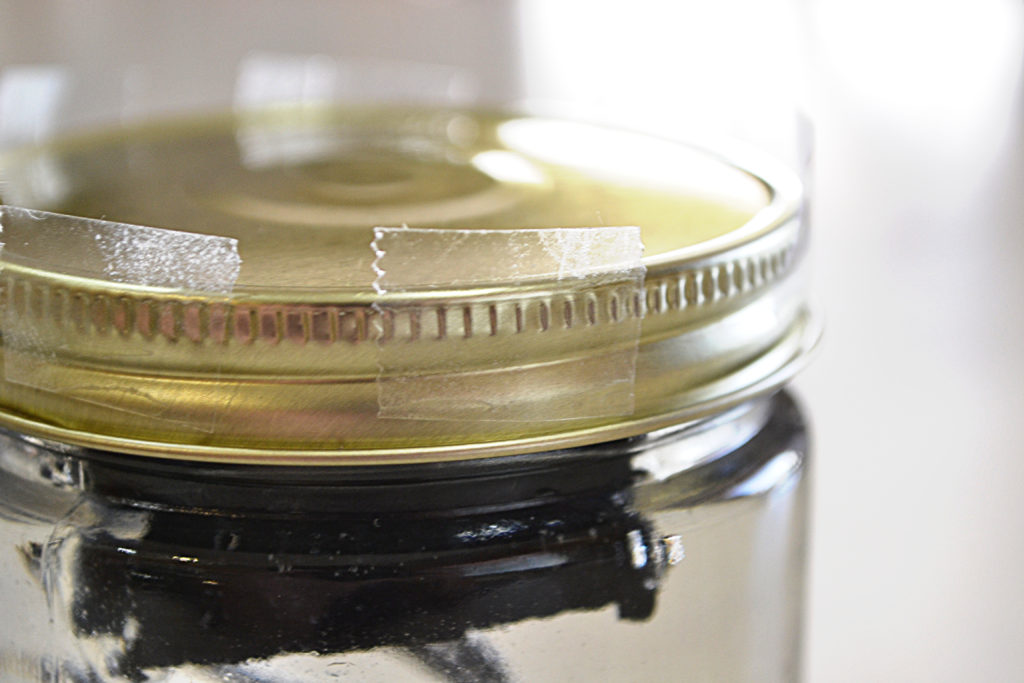
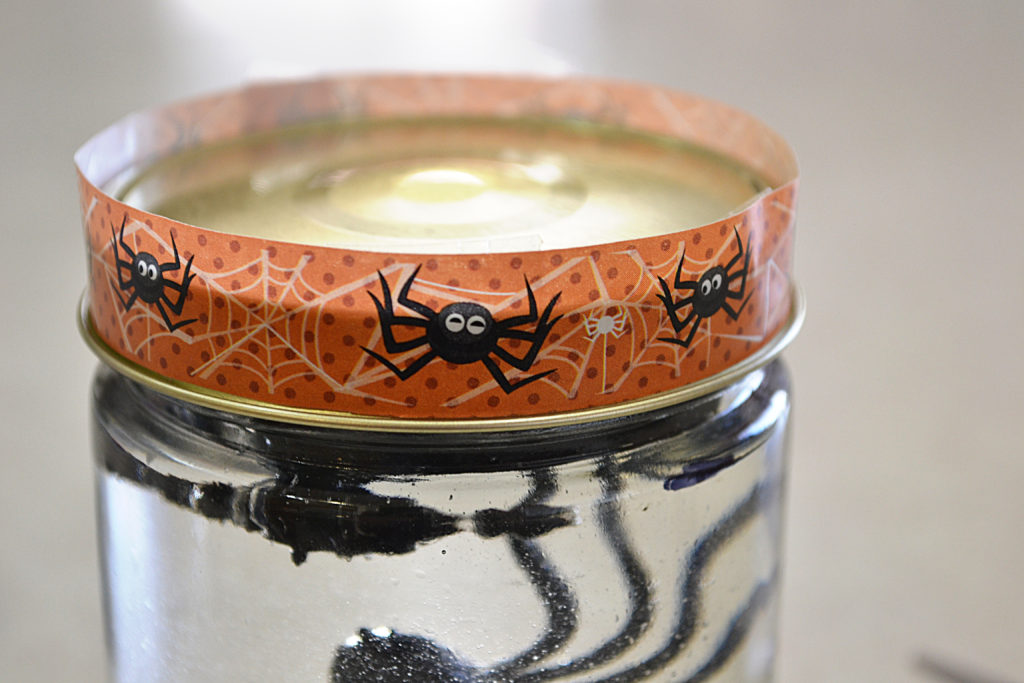
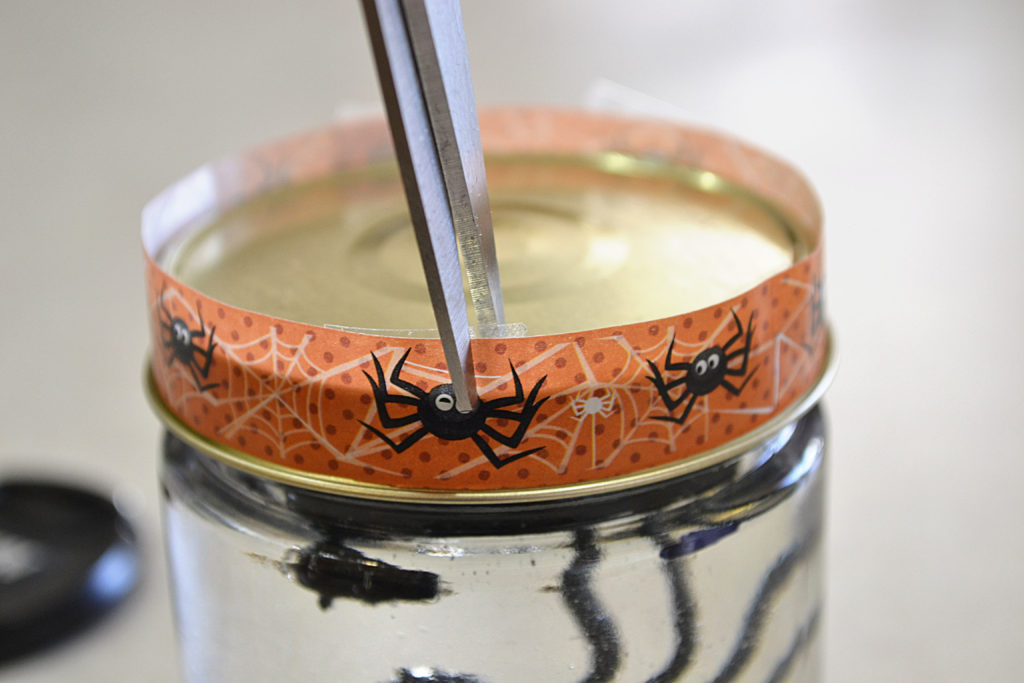
Wrap the decorative tape or ribbon around the lid. If the tape is too thick, snip around down to the top of the lid and press down.
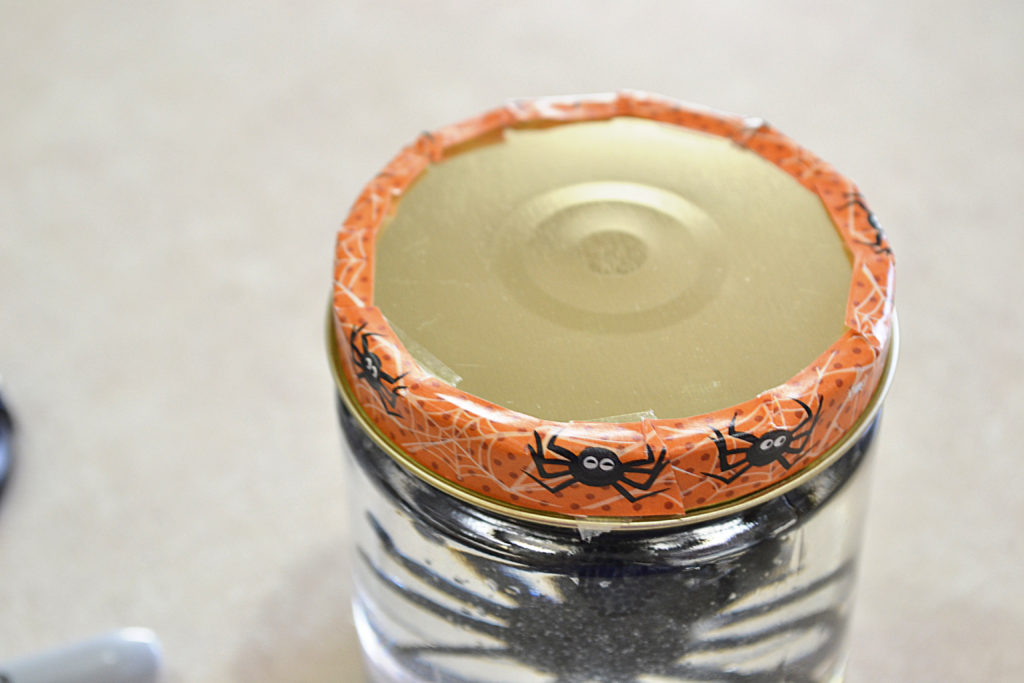
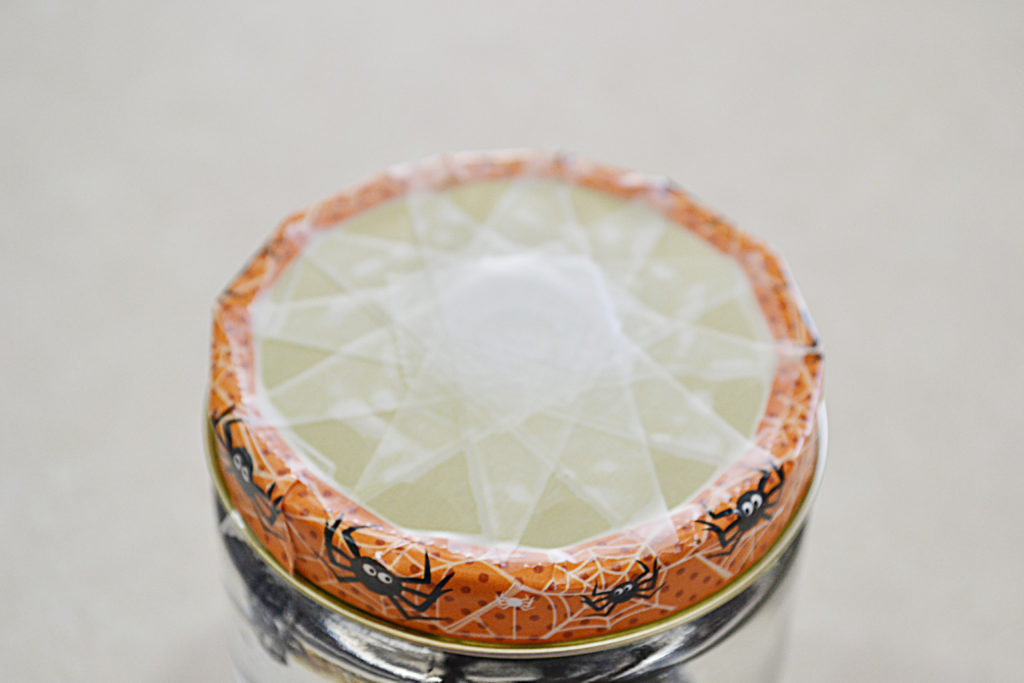
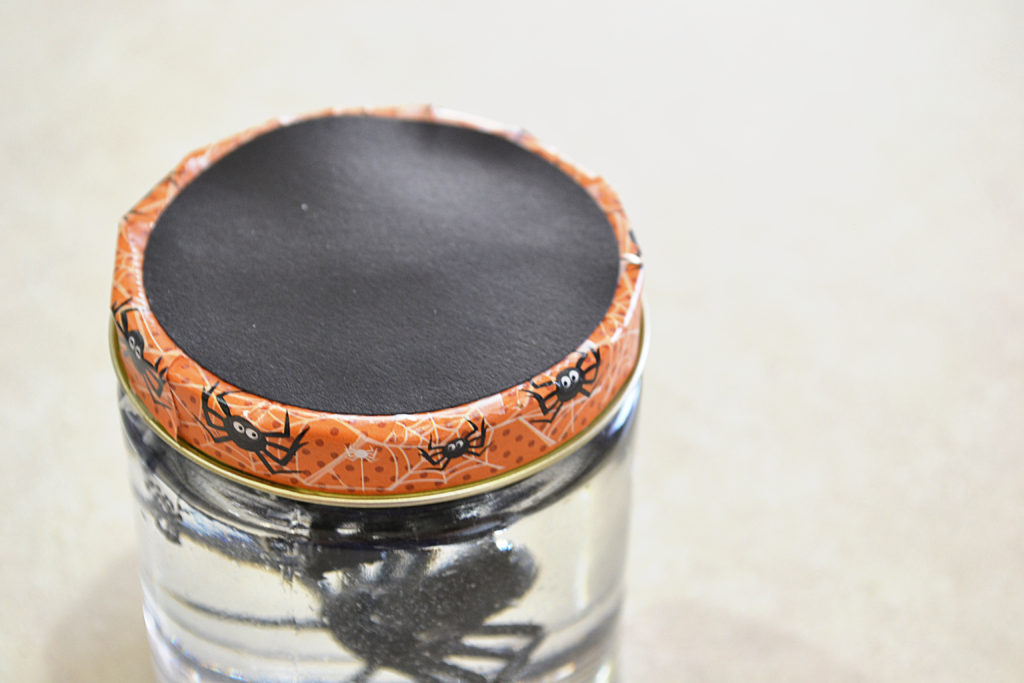
Use double stick tape and tape on the black card stock/paper over the edges of the tape.
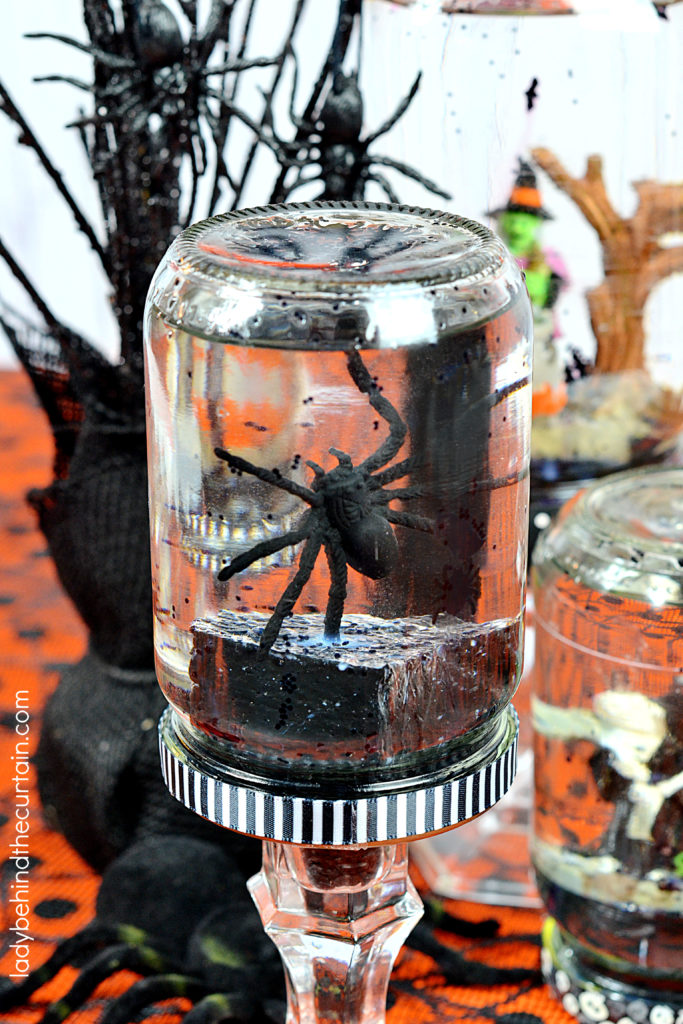
WATCH MY VIDEO BELOW FOR A LIVE DEMONSTRATION ON HOW TO MAKE THESE SPOOKY HALLOWEEN GLOBES↓
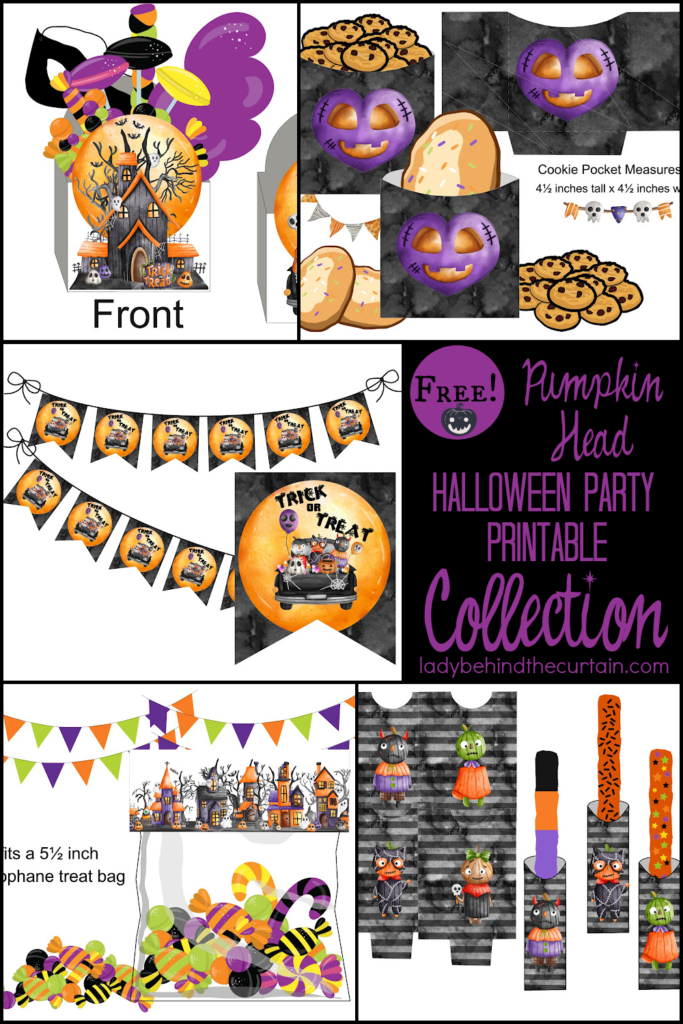
HALLOWEEN PARTY FREE PRTINABLE COLLECTIONS
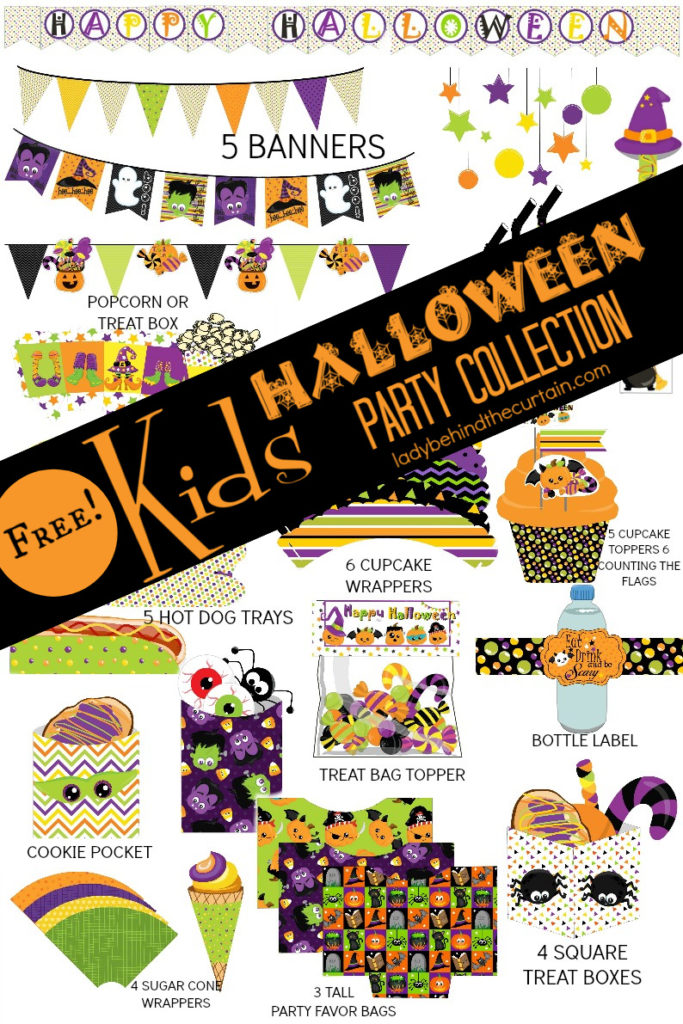
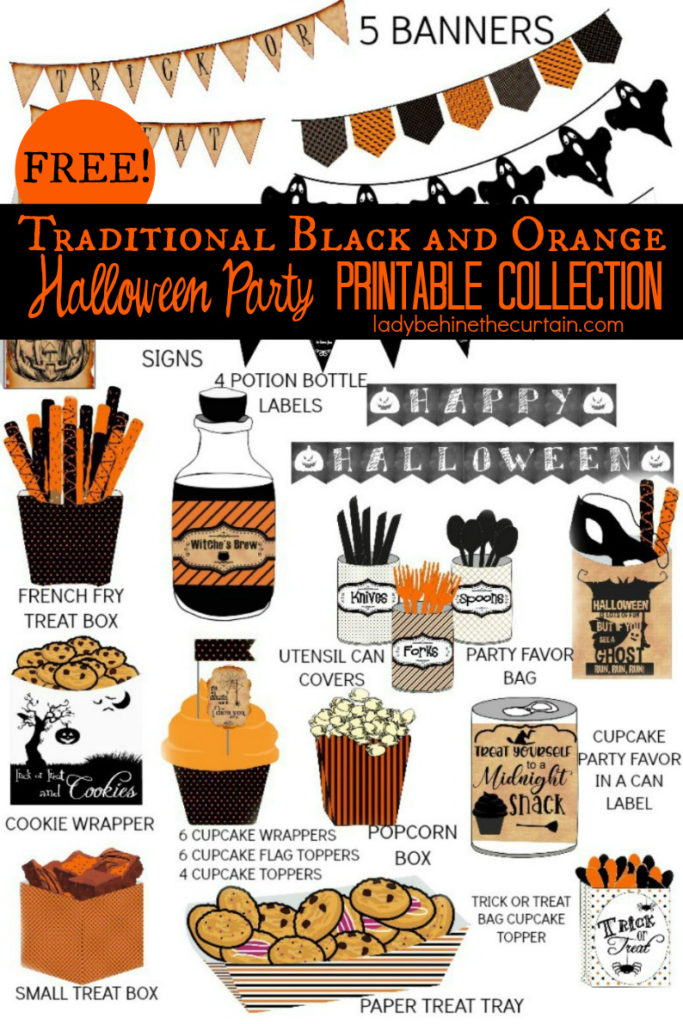
MORE HALLOWEEN PARTY IDEAS
DIY Halloween Party Snow Globes
Yield:
THE AMOUNT DEPENDS ON HOW MUCH IS PURCHASED
Materials
- assorted jars (preferably round)
- styro foam
- black paint
- assorted figurines, spiders and skeleton heads
- liquid fusion glue (found at Michaels)
- black glitter
- black permanent marker
- baby oil
- nail polish remover
- cotton ball
- assorted ribbon and tape
- double sided tape
- regular tape
- black cardstock paper
Tools
- scissors
- paint brush
- hot knife (optional)
Instructions
- The first thing you'll need to do is clean the label off your jars. If you are having a problem getting the thick glue off pop the jar in the microwave for 30 seconds or until it is hot (I had to use an oven mitten). Use a razor blade to scrape off the glue then to get the sticky residue off spray on some window cleaner; continue using the razor blade with paper towels and the jar should come clean. Once your jars are clean it's time to gather items you'd like to use in your globes. I found Halloween Village figurines at Dollar Tree along with spiders and skeleton heads.
- Measure how high you would like your item to be in the jar.
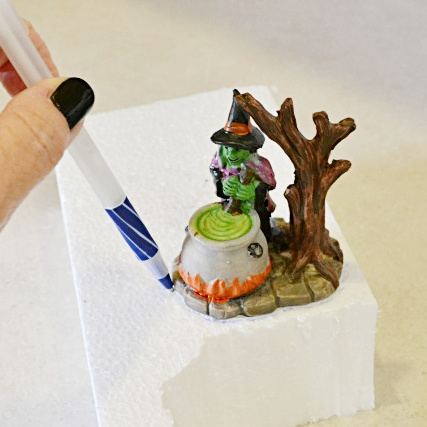
- Trace the item onto a piece of Styrofoam.
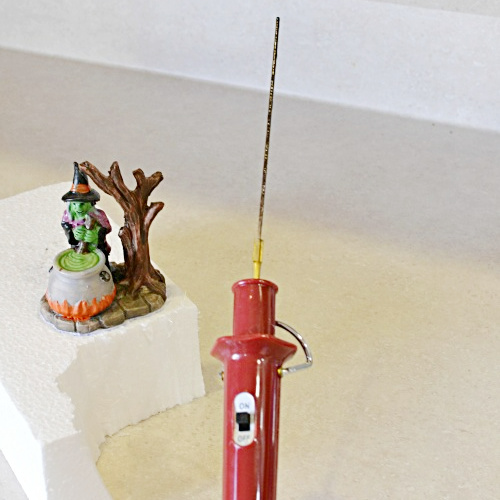
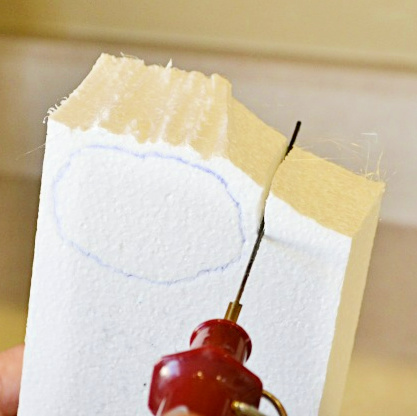
- Use a hot knife (if you don't have one a serrated knife will work too) to cut out the shape. You may need to cut some of the thickness too.
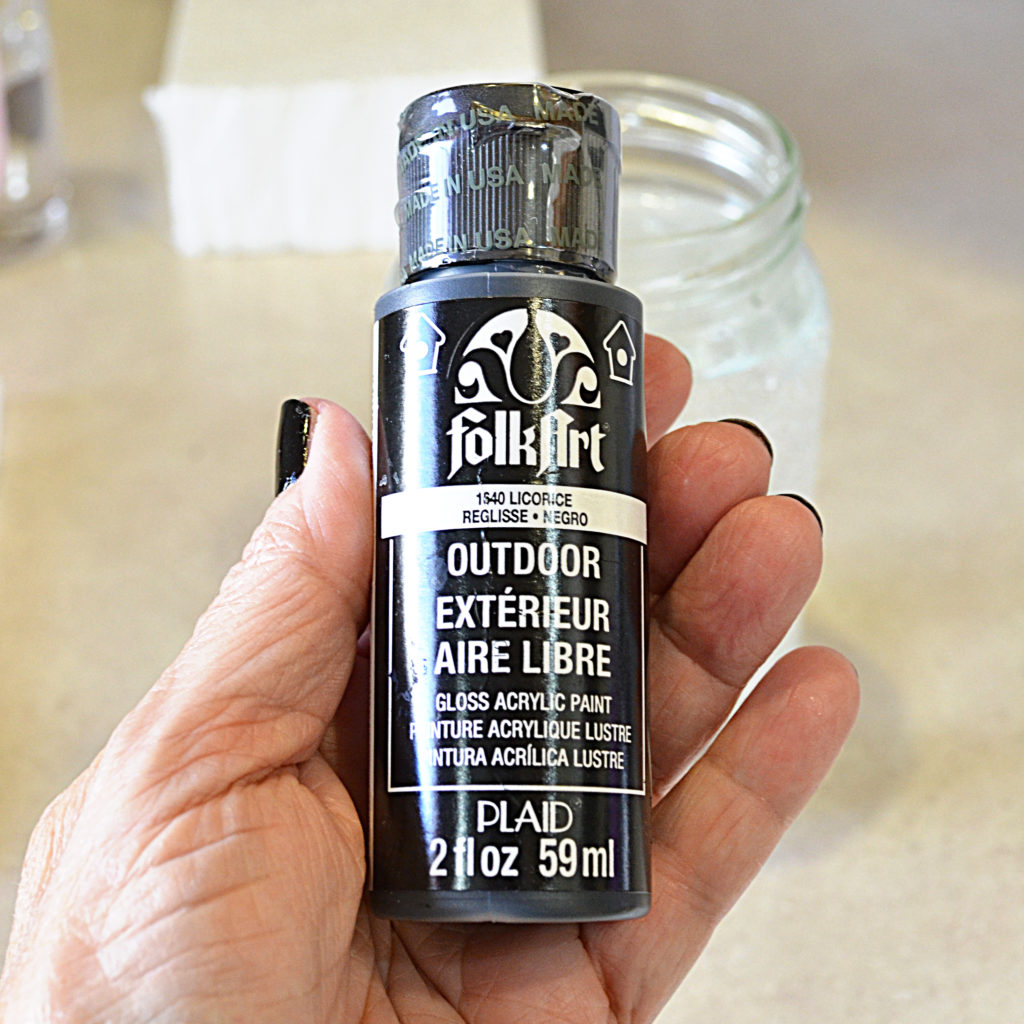
- Paint the piece of foam black ( I used Folk Art Outdoor Licorice paint). Let the paint dry completely.
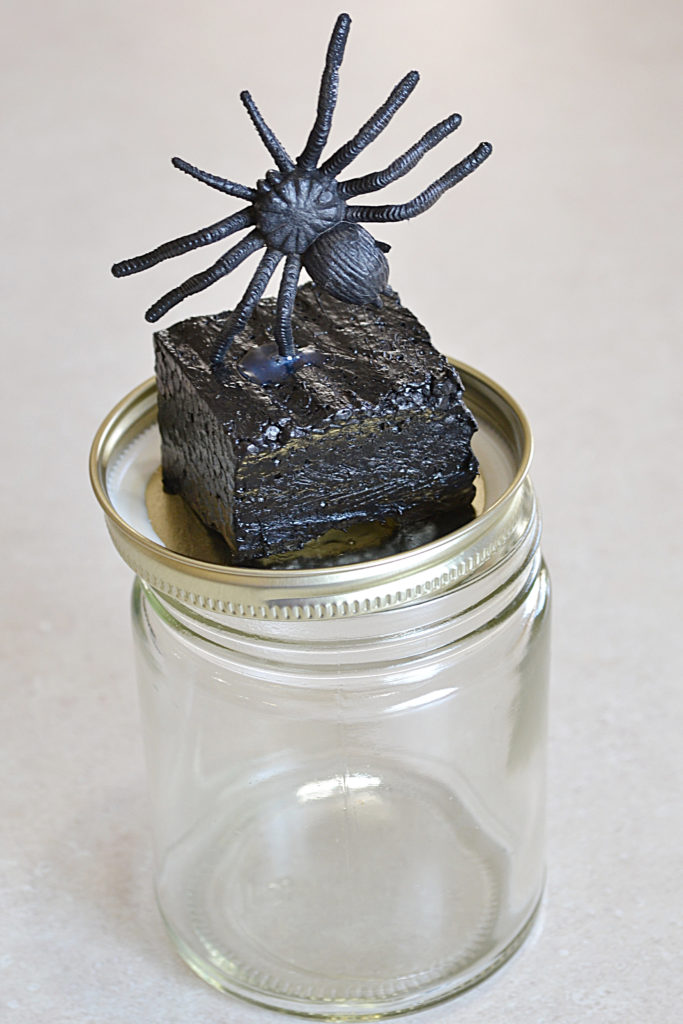
- Glue the painted piece of styro foam to the inside of the lid and then glue the item to the top of the styro foam. LET DRY 24 HOURS!
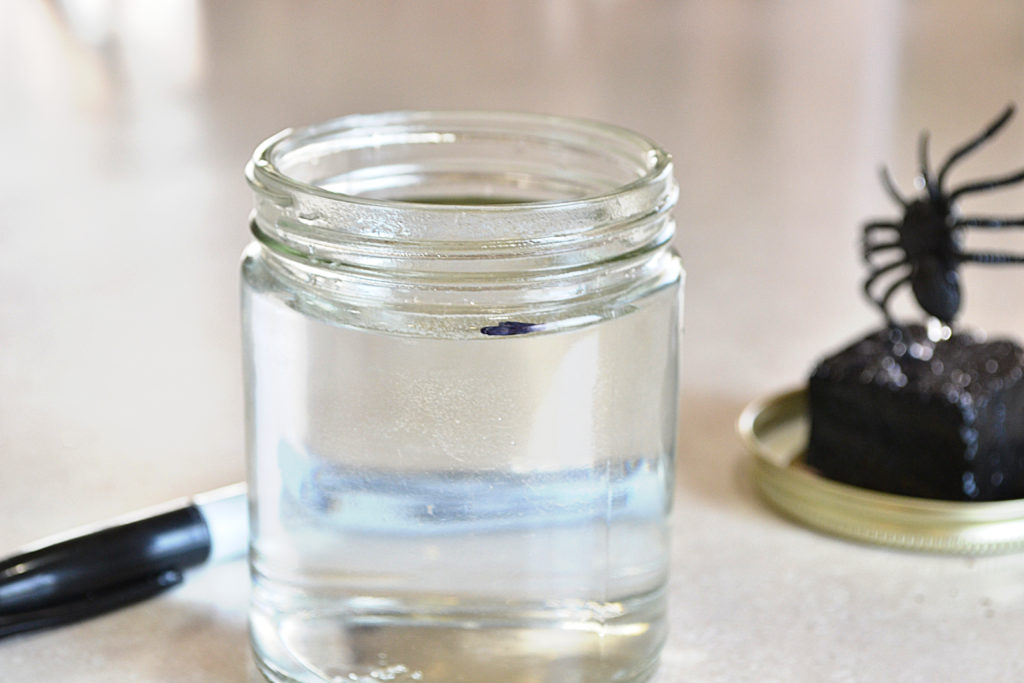
- NEXT DAY: Fill the jar with water, submerge the lid with the glued item. Keep adding water and submerging the lid and item into it until the water level reaches almost the top of the jar.
- Take off the lid and use the marker to mark where the water level is. This is the fill line for the baby oil. NOTE: You can use water but the glitter floats done twice as fast. The oil keeps the glitter suspended.
- Squeeze oil up to the line.
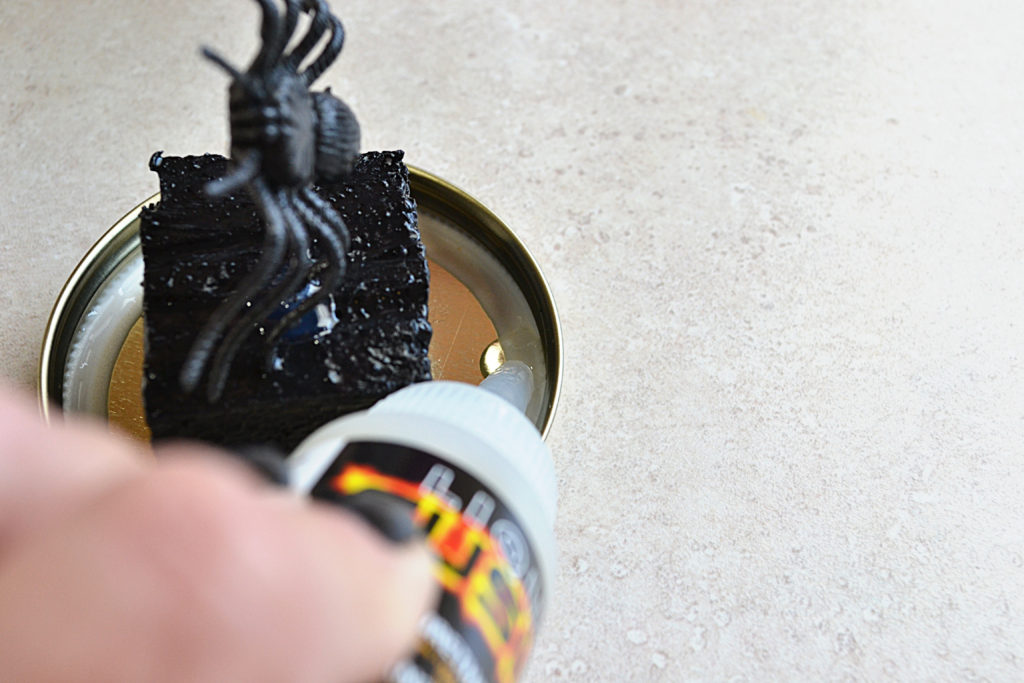
- Sprinkle in some glitter; add more of the glue to the inside rim of the lid.
- Screw on the lid as tight as you can and let it sit for another 24 HOURS.
- Decorate the side of the lid with decorative tape or ribbon.
- Add pieces of double stick tape around the edges.
- Wrap the decorative tape or ribbon around the lid. If the tape is too thick,
snip around down to the top of the lid and press down. - OPTIONAL: To secure the tape even more tape down the edges on the top of the lid. Use double stick tape and tape on the black card stock/paper over the edges of the tape.
- Add nail polish remover to the cotton ball and remove the black water level mark.



Comments
DIY Halloween Party Snow Globes — No Comments
HTML tags allowed in your comment: <a href="" title=""> <abbr title=""> <acronym title=""> <b> <blockquote cite=""> <cite> <code> <del datetime=""> <em> <i> <q cite=""> <s> <strike> <strong>