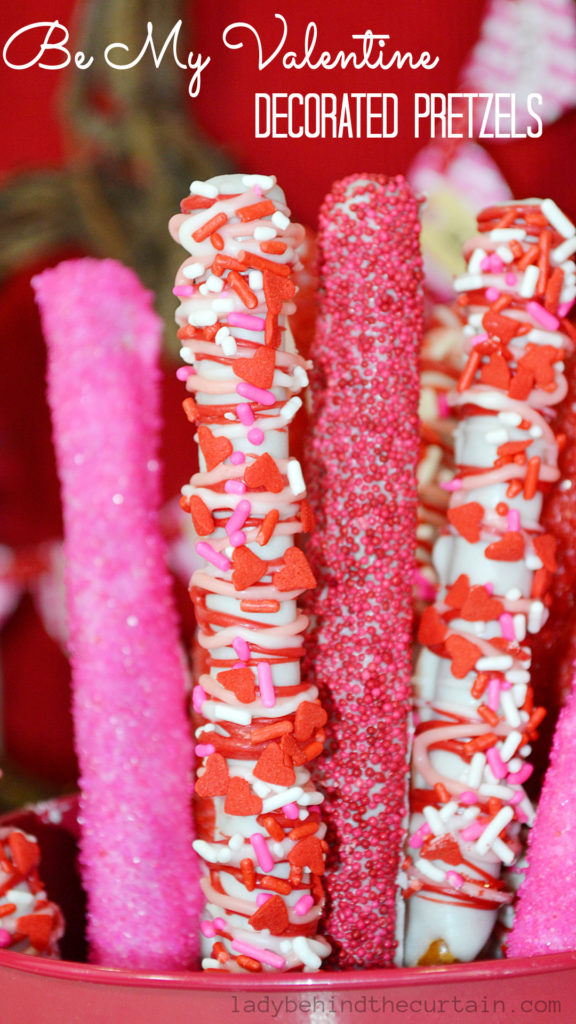
Be Mine Valentine Decorated Pretzels
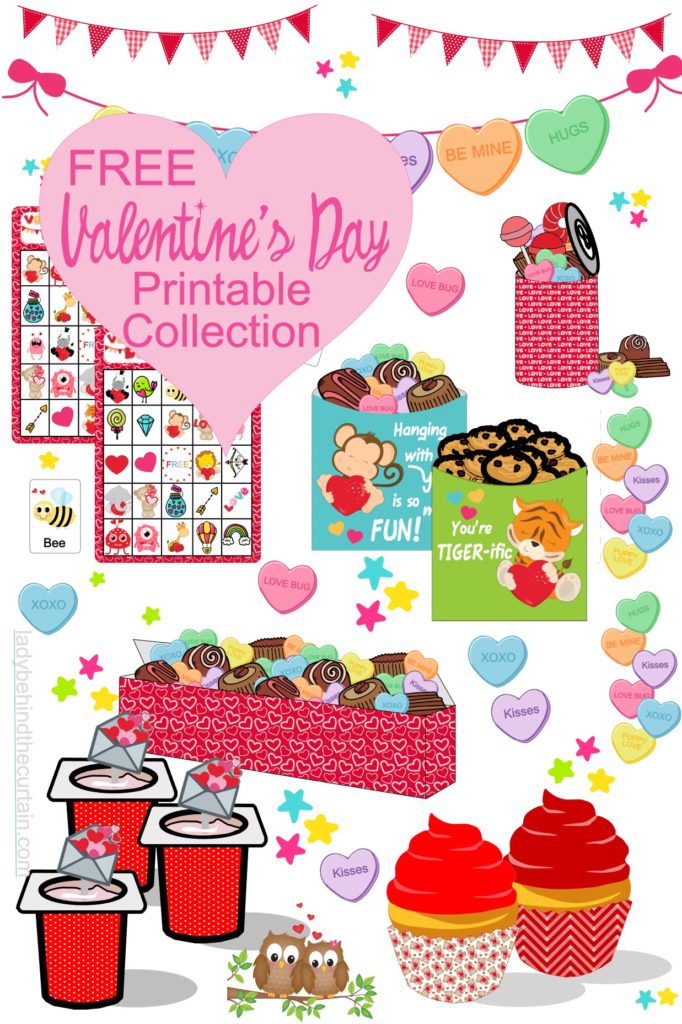
Be Mine Valentine Decorated Pretzels: As we approach Valentine’s Day, the air is filled with love and the sweet smell of delicious treats. But this year, why not add a twist to your usual Valentine’s Day sweets? Imagine the perfect combination of salty and sweet, with a touch of festive charm. Enter: Valentine decorated pretzels. These irresistible snacks not only make for a delightful treat, but also a unique and thoughtful gift for your loved ones. So put down the traditional heart-shaped chocolates and join us as we dive into Valentine decorated pretzels. Below you will find step-by-step instructions on how to create your own, and offer tips and tricks for perfecting your pretzel decorating skills. Get ready to impress your valentine with these scrumptious and eye-catching delights. Scroll down for FREE Party Printable Collection including decorated pretzel pockets.
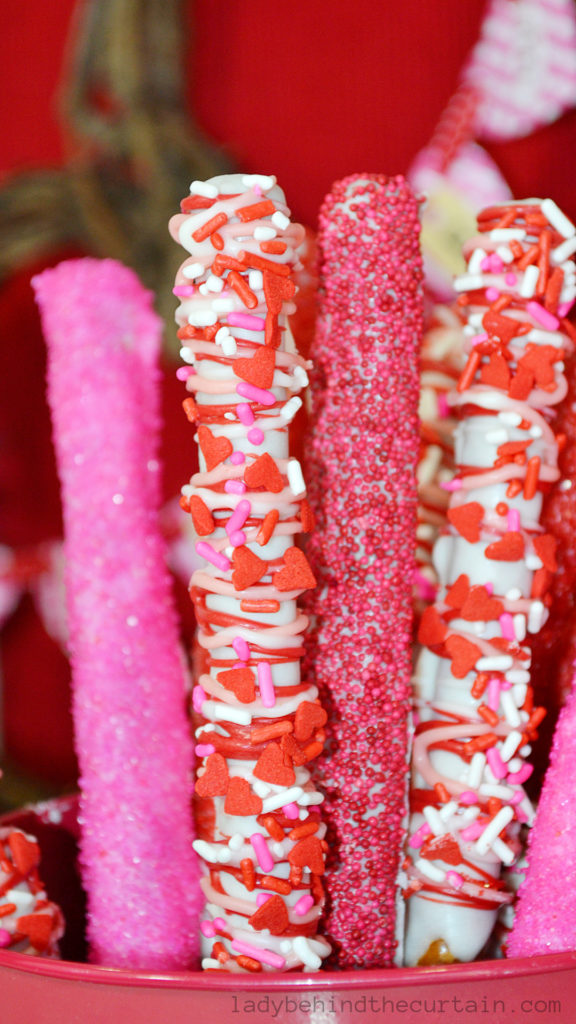
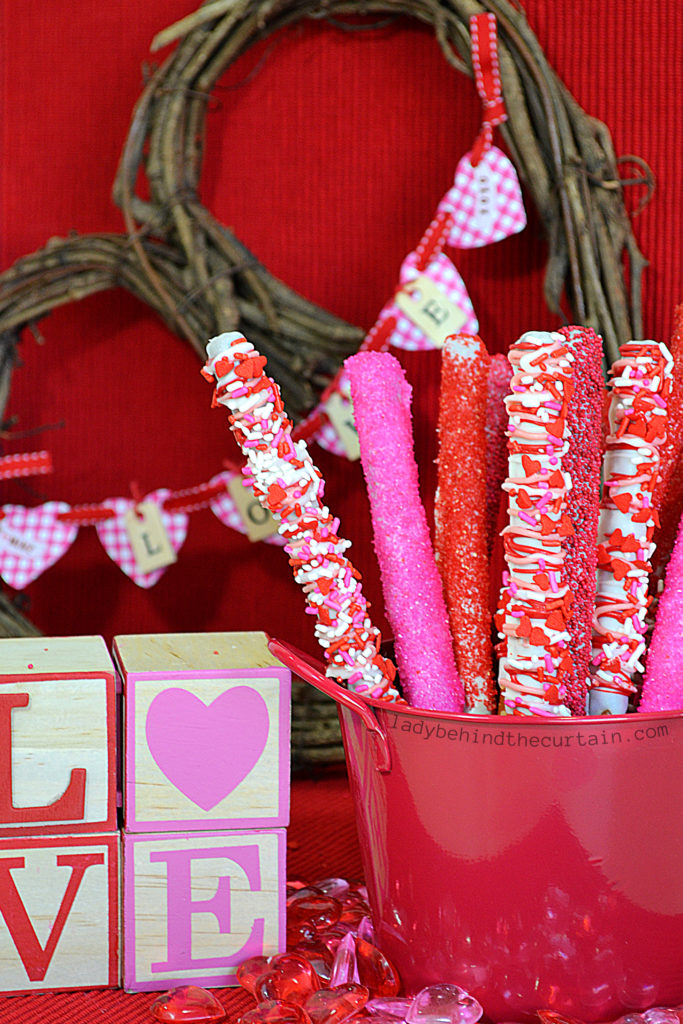
How to Make Be My Valentine Decorated Pretzels
The amount of decorated pretzels is determined by how much melted candy is used and how the melted candy is used. EXAMPLE: 1 cup of melted candy will nicely cover 10 dipped pretzel rods.
MELTING CANDY: I used to swear by Wilton Candy Melts. They were easy to find and I thought melted beautifully. Until I started using Sweet Tooth Fairy Meltables. The candy melts beautifully and tastes a little bit better than Wilton Candy Melts. If you want to really amp up the flavor I recommend using Ghirardelli white chocolate melting wafers. The only downfall of using the melting wafers is the color. White is the only color available. Good news adding a few drops of an oil based food coloring to melted candy will allow you to create any color. Make sure the coloring is oil based. Using traditional, alcohol-based food coloring for your candy will cause the mixture to seize.
RED, WHITE, AND PINK CANDY
- Pour 1 cup meltables into a medium microwave safe bowl. Heat in 30 second increments (about a total of 1½ minutes), stirring between each time.
- Spoon warm melted candy over a pretzel rod, tap the edge of the bowl to release any extra candy.
- Place coated pretzel rod on a cookie sheet lined with parchment paper.
- If adding sprinkles, add them while the candy is still wet. If adding drizzle, continue with the remaining pretzel rods.
- To speed up the cooling process—place pretzel rods (on the cookie sheet) in the refrigerator to harden (about 10 minutes).
- While candy coating is hardening heat the candy for the drizzle.
- Pour ONE cup of each color into its own microwave safe bowl.
- Heat one color at a time (the same as you did with the base candy coating).
- Pour melted candy into a small piping bag or zip top bag—set aside and continue with the remaining two colors. SEE MY TIP BELOW ABOUT MY FAVORITE TOOL FOR THIS JOB AND WHY I LOVE IT.
- Take the pretzels out of the refrigerator
- Snip the end of each bag with the colored candy.
- In a sweeping motion back and forth separately add a drizzle of each color. TIP: For the best affect start with the darkest color and end with the lightest.
- Add red, pink and white sprinkles
- Move the pretzel rods from the messy piece of parchment paper to a clean piece to harden. Place in the refrigerator to harden (about 10 minutes).
FOR MORE CLARITY WATCH THE BELOW VIDEO
Helpful Squeeze Bottle Tips
TOOTHPICK: A toothpick is the best tool to use when working with a squeeze bottle.
STOPPED UP SQUEEZE BOTTLE LID: Poke a toothpick in the opening of the squeeze bottle lid, using an up and down motion should release any candy that has hardened.
CLEANING THE LID: Put a small piece of wet paper towel into the large tip opening of the lid, use a toothpick to push the paper towel into the pointed end of the lid.
KEEP A SQUEEZE BOTTLE FROM THE LID CLOGGING: When working with multiple colors of melted candy it’s easy for the tip of a squeeze bottle to become clogged due to the melted candy becoming cold and hard. Once finished with a color, place a toothpick into the hole until ready to use it again (during the same project).
Squeeze Bottle VS Zip Top Bag
Did you know you can use a small zip top bag to make a drizzle? Yes, you can! In a pinch a small zip top bag with the corner snipped will work. Do I recommend it? Hmmmm….I’m on the fence. I can’t say no but on the other hand I 100% prefer using squeeze bottle. Why? You can be a little more precise and I love the tiny lines. You will get chunky lines with a zip top bag. Squeeze bottles are only .98cents at Walmart.
HOW TO STORE DECORATED PRETZELS
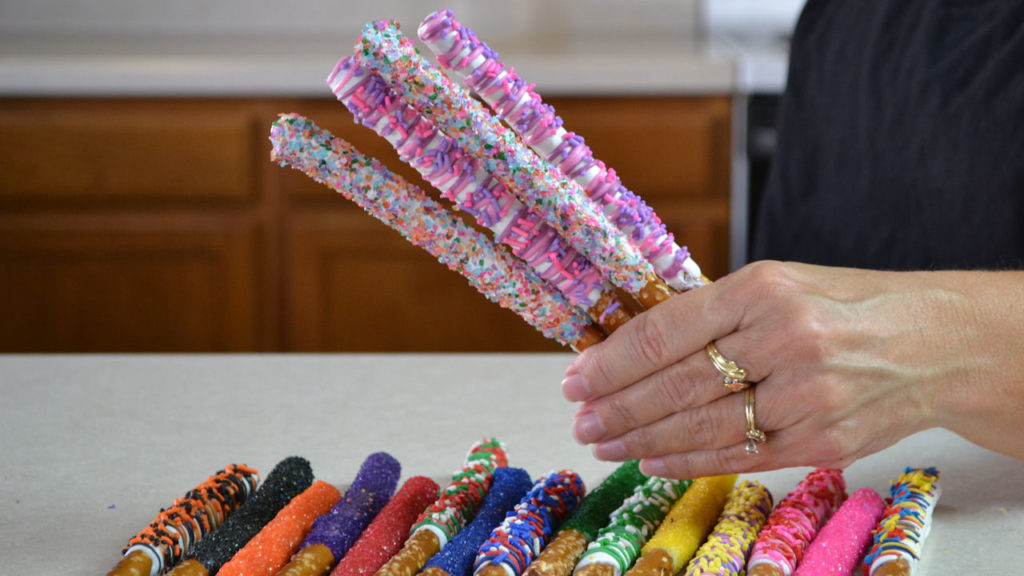
The easiest way is to store decorated pretzels is in an airtight container at room temperature. Provided everything is fresh to begin with and the container is clean, dry, and has a tight seal, partially covered pretzel rods can stay fresh for about 2-3 weeks.
What is a Pretzel Pocket?
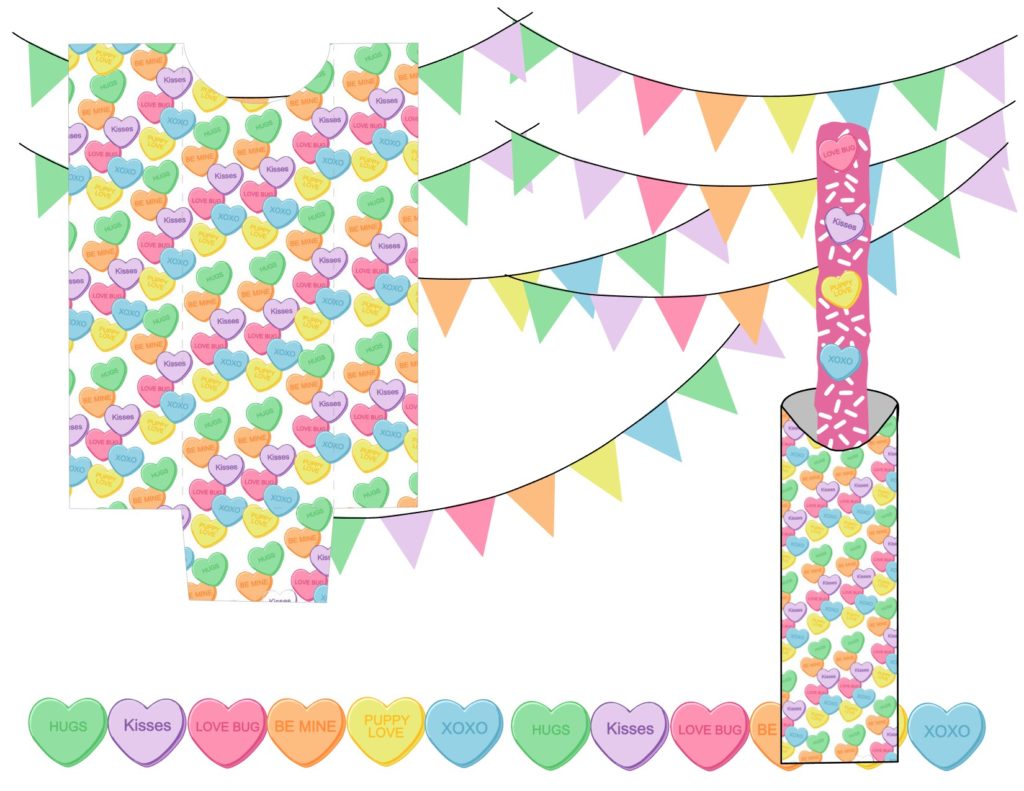
Valentine’s Day Party FREE Printable Collection
Can I Use Chocolate Bars Instead of Candy Coating?
The main difference between candy coating and real chocolate is cocoa butter. Real chocolate contains cocoa butter, while candy coating contains other natural oils such as palm kernel oil. Real chocolate requires tempering, candy coating may be melted and allowed set, it’s that easy. TEMPERING: Heating and cooling chocolate to stabilize it for making candies.
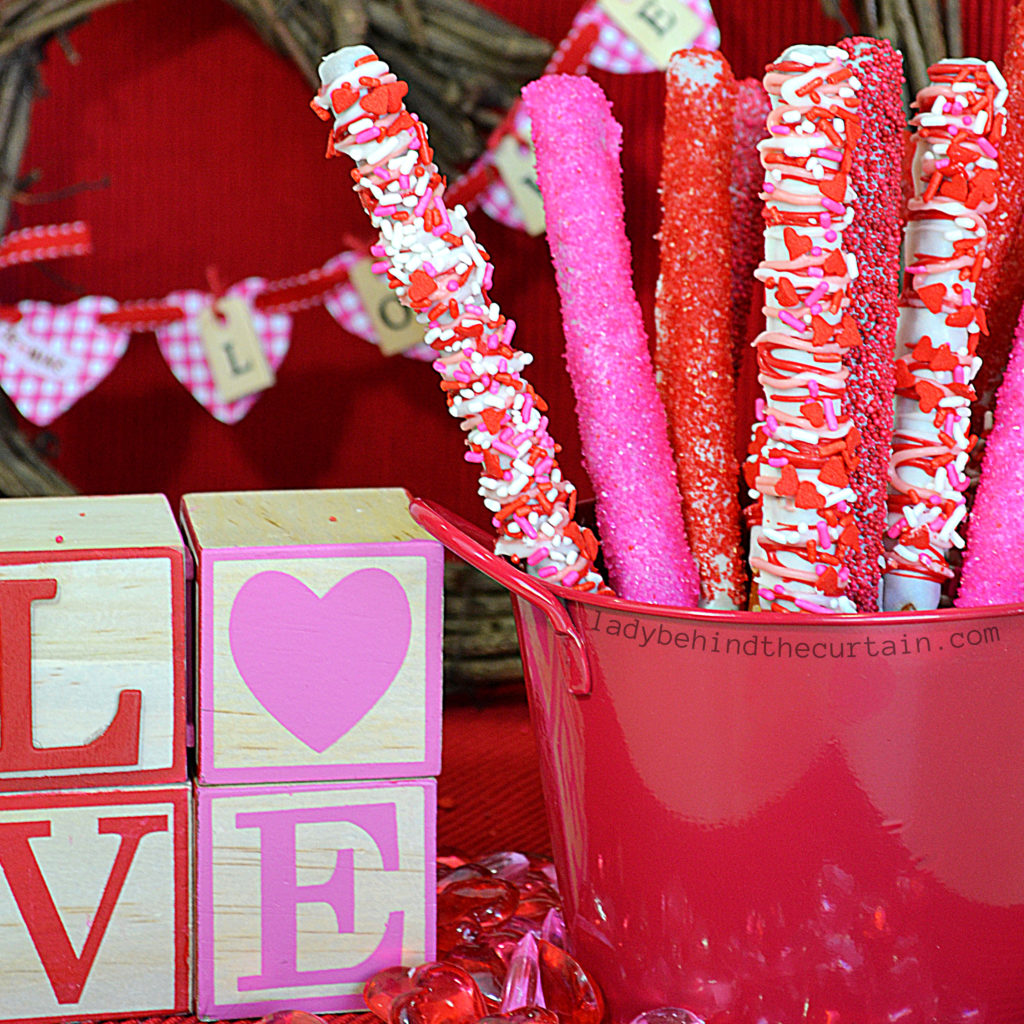
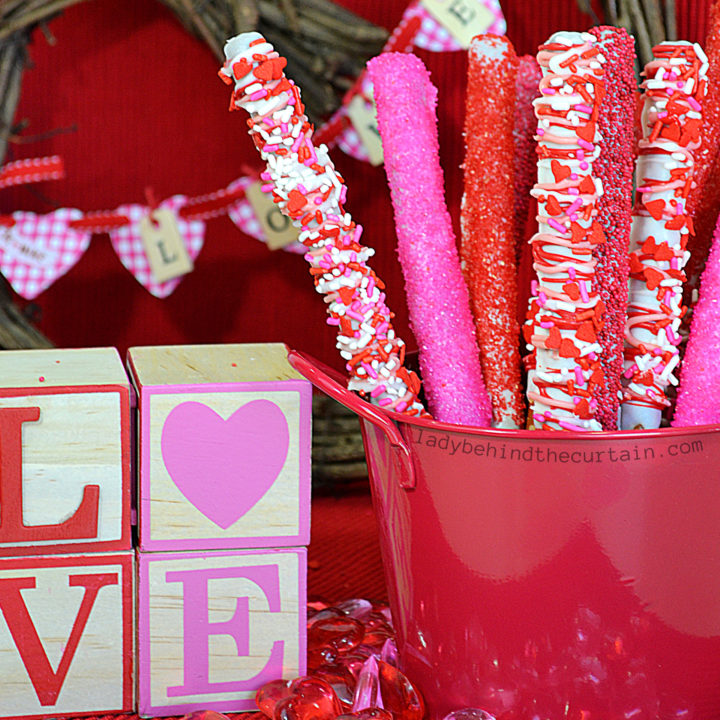
Be My Valentine Decorated Pretzels
An easy to make Valentine's Day Treat that everyone loves!
Ingredients
- 1 (12 ounce) bag white melting candy
- 20 pretzel rods
- 3 tablespoons vegetable shortening, divided between all the colors
- 1 cup of each color (red and pink)
- assorted Valentine's Day themed sprinkles
Instructions
- Line a cookie sheet with parchment paper.
- Pour white melting candy in a medium microwave safe bowl or jar and 1 tablespoon of shortening.
- Heat in 30 second increments, stirring between each time (about a total of 1½ minutes).
- IF USING A BOWL, spoon melted candy over pretzel, making sure to leave space at the bottom for holding. IF USING A JAR, dip pretzel into melted candy. FOR BOTH, tap on the side to release any excess candy.
- FOR DRIZZLE: Place coated pretzels on the prepared cookie sheet to harden. To speed up the process, place dipped pretzels on the cookie sheet in the refrigerator to harden (about 10 minutes). Pour the red melting candy in a small microwave safe bowl with 1 tablespoon of shortening. Heat in 30 second increments, stirring between each time (about a total of 1½ minutes). Pour melted candy into a small squeeze (see post to read about why I prefer a squeeze bottle instead of a zip top bag). Set and aside, repeat this process for the pink melting candy. Once the base coat has hardened, add the colors. In a back and forth motion add the red candy, then the pink candy. Before the candy hardens, add Valentine's Day themed sprinkles. Set aside or in the refrigerator to harden.
- FOR SUGAR COATING: Add sugar white candy coating is still wet. Place coated pretzels on prepared cookie sheet.
SIGN UP FOR THE LADY BEHIND THE CURTAIN NEWSLETTER

NEWSLETTER: Receive (twice a month) seasonally themed newsletters full of recipes, tips and tricks. Sometimes even FREE gifts! Click here for the Newsletter→CURTAIN CALL NEWSLETTER
THANKS FOR VISITING♥


Looks so pretty and yummy!
KC
I love these pretzels!
I kind of forget about these after Christmas is over, but I don’t know why! They can obviously be made for most holidays.
Oh yum. The chocolate with the pretzels – so so so good.
Those turned out beautiful! I’m hosting a Valentine Craft Party and would love for you to participate and link up your crafts!!
Just follow the link…http://sew-licious.blogspot.com/2013/01/valentine-showoff-party.html
{hugs}
Marti
I love chocolate covered pretzels! Yours are so pretty and festive! 🙂
http://dixie-n-dottie.blogspot.com/
I love these and your bag topper is so cute! Thanks for sharing.
Your recipe is awesome and thank you so much for sharing it with Full Plate Thursday.
Have a great weekend and come back soon!
Miz Helen
My daughter and I have been sitting here drooling for the past 10 minutes…. those Valentine Pretzels are just pink perfection! Thanks so much for sharing!!