Build A Snowman Kit
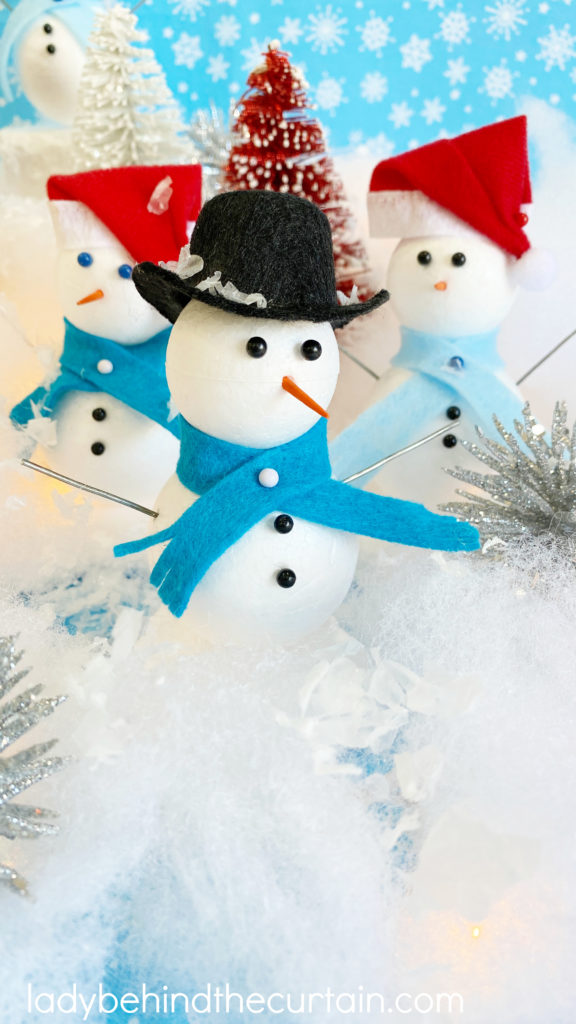
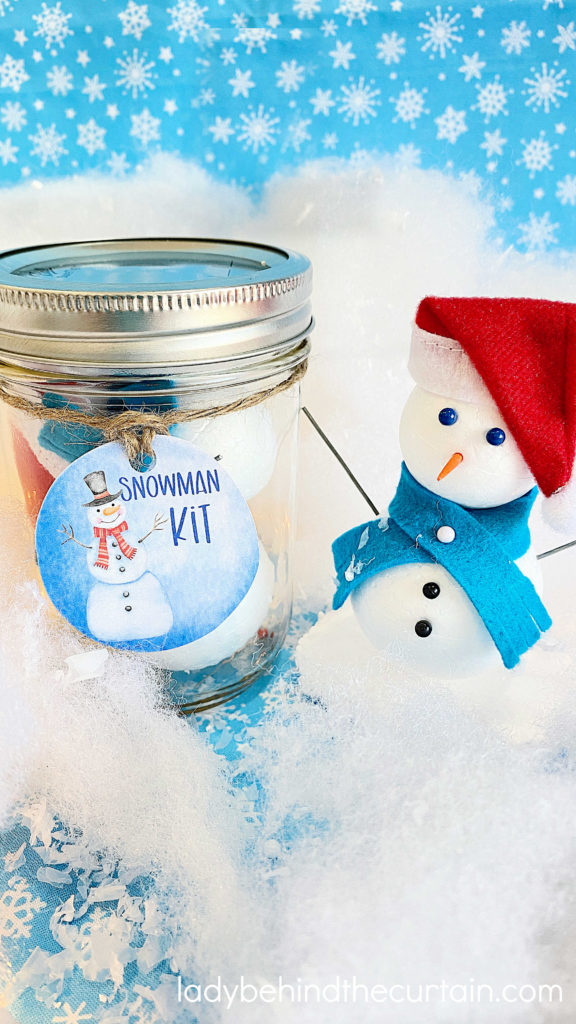
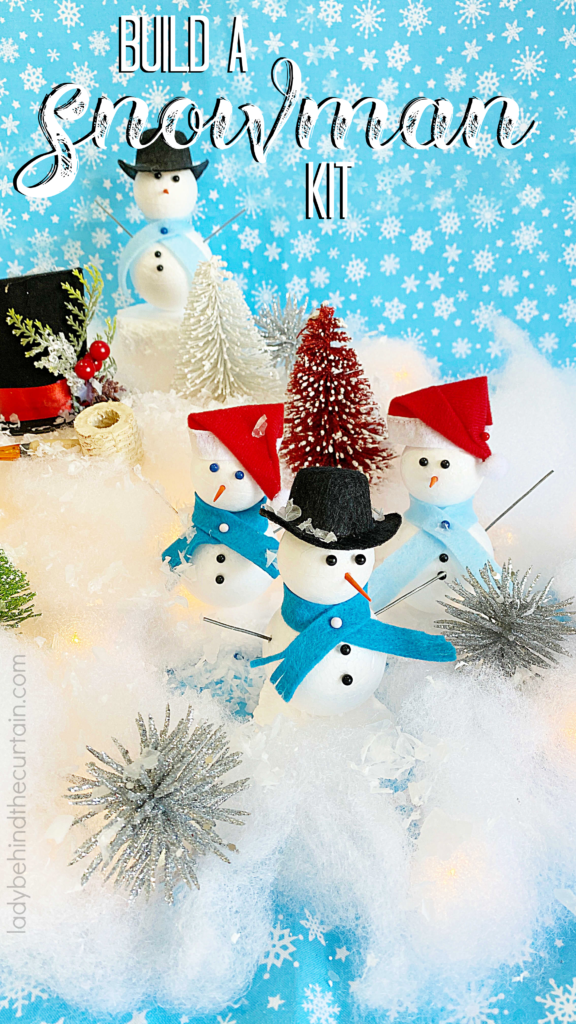
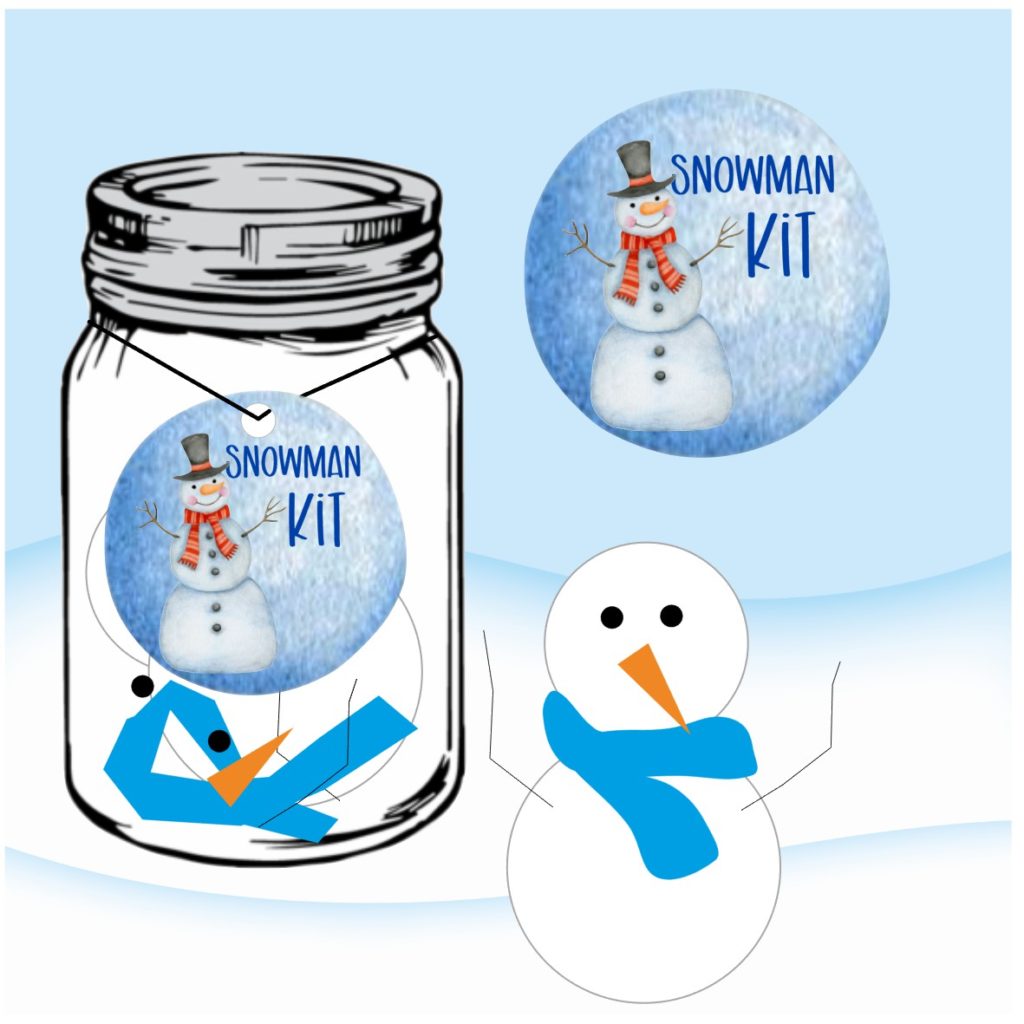
Build a Snowman Kit: Keep the kids busy Christmas Day with this easy to make snowman kit. Perfect for a kids Christmas Table placed at each kids place setting or for handing out as a Kids Christmas party favor. Great for kids of all ages! Planning a Snowman Themed Christmas Party? Scroll down for FREE Snowman Themed Kids Table supplies designed by me!

FREE Christmas or Winter Kid’s Activity Sheets and Coloring Pages
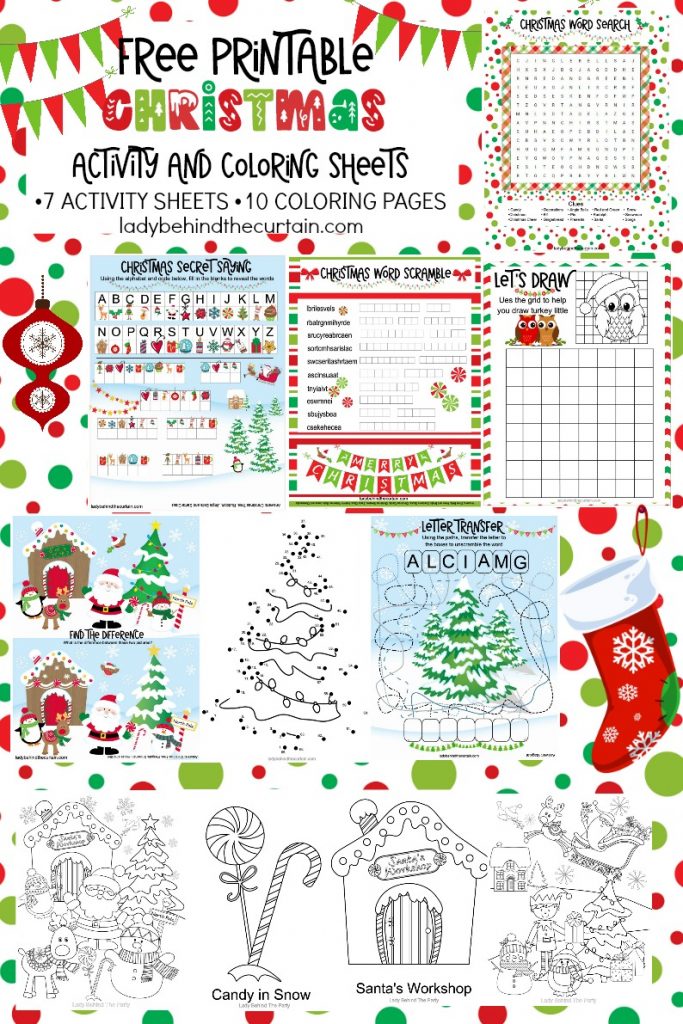
- SOME OF THE FILES HAVE MORE GRAPHICS THEN OTHERS AND WILL TAKE A LITTLE LONGER TO LOAD—BE PATIENT—THEY WILL LOAD
- COLORING PAGE 1
- COLORING PAGE 2
- COLORING PAGE 3
- COLORING PAGE 4
- COLORING PAGE 5
- COLORING PAGE 6
- COLORING PAGE 7
- COLORING PAGE 8
- COLORING PAGE 9
- COLORING PAGE 10
- DOT TO DOT ACTIVITY SHEET
- LET’S DRAW ACTIVITY SHEET
- LETTER TRANSFER ACTIVITY SHEET
- CHRISTMAS SECRET SAYINGS ACTIVITY SHEET
- CHRISTMAS WORD SEARCH ACTIVITY SHEET
- WHAT IS THE DIFFERENCE ACTIVITY SHEET
- WORD SCRAMBLE ACTIVITY SHEET
Snowman Christmas Party FREE Printable Collection
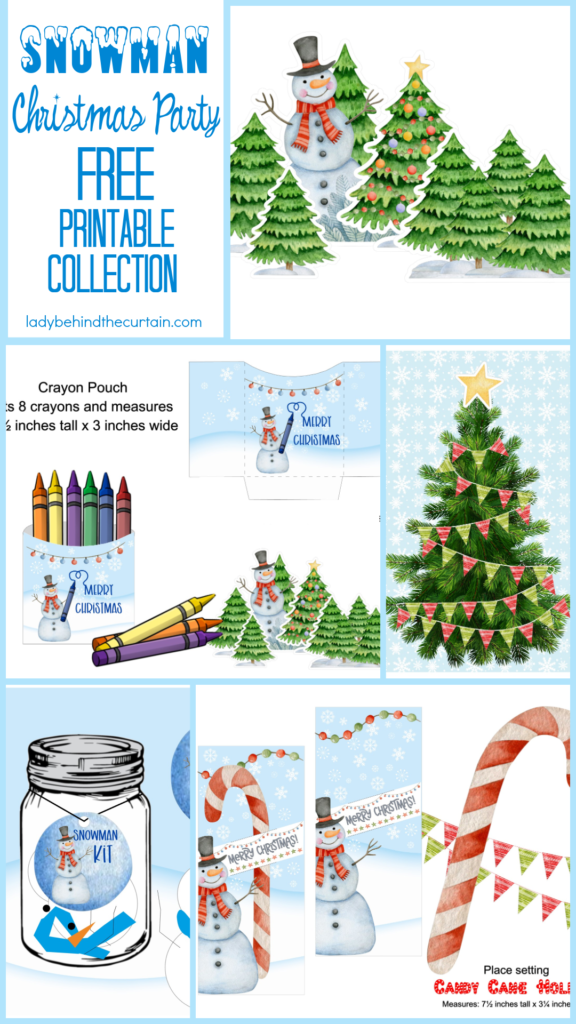

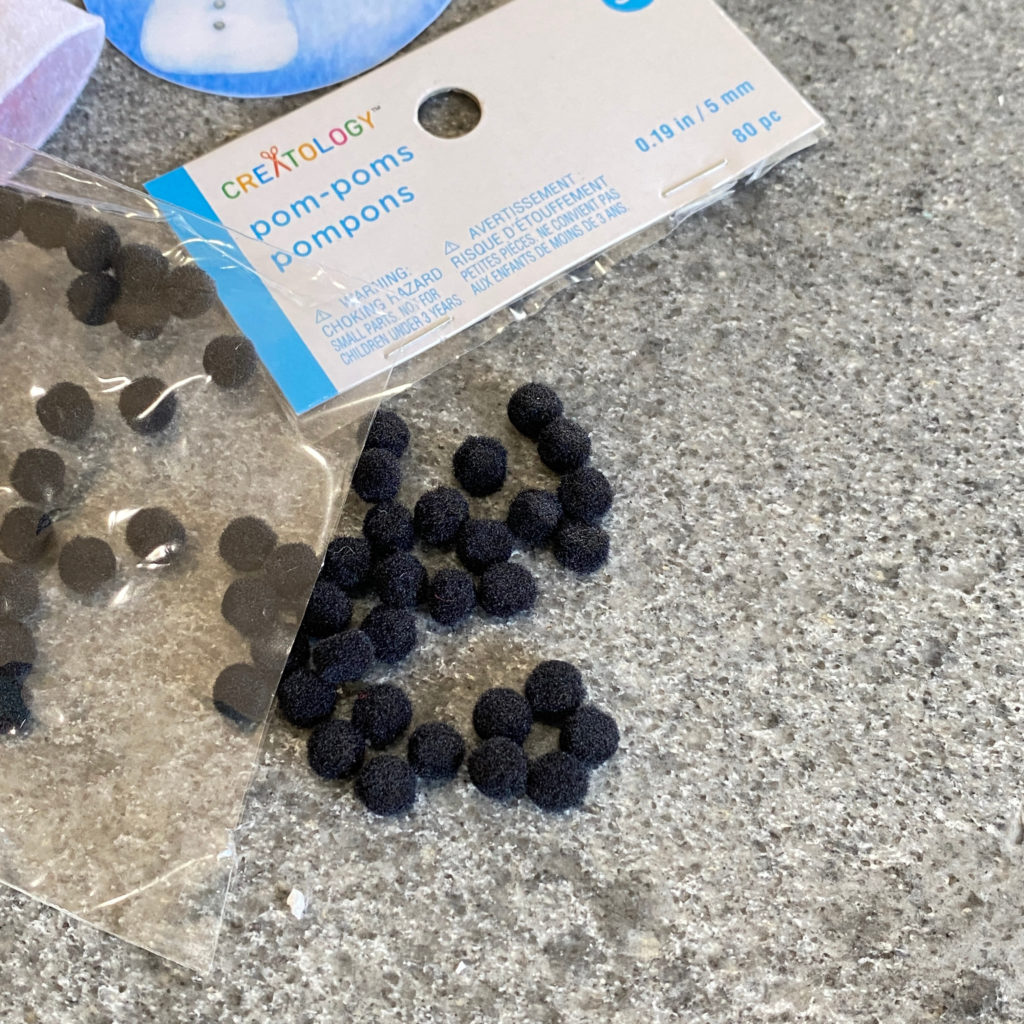
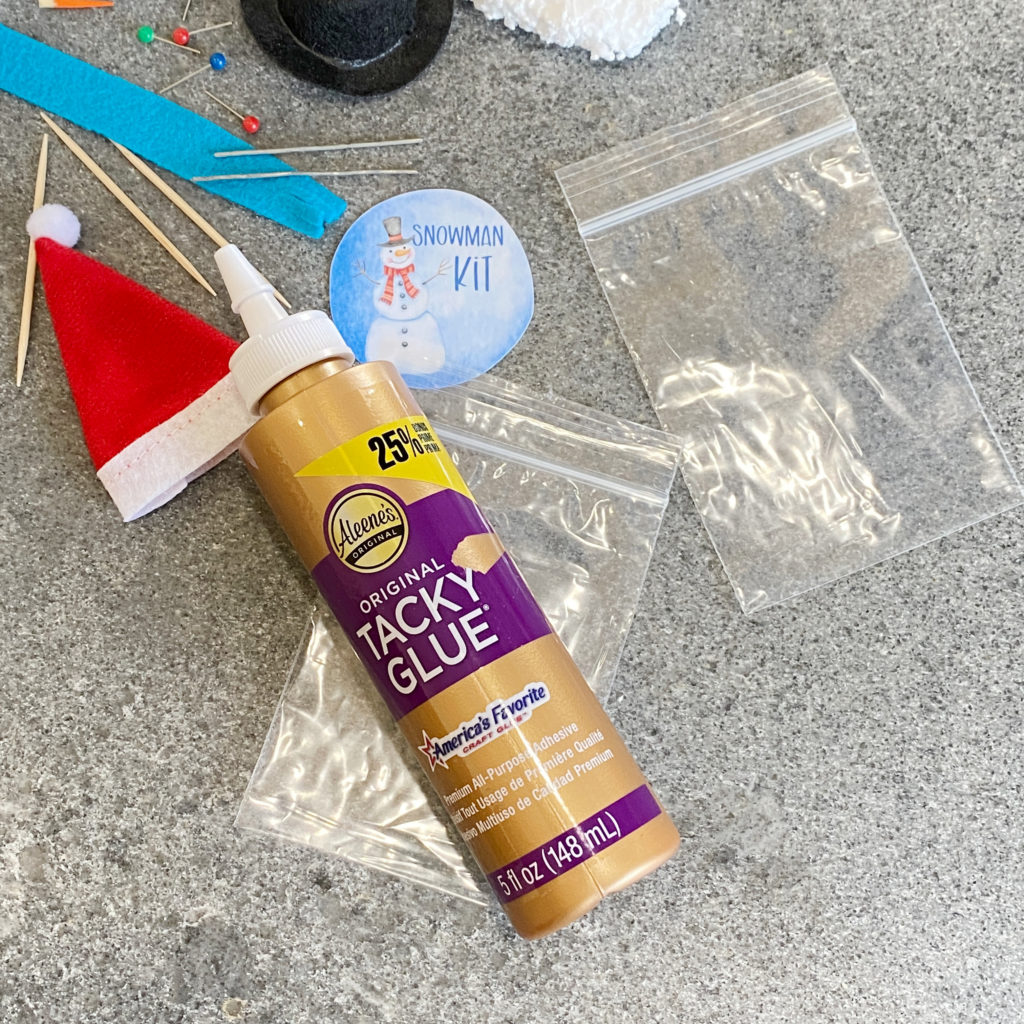
Snowman Kit for Toddlers
Two Kinds of Instruction Sheets
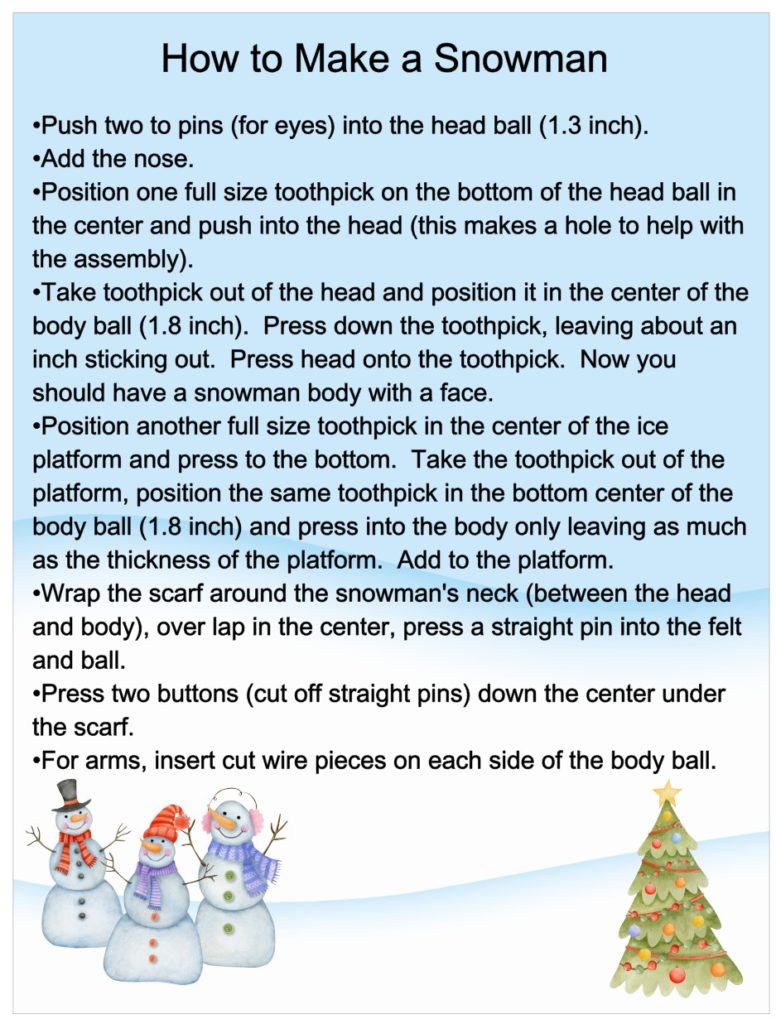
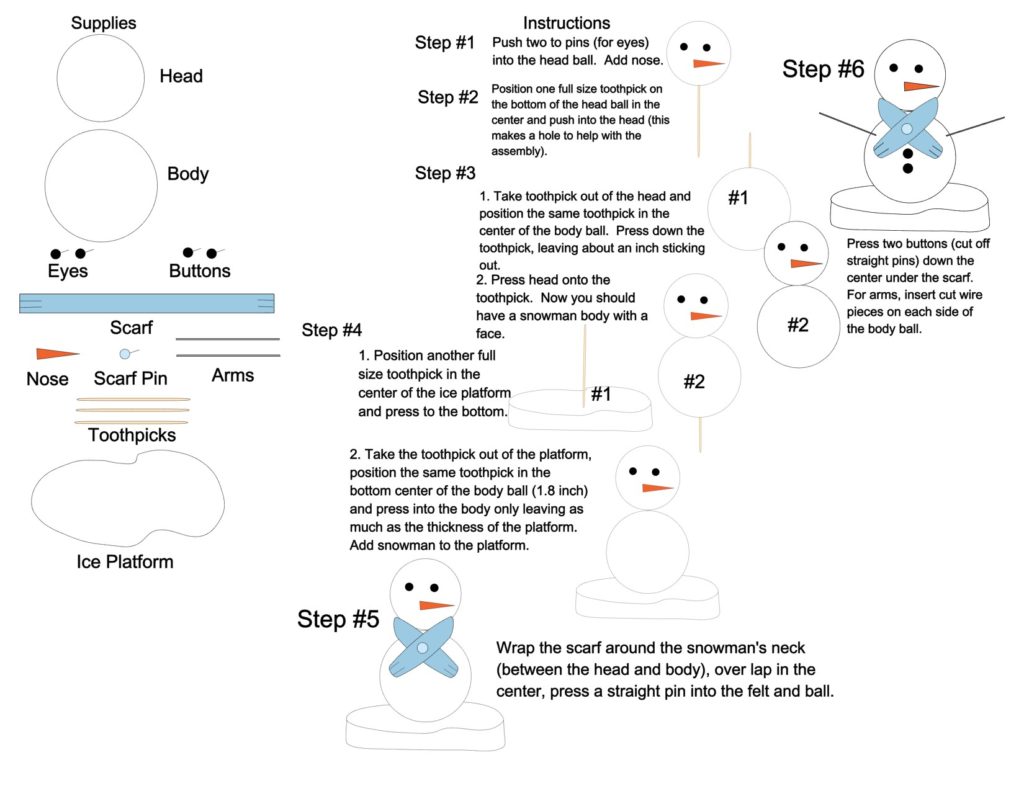
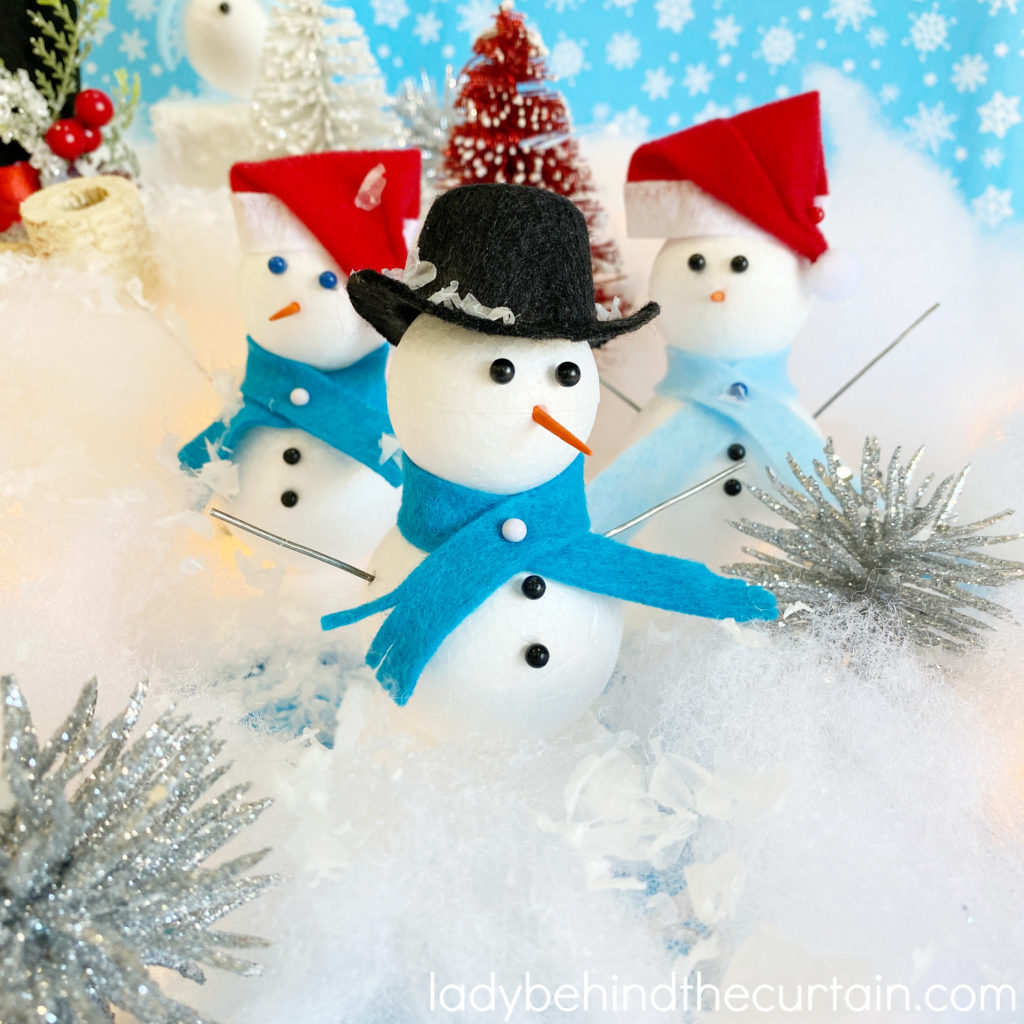
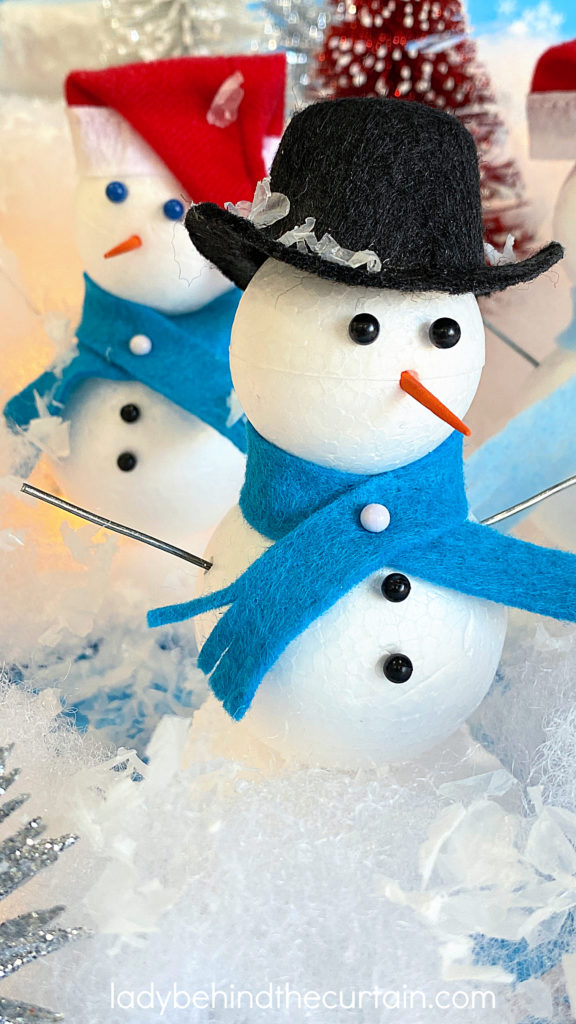
How to Build a Snowman Kit (regular)

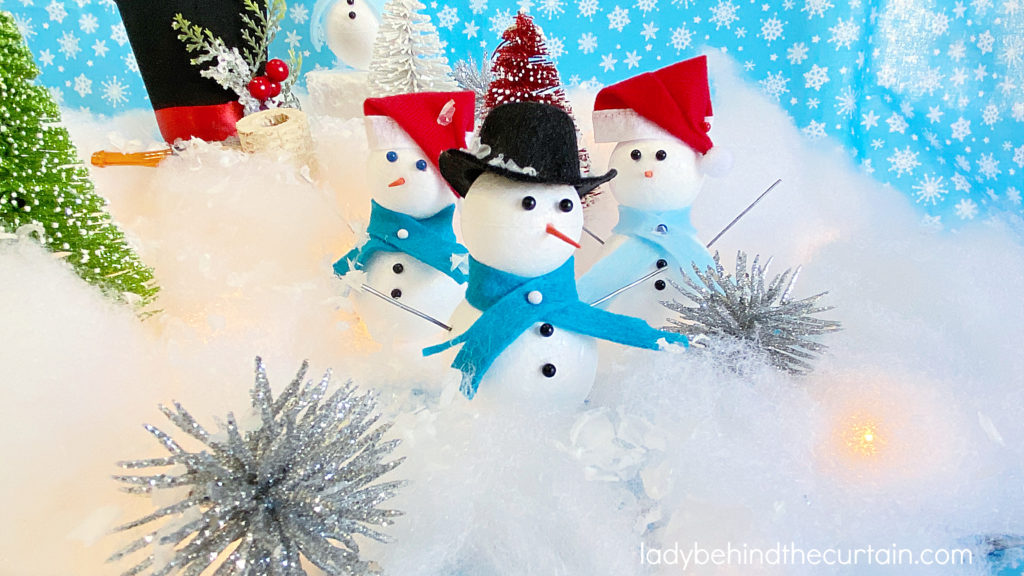
- SUPPLIES (full printable how to below)
- 1 (1.8 INCH) smooth styrofoam ball (body)
- 2 (1.3 INCH) smooth styrofoam ball (head)
- 1 (3 inch) round piece smooth styrofoam ball (snow base)
- 4 black bead top straight pins (original size 2½ inches)
- 1 bead top straight pin (for scarf)
- felt square (scarf)
- 3 wooden toothpicks
- 1 (18 gauge) stem wire
- orange paint (nose)
- string (I like jute string)
- pint size jar with lid
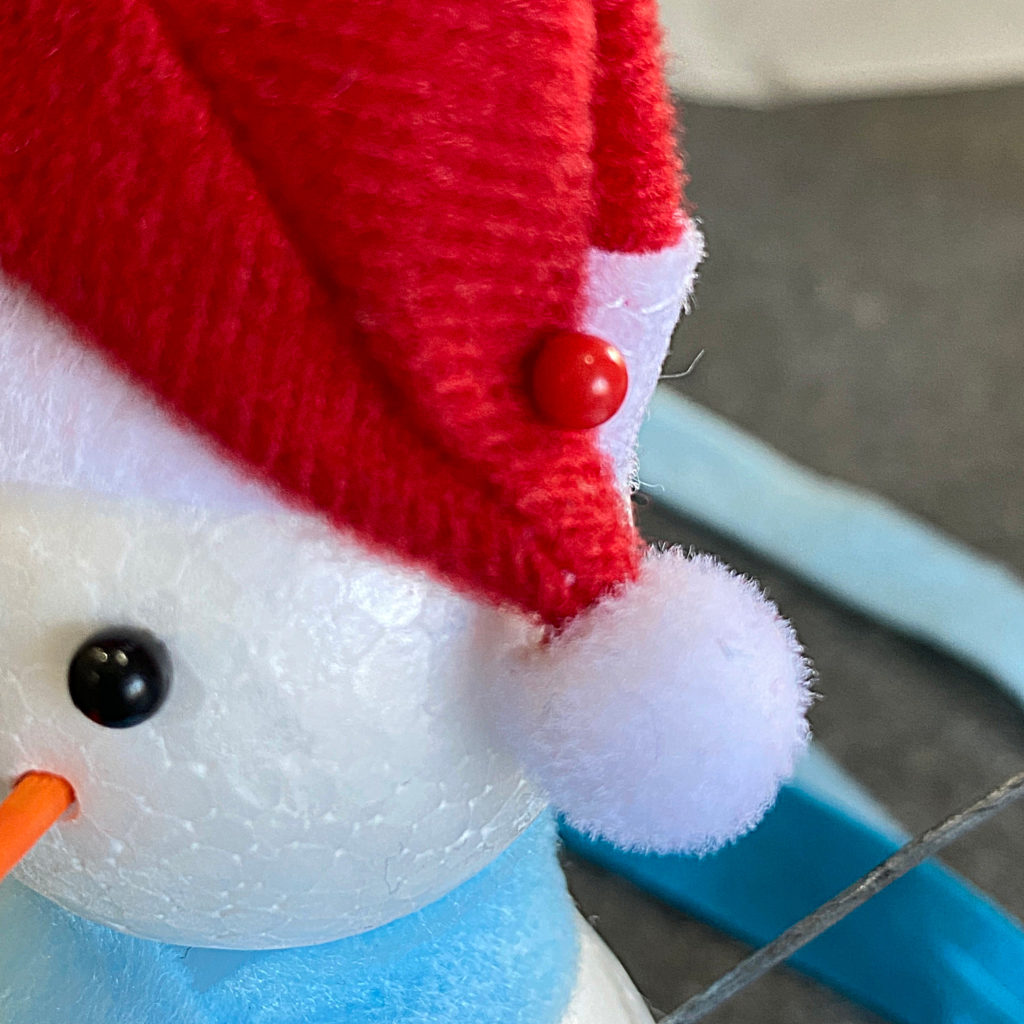
- Optional hat
- DIRECTIONS
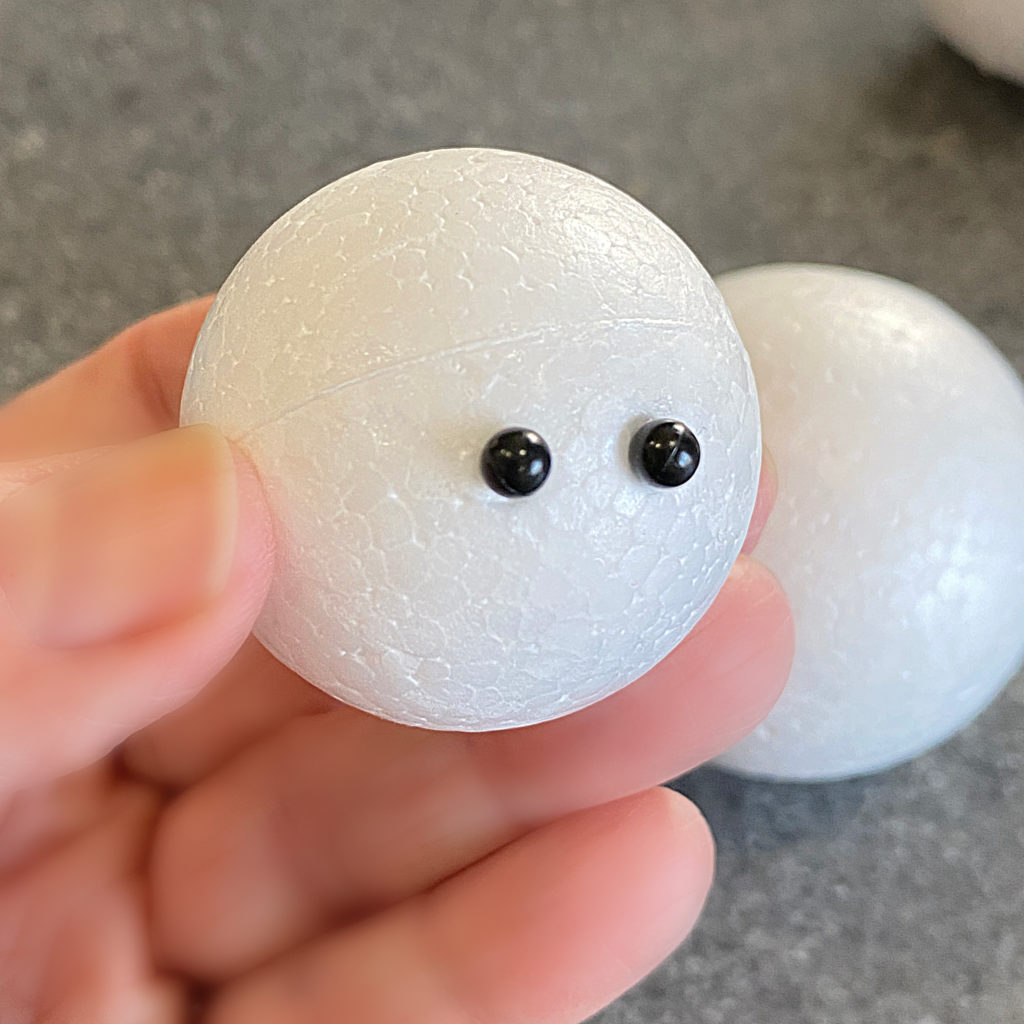
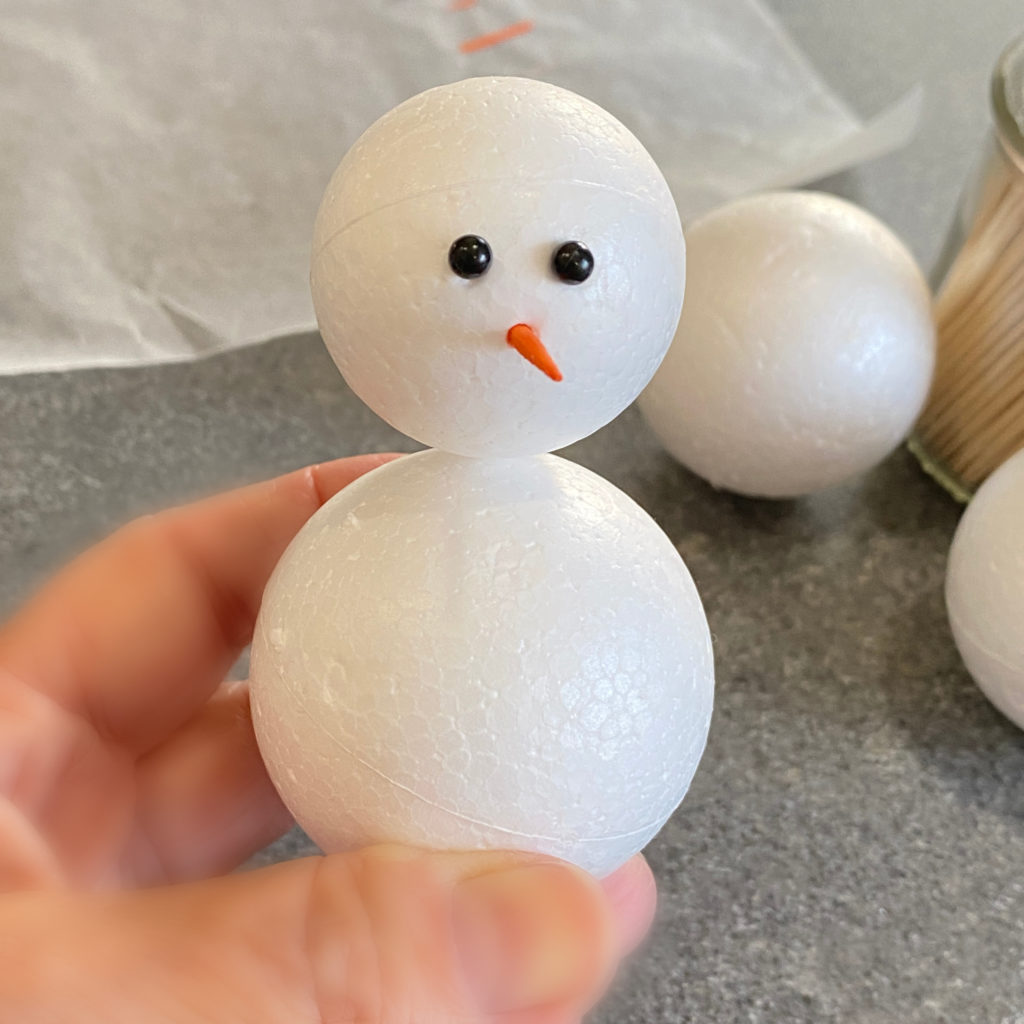
- Push two to pins (for eyes) into the head ball (1.3 inch).
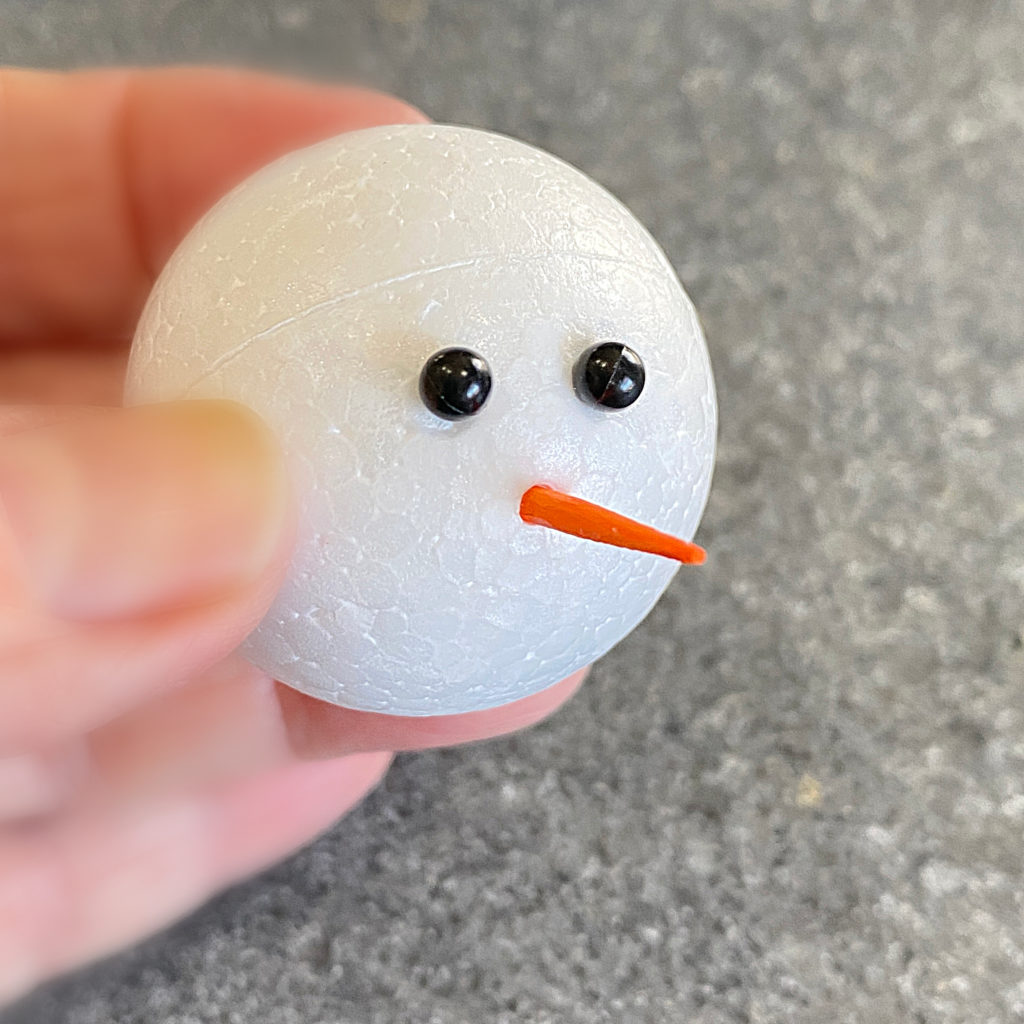
- Add the nose.
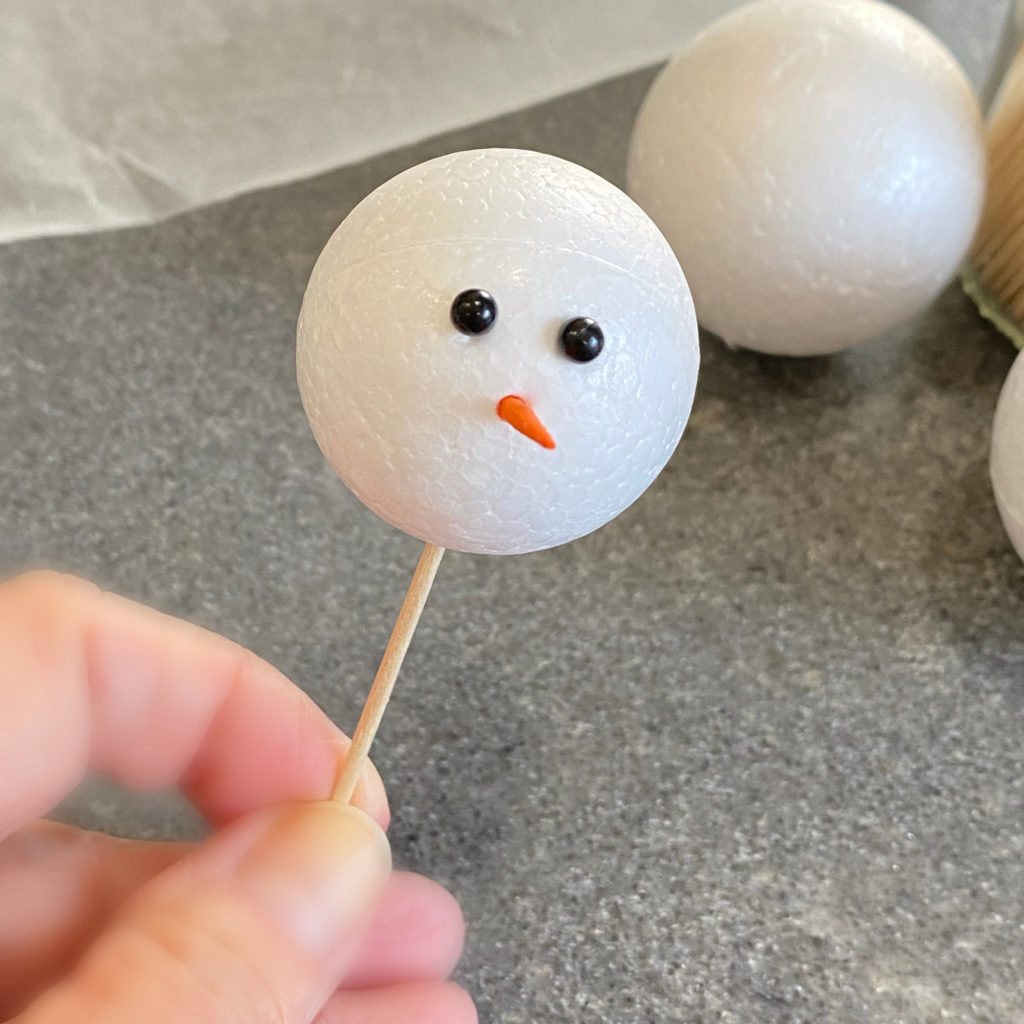
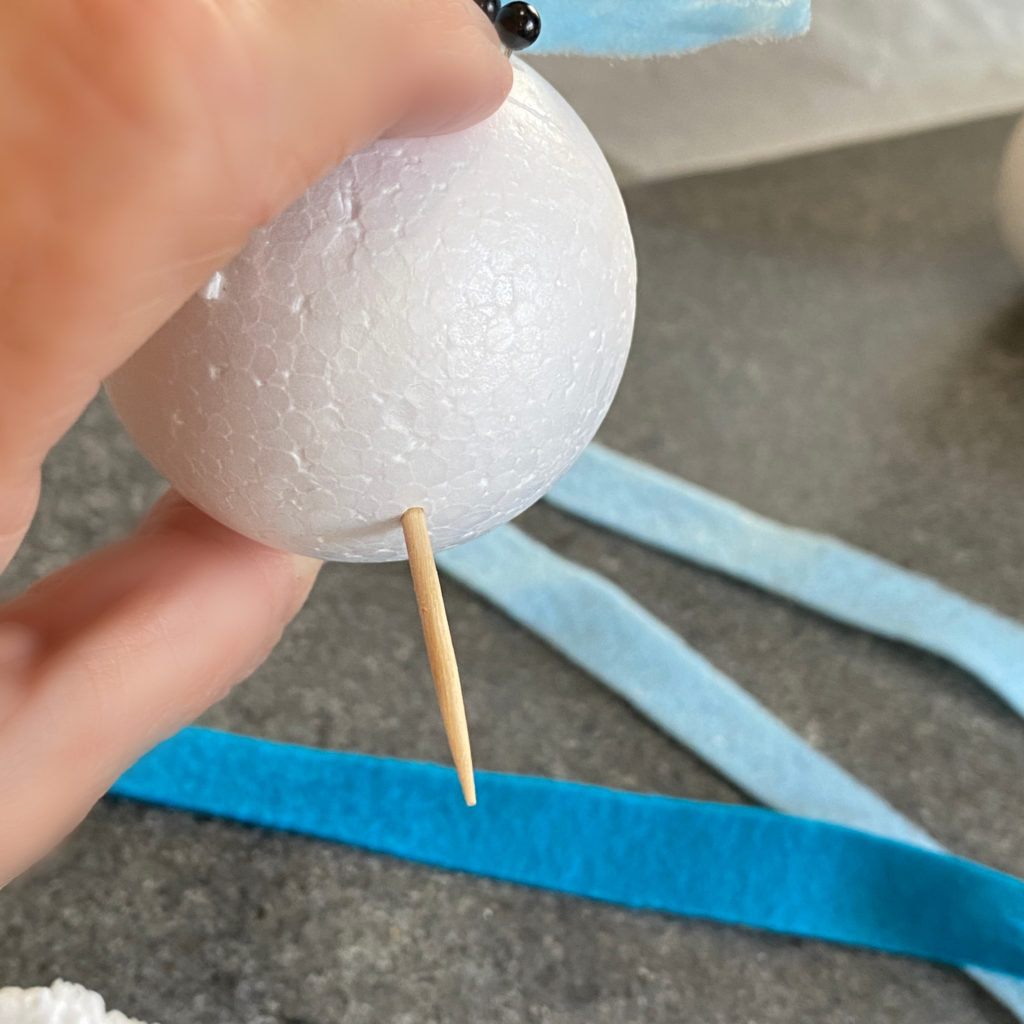
- Position one full size toothpick on the bottom of the head ball in the center and push into the head (this makes a hole to help with the assembly).
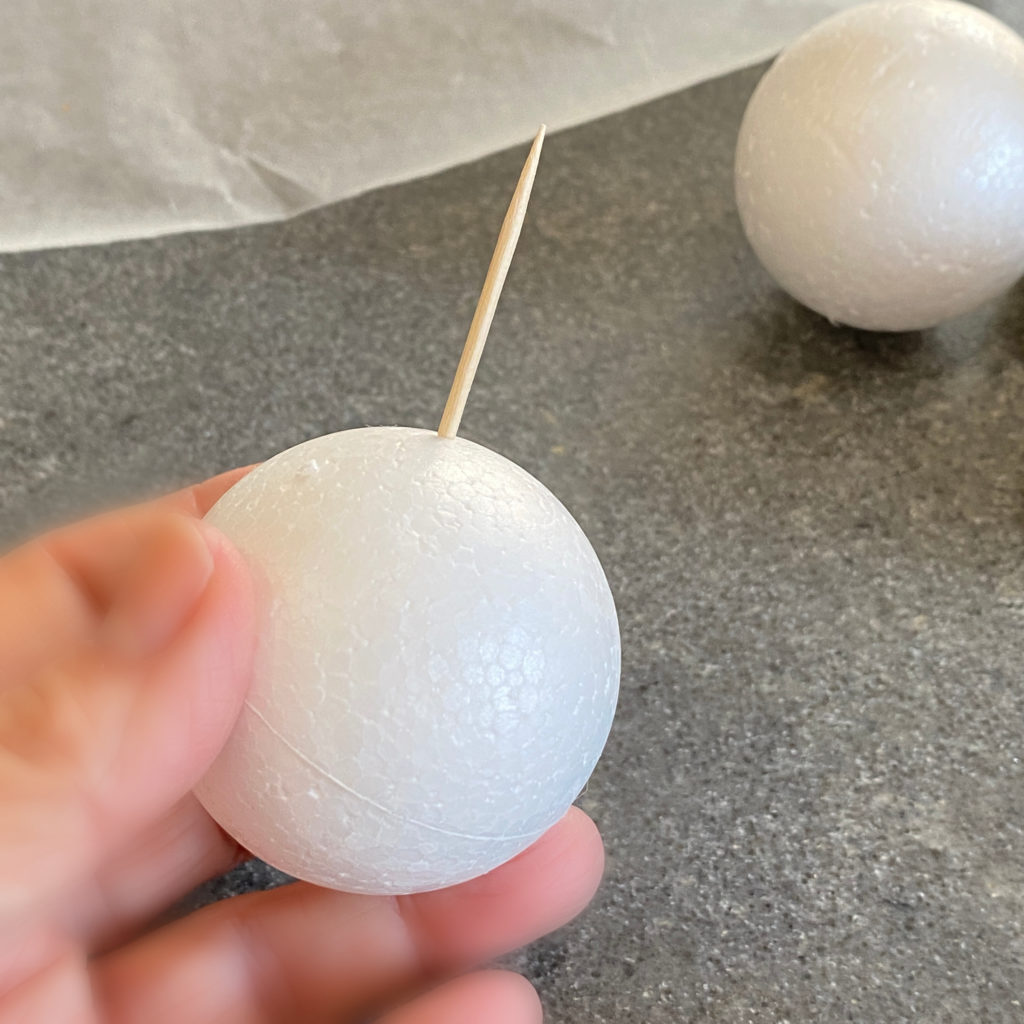
- Take toothpick out of the head and position it in the center of the body ball (1.8 inch). Press down the toothpick, leaving about an inch sticking out. Press head onto the toothpick. Now you should have a snowman body with a face.
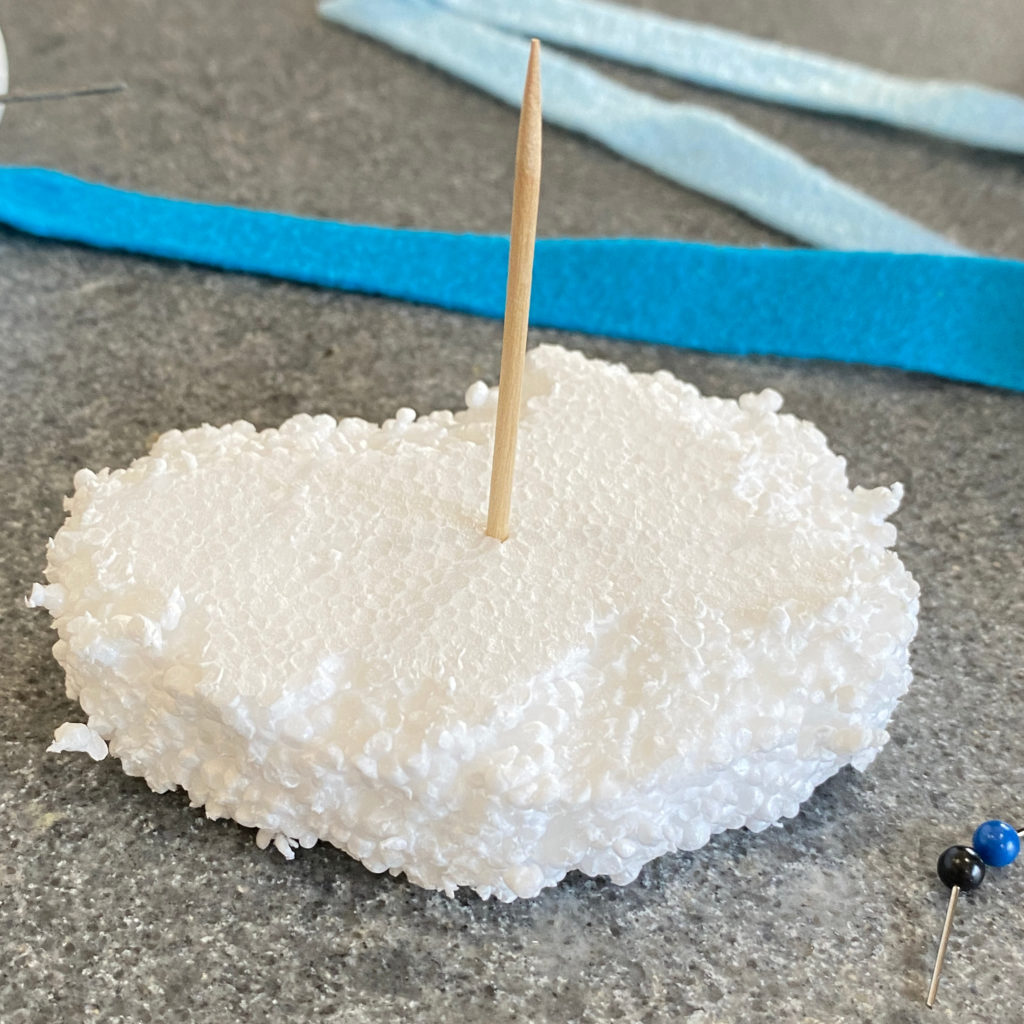
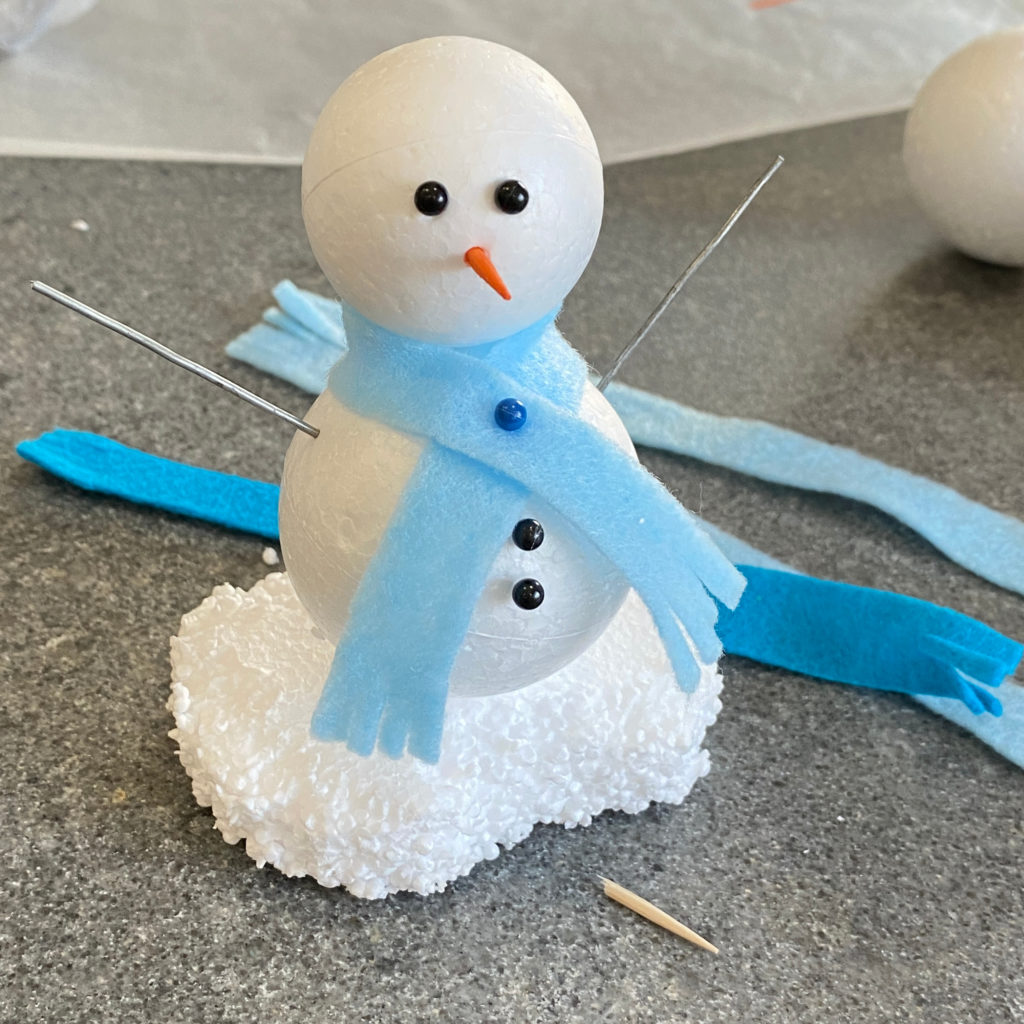
- Position another full size toothpick in the center of the ice platform and press to the bottom. Take the toothpick out of the platform, position the same toothpick in the bottom center of the body ball (1.8 inch) and press into the body only leaving as much as the thickness of the platform. Add to the platform.
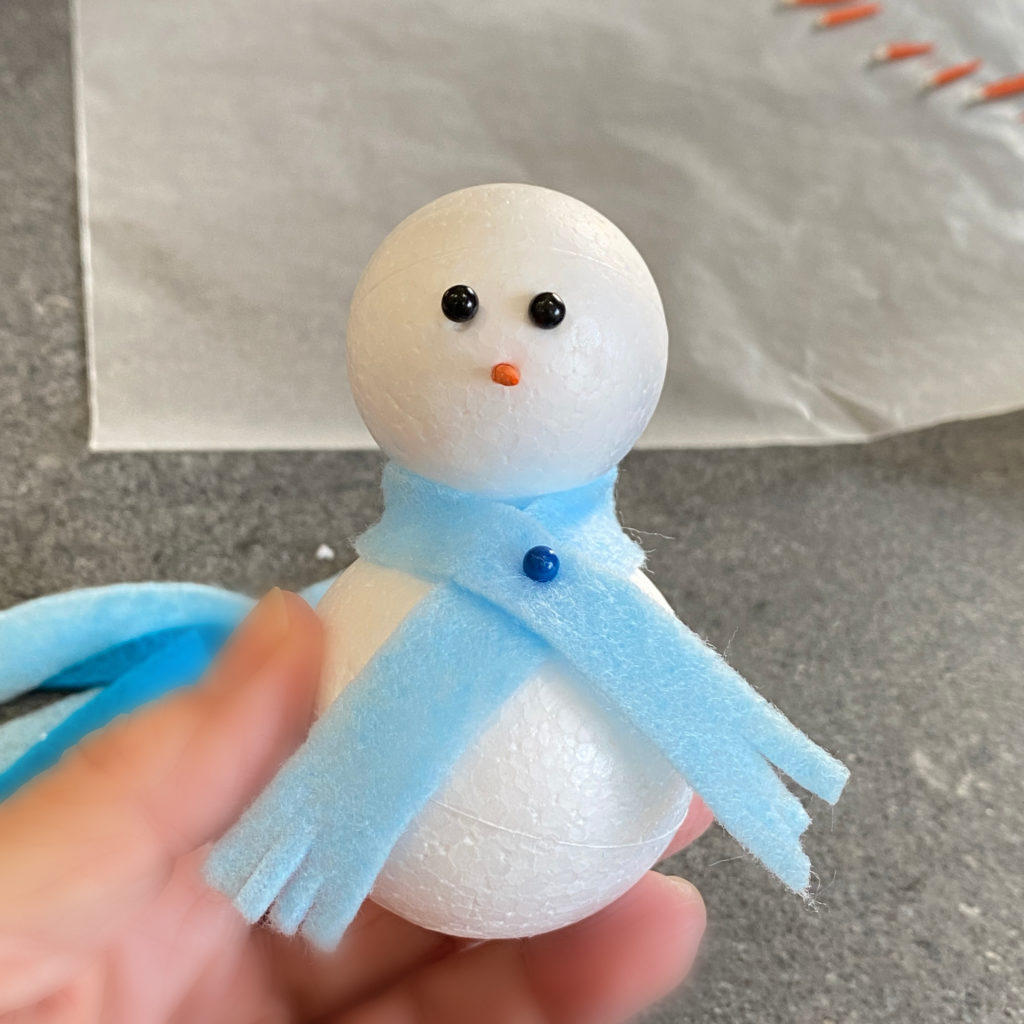
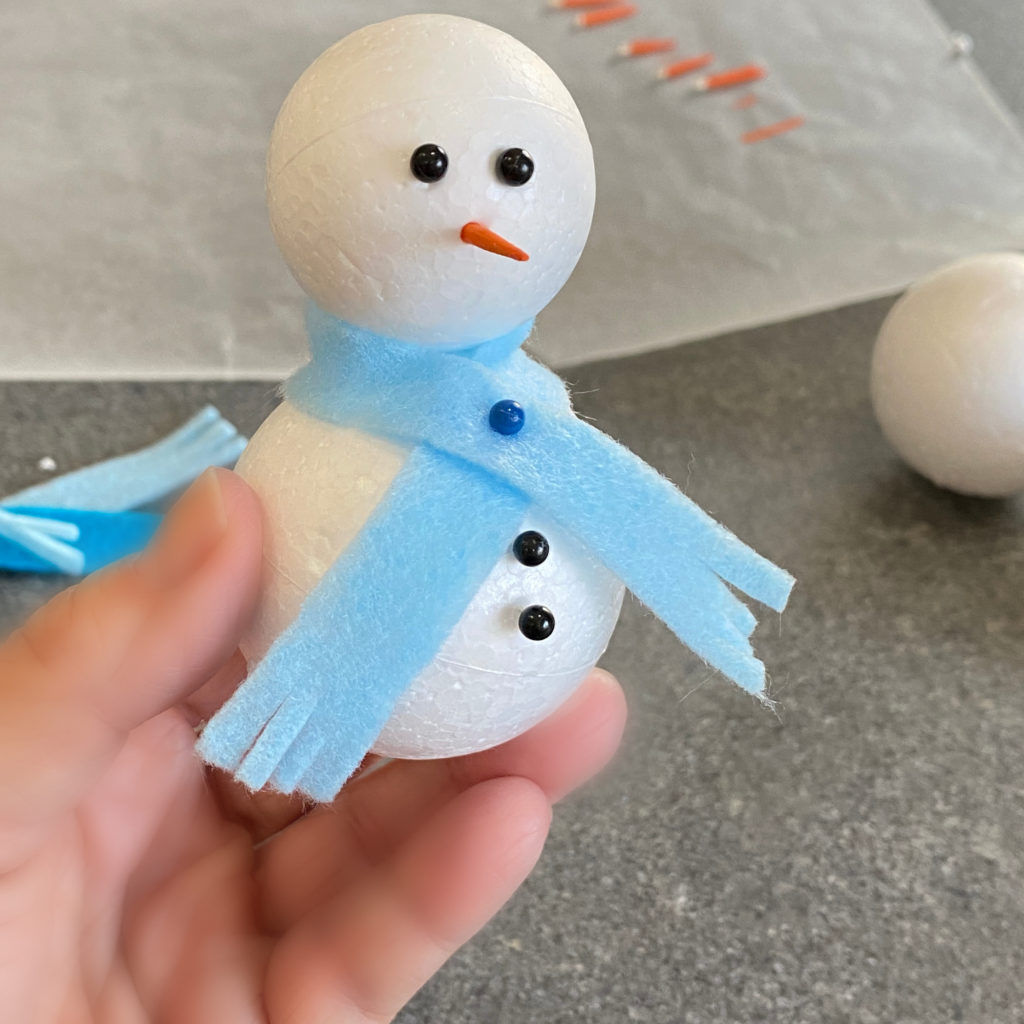
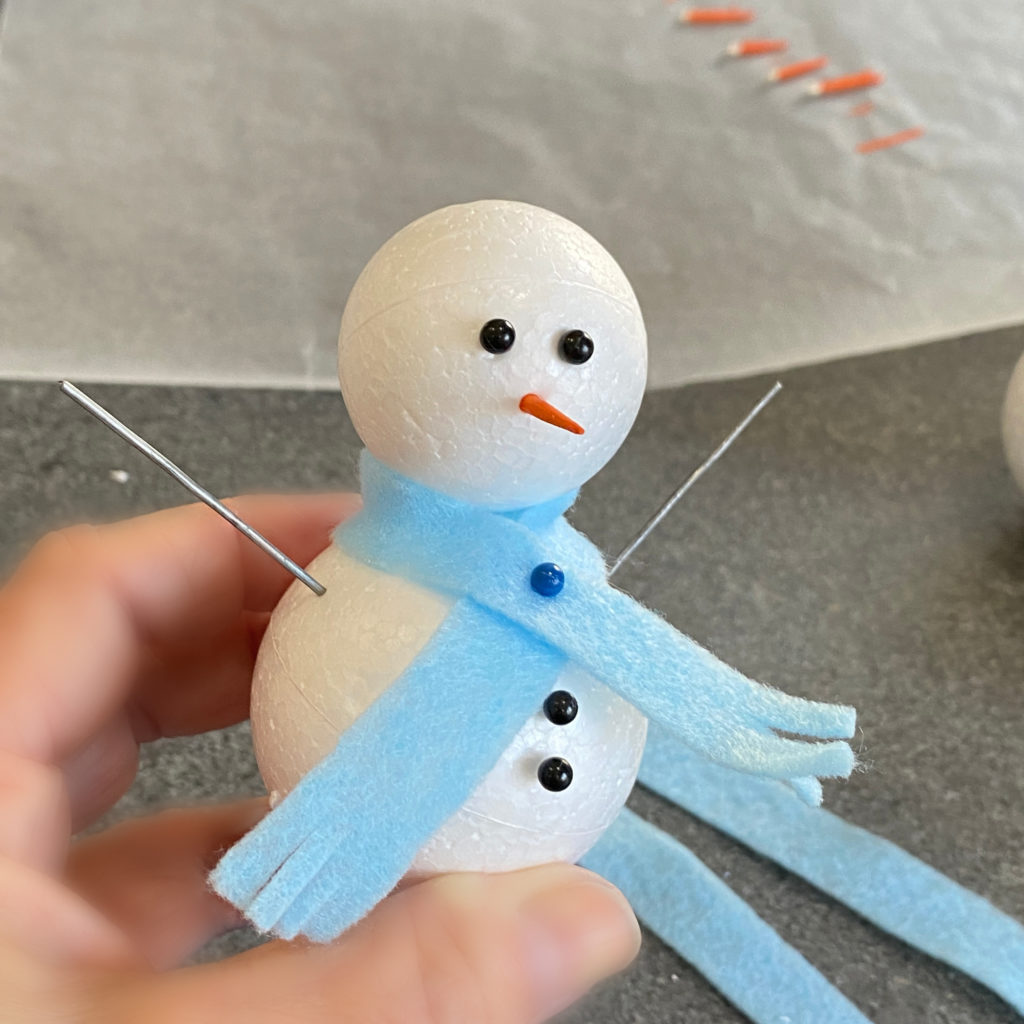
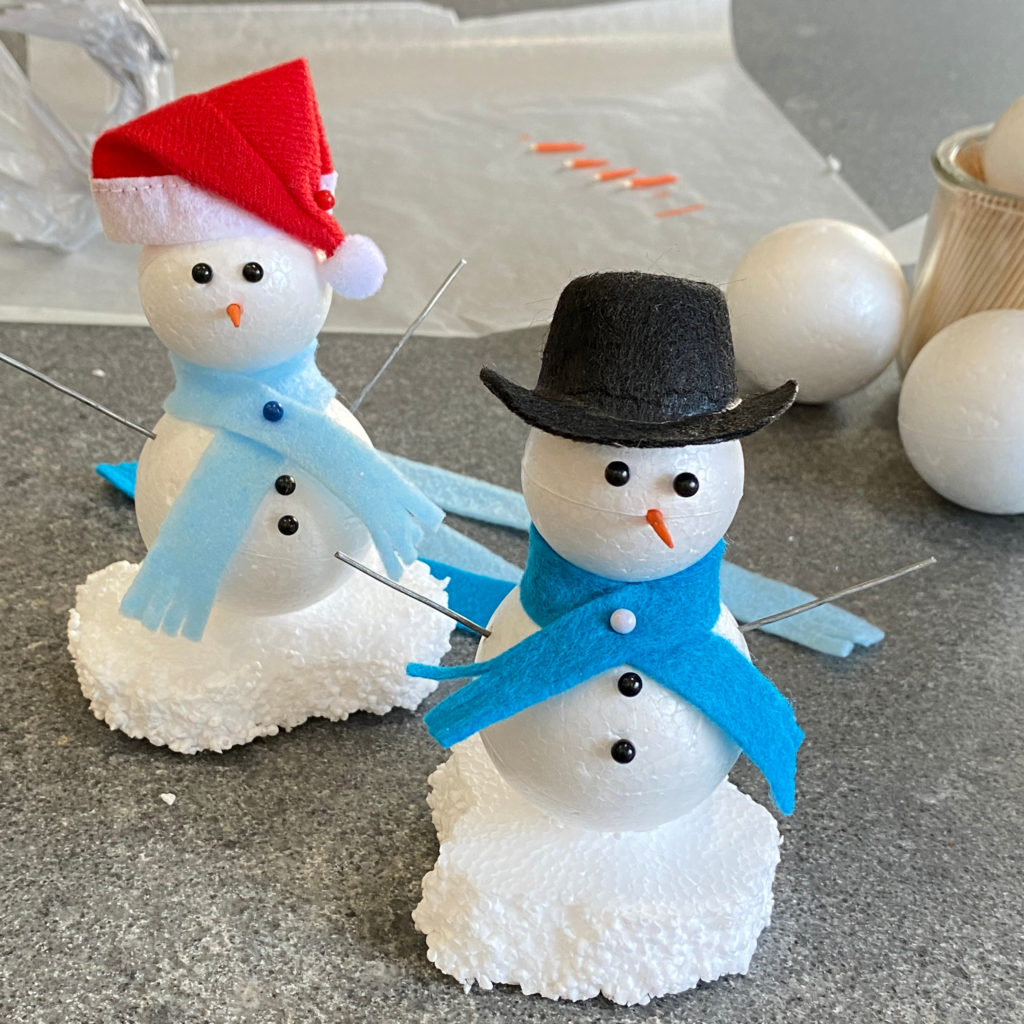
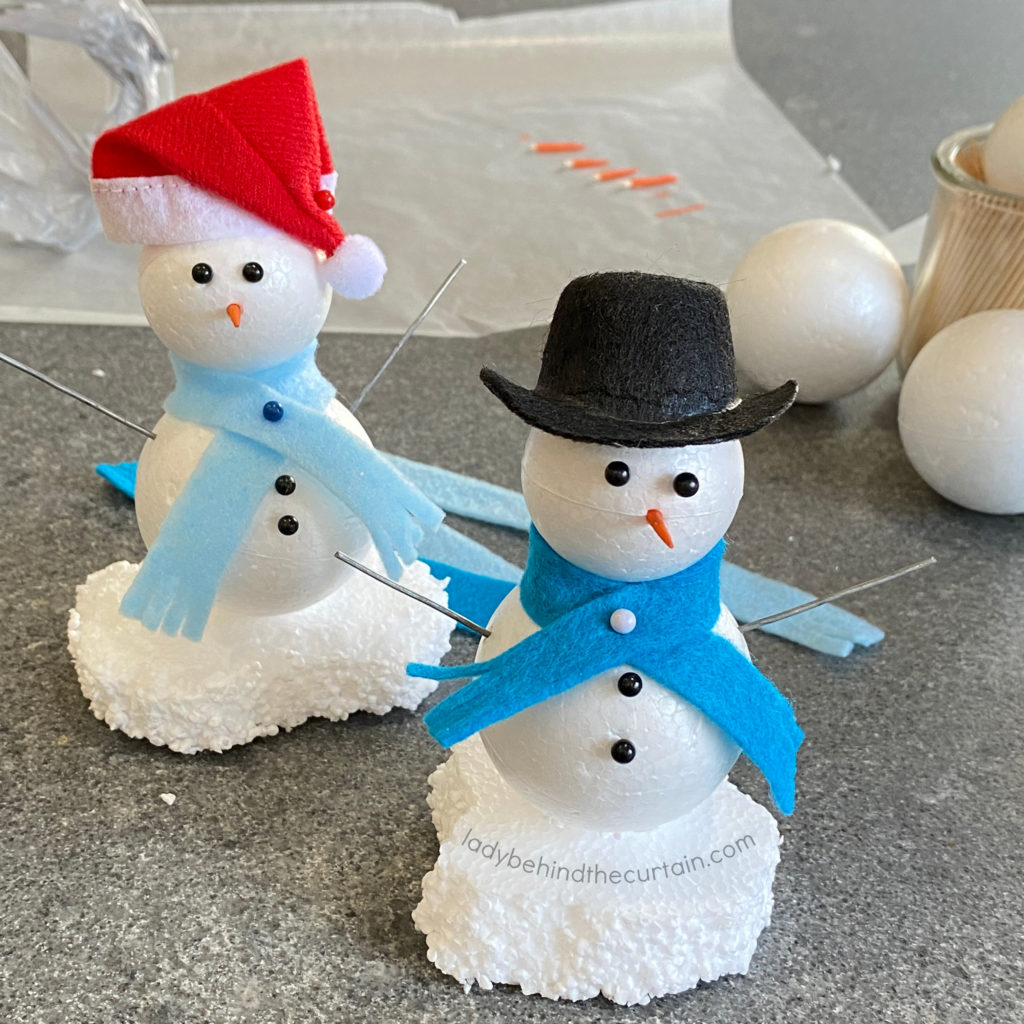
- Wrap the scarf around the snowman’s neck (between the head and body), over lap in the center, press a straight pin into the felt and ball.
- Press two buttons (cut off straight pins) down the center under the scarf.
- For arms, insert cut wire pieces on each side of the body ball.
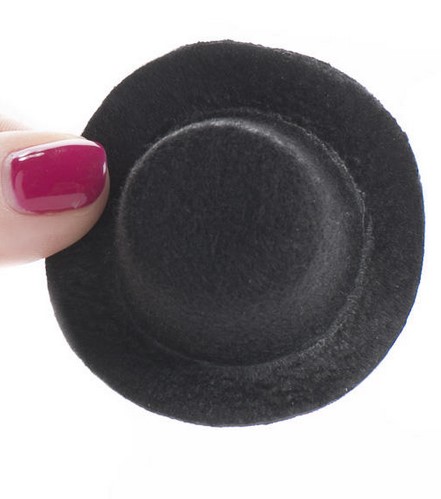
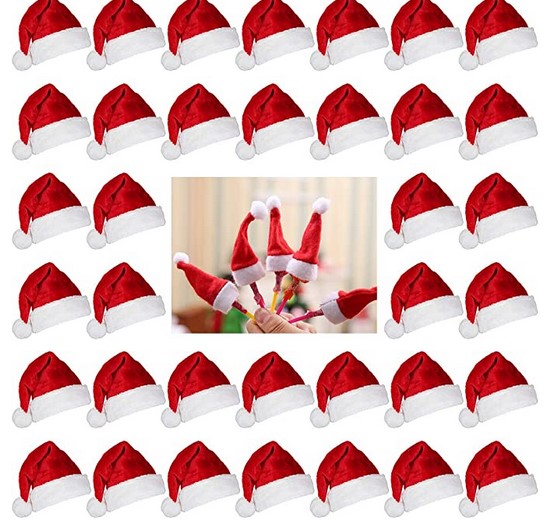
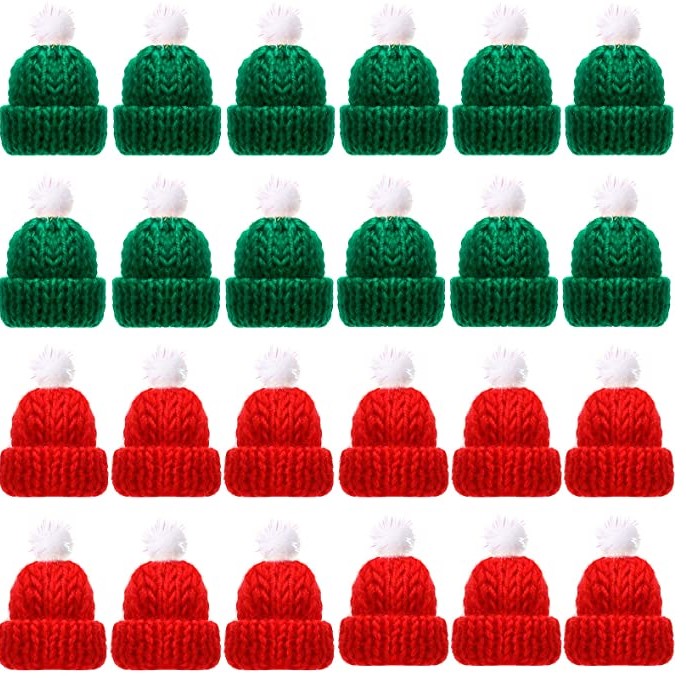
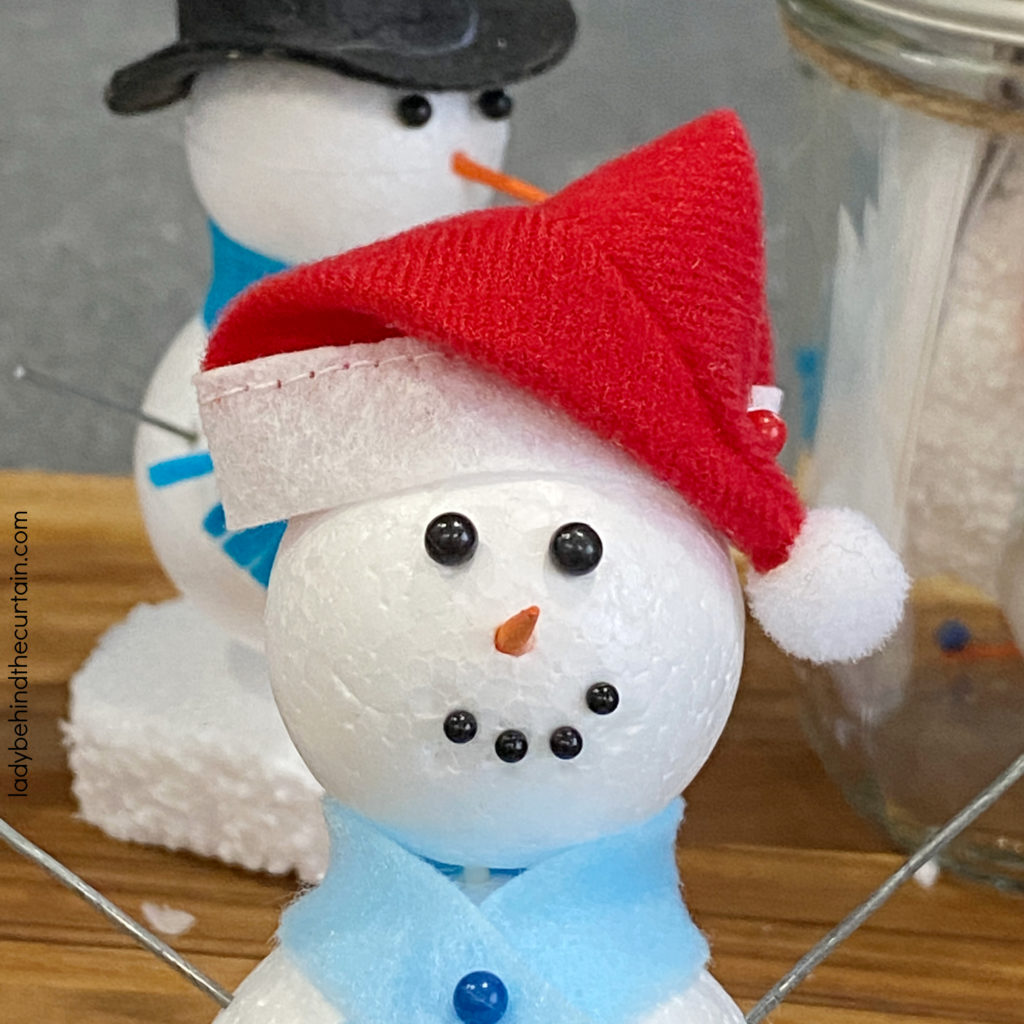
Snowman Hat Options
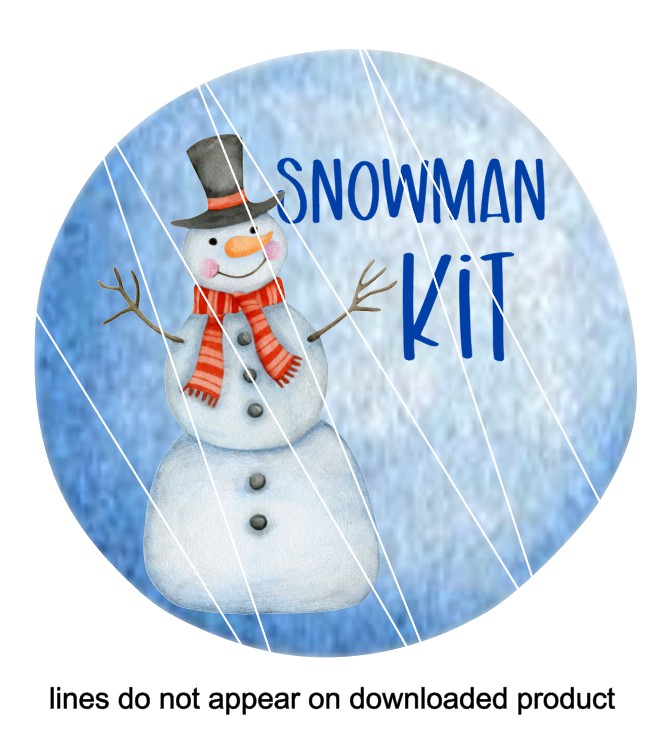
Add a Tag to the Build a Snowman Kit
ADDITIONAL IDEA
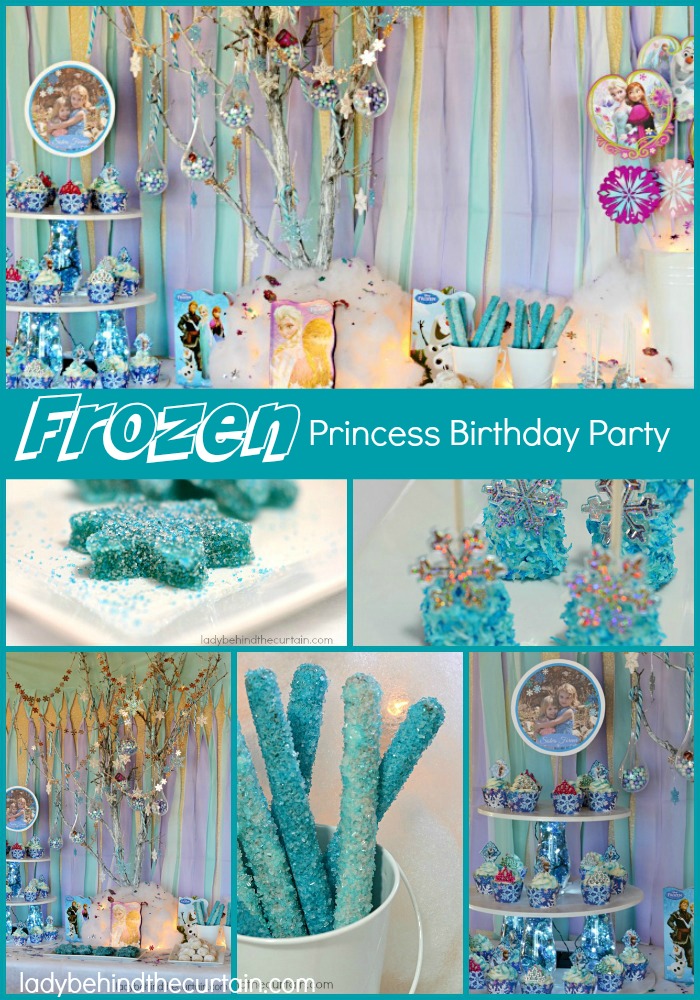
FROZEN PRINCESS BIRTHDAY PARTY
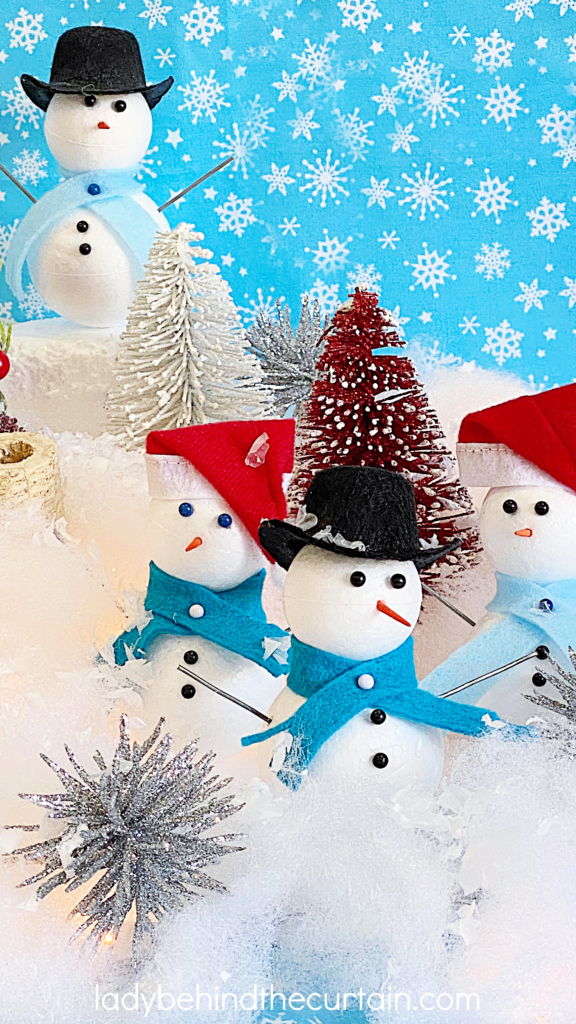
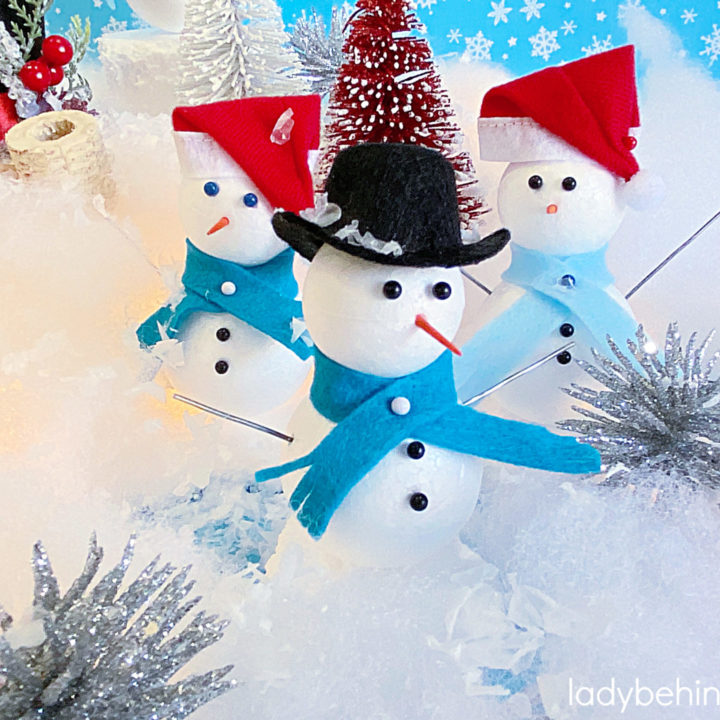
Build A Snowman Kit
Yield:
1 Snowman
Super fun and super easy. Two ways to make...one for older kids and one for toddlers. Downloadable tag and building instructions.
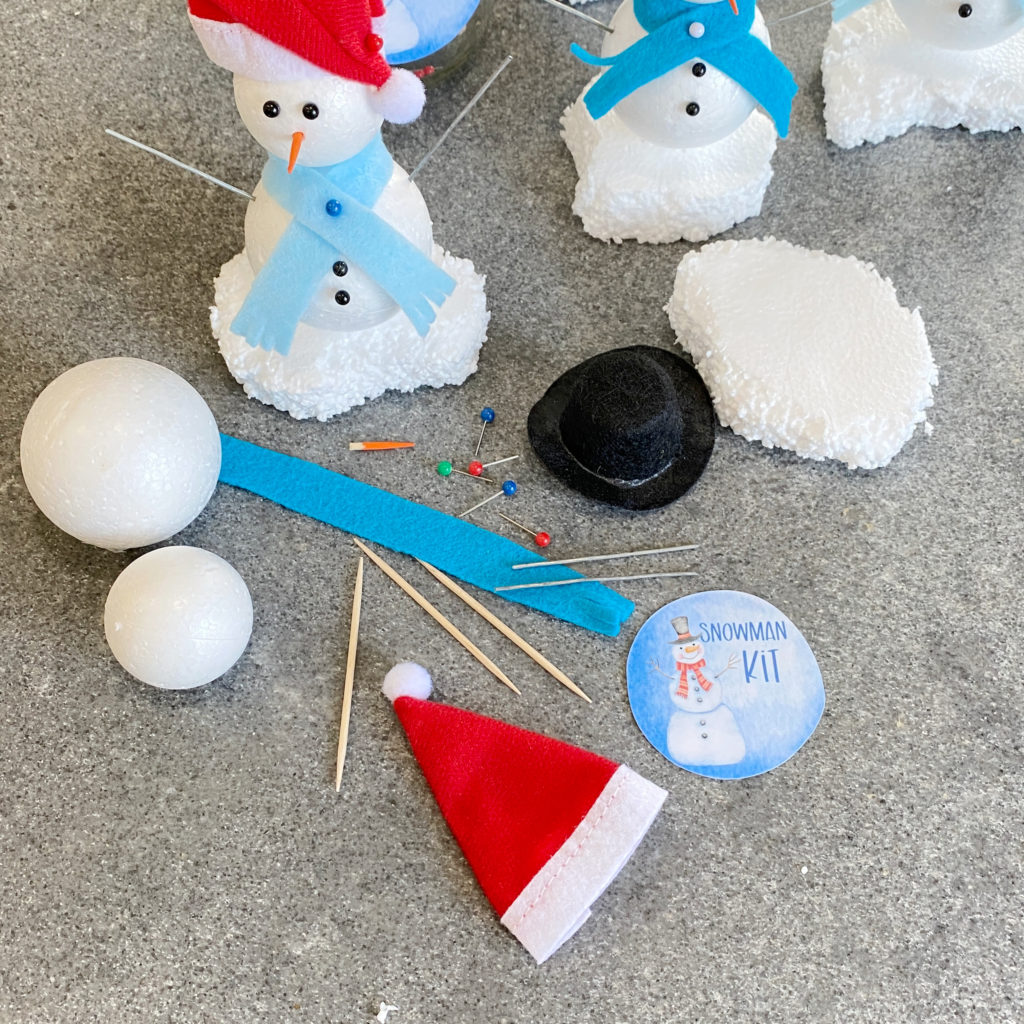
Materials
- 1 (1.8 inch) smooth styrofoam ball (body)
- 1 (1.3 inch) smooth styrofoam ball (head)
- 1 (3-inch) round piece smooth styrofoam (ice platform)
- 4 black bead top straight pins (original size 2½ inches), for eyes and buttons
- 1 color bead straight pin (for scarf)
- felt square (scarf)
- 3 wooden toothpicks (nose, body attachment)
- 1 (18 gauge) stem wire
- orange paint (nose)
- pint size jar with lid
- string or ribbon (I like jute string)
- Optional: hat
- Optional: 4 small black bead straight pins (for mouth)
Tools
- serrated knife
- wire cutters
- hole punch
- paint brush
- scissors
Instructions
For the Prep:
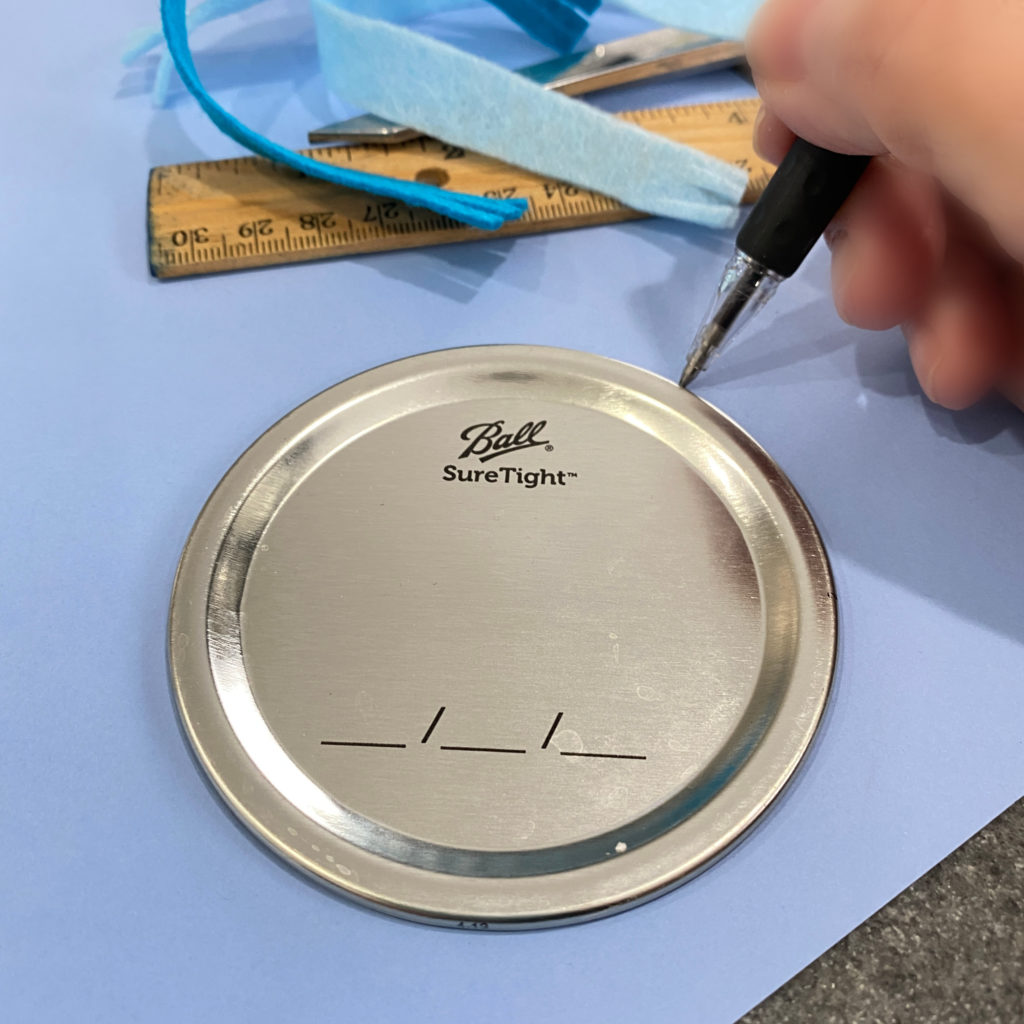
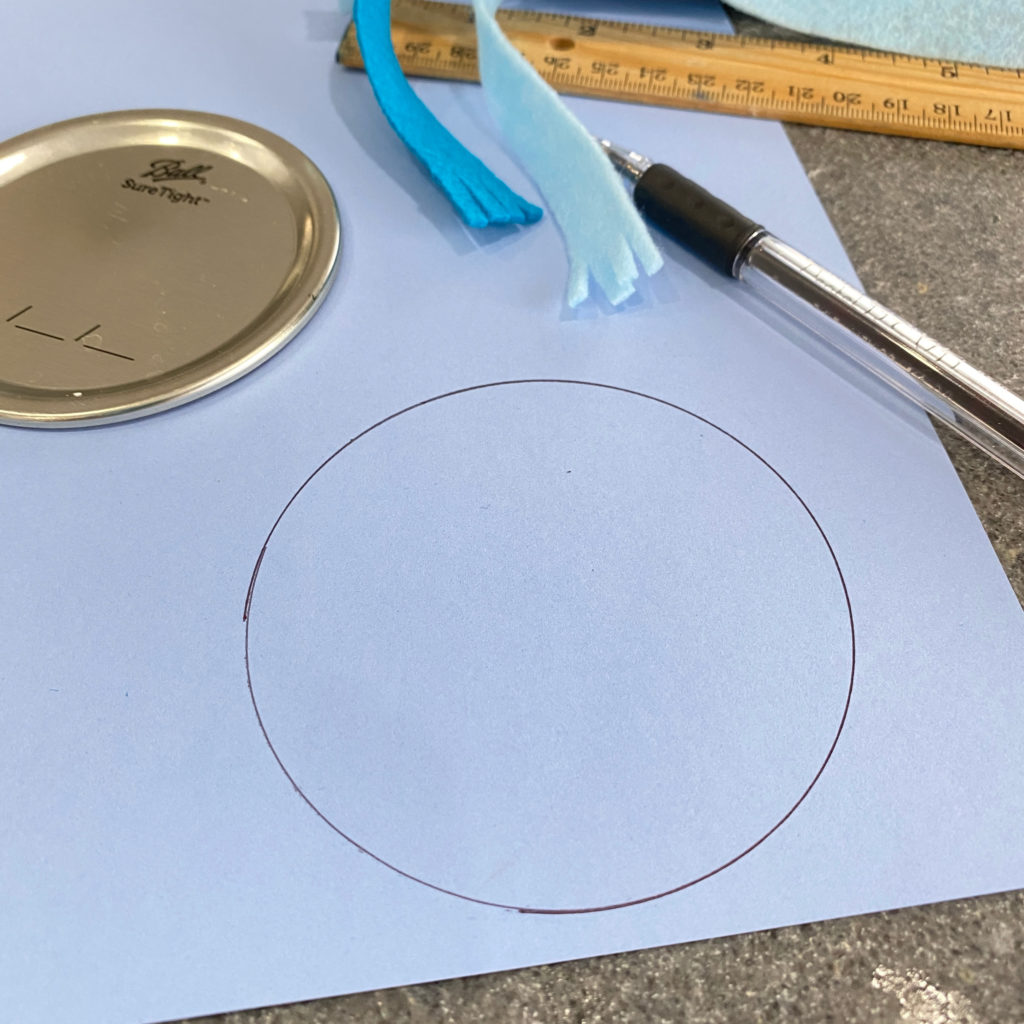
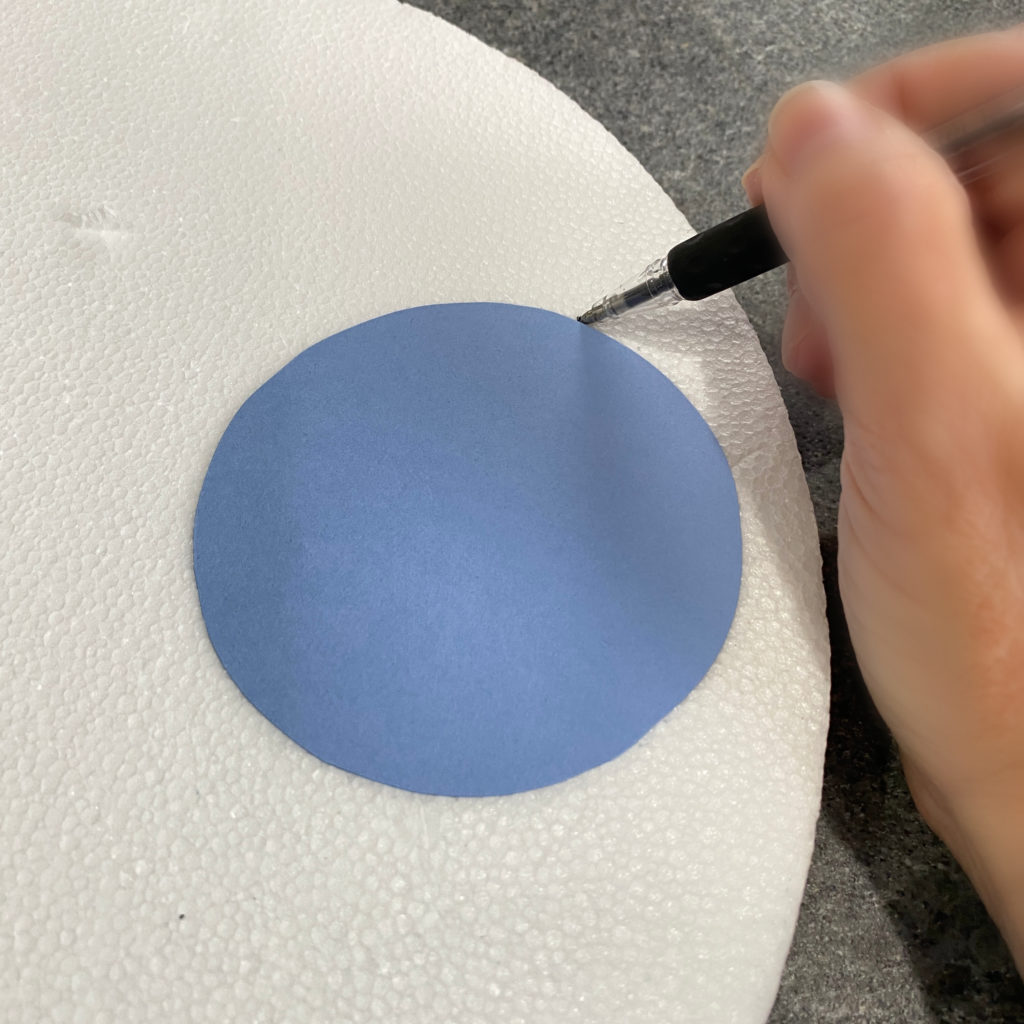
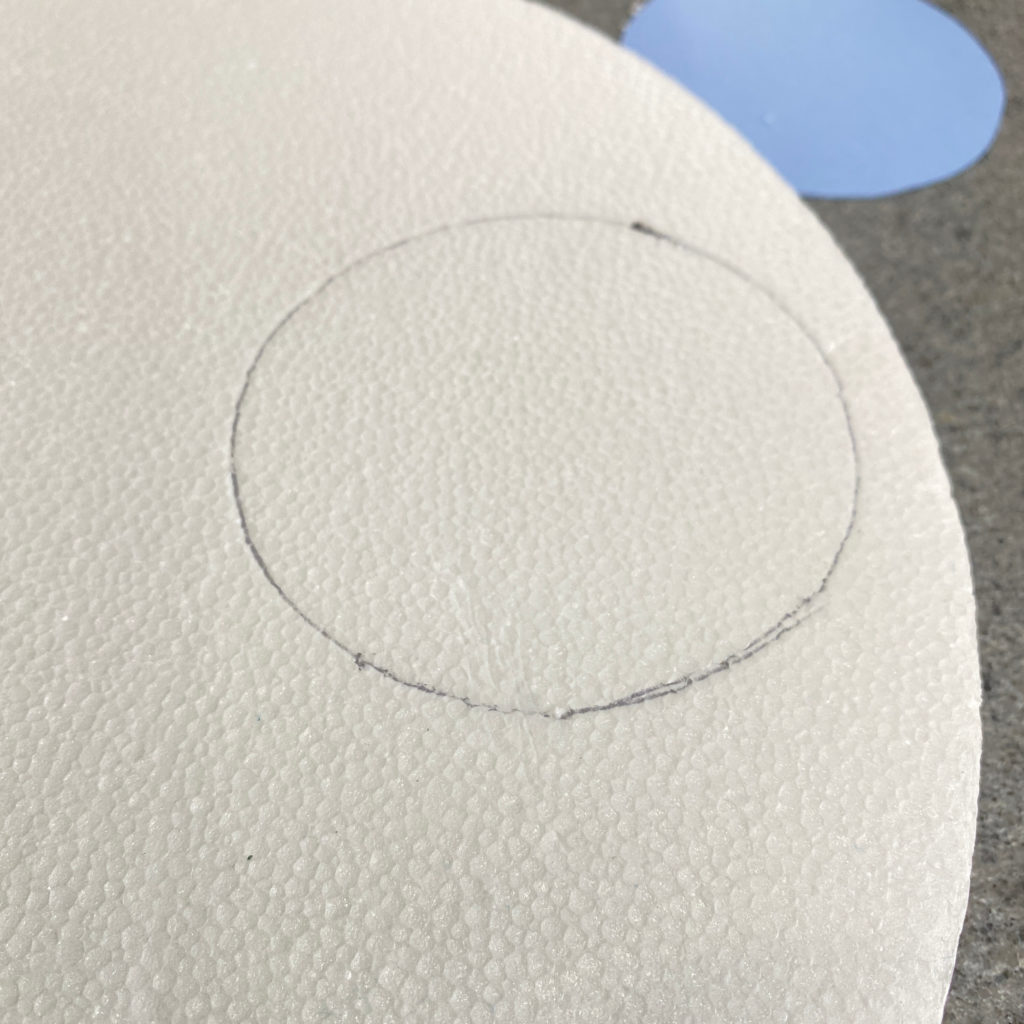
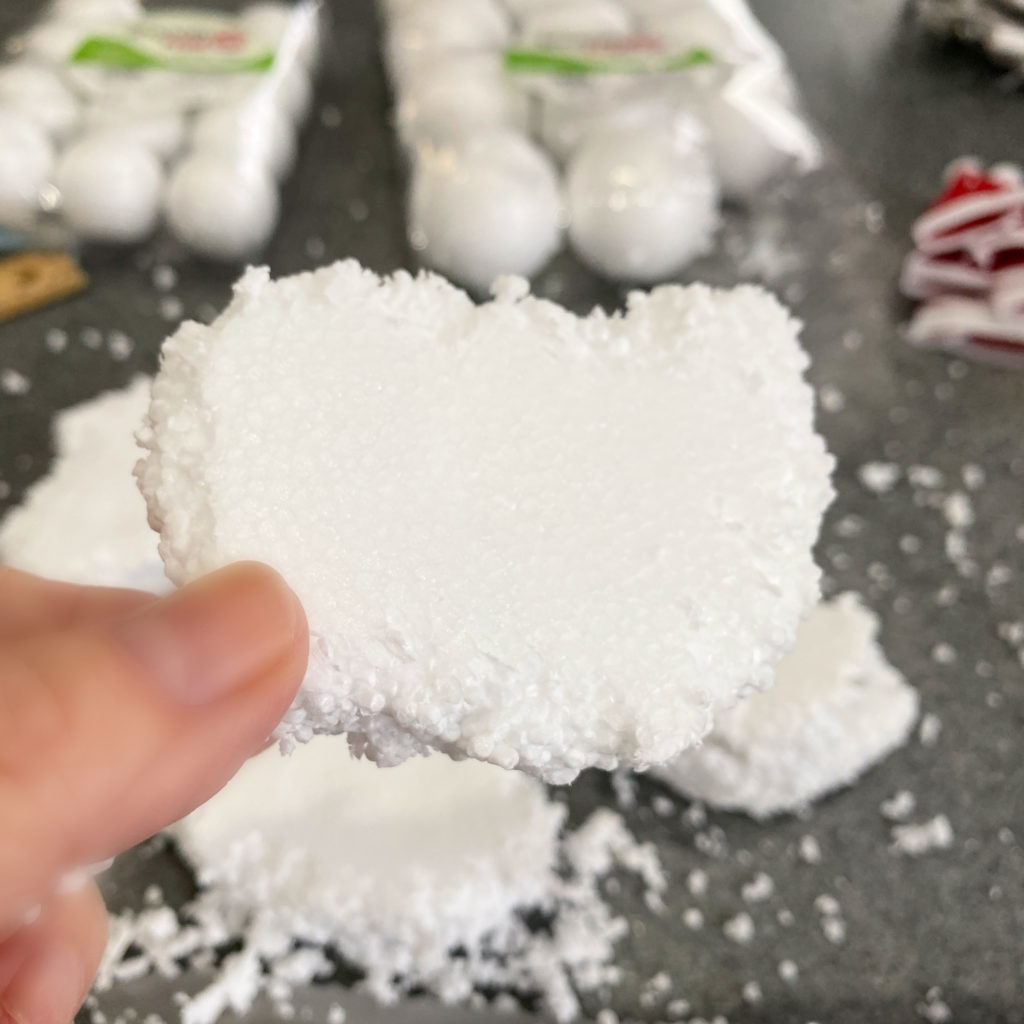
- Using the smooth stryfoam piece for the ice platform, trace around the lid of the 1 pint jar or a piece of paper. Using the serrated knife rough up the edges making it curvy and no longer a perfect round to look like and a floating piece of ice. Set aside.
- Pinch off about ¾ inch of the pointy end of a wooden toothpick for the nose, paint the pointy end orange, set aside to dry.
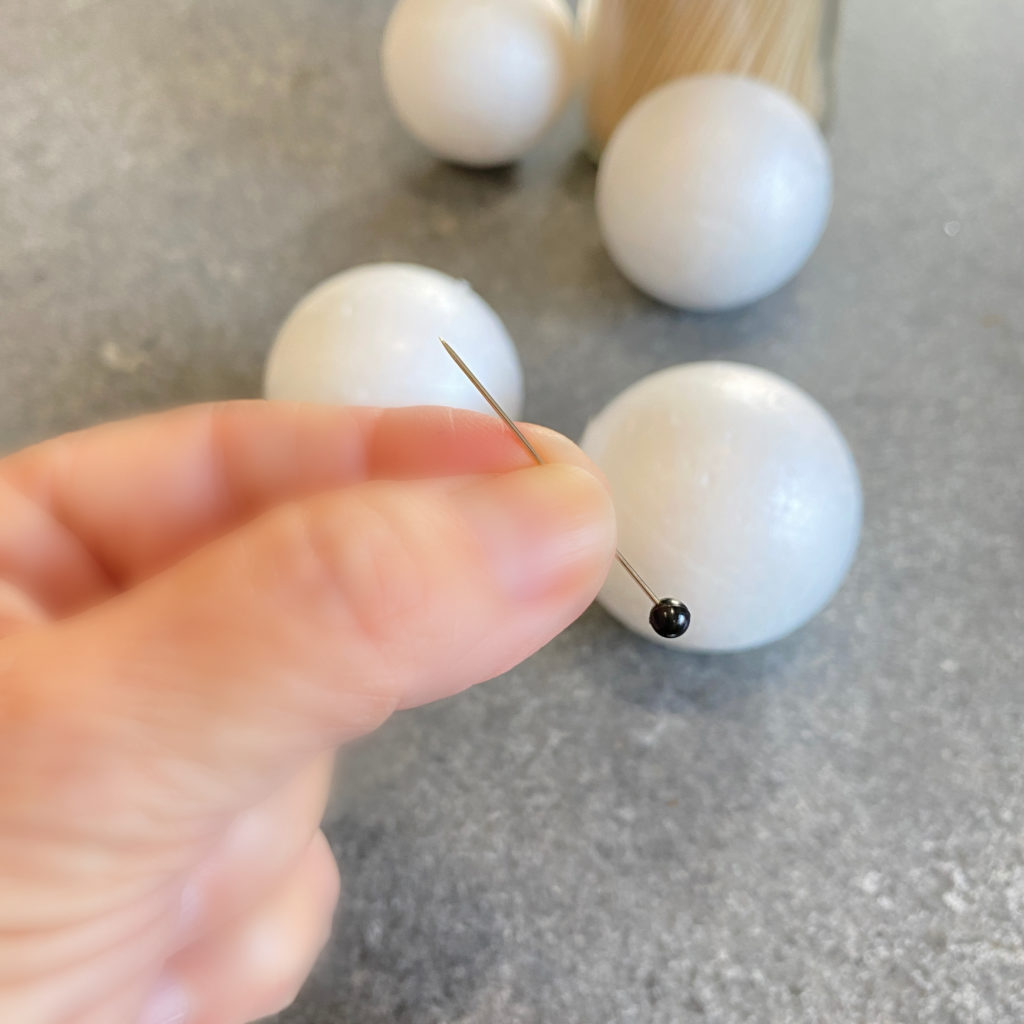
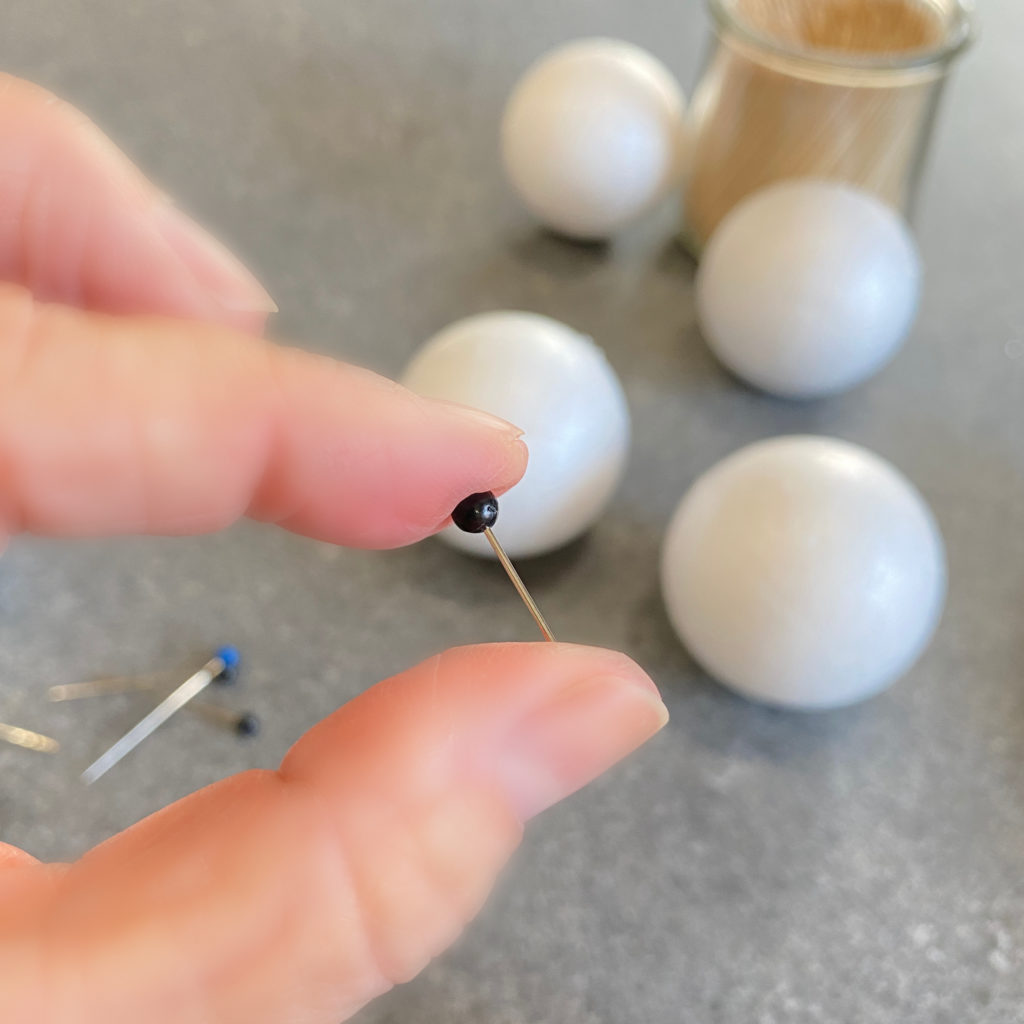
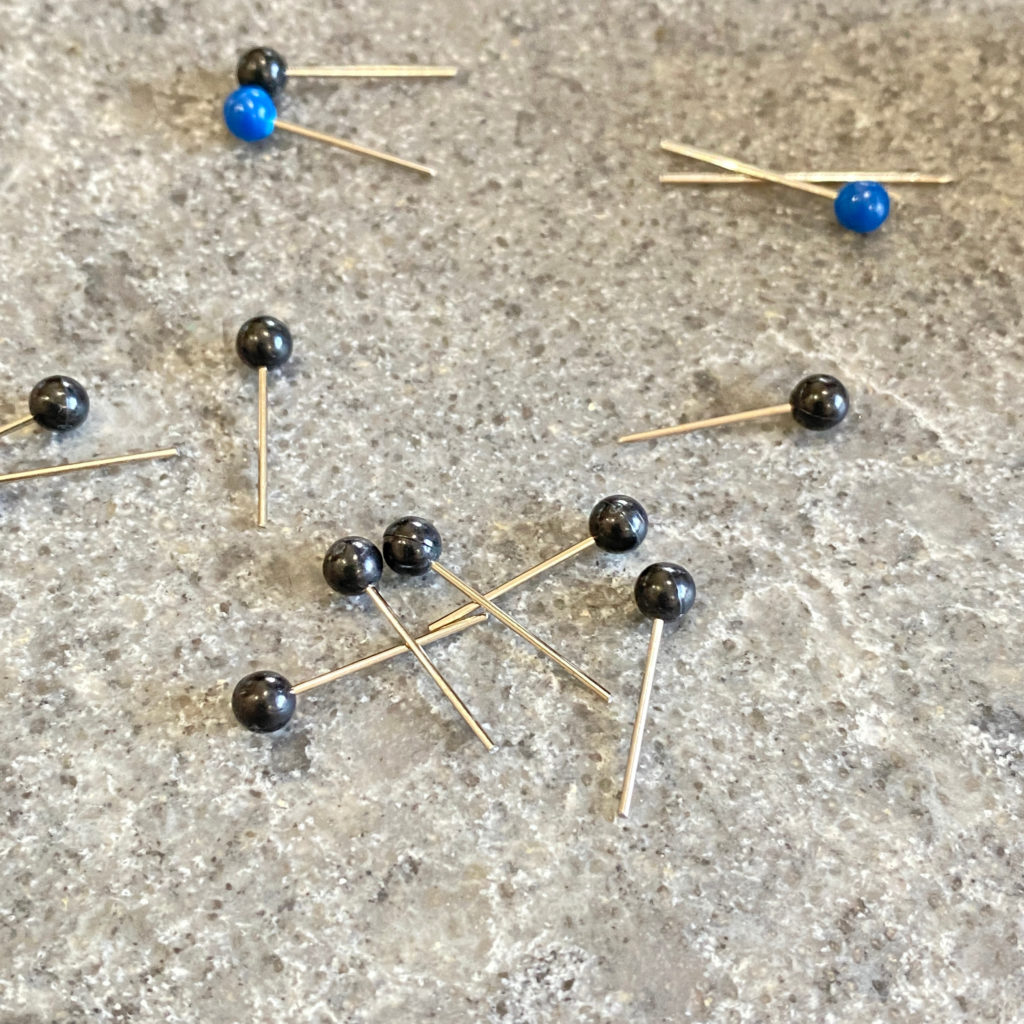
- Cut all the straight pins to about ½ inch from the bead top.
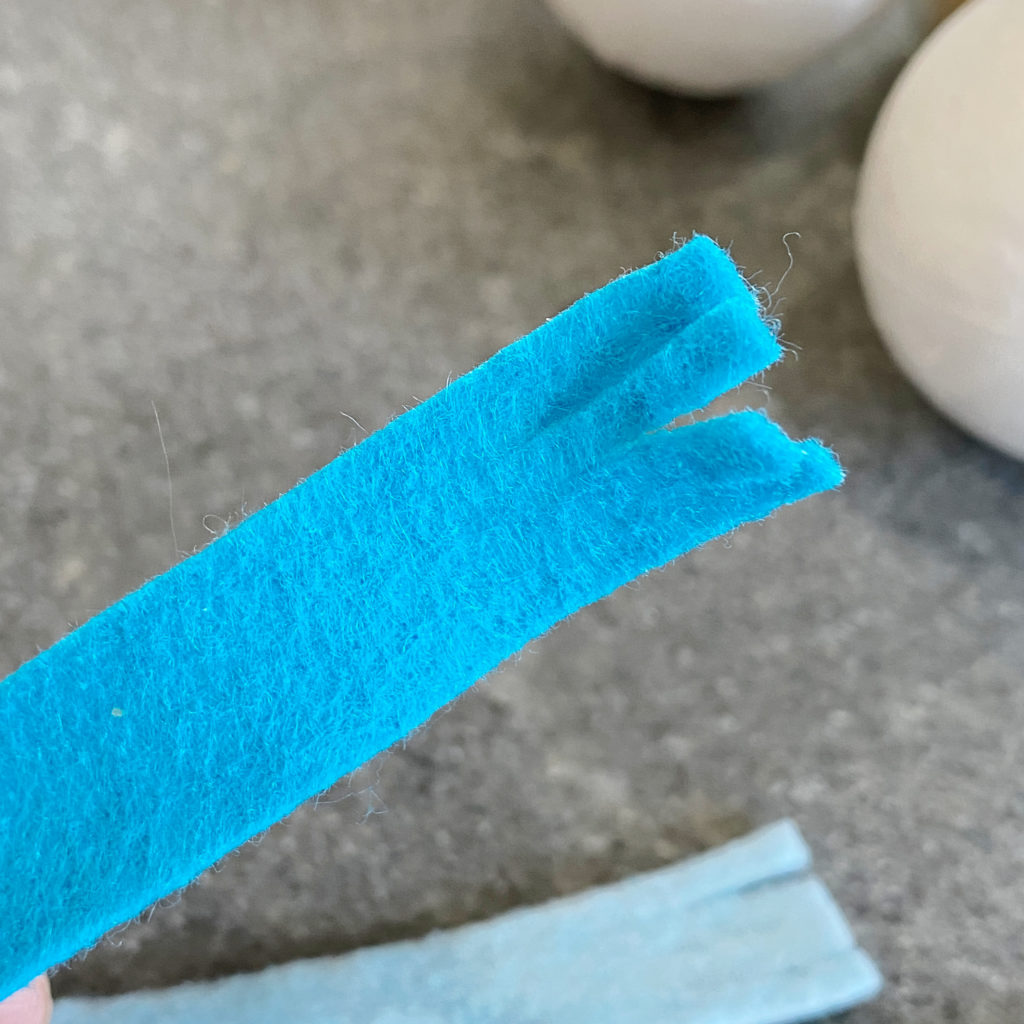
- Cut felt into a 1½ inch wide x 7 inch long strip. (Optional) Cut fringe on the ends.
- Using wire cutters, cut the 18 gauge wire into 2 (2 inch) pieces
How to Assemble:
- Push two pins (for eyes) into the head ball (1.3 inch).
- Add the nose.
- Position one full size toothpick on the bottom of the head ball in the center and push into the head (this makes a hole to help with the assembly).
- Take the same toothpick out of the head and position it in the center of the body ball (1.8 inch). Press down the toothpick, leaving about an inch sticking out (if the toothpick is still too long, you may have to remove some of the toothpick). Press head onto the toothpick. Now you should have a snowman body with a face.
- Position another full size toothpick in the center of the ice platform and press to the bottom. Take the toothpick out of the platform, position the same toothpick in the bottom center of the body ball (1.8 inch) and press into the body only leaving as much as the thickness of the platform. Add to the platform.
- Wrap the scarf around the snowman's neck (between the head and body), over lap in the center, press a straight pin into the felt and ball.
- Press two buttons (cut off black straight pins) down the center under the scarf.
- For arms, insert cut wire pieces on each side of the body ball.
For the Jar:
- Fill jar with all the kit goodies 1-small ball, 1-large ball, ice platform, 2 eyes and 2 buttons (beaded straight pins) straight pin for scarf, scarf, nose, arms and optional hat (for added fun add a small candy cane) and instructions.
- Cut out tag, punch a hole on the top making sure to leave the edge in tack.
- Add string or ribbon and tie around the jar.
WRITTEN INSTRUCTION SHEET (4 per print out)
ILLUSTRATED INSTRUCTION SHEET ( full sheet)
Notes
Not enough black topped straight pins? Substitute colored ones for the eyes (blue or green).
NEVER MISS A POST




Comments
Build A Snowman Kit — No Comments
HTML tags allowed in your comment: <a href="" title=""> <abbr title=""> <acronym title=""> <b> <blockquote cite=""> <cite> <code> <del datetime=""> <em> <i> <q cite=""> <s> <strike> <strong>