DIY Clay Pot Chimes
DIY Clay Pot Chimes | Add a pop of color to your backyard with these easy to make chimes. So much Summertime fun!
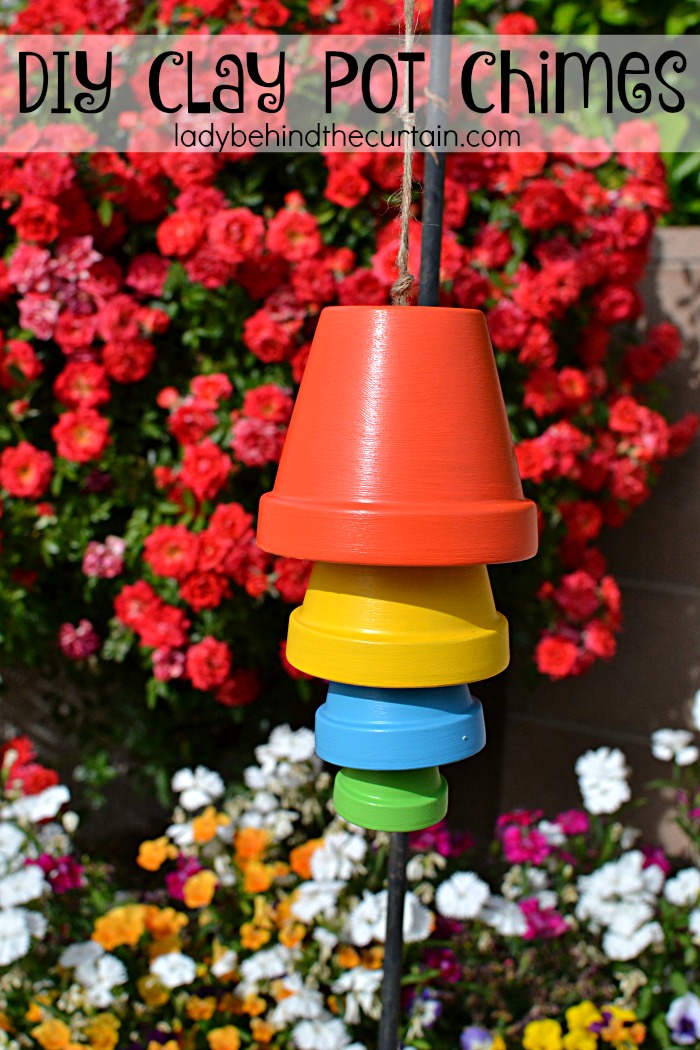 If these colors don’t go with your color scheme Hobby Lobby and Micheal’s had a lot of colors to choose from. This would make a great addition to a craft sale!
Take a look at this short video showing you how I made these fun chimes!
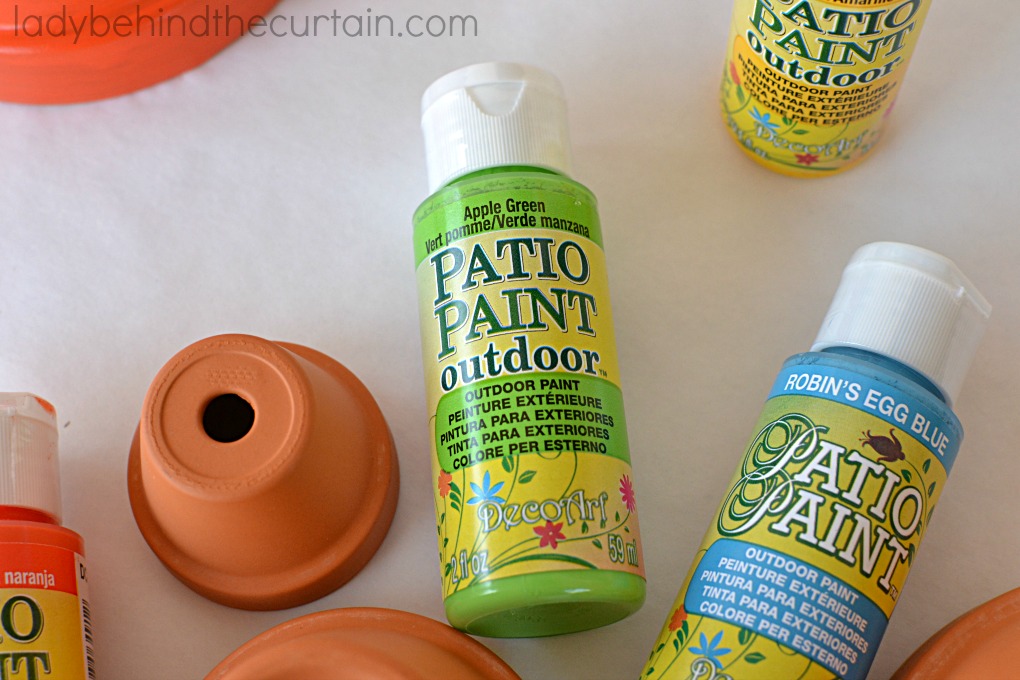
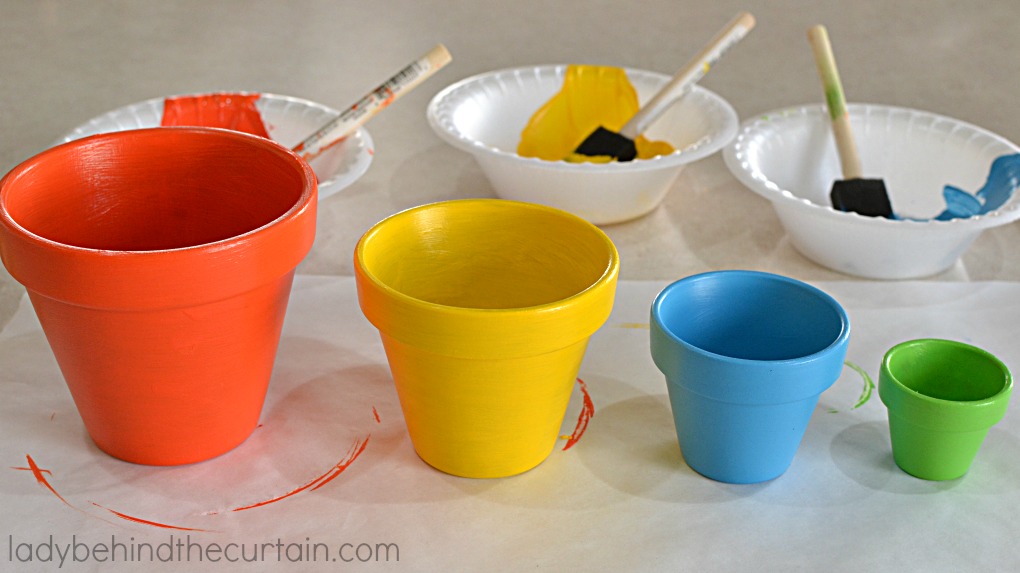
I found these awesome colors at Hobby Lobby. You can also find them at Michael’s where the clay pots are displayed. I love that they are Patio Paints. This makes them weather and water resistant. Perfect! The colors I chose were Robin’s Egg Blue, Fiesta Yellow, Apple Green and Orange Poppy. I didn’t prep the pots although I did have to put on three coats with some of the colors. The size of the pots (from Michael’s) are; 1 1/2-inches, 2-inches, 3-inches and 4-inches.
Let the pots dry completely before putting them together.
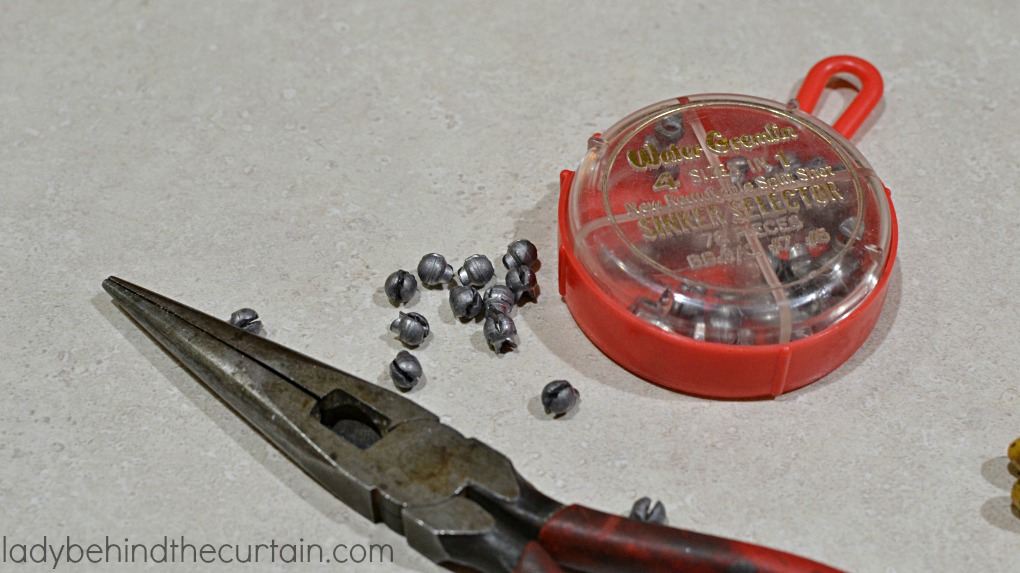
Pre measure your jute string and cute it off of the spool. I started with a 12 foot long piece (which was way more then I needed). For the first pot add a bead; use a sinker (found in your husbands tackle box or on the fishing aisle at Walmart) clamp as close to the bead as possible.
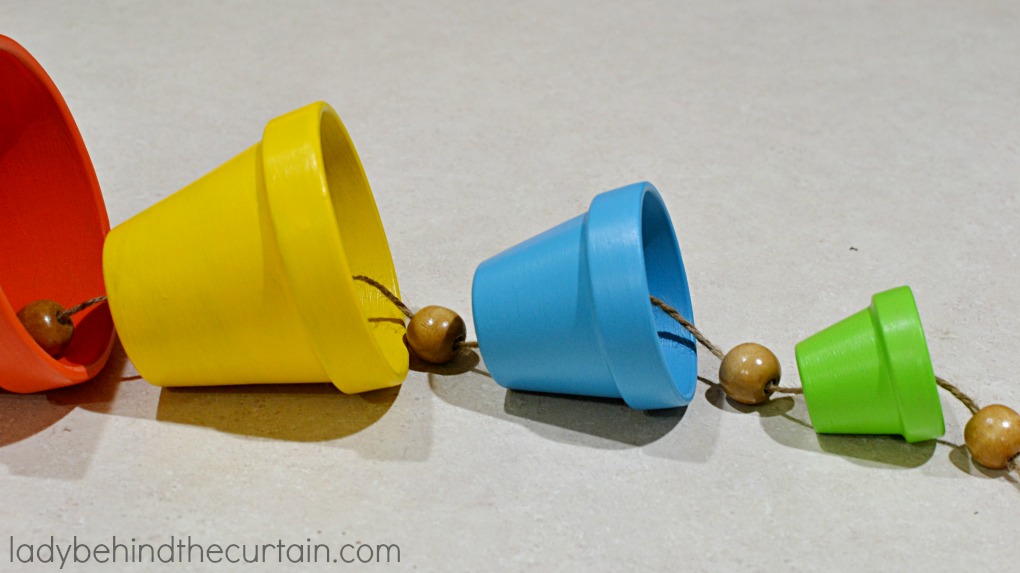
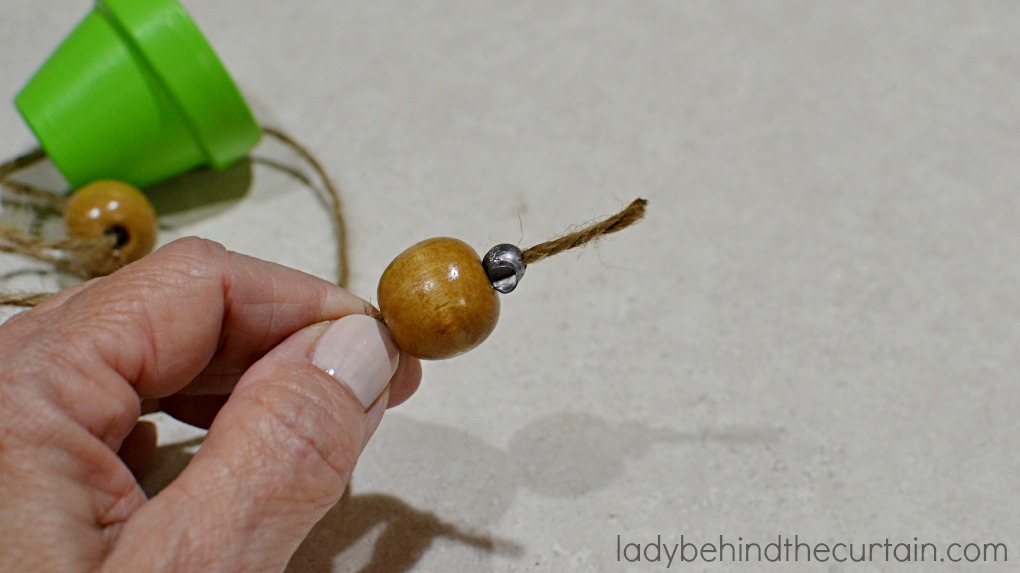 String all the pots together with a bead between. Slide the pots waiting to be fitted down the string while you work with the next pot in line.
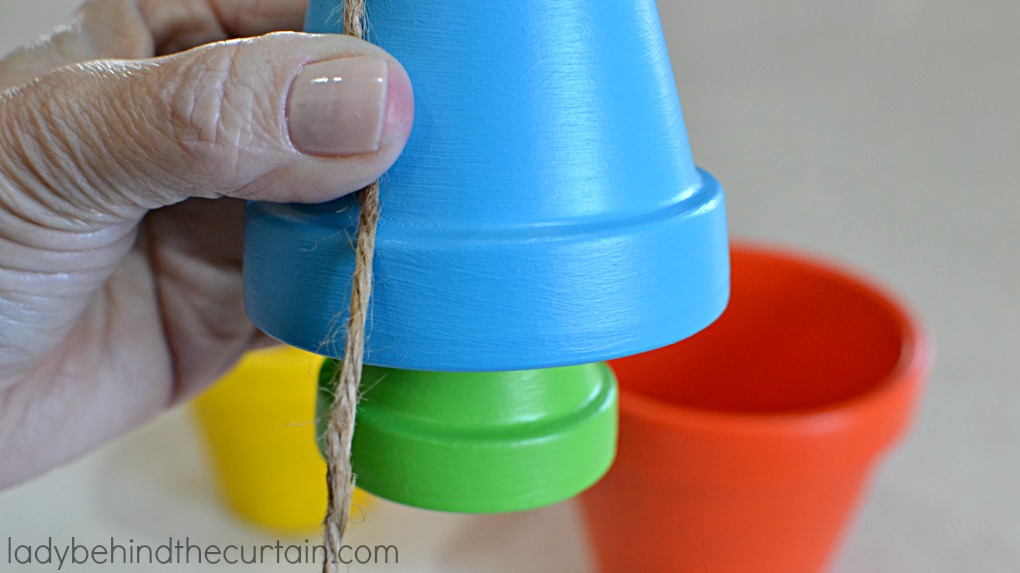
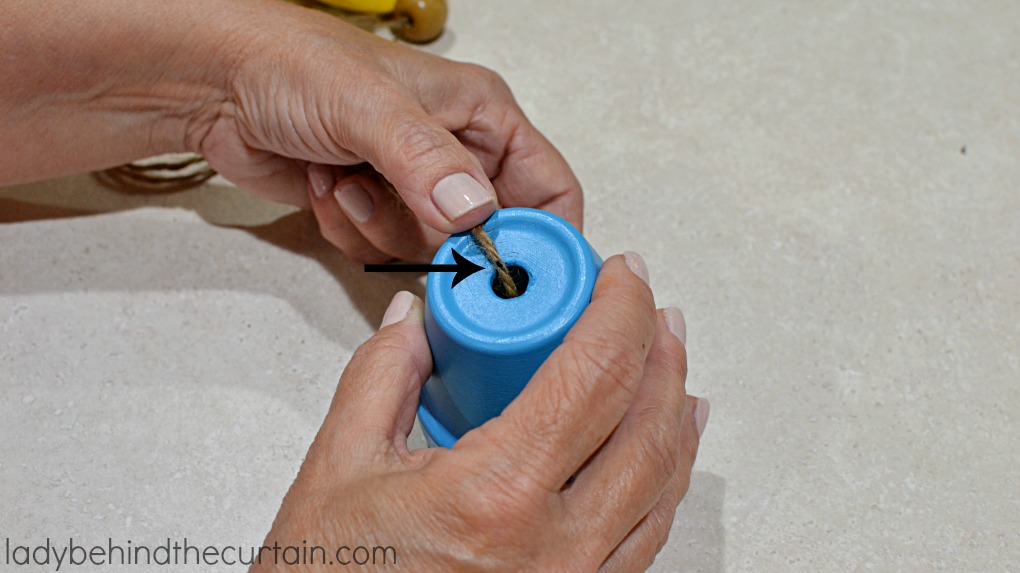
Pull the second pot through the string. With one hand hold the pot where you would like it to hang (I liked mine to fall in the center of the one under it). Using a permanent marker mark with a line where the top of the bead will be. This is easy just mark it through the drain hole of the pot.
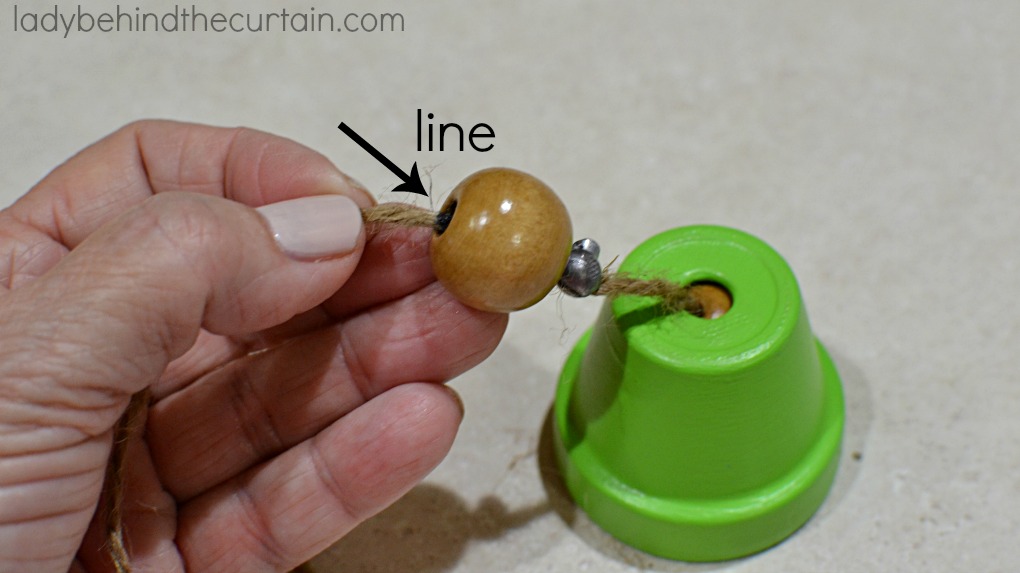
Slide the pot back a little. Now, pull the bead to that line and clamp a sinker snug up against it. You’ll need someone to help you with this step. Hold the pot up to make sure it is positioned where you want it before you move on. Once you get the hang of it this process goes quickly.
Make a big loop (I made mine long enough so that when I was done I could stick it back into the top pots drain hole) and make three knots from the top of the string to the top of the clay pot. Make sure you decide how long you want the top to be before making your knots. Don’t worry they are easy to take out and do again.
NOW HANG YOUR BEAUTIFUL CREATION AND ENJOY!


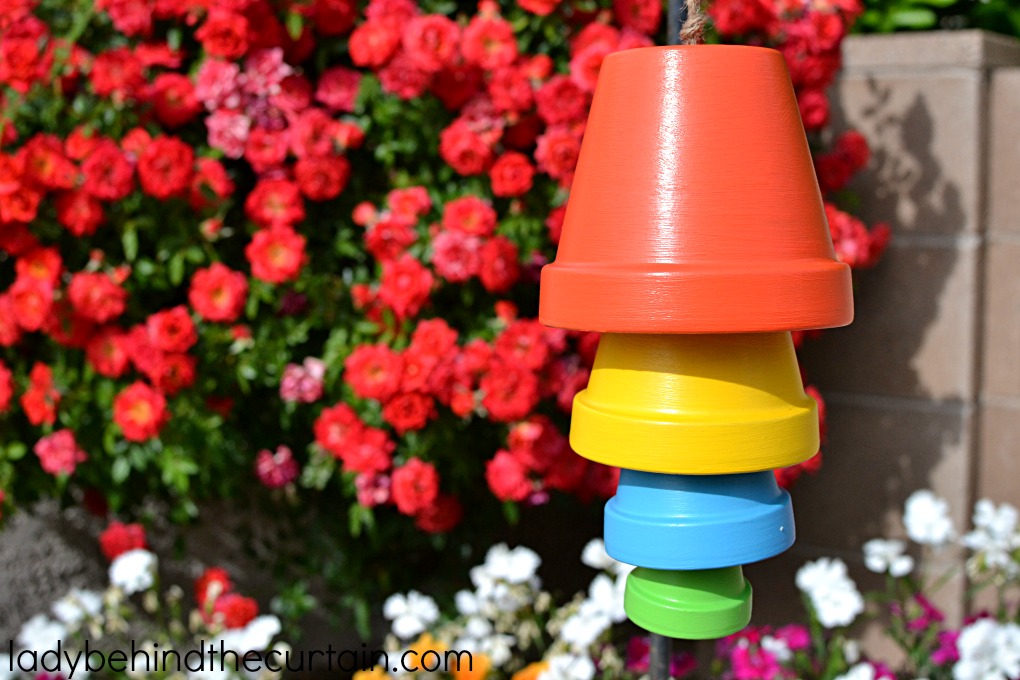


Really impressive DIY project. I like your color selection because it totally matches the surroundings. Though I am not a great fan of DIY’s, after going through your post, I think I am going to give it a try. Great post. Thank you for sharing.
You’re Welcome Adil!