How to Make a Ribbon Garland
How to Make a Ribbon Garland: Do you have a special event or holiday coming up that could use a little extra flair? Look no further than a beautiful ribbon garland to add a touch of elegance and charm to any space. According to a survey Americans spend over $12 billion on decorations for special occasions. But instead of breaking the bank on store-bought decor, why not personalize your space with a DIY ribbon garland? Get ready to elevate your decorating game and impress your guests with this simple yet stunning addition to your decoration repertoire.
Create your own pretty accent for your next party. This super easy garland can be customized to match any event color scheme. You can also change it out by adding different colored ribbon. I leave the ends long for just that reason. That way I can use the garland over and over again.
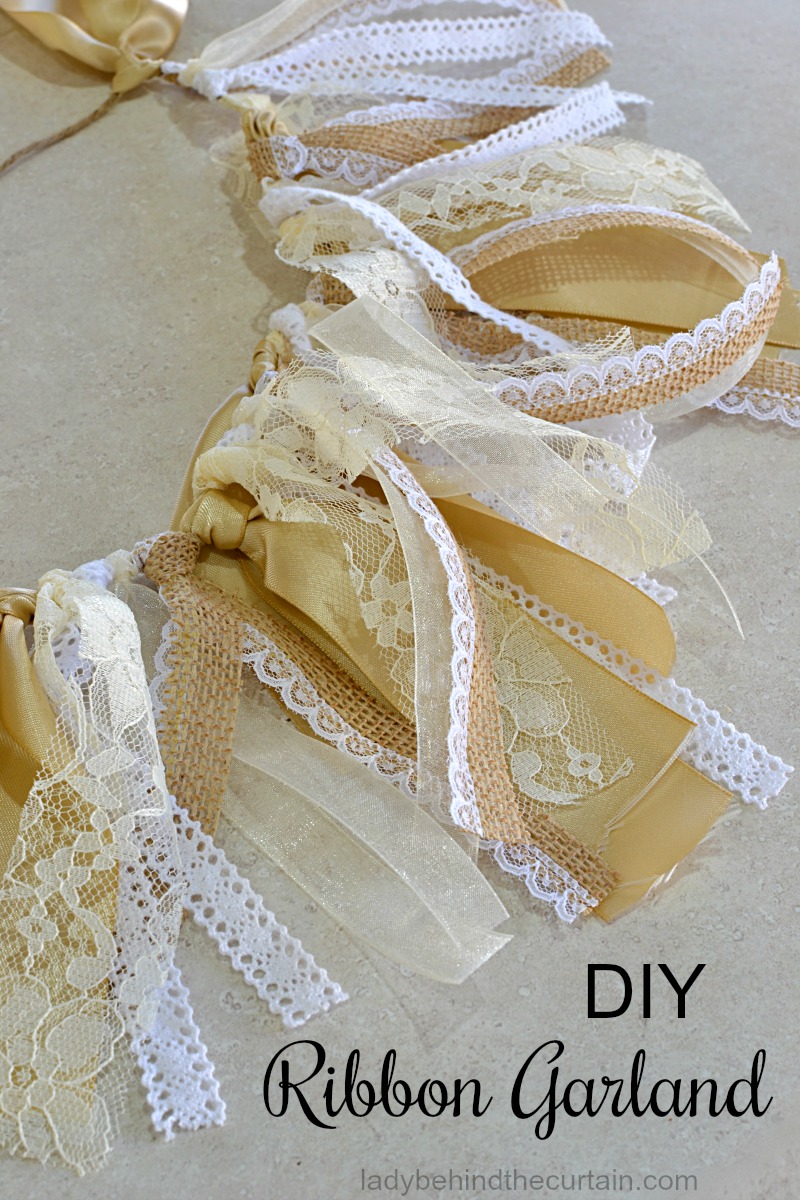
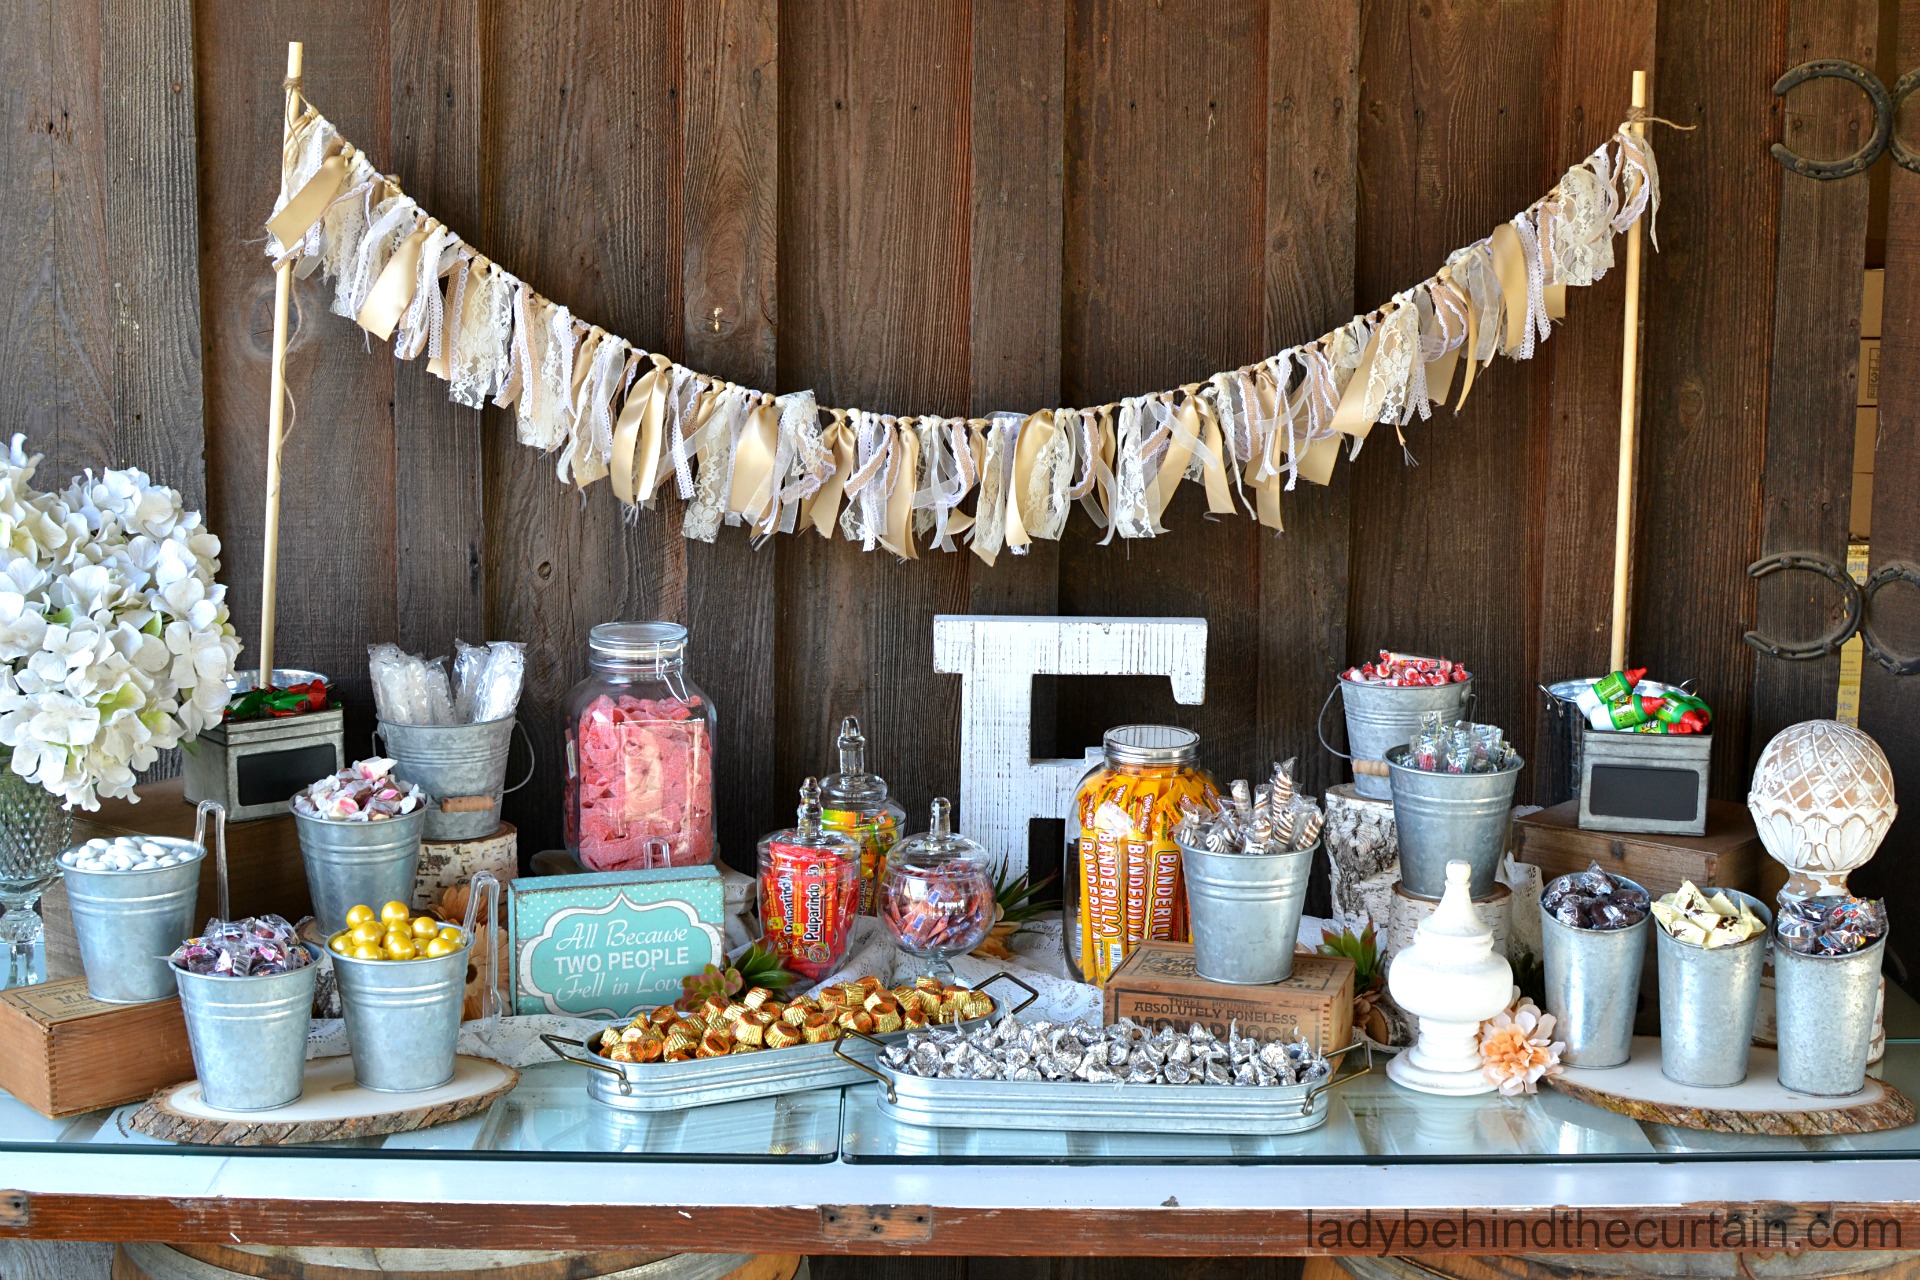
I love the look it gave my rustic wedding candy buffet, softly blowing in the breeze. The garland adds a little feminine touch without looking too girly. It can also be used to decorate a bridal or baby shower. TIP: If you want a longer garland but you don’t want to purchase more ribbon, leave space between each ribbon. I scrunched the ribbon on my garland together because I like that look. This garland looks gorgeous both ways.
Rustic Wedding Reception Candy Buffet
Providing a candy buffet is the best when you’re planning a long reception or event. It allows after dinner nibbling for your guests throughout the evening without the hostess having to worry about constantly refilling food trays.
How to Make DIY Ribbon Garland-Ribbon Swag-Ribbon Banner
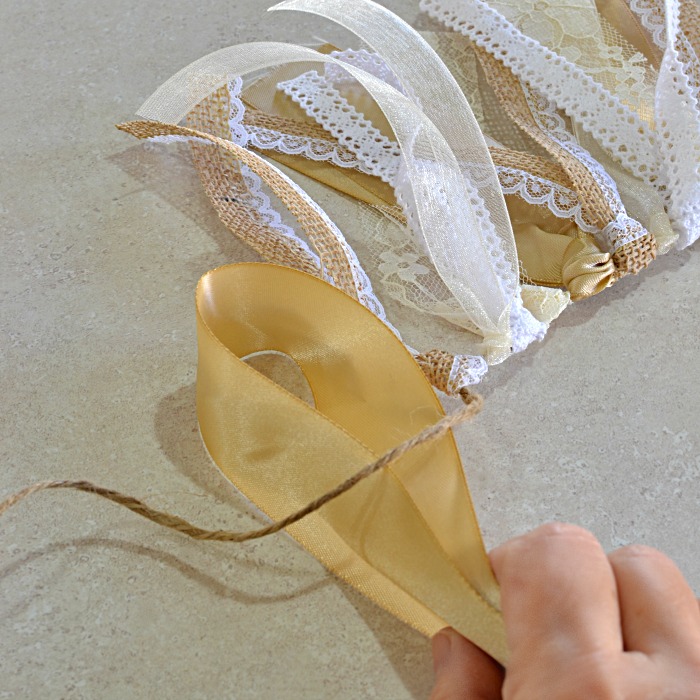
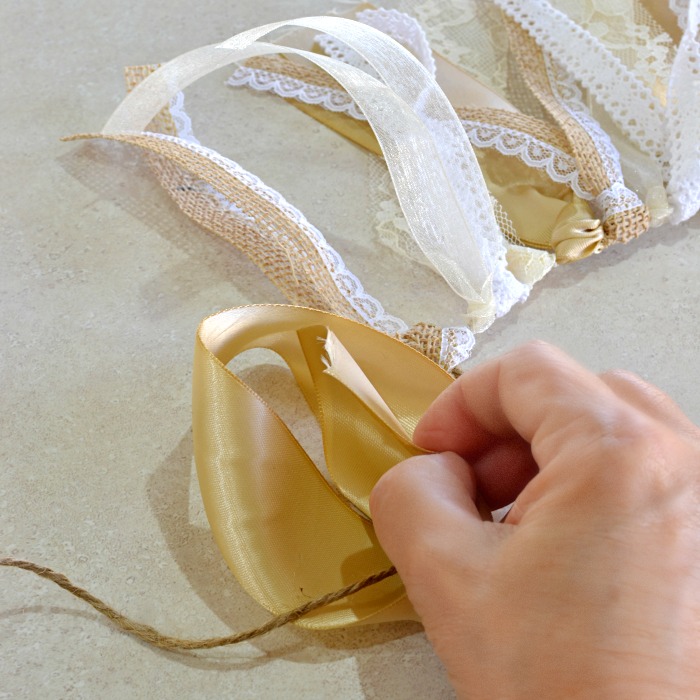
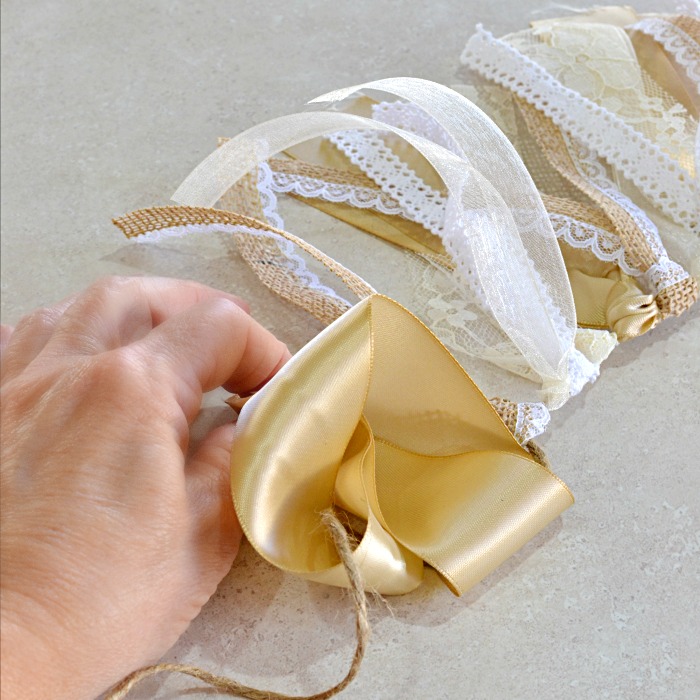
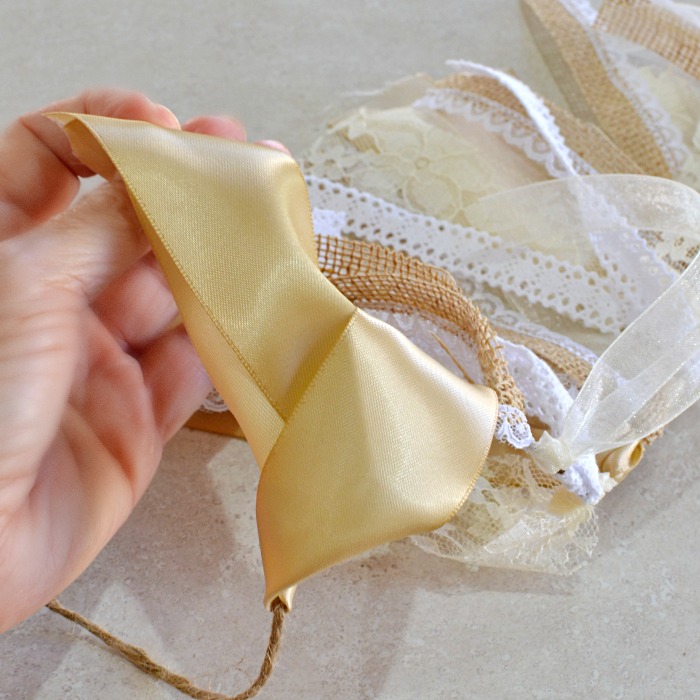
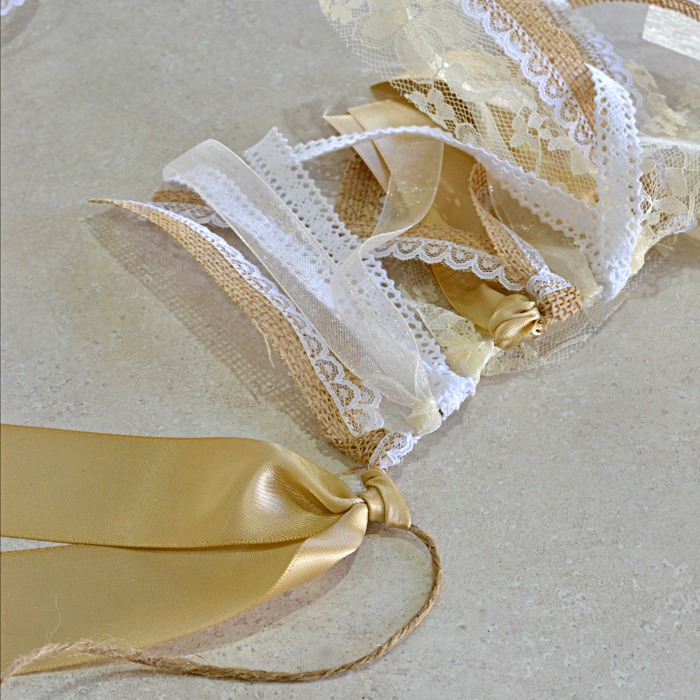
As you can see by the instructions listed below, it’s very easy to make your own ribbon garland.
HOW TO MAKE A RIBBON GARLAND SUPPLIES -full printable instructions below in how to card-Makes a 4 foot garland
- 6 yards 1/2-inch ribbon
- 10 yards 3/4-inch ribbon
- 6 yards 1 1/2-inch ribbon
- 8 yards 1 1/2-inch ribbon
- 10 yards 5/8-inch ribbon
- 7 feet jute string
TOOLS
- scissors
RIBBON GARLAND DIRECTIONS
- Cut ribbon into 12-inch pieces
- Fold each piece in half, hold under the string, pull the ends through the loop, and tighten onto the string.
Ribbon Swag Alterations
Because this ribbon swag is so easy to make it’s also easy to alter. For my swag I cut the ribbon in 12 inches pieces. The end result is about a 4 inch banner. If you want a longer garland, simply cut longer pieces of ribbon. Customize the colors to coordinate with your party colors.
How to Determine the Order of the Ribbon
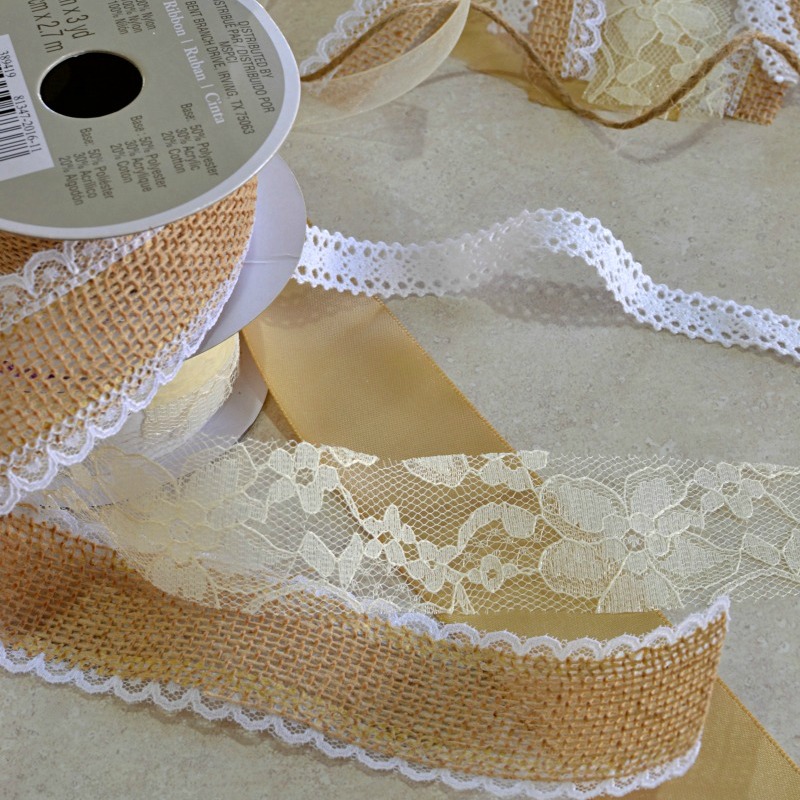
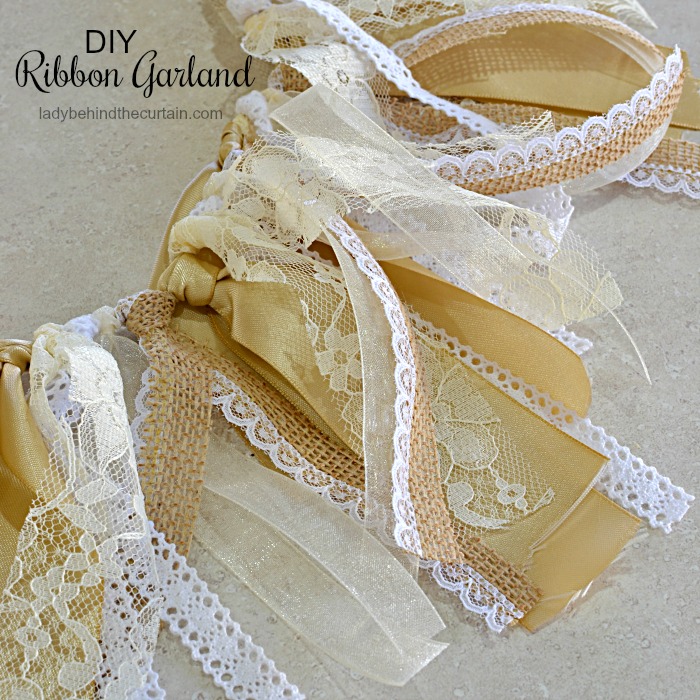
To create an interesting ribbon garland, you’ll need a variety of textures, colors, and styles. Example, Included in this garland is satin ribbon, lace ribbon, shear ribbon, crochet ribbon, and rafia ribbon. Along with the different textures are different ribbon widths.
LATEST POSTS
In conclusion, creating a ribbon garland may seem like a simple task, but by following these tips and tricks, you will be able to take your garland game to the next level. From selecting the right ribbon to arranging it in a visually appealing way, it’s all about attention to detail and creativity. In this case, the details are what will make your ribbon garland stand out. So, go ahead and give it a try – your next party or holiday decoration will thank you. And remember, as you tie each ribbon in place, you’re not just creating a garland, you’re creating a beautiful memory. So, let’s keep it simple and add some beauty to our lives with the art of garland making. Now, go forth and create some ribbon magic!
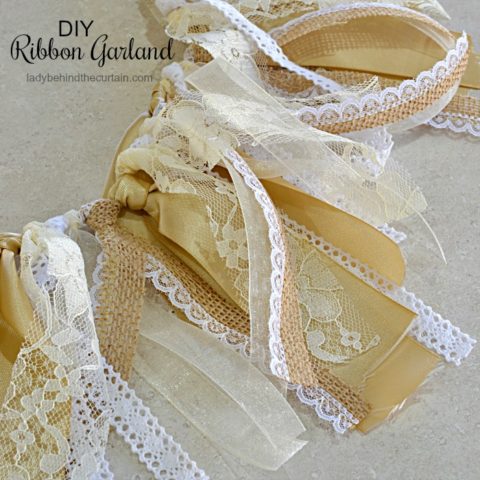
How to Make a Ribbon Garland
Materials
- 6 yards ½ inch ribbon
- 10 yards ¾ inch ribbon
- 6 yards 1½ inch ribbon
- 8 yards 1½ inch ribbon
- 10 yards 5/8 inch ribbon
- 7 feet juts string
Tools
- scissors
Instructions
- Cut ribbon into 12-inch pieces
- Fold each piece in half, hold under the string, pull the ends through the loop, and tighten onto the string. See step by step photos in post.
SIGN UP FOR THE LADY BEHIND THE CURTAIN NEWSLETTER

NEWSLETTER: Receive (twice a month) seasonally themed newsletters full of recipes, tips and tricks. Sometimes even FREE gifts! Click here for the Newsletter→CURTAIN CALL NEWSLETTER
THANKS FOR VISITING♥


How did you make the dowels for the sign stand up in the buckets?
Hi Eva, I used rice. The height of the buckets with the weight of the rice worked great!