Easter or Spring Centerpiece
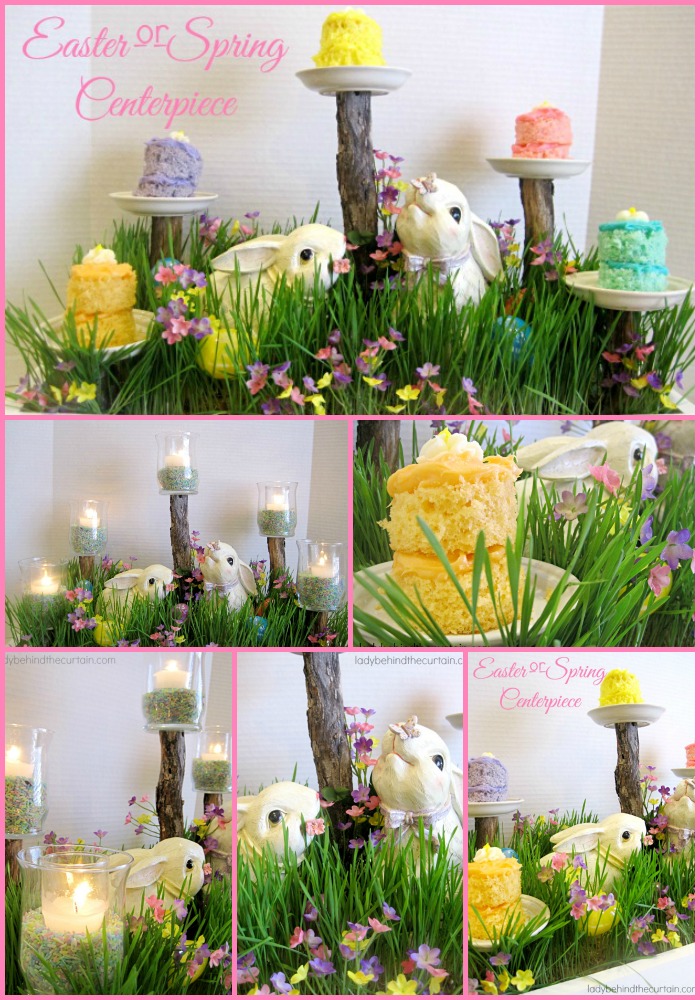
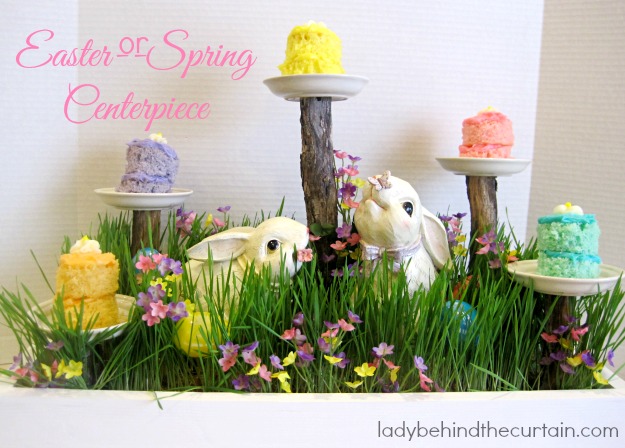
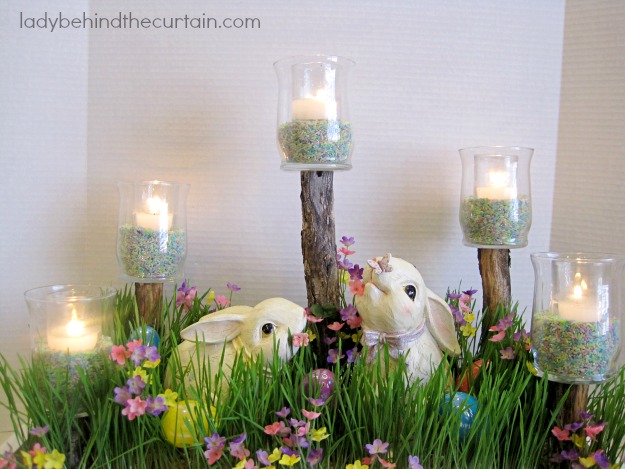
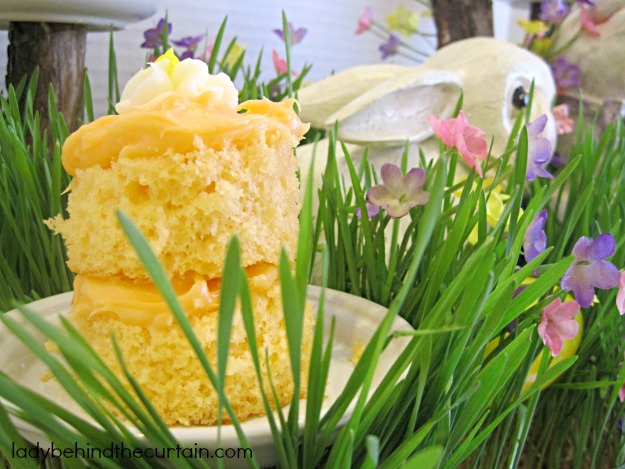
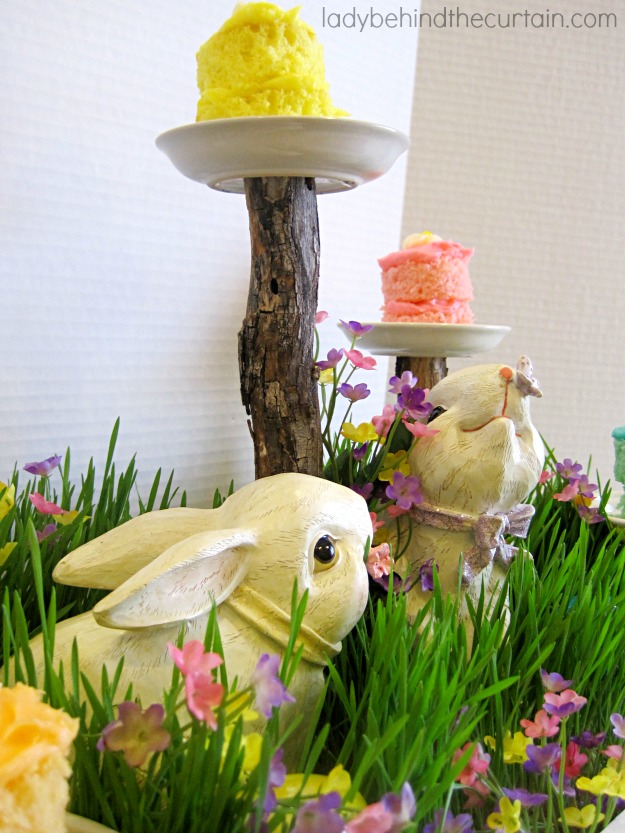
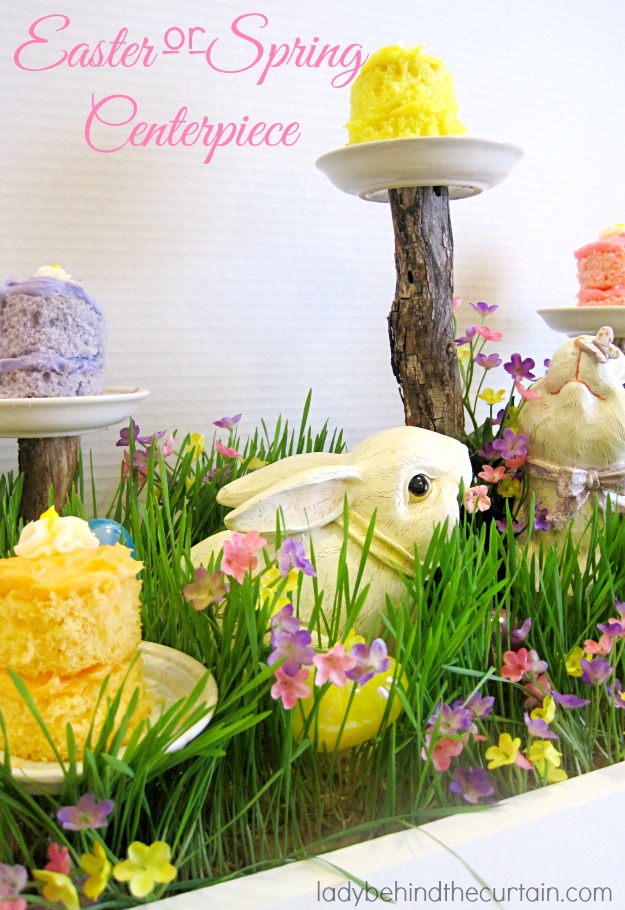
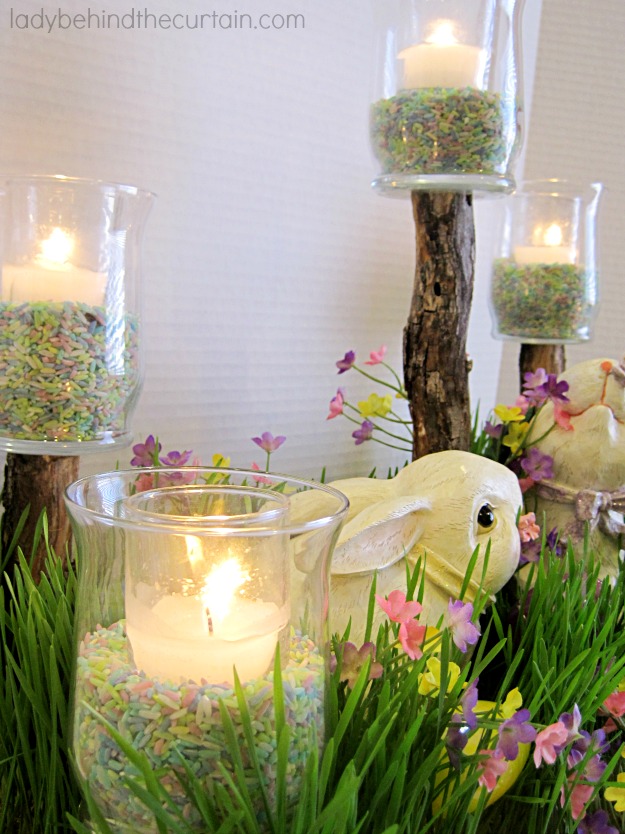
Easter or Spring Centerpiece | I am so excited to share with you my Easter/Spring Centerpiece. I love the versatility of this centerpiece. Just take out the bunnies and eggs! You can use this for a bridal shower, baby shower, wedding reception, brunch, or ladies luncheon! ANYTHING GOES!!! DESSERT IS SERVED RIGHT AT YOUR TABLE! You can also fill the plastic eggs with goodies. Don’t want to have cakes on top of the branches use candles instead! *See pictures below.
Here’s how I made it:
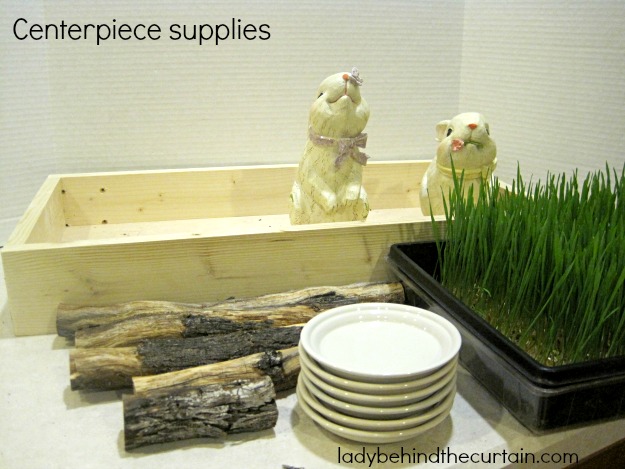
First decide on the size of your centerpiece. Either make one (like I did) or purchase one. I saw serving trays at Micheal’s that would work perfectly. I think any old crate would look awesome too.
I was VERY happy when I found wheat grass seeds at one of our awesome nurseries. HERE is the website I used to help me understand how to grow my wheat grass. The changes I made were; I used a cheap black tray from Walmart and layered wet paper towels in the bottom. The paper towels held in the moisture just fine I couldn’t find that baby blanket stuff the guy talked about in the video. The next step is a waiting game. But once your grass is the height you want it to be then the designing is on! I waited until I had EVERYTHING out I wanted to use to decorate my centerpiece BEFORE I used the grass.
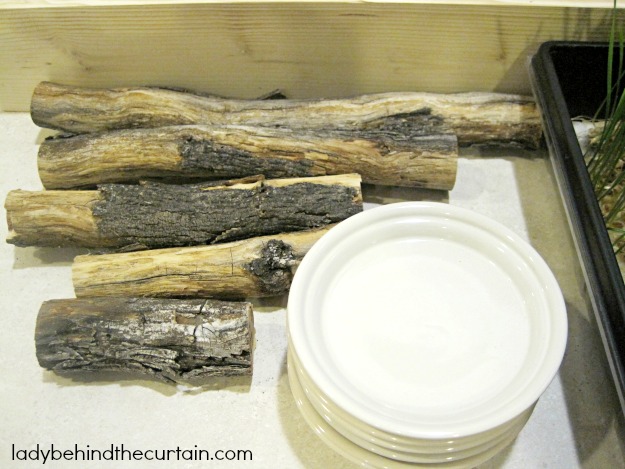
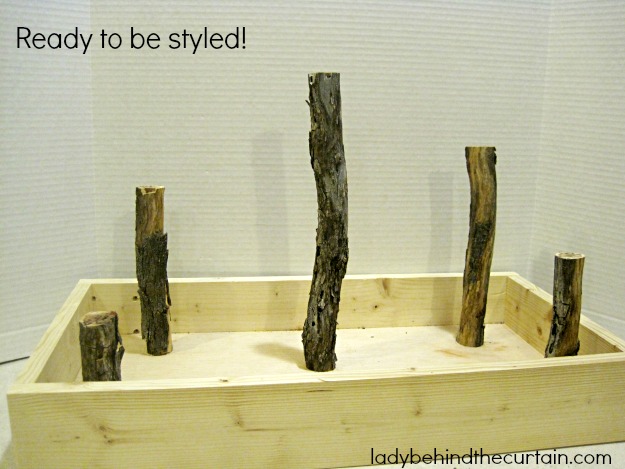
First, I needed branches to hold my cakes. Living in the dessert makes it easy to find dead branches. In fact I helped myself to some behind our church. I figured I saved them a little pruning on work day. Ha! The width of your branches will be determined by how big your plates are. My plates are actually saucers for potted plants I found at the 99 cent store. So they’re only about 3 inches wide. Once you have your branches picked and brought home you’ll need to decide how tall you’d like them to be. I cut mine at 13-inches, 10- inches, 8-inches, 6-inches, and 4-inches.
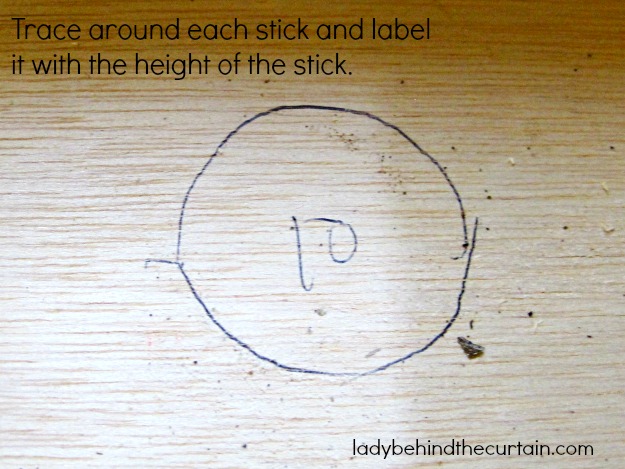
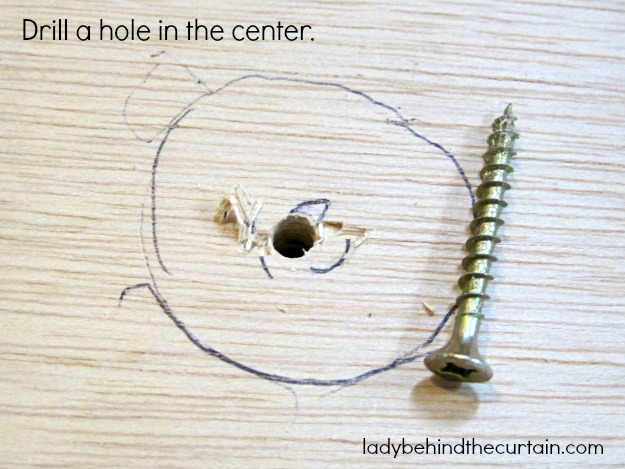
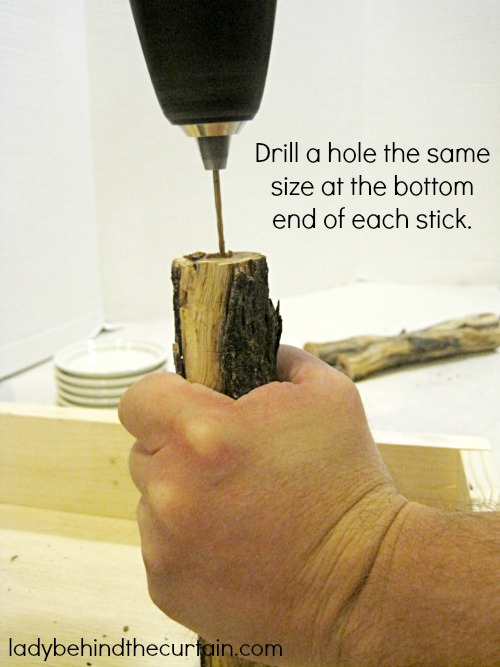
Place your cut branches on your tray to determine their positions, draw a circle around them, drill a hole in the center of your circles, drill a small hole in your branch, then screw your branches to the tray screwing from underneath into each branch.
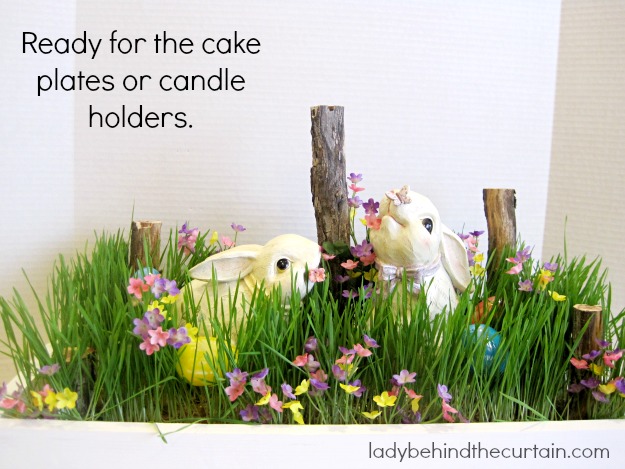
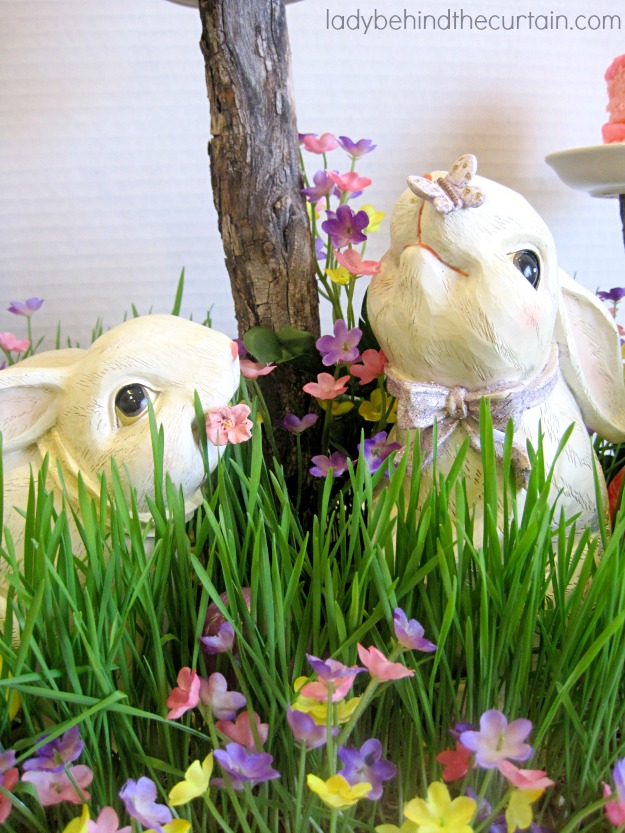
If you need to, the next step is painting your tray. Once the tray is dry it’s time to design! First I placed the bunnies in their position then I just cut through the paper towels and through the roots of the grass to fit where I wanted it and added the eggs and flowers.
I HIGHLY recommend using Liquid Nails to glue whatever you decide to put on top of your branches.
Top the branches with small plates for cakes or cookies or add a candy holder!
*ALTERNATIVE CHOICE: Candles instead of cakes! Of course I used colored rice.
*Coloring Rice is easy. Pour your rice into a zip top bag, add enough rubbing alcohol to coat the rice then add your food coloring, rub in the color, pour out onto a piece of wax paper to dry making sure to move the rice around every so often to allow the bottom to dry. Make a bag of rice for each color.




This looks so great! I love the tip on dying rice as well, such a neat idea
Cute! Cute! Cute! I love the branches!
This is adorable! I would love for you to link it to my first ever linky party!! I just love it!!!
-Heather
That is so fun!
That center piece is so awesome! I love the tree branches! Those cakes look sooo yummy too.