Halloween Party Eye of Newt Pretzels
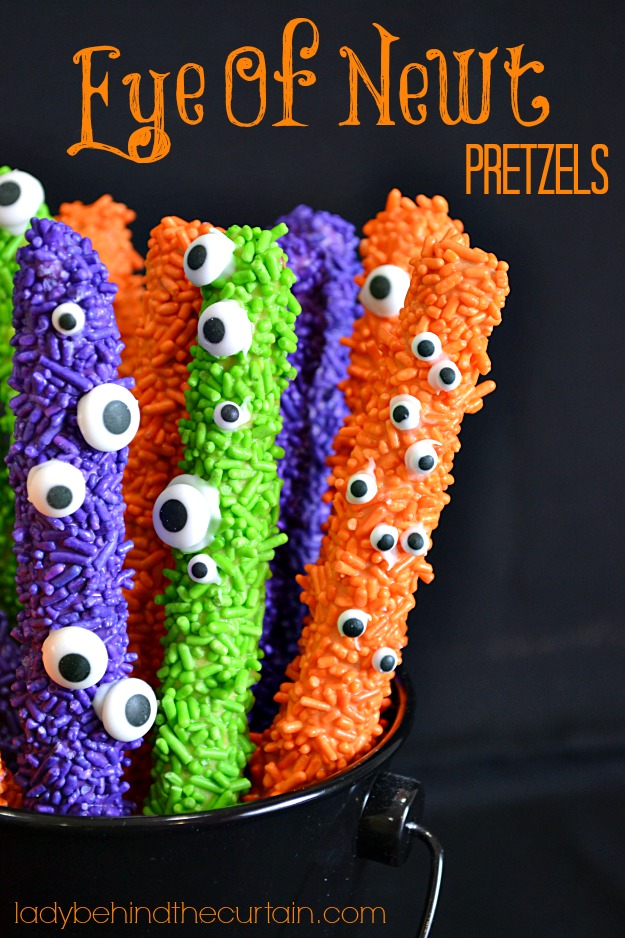
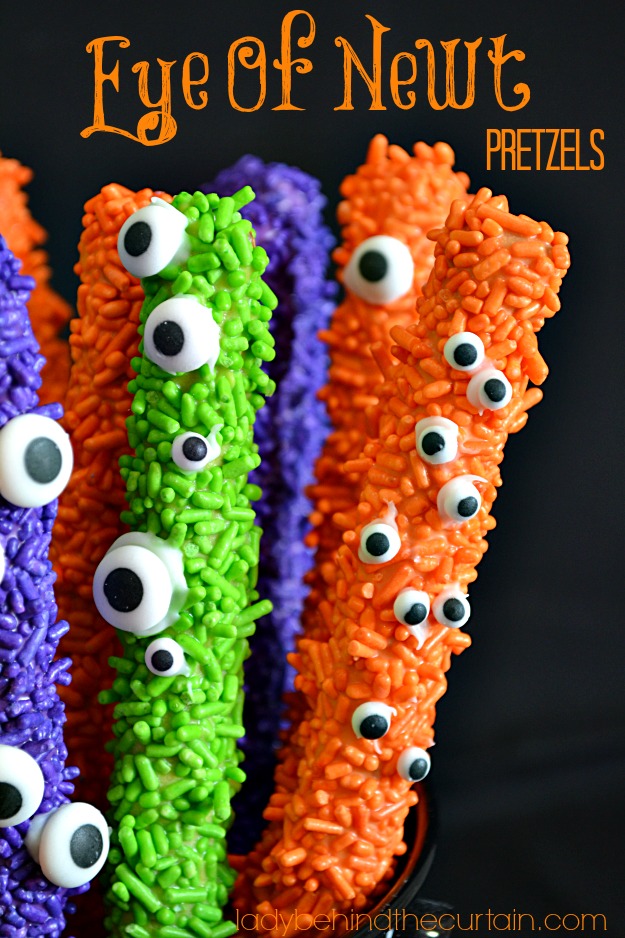
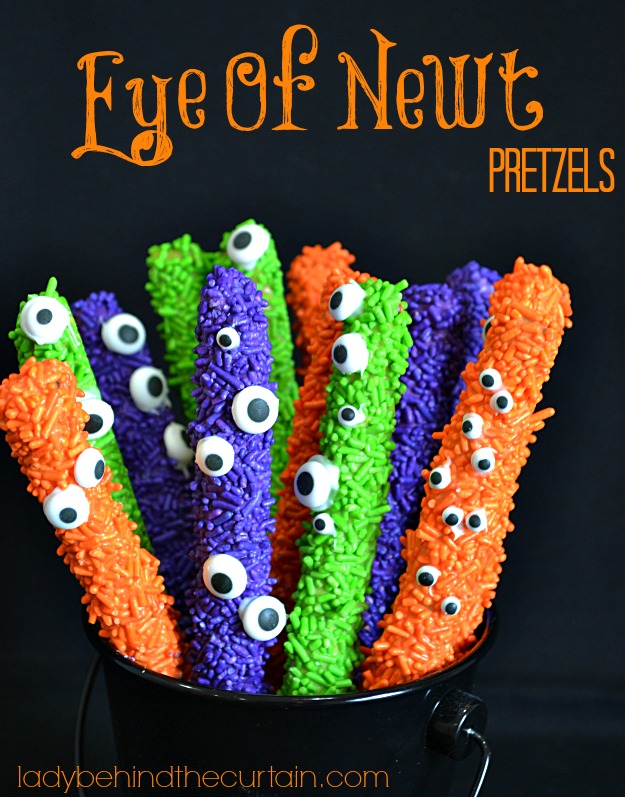
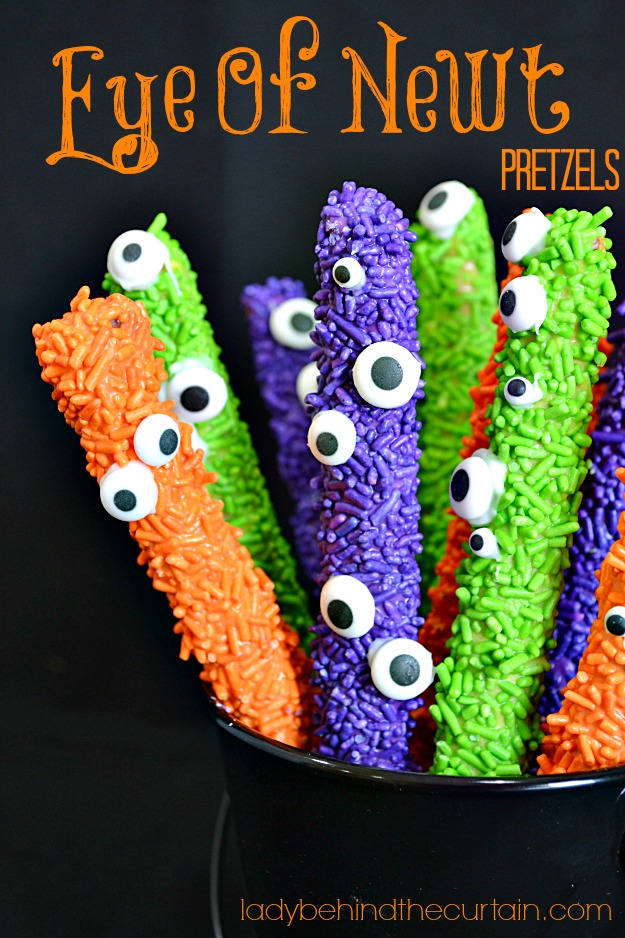
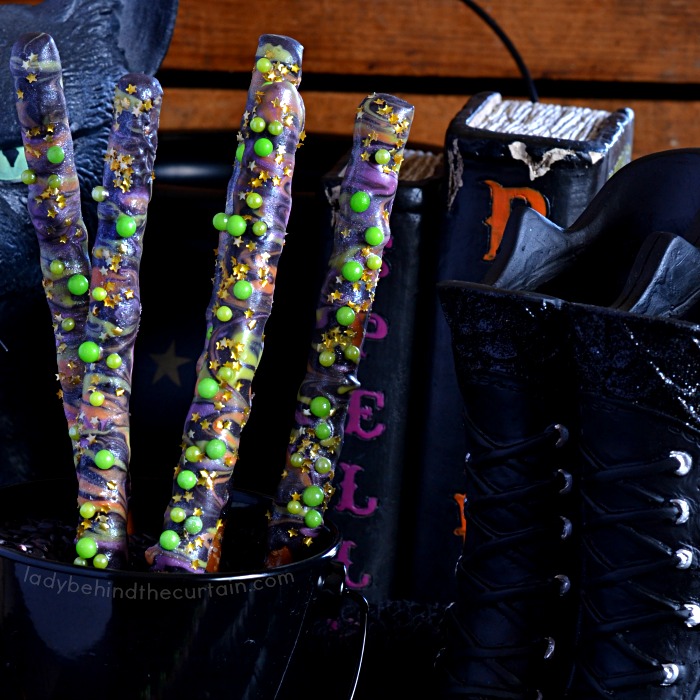
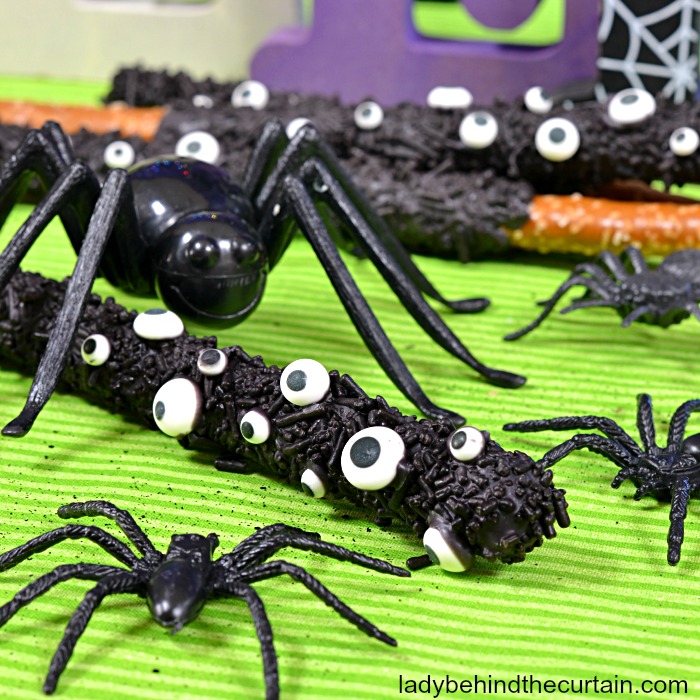
These easy to make Halloween Party Eye of Newt Pretzels are so stinking cute! Sure, the name is kind of creepy but the festive colors lighten them up and make them loads of fun. Oh, and did I forget to mention how incredibly easy they are to make? Don’t worry I’ll walk you through the steps it takes to make these cute eye of newt pretzels so you can have them on your Halloween Party dessert table in no time. What? No party? That’s okay, how about packaging them up for the neighborhood kids. You can purchase bags made specifically for pretzels.
Eye of Newt Decorated Pretzel Party Themes
- Even though when you hear the words eye of newt you automatically think Halloween, there are some other party themes for these fun decorated pretzels. I’ll start with the obvious.
- Halloween
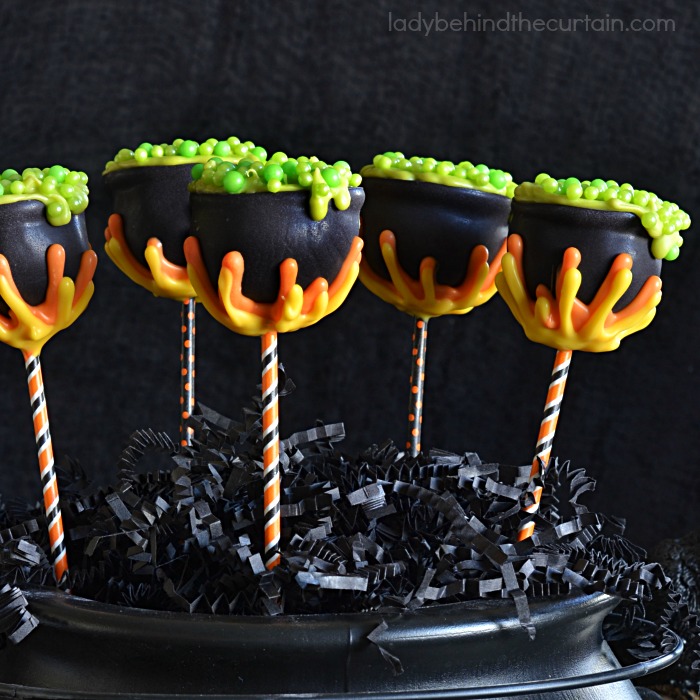
- Witch
- Zombie
- Spider
- Monster (Birthday Party)
FOR A CLOSER LOOK WATCH MY VIDEO— HOW TO DECORATE PRETZELS↓
HOW TO MAKE EYE OF NEWT DECORATED PRETZELS (scroll down for the full printable recipe)
- SUPPLIES
- pretzel rods
- candy melts
- sprinkles
- edible eyes
- DIRECTIONS
- Get all the supplies out and ready (this can move quickly).
- Place a piece of parchment paper on a cookie sheet.
- Melt only ONE color at a time. Place candy melts into a medium microwave safe bowl (I used a dinner salad bowl). Microwave on high for 1 minute, stir and microwave another 30 seconds at 60% or until the candy is melted and creamy. NOTE: If candy is too thick add 1 tablespoon of shortening. Stir to melt or microwave to melt.
- Place the tip of the pretzel at an upright angle into the candy melts, using a spoon drizzle the melted candy over the pretzel and coat completely. Lightly tap on the side of the bowl to release any extra candy. Place on the prepared cookie sheet. Do ONLY 4 or 5 at a time.
- Once the 4 or 5 are coated, start with the first one that was coated and cover with sprinkles. I found it was easier to hold the pretzel over another bowl and pour the sprinkles onto the pretzel. Keeping the pretzel in motion with will help the candy cool and you will have less dripping. Once you have enough sprinkles in the bowl you can just take from the bowl to coat the remaining pretzels. Once you have finished completely coating a pretzel with sprinkles place on the lined cookie sheet. When the 5 pretzels are finished, place the cookie sheet in the refrigerator to harden the candy. NOTE: Once the candy is hardened again it will stay hard even out of the refrigerator.
- Start this process all over again for the remaining pretzels.
- Once all the pretzels are finished and hardened the edible eyeballs can be added. Melt a small amount of white candy to apply the eyes. If you would like to purchase assorted sizes of edible eyeballs. I purchased mine from ShopBakersNook.com They have a great assortment of baking items.
HOW EARLY CAN I DECORATE THE PRETZELS?
The Versatility of Halloween Party Eye of Newt Decorated Pretzels
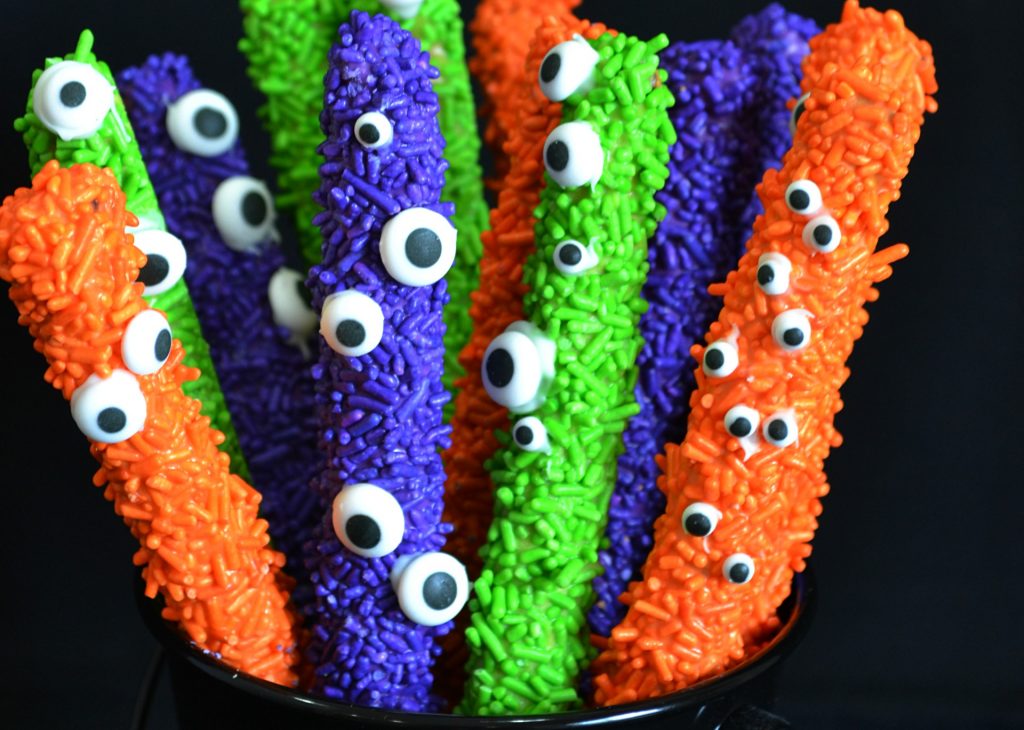
- First, I’ll add the obvious and that is to simply put them in a jar and place them on the dessert table.
- Use a serrated knife and cut the pretzel rods the height of a cake, decorate pretzels and place them around the outside of a frosted layered cake. BAM!
- Hand out as party favors. You can purchase cellophane bags made specifically for pretzels. Add a thank you tag and you’re set!
- Create a centerpiece! Fill containers (like jars or buckets) with the decorated pretzels and line them down the center of a table. Perfect for a kids party!
DID YOU KNOW?
MORE HALLOWEEN TREAT IDEAS
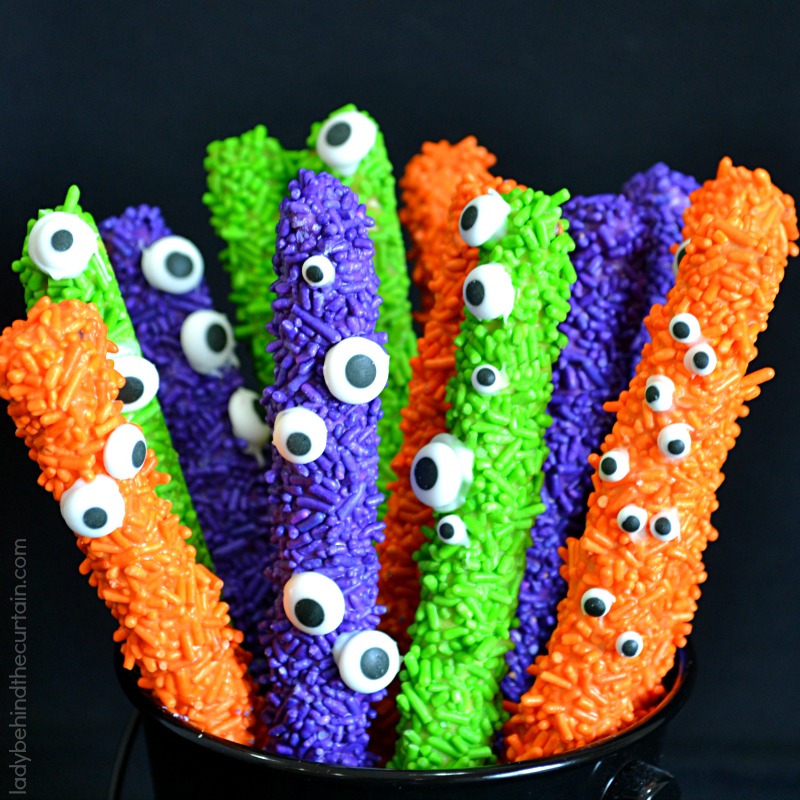
IMPORTANT TIP: Use the same color candy melts as sprinkles—The pretzels will have extra vibrancy!
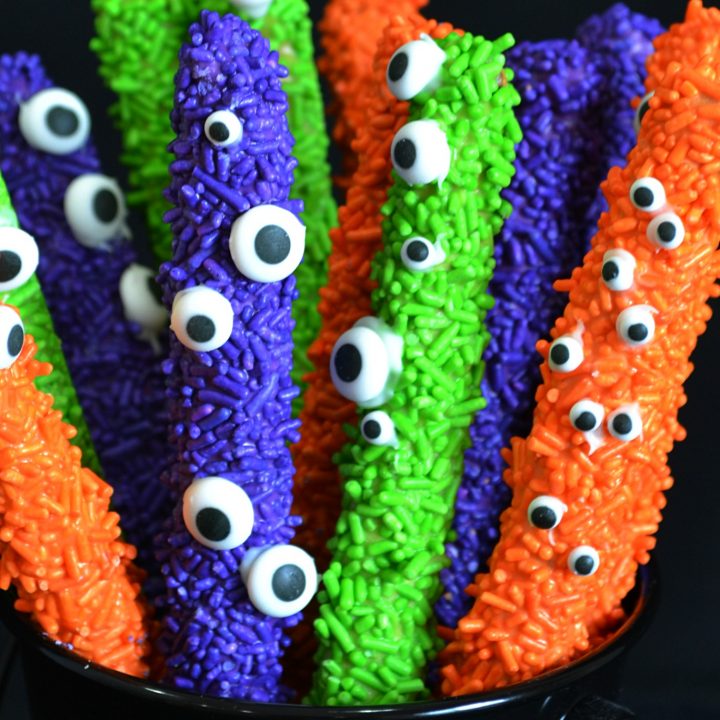
Halloween Party Eye of Newt Pretzels
The most versatile party treat you can make!
Ingredients
- 1 cup orange candy melts
- 1 cup purple candy melts
- 1 cup lime green candy melts
- (optional shortening—no more then 1 teaspoon per color)
- Orange, Purple and Lime Green Sprinkles
- ½ cup white candy melts
- Assorted edible eyes
Instructions
- Get all the supplies out and ready.
- Line a cookie sheet with parchment paper.
- —NOTE THIS PROCESS IS FOR ONE COLOR AT A TIME—
- Pour the candy into a microwave safe bowl, heat 1 minute, stir, heat 30 seconds at 60%, stir until creamy.
- If the candy is too thick, stir in 1 teaspoon of shortening.
- Place the tip of the pretzel at an upright angle into the candy melts, using a spoon drizzle the melted candy over the pretzel and coat completely.
- Lightly tap on the side of the bowl to release any extra candy. Place on the prepared cookie sheet. TIP: Do ONLY 4 or 5 at a time.
- Once the 4 or 5 are coated, start with the first one that was coated and cover with sprinkles. TIP: I found it was easier to hold the pretzel over another bowl and pour the sprinkles onto the pretzel. Keeping the pretzel in motion with will help the candy cool and you will have less dripping. Once you have enough sprinkles in the bowl you can just take from the bowl to coat the remaining pretzels. Once you have finished completely coating a pretzel with sprinkles place on the lined cookie sheet. When the 5 pretzels are finished, place the cookie sheet in the refrigerator to harden the candy. NOTE: Once the candy is hardened again it will stay hard even out of the refrigerator.
- Start this process all over again with the remaining pretzels and colors.
- Once all the pretzels are finished and hardened, the edible eyeballs can be added.
- Melt white candy to apply the eyes.
MORE HALLOWEEN THEMED DECORATED PRETZELS
NEVER MISS A POST






These are super cute! The kids would love them!
These are so perfect for Halloween! Using the same color candy melts and sprinkles is such a great tip. It really makes the pretzel rods look completely covered in sprinkles. Love it!
These are too cute…a quick & easy snack to make for the upcoming parties! Thanks so much for sharing
These are so stinkin’ adorable!! This would be a fun thing to make with my 5-year-old son. Great Halloween idea – have pinned!
Those are so adorable Sheryl! They are perfect for parties!!
These pretzels are super cute!
thanks for linking to Take-A-Look Tuesday over at Sugar Bee Crafts – you were featured today!
–Mandy, SugarBeeCrafts.com
My kiddos would absolutely love these, Sheryl! Thanks so much for sharing at All My Bloggy Friends this week! Have a great day
freakishly adorable! I just wanted to let you know I’m featuring this at the Block Party tomorrow
Thank You!
really cute. Would love if you shared this on our #kidsinthekitchen linky this week http://lookwhatmomfound.com/2014/10/spicy-oatmeal-raisin-butterscotch-cookies-kidsinthekitchen.html
Thank you very much. I would love this for my sons birthday.
How much of the candy melts are used for how many pretzel rods?
Hi Alli,
I’m sorry to say I didn’t measure. I just poured some in a bowl, melted and dipped. I know that one bag of candy melts goes a long way. It depends on how many pretzel rods you need to coat. I would guess and this is a total guess one bag of each color would be enough to coat a bag of pretzel rods. Again sorry…..