Frozen Princess Birthday Party
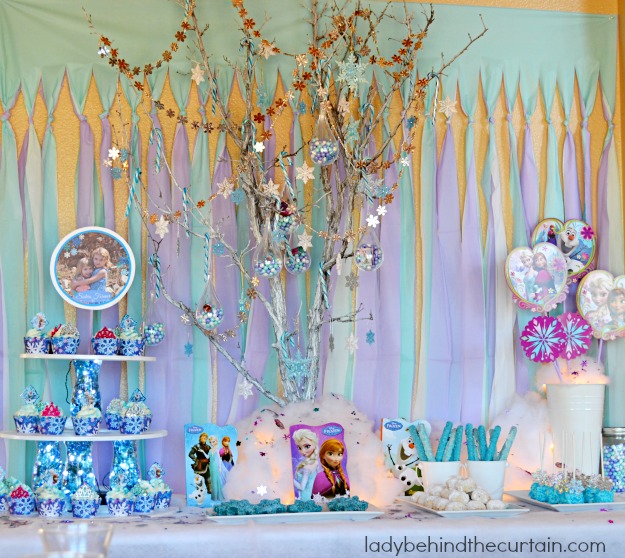
This Frozen Princess Birthday Party is full of fun and easy ideas. Perfect for my 3 and 5 year old Granddaughters! THE FROZEN MANIA CONTINUES! This is such a fun little girls party. Of course it is! It has a dessert table! HA!
Working our way from the back to the front.
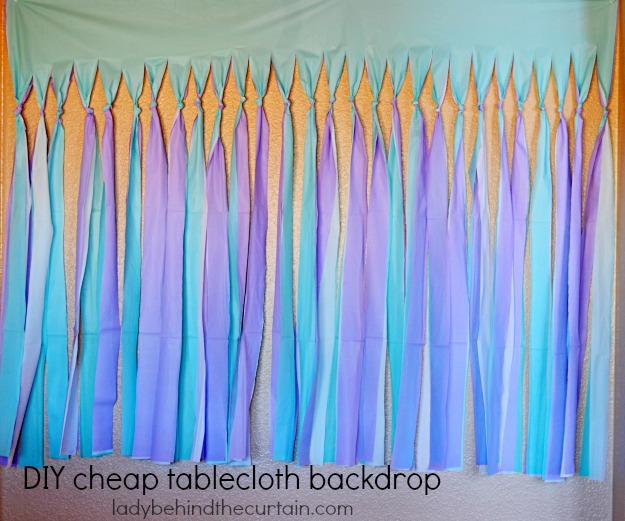
BACKDROP (I found the idea on Pinterest from Rain on a Tin Roof)
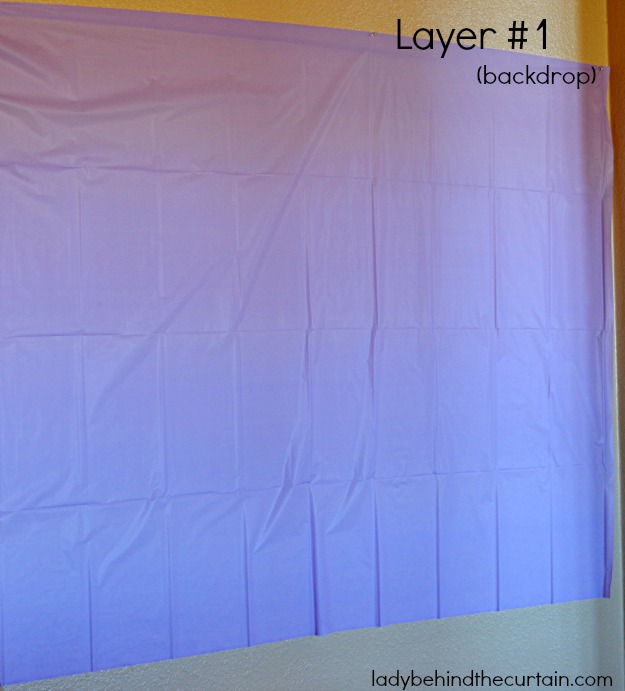
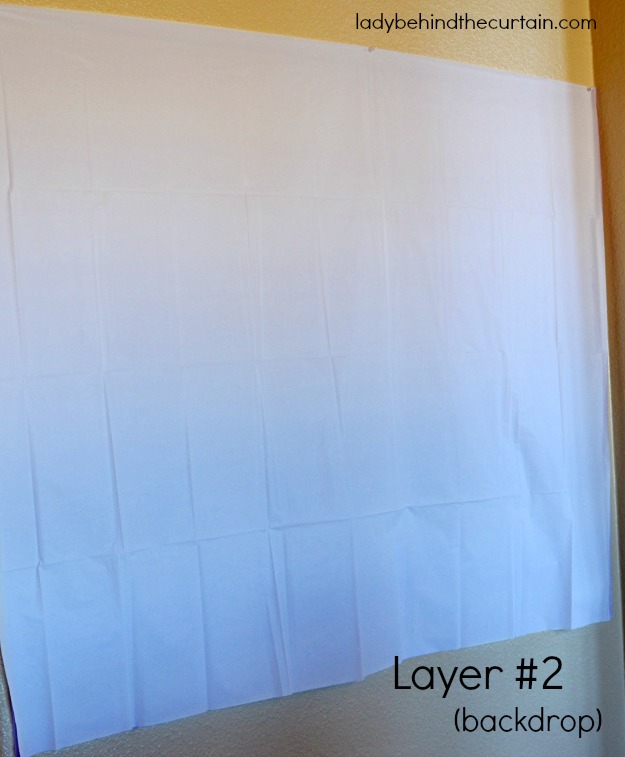
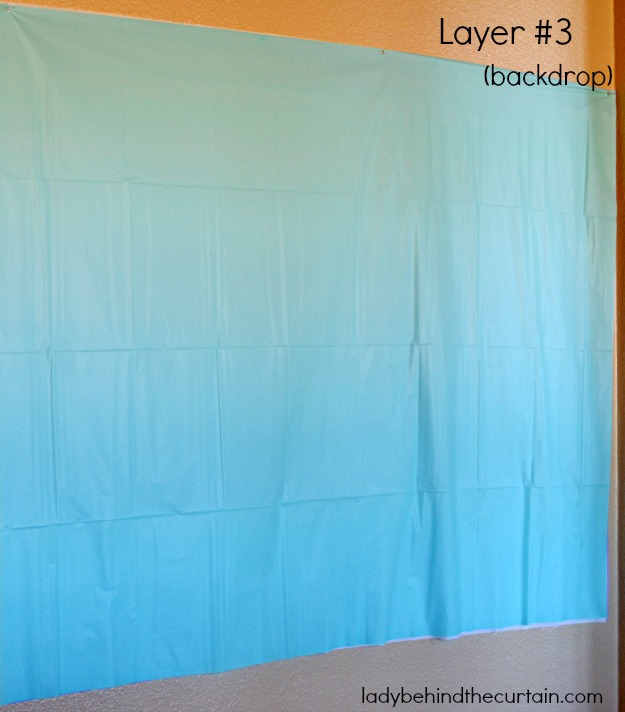
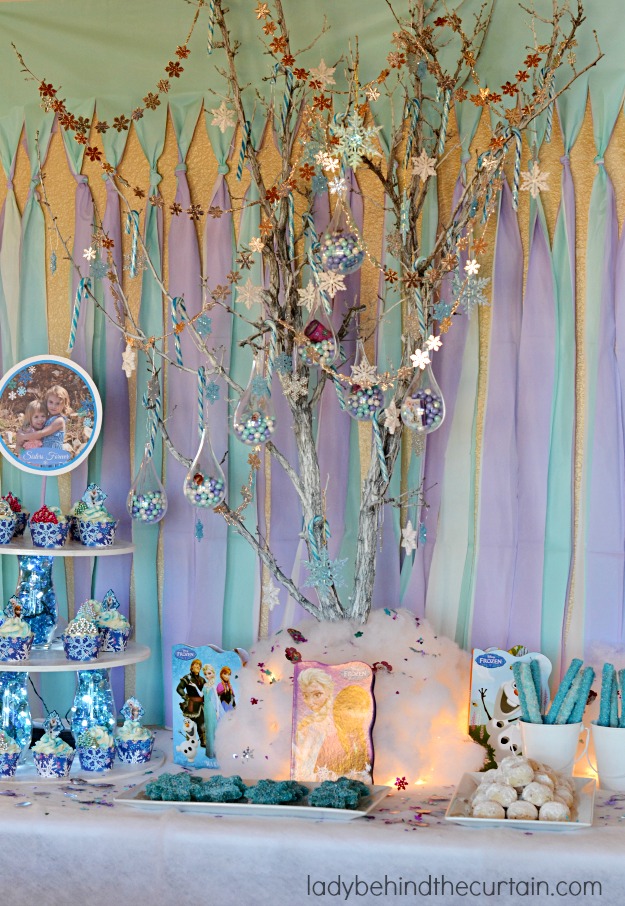
I made the backdrop from using 3 different colored plastic table clothes from the party store. I connected all three layers with clear push pins.
PURPLE
WHITE
BLUE
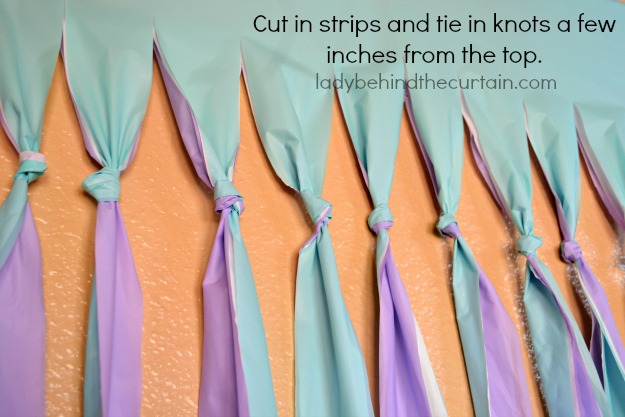
Cut into strips and tie in a knot a few inches from the top.
Trim the bottom and sides if needed.
TABLE COVERING
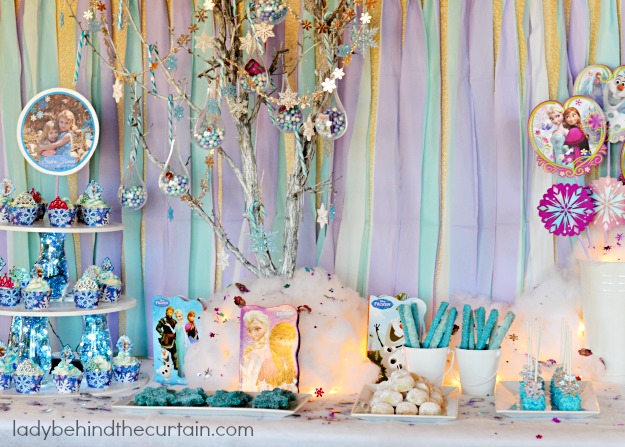
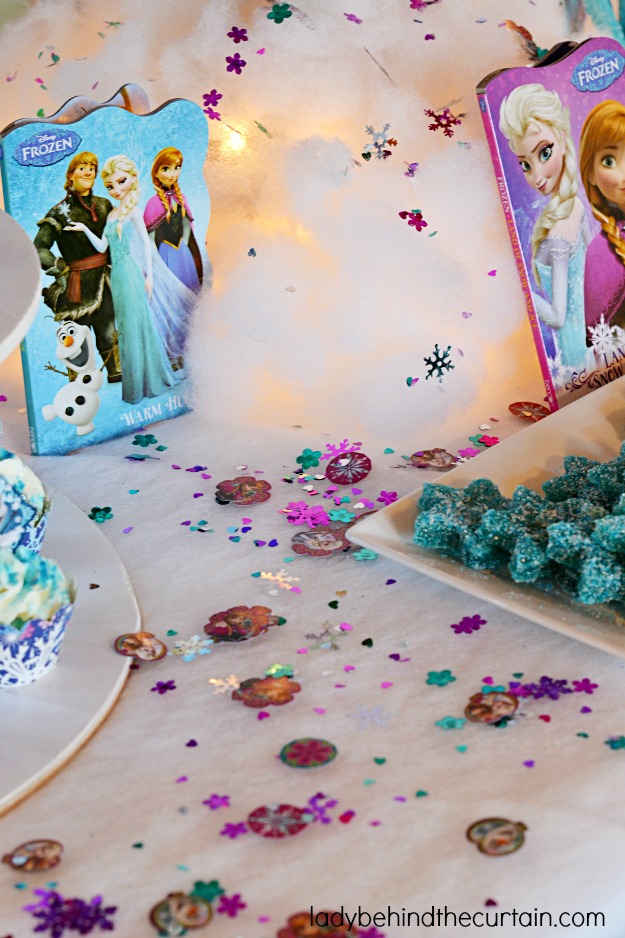
I used quilters batting to cover the table. It gave an effect of snow but stays level for easy placement of food. Fiberfill was also added for height in the back along with white lights. Sprinkles set the scene.
CENTERPIECE
What is a winter wonderland without a frozen tree?
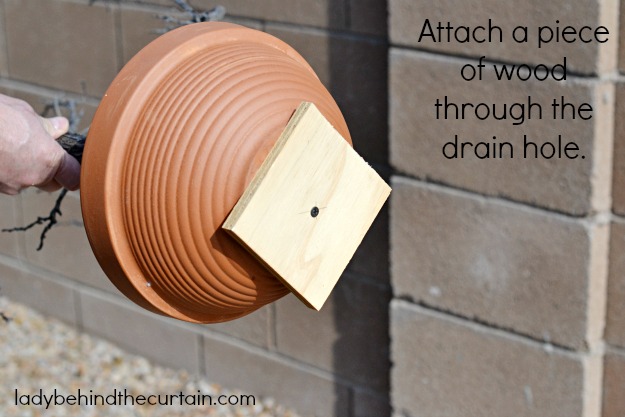
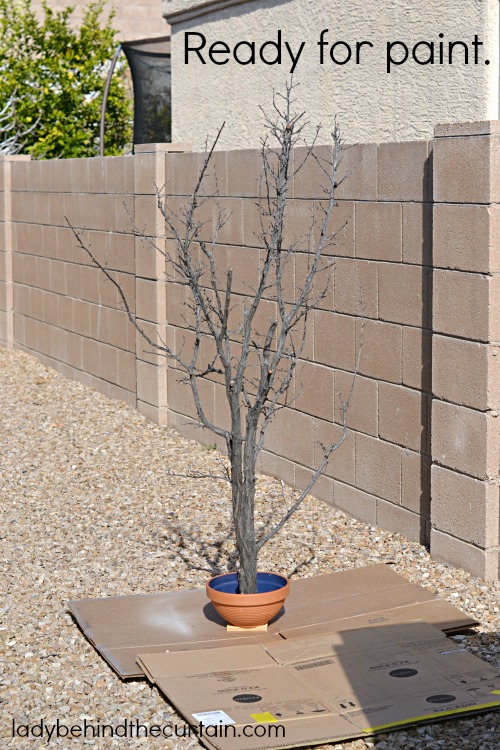
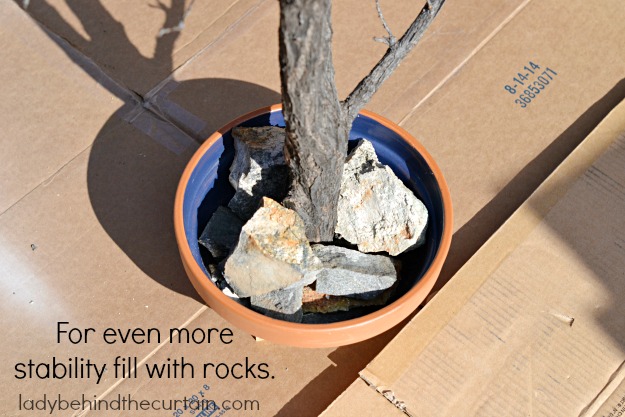
Unfortunately our plum tree died so i didn’t have to go far to find a tree branch. For stability I took a piece of wood and skewed through the bottom of a clay pot where the drain hole is. This allowed me to use a smaller pot then if I would of buried it with rocks to hold in place.
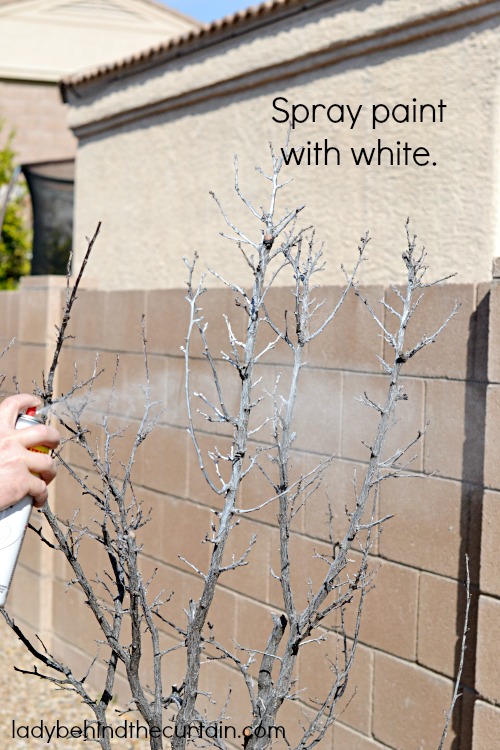
Once the bottom was secured I lightly spray painted the tree white.
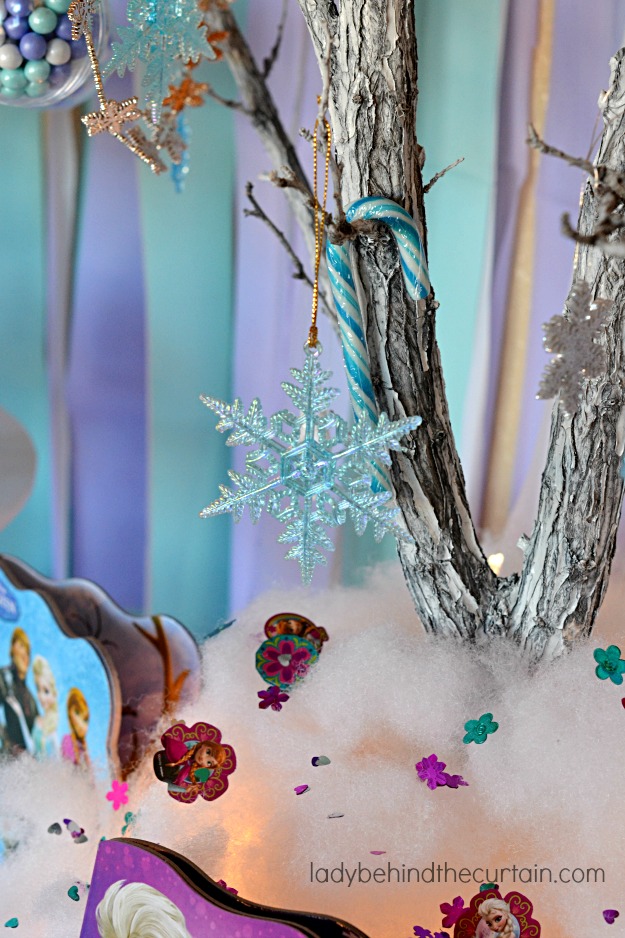
Now it was ready to sit proudly in the center of my winter wonderland table adorned with assorted snowflakes.
PARTY FAVOR
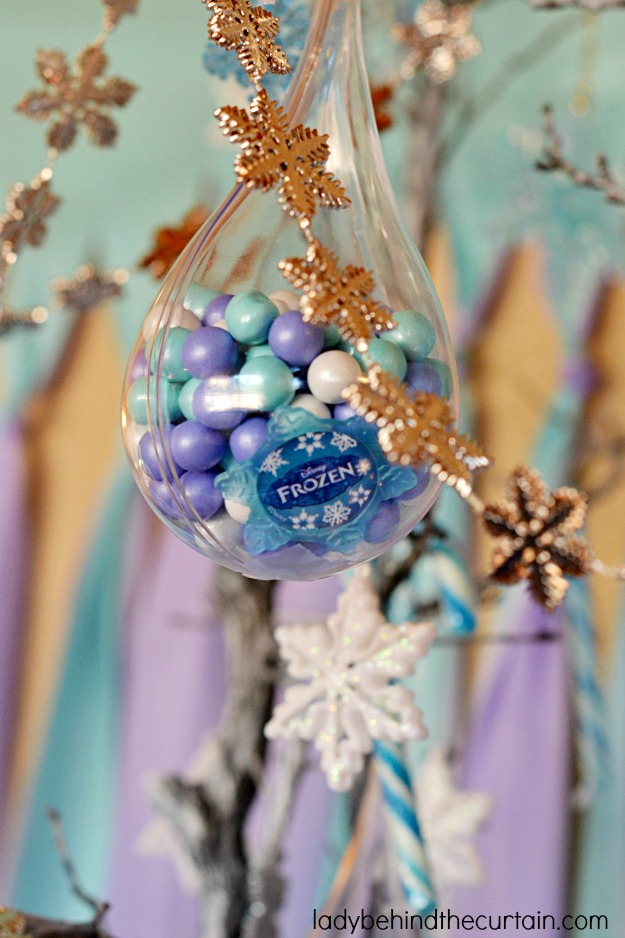
I filled Teardrop Clear Ornaments with coordinating colors of sixlets ,small Frozen Theme party toys and hung them on the tree. SUPER CUTE!
DIY CUPCAKE STAND
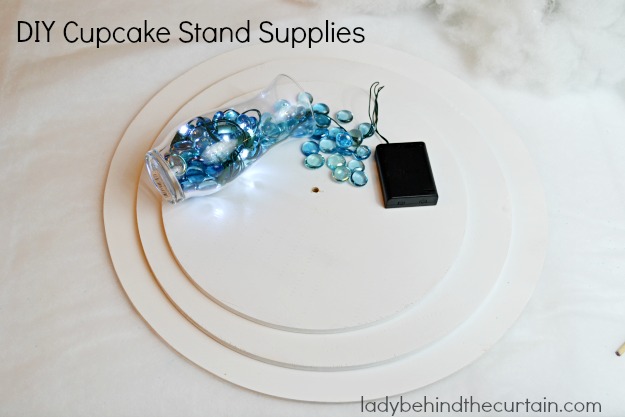
SUPPLIES
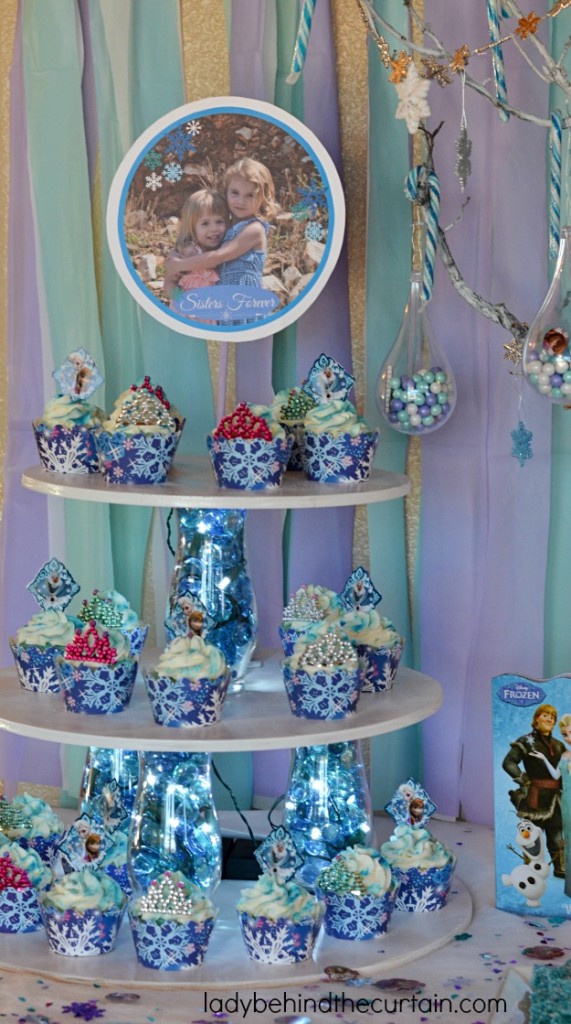
Cut three circles from wood measuring 18-inches, 15-inches, 12-inches and paint them white. Use small vases (I found mine at the Dollar Tree) to elevate the circles (3 on the bottom and 1 in the center on top. I filled my vases with coordinating colored glass beads (from the Dollar Tree) and battery operated white lights.
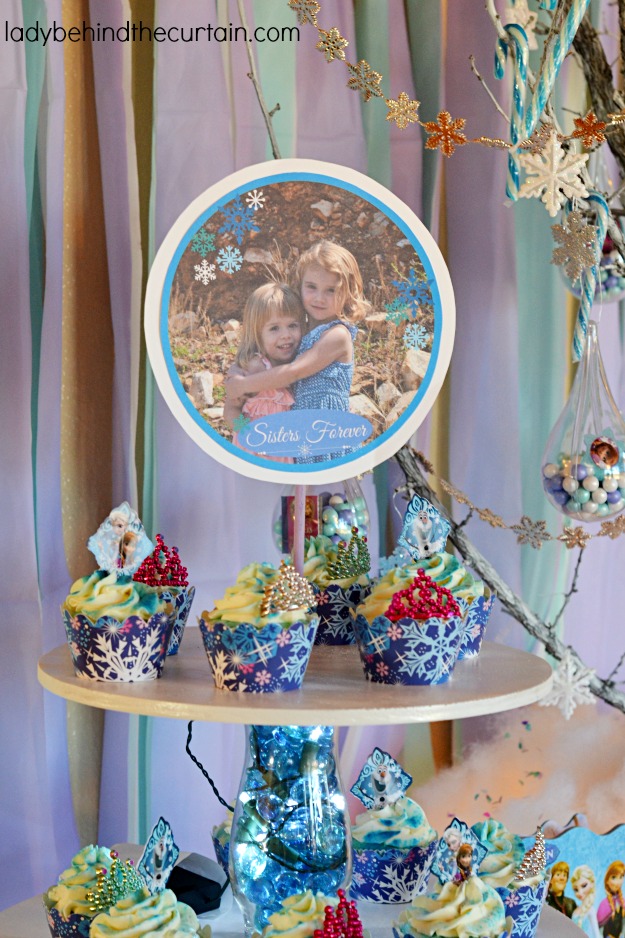
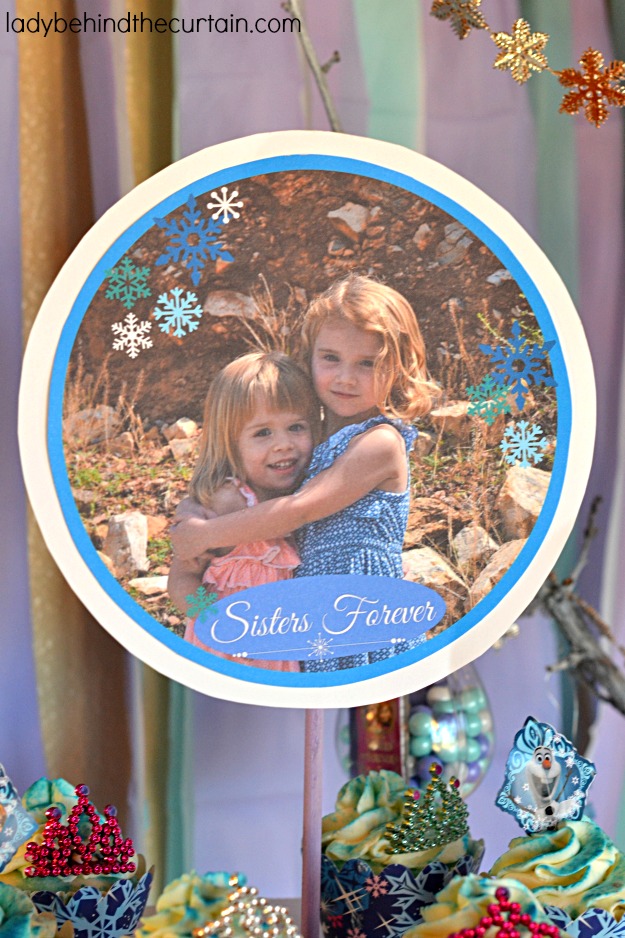
The top circle has a hole in the center large enough for a dowel to fit through and into the vase under it. I attached a cute picture of my girls.
OTHER ACCENTS
The cardstock cut outs on dowels were originally party decorations that hung from the ceiling. I cut off the twirly section, attached them to dowels and stuck them in a metal vase (filled with rice for stability). Frozen books found in the dollar section at Target.
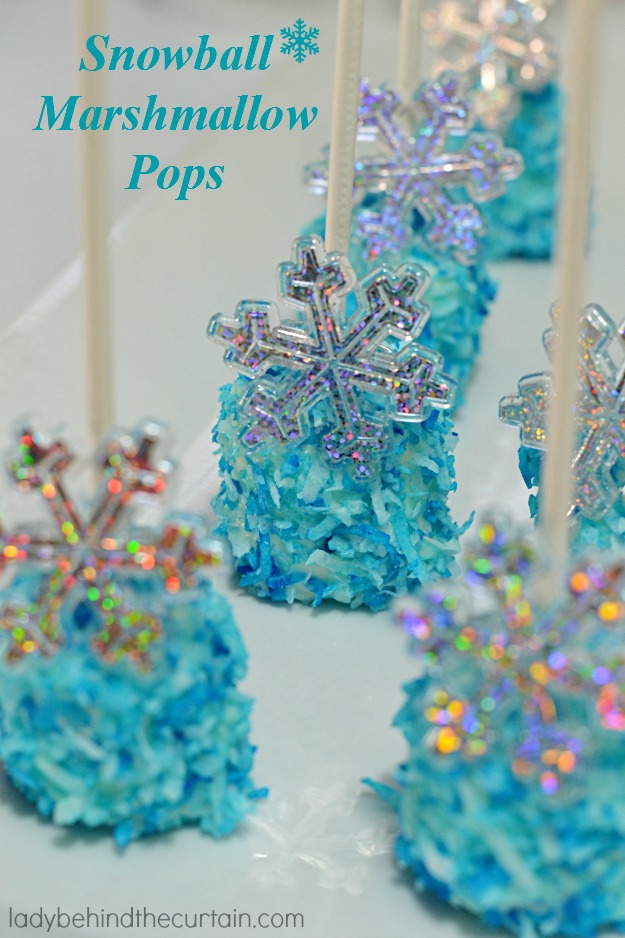
THE DESSERTS


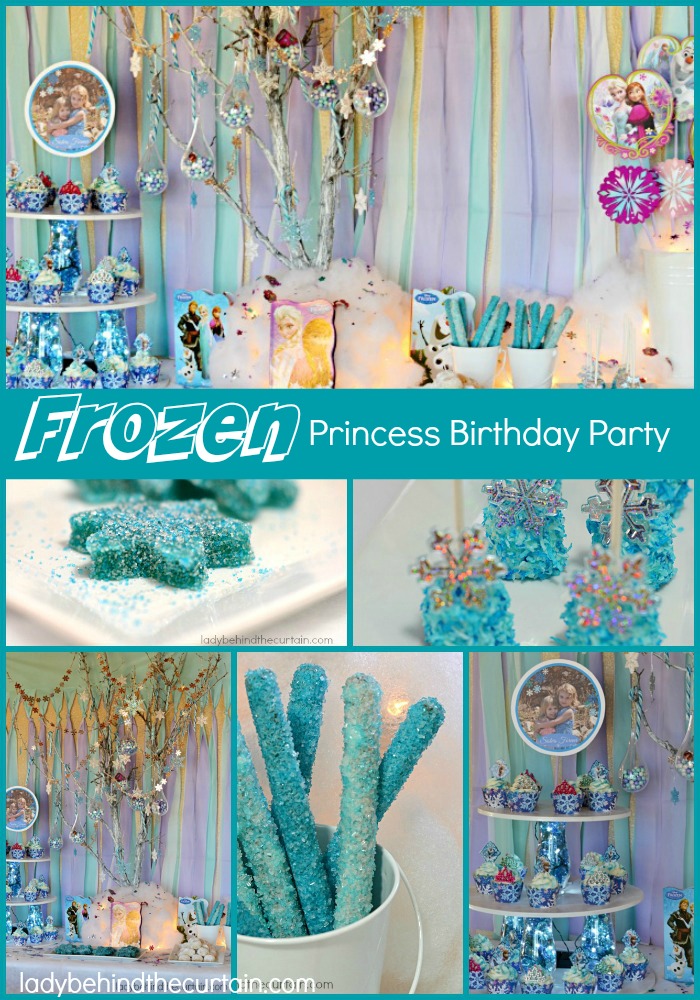
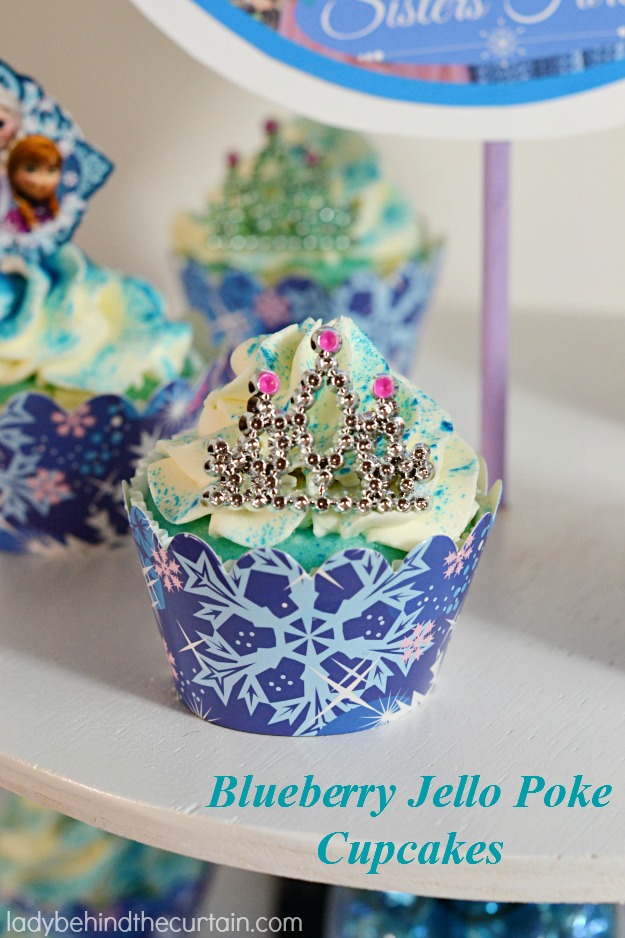
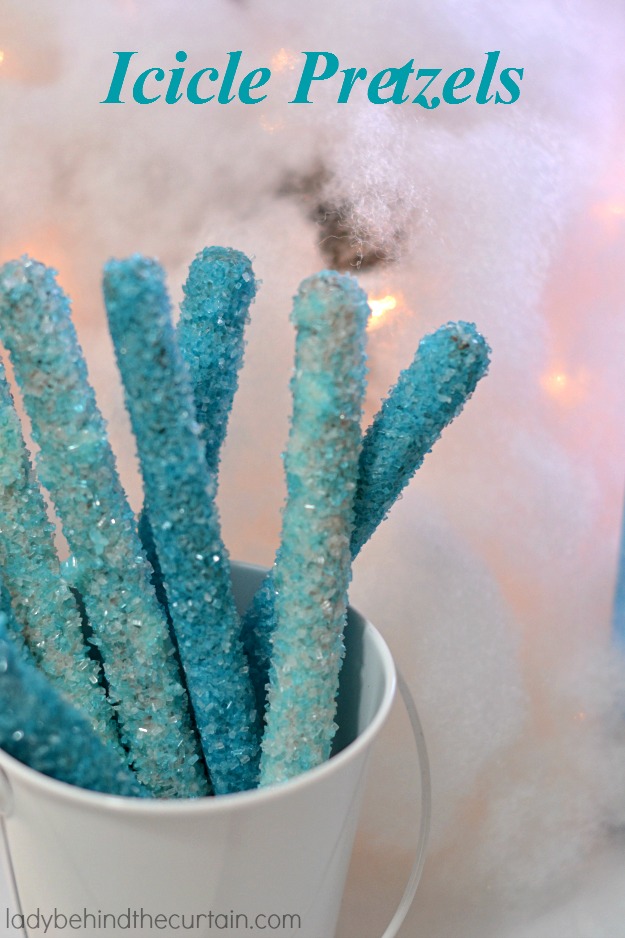
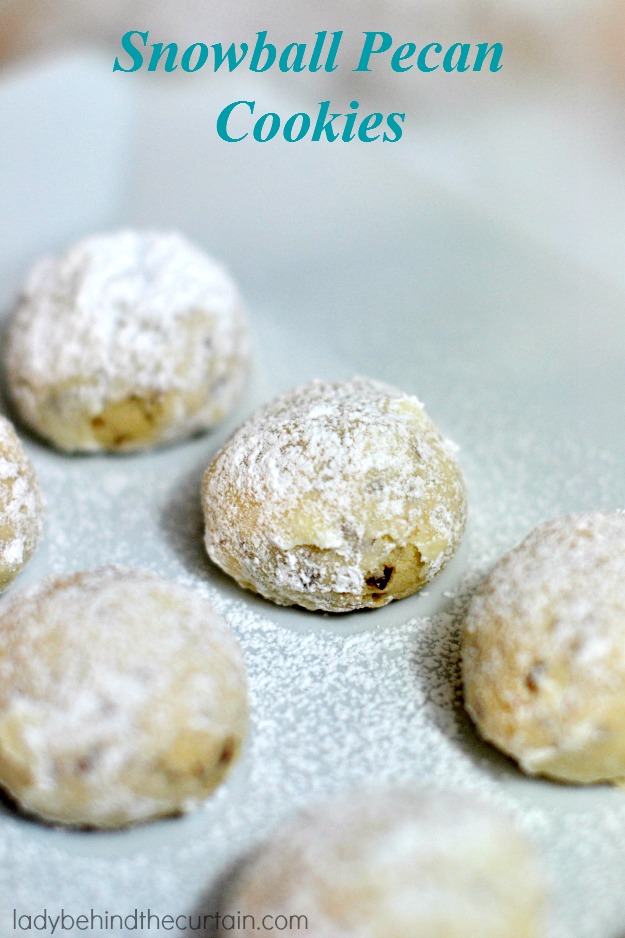
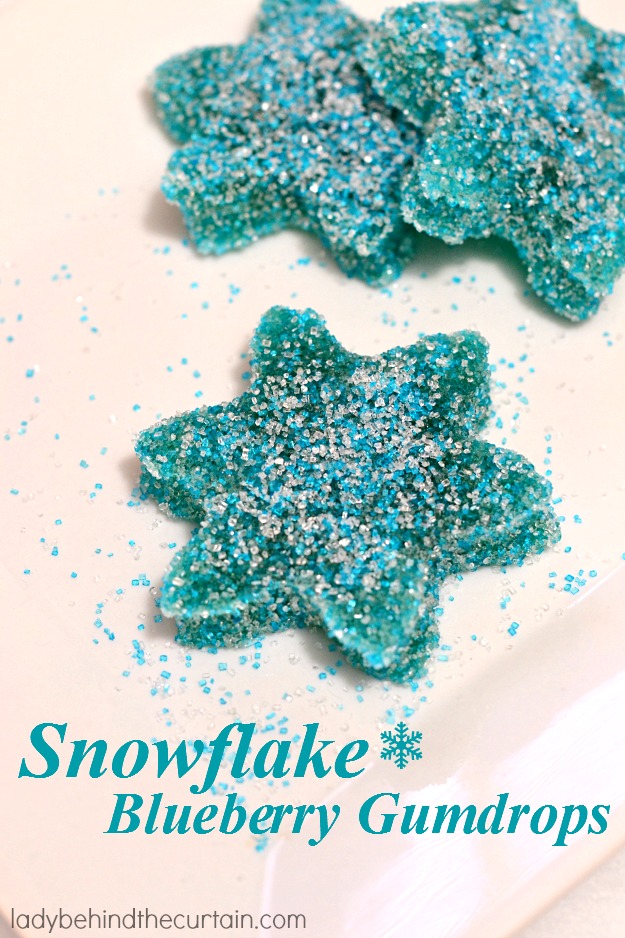

This is Amazing!! You are very talented. I love the tree idea…will change it to black for our halloween party. Keep up the awesome work!
Awww…..thanks Ange.
I love the backdrop idea. When making it, how far apart should I cut the strips and do they have to be even? So after cutting a strip, I would just grab one layer of one of the 3 stripped colors and tie it in a knot at the top of where I stopped cutting??? I’m thinking about doing this backdrop for my daughters birthday coming up. We are having it outside. So would this work if I hung it from the outside of my garage door?? If you could please get back to me, it would be much appreciated. You have amazing and creative ideas, your family is lucky to have you plan for special events and birthday parties.
Hi Viola, Thanks for the sweet words. Tape the layers of tablecloths on top of each other to a hard surface (your garage door will work), then start at the bottom and cut up to about 5-inches from the top. You cut all three layers at the same time. Take all three layers and together make a slip knot at the top. I hope this helps. Have an amazing time!