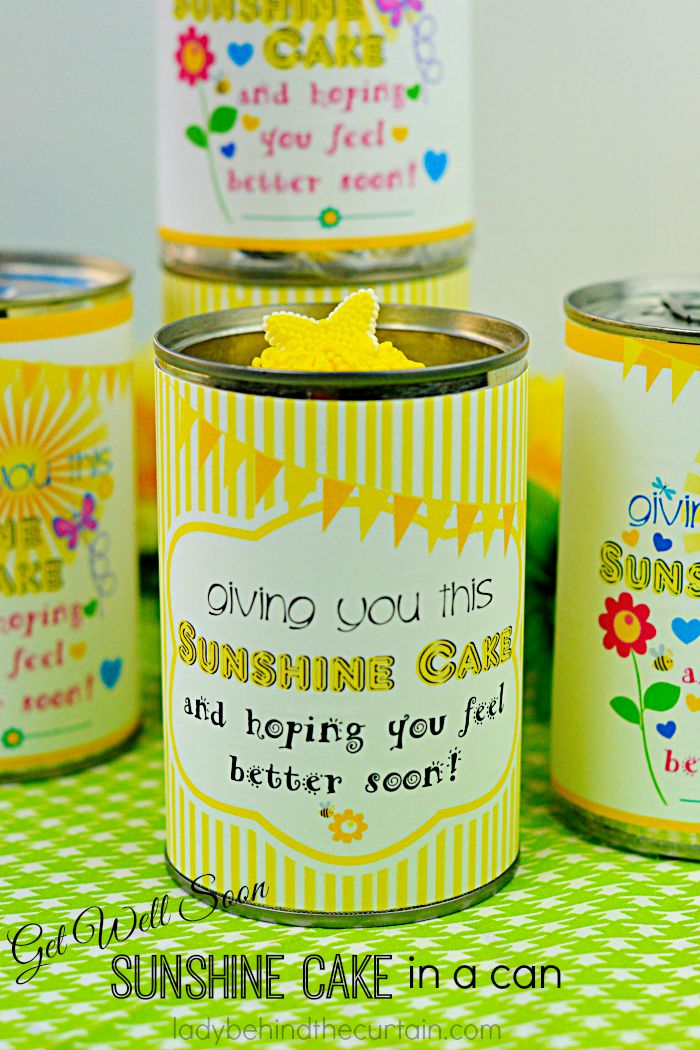
Get Well Soon Sunshine Cake in a Can
Get Well Soon Sunshine Cake in a Can | Bring a little sunshine to someone with this easy to make cake in a can!
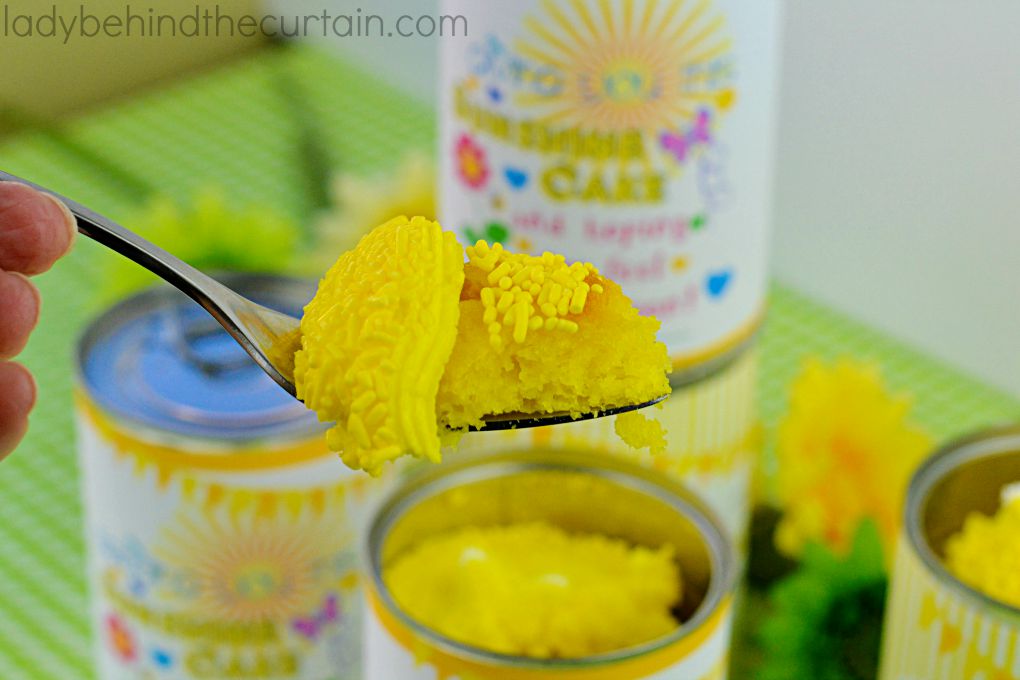
How awesome is this cake in a can! It’s super easy to make and will bring a smile to anyone.
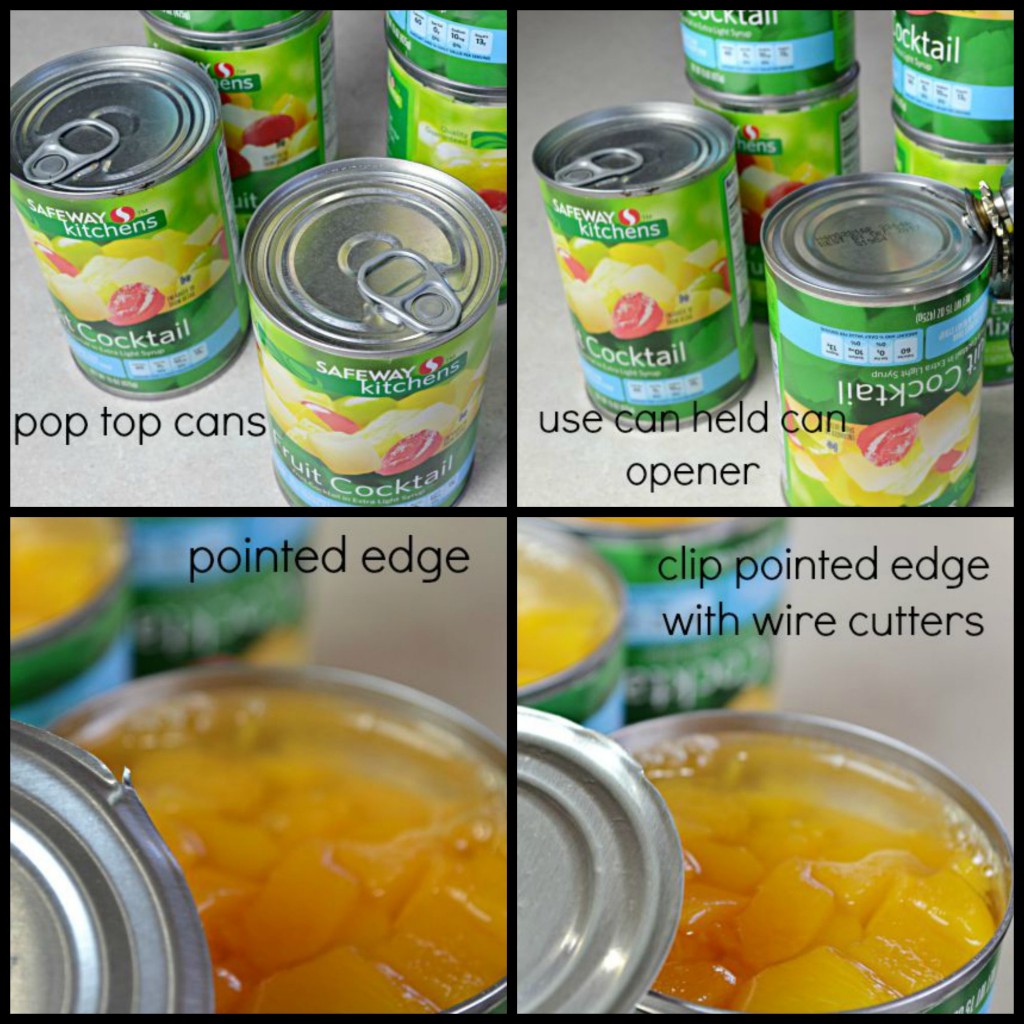
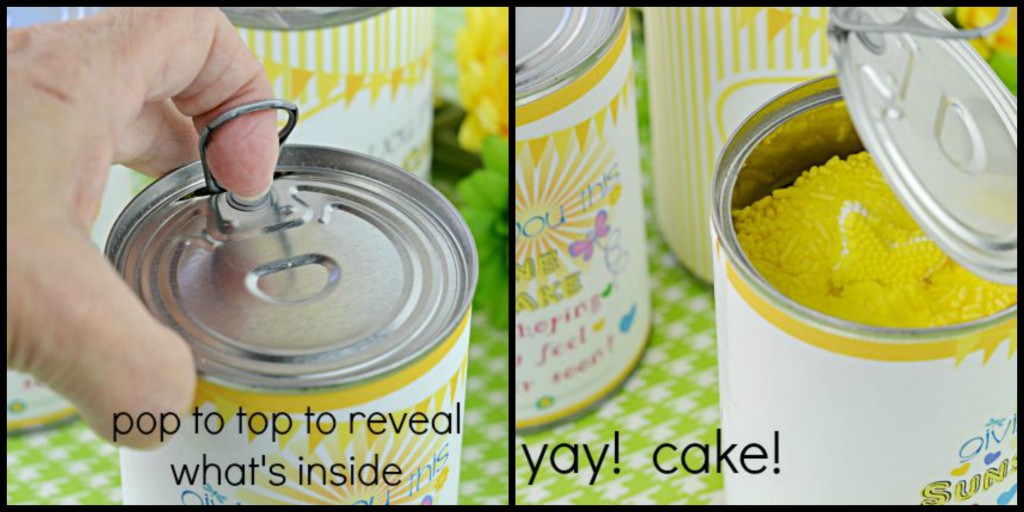
First thing you will need are 15 ounce cans with a pop top lid. I used fruit cocktail. Poured the contents into a container to use in school lunches later.
Open the opposite end of the can and use a hand held can opener that will leave a smooth edge.
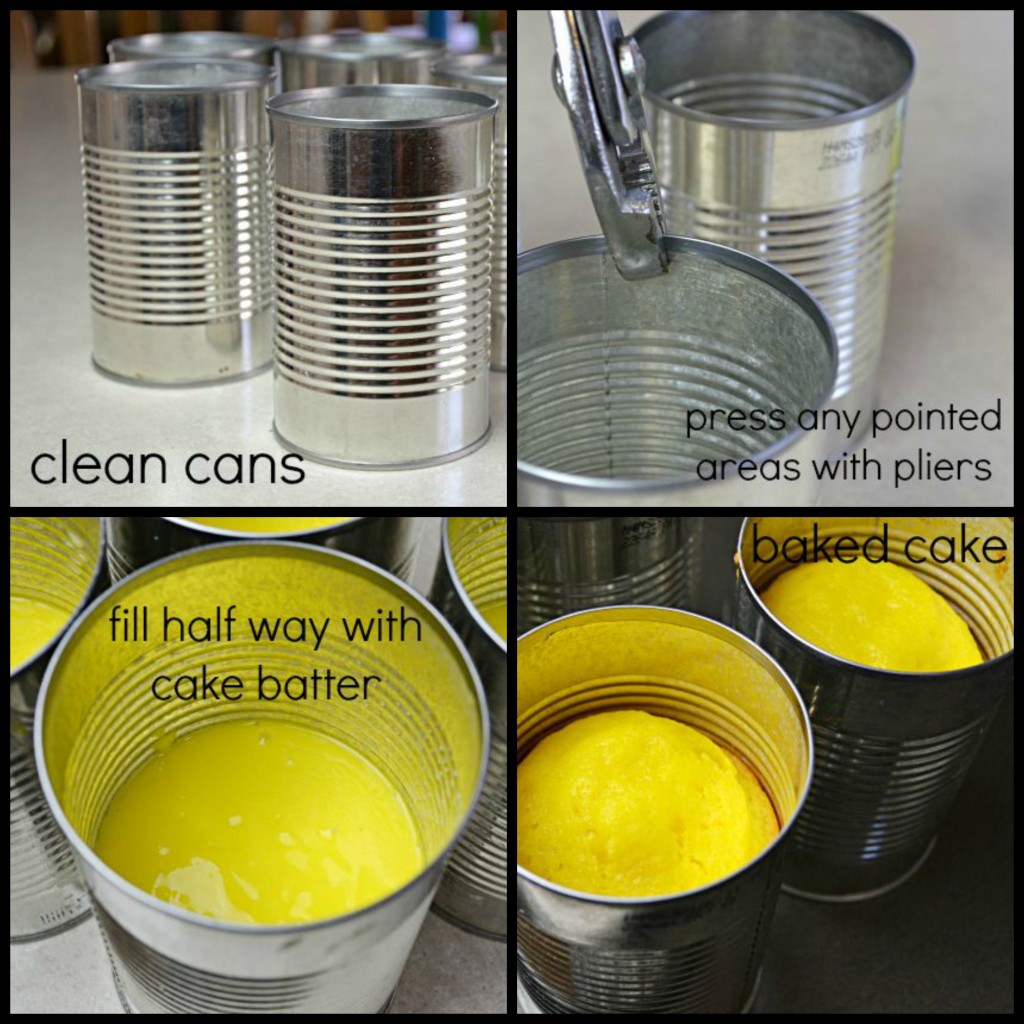
If you have a hard time getting the lid to come off of the can and end up with a piece sticking out. Simply use pliers and press firmly to the can.
Make your cake batter (I used a store bought yellow cake mix). For an added pop I added some yellow food gel to the batter. Fill each can half way.
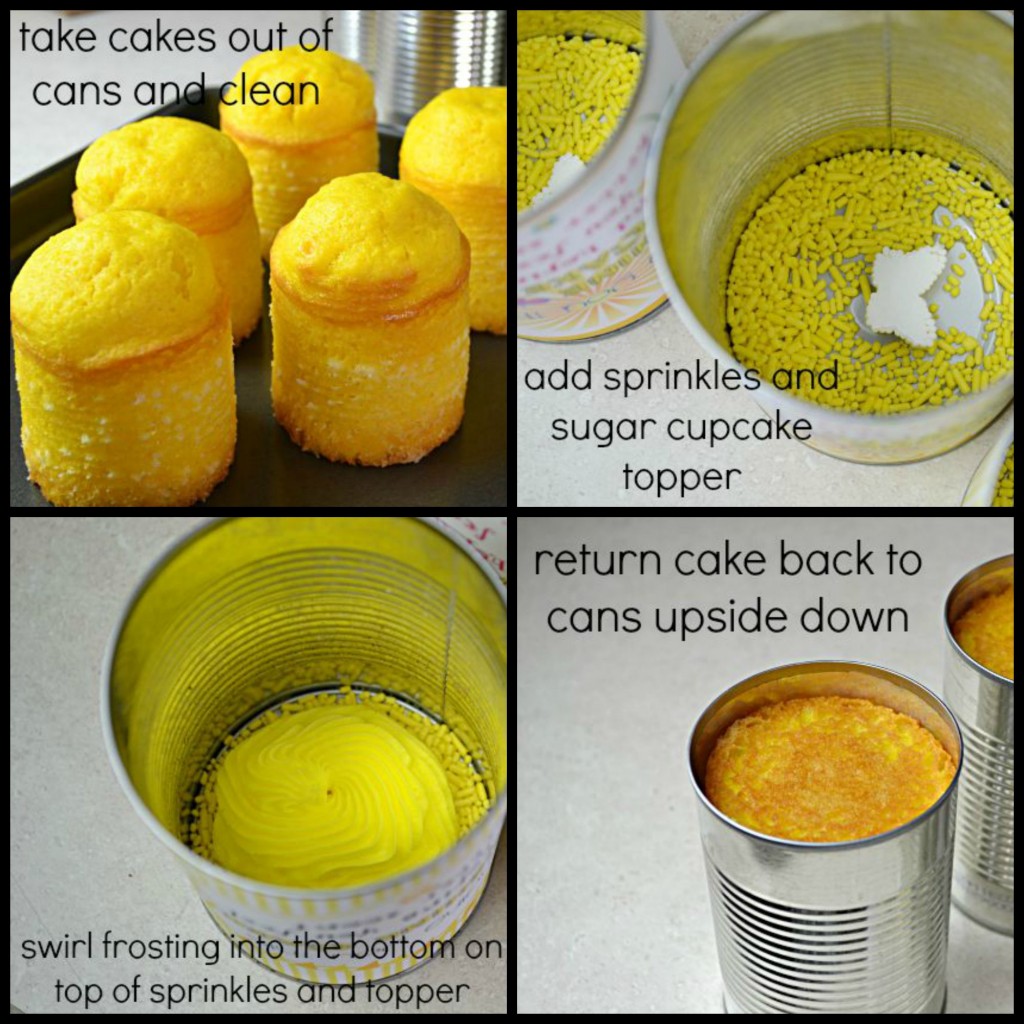
Bake, cool, run a knife around the edges, turn upside down to release cake onto cooling rack.
Turn cleaned can upside down; add sugar topper, sprinkles, frosting and cake. Make sure the cake is added top side first.
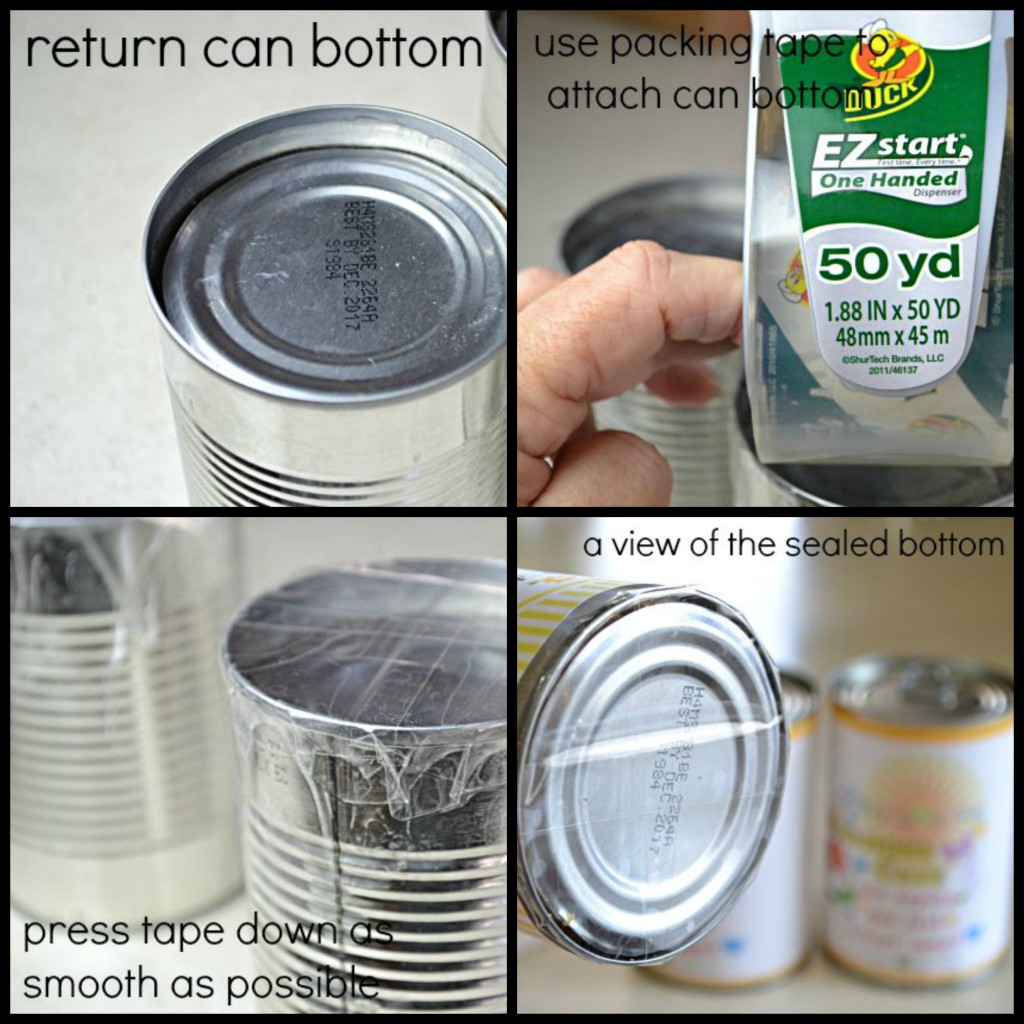
Use packing tape to replace the bottom of the can. Trim and press to make it as smooth as possible.
Carefully turn right side up and tape on the printed label (see below for choices).
FOR A CLOSER LOOK TAKE A PEAK AT THE PHOTOS BELOW
CLICK THE LINK TO PRINT.
Sunshine Cake in a Can Label 1
Sunshine Cake in a Can Label 2
Sunshine Cake in a Can Label 3
Sunshine Cake in a Can Label 4
Sunshine Cake in a Can Label 5
Sunshine Cake in a Can Label 6
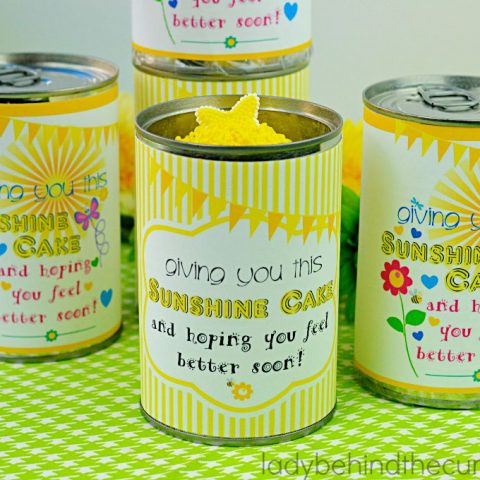
Get Well Soon Sunshine Cake in a Can
Ingredients
For the Cake:
- 5 (15 ounce) pop top cans with bottom removed
- non stick cooking spray
- 1 (15.25 ounce) yellow cake mix, with package ingredients
- optional: yellow food gel
For the Frosting:
- Bakery White Frosting
- yellow food gel
- yellow sprinkles
- yellow butterfly sugar topper
Instructions
- Preheat oven to 350 degrees.
- Remove the bottom of the can with a hand held can opener.
- Remove contents, wash and dry.
- Spray with non stick cooking spray and place on a cookie sheet
- Make batter according to the package directions.
- Fill each can half way.
- Bake 30 minutes or until a toothpick inserted into the center comes out clean.
- Place on a cooling rack and cool completely.
- Run a knife around the edges, turn upside down to release cake.
- Clean cans again.
For the Bakery White Frosting:
- Make frosting as directed (recipe link above); stir in yellow food gel.
- Spoon frosting into a pipping bag.
To Assemble:
- Turn can upside down so that the pop top is on the counter.
- Add the sugar topper and sprinkles.
- Pipe in some frosting.
- Add cake back to the can making sure the top of the cake goes in first.
- Replace the bottom of the can that was taken off with the can opener.
- Use packing tape to adhere the bottom back onto the can.
- Carefully turn can right side up and tape on the printable.
MORE HOMEMADE GIFTS
1. HOMEMADE CHRISTMAS GUMDROPS 2. SLOW COOKER APPLE BUTTER 3. BLUSHBERRY TEA OATMEAL MUFFINS










I LOVE this idea and WISH someone could make one and send it to a friend in the States who could use a bit of cheering up!
I love this, too. Could also change up for birthdays, etc. and use other cake flavors, toppings, etc.
BRILLIANT idea!
what a great idea!!! so simple but so cool for kids of all ages (meanig adults) can’t wait to make some for my grandchildren;)
Do you have any idea where to find birthday labels or thinking of you labels that would fit this size can?
Hi Judy, No I don’t. How about wrapping colorful paper around the can and using a sticker?