Gingerbread Christmas Tree Lot
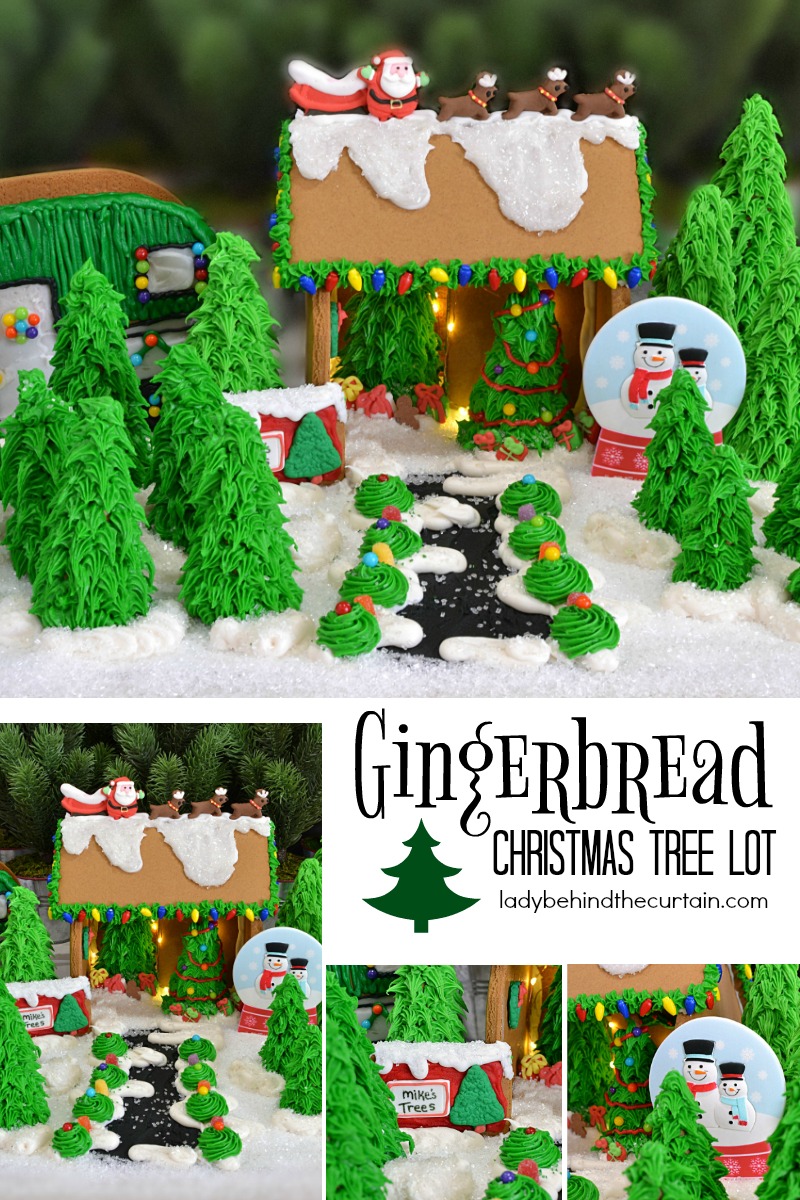
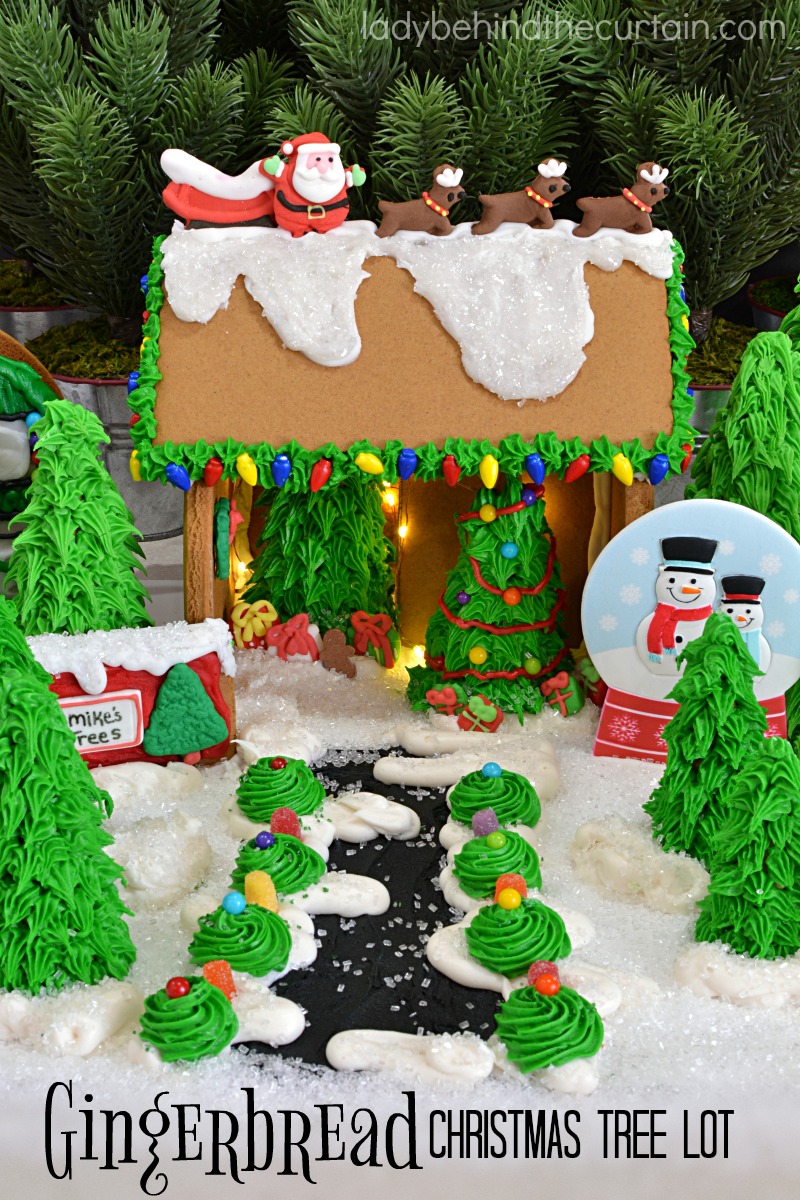
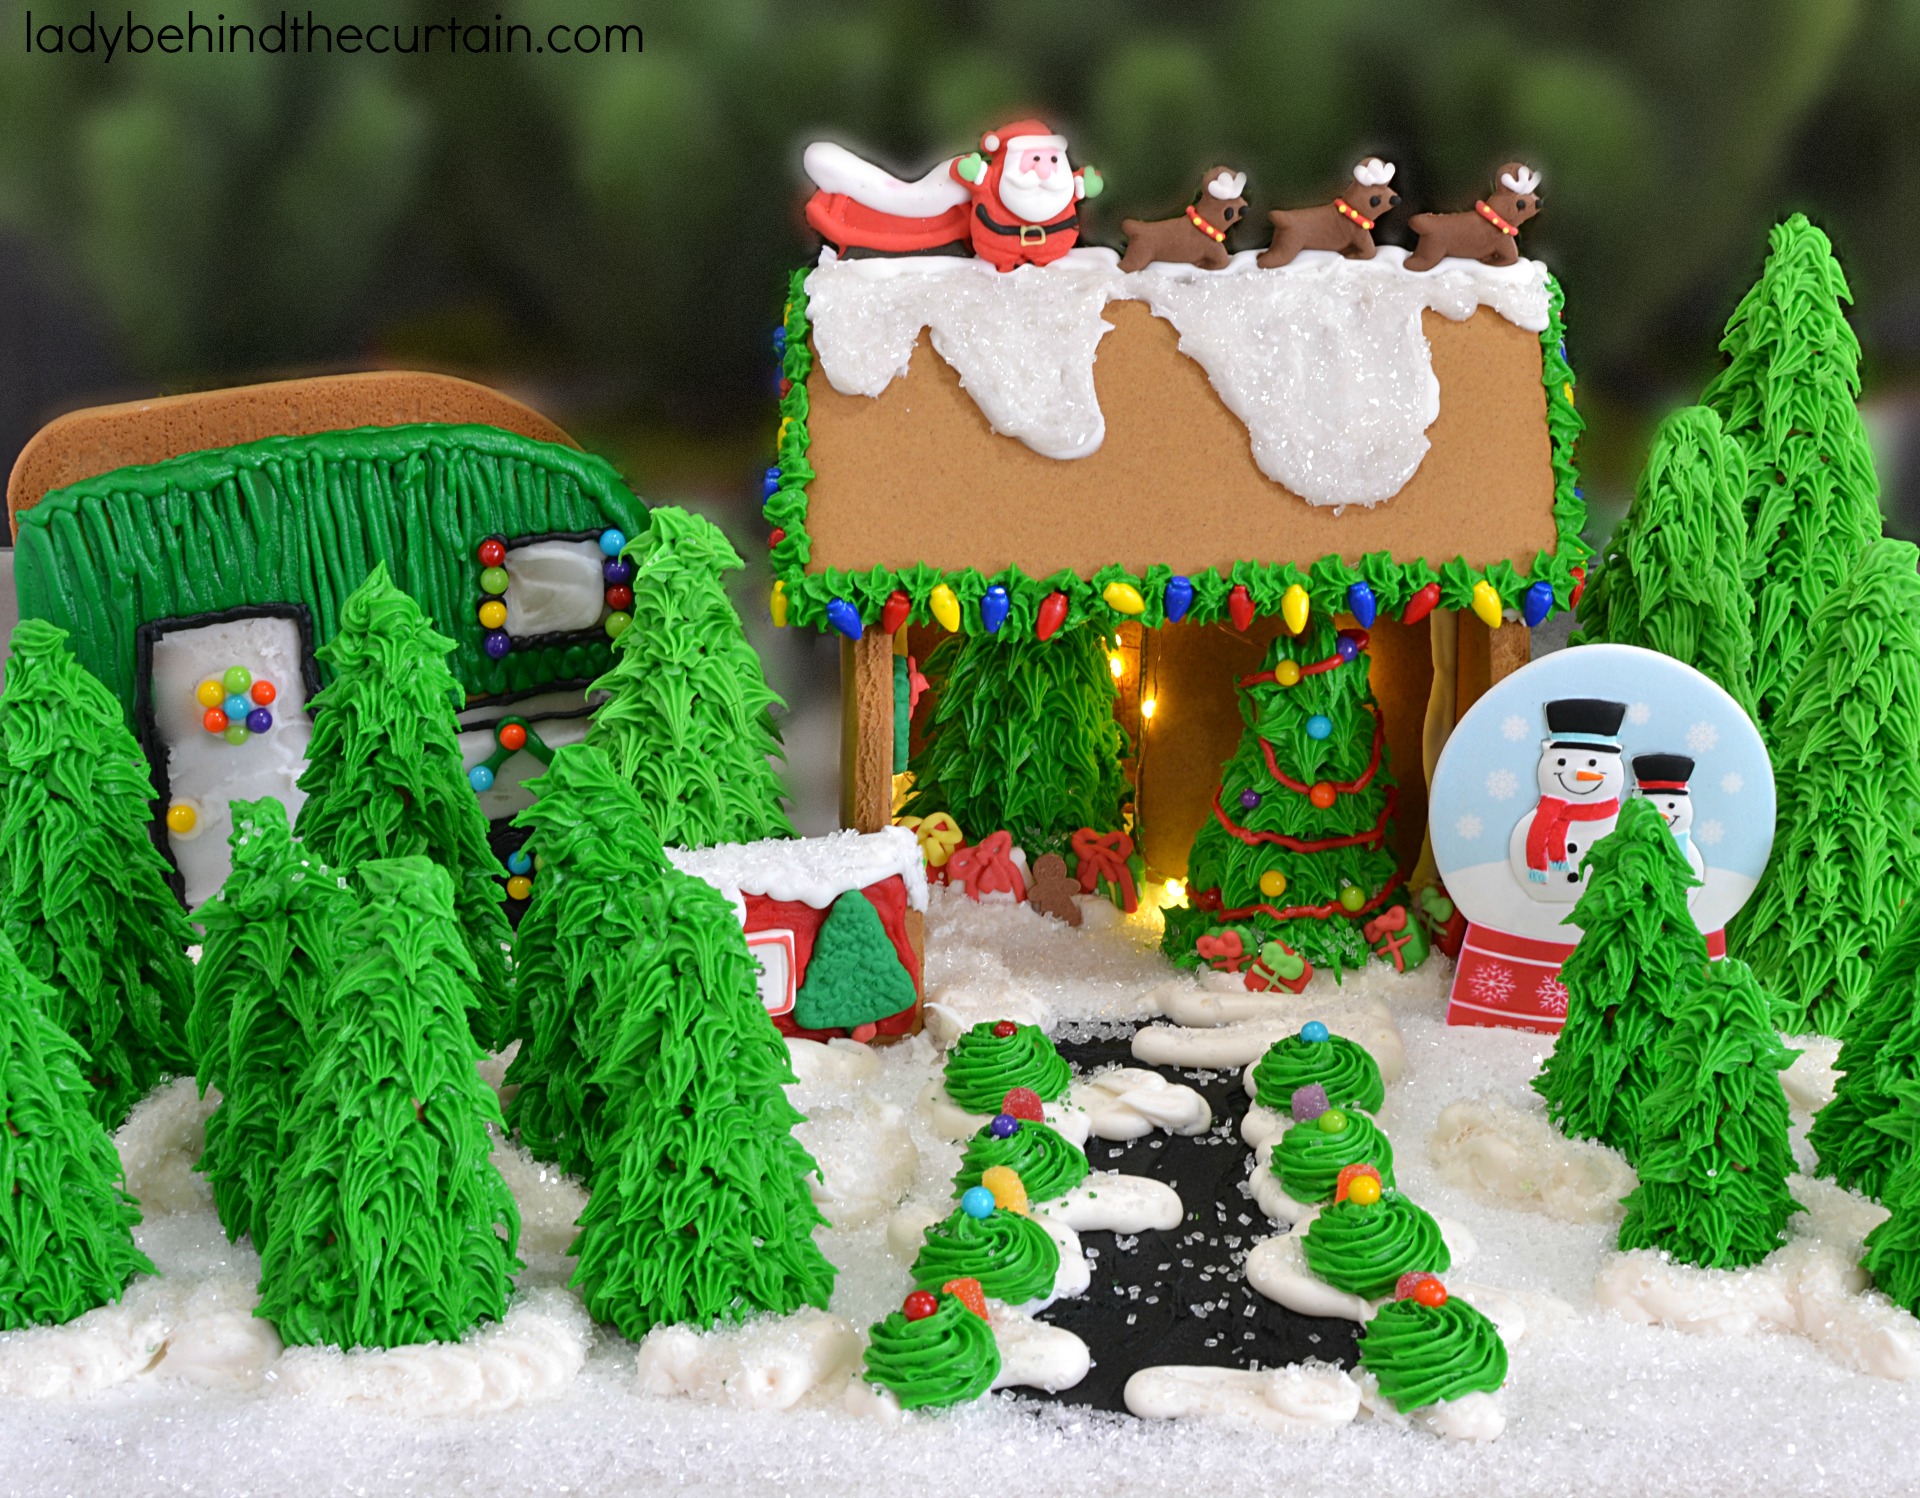
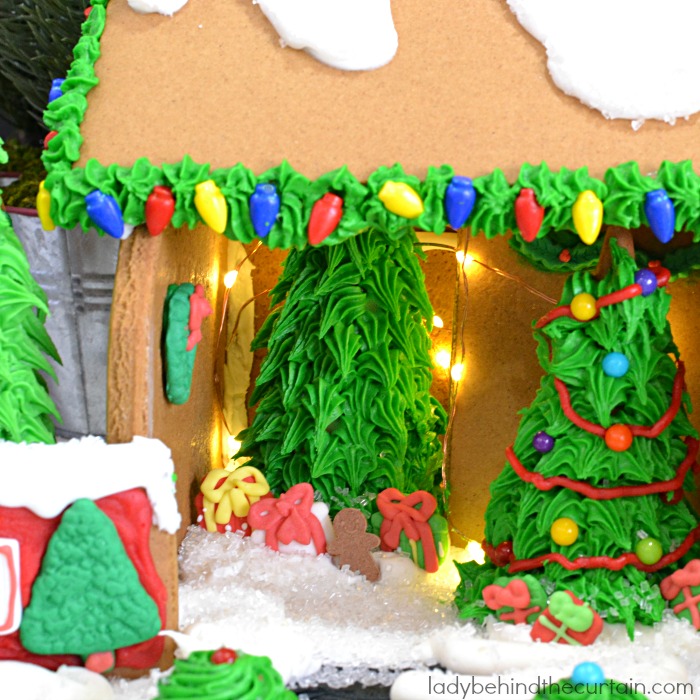
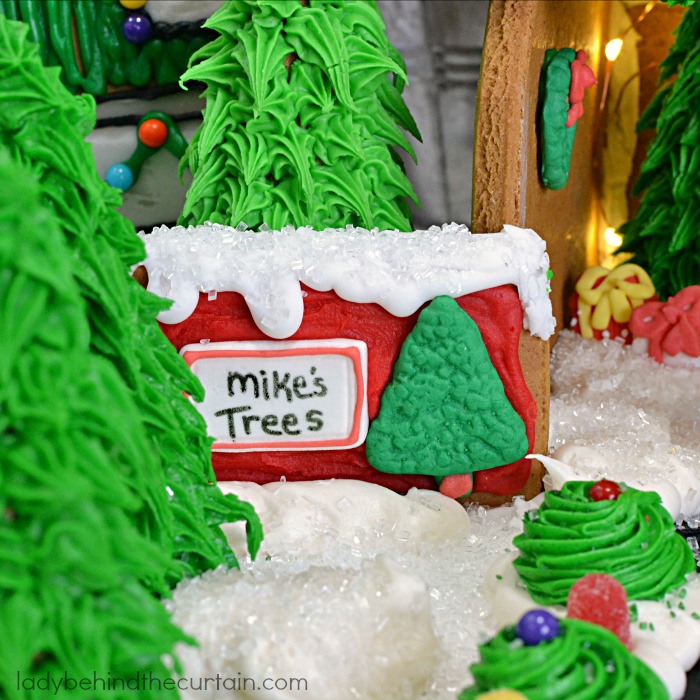
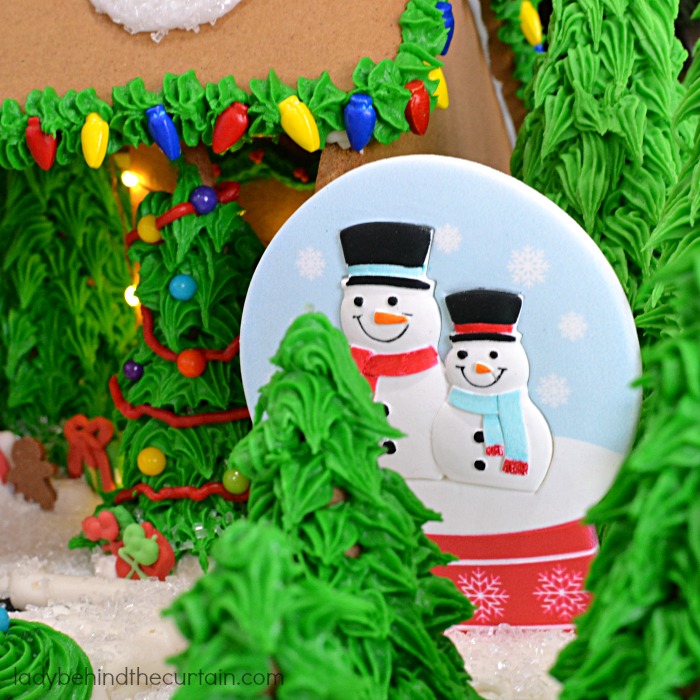
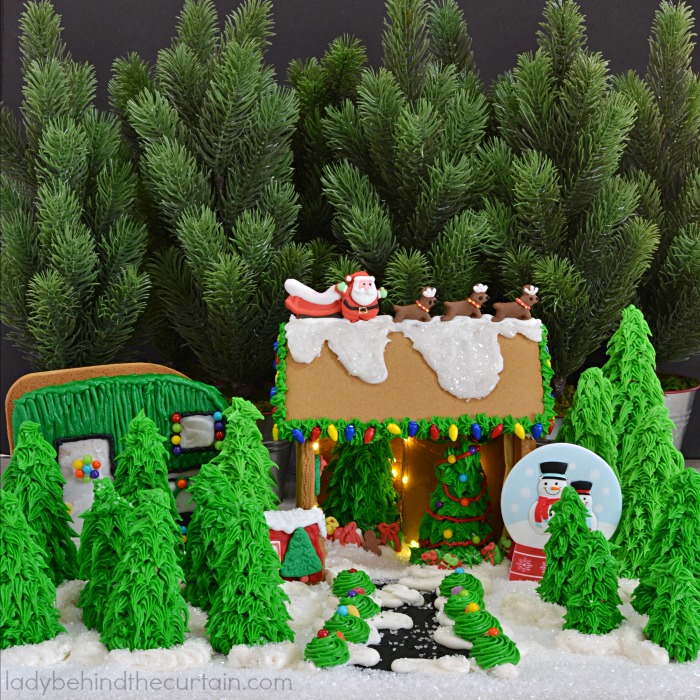
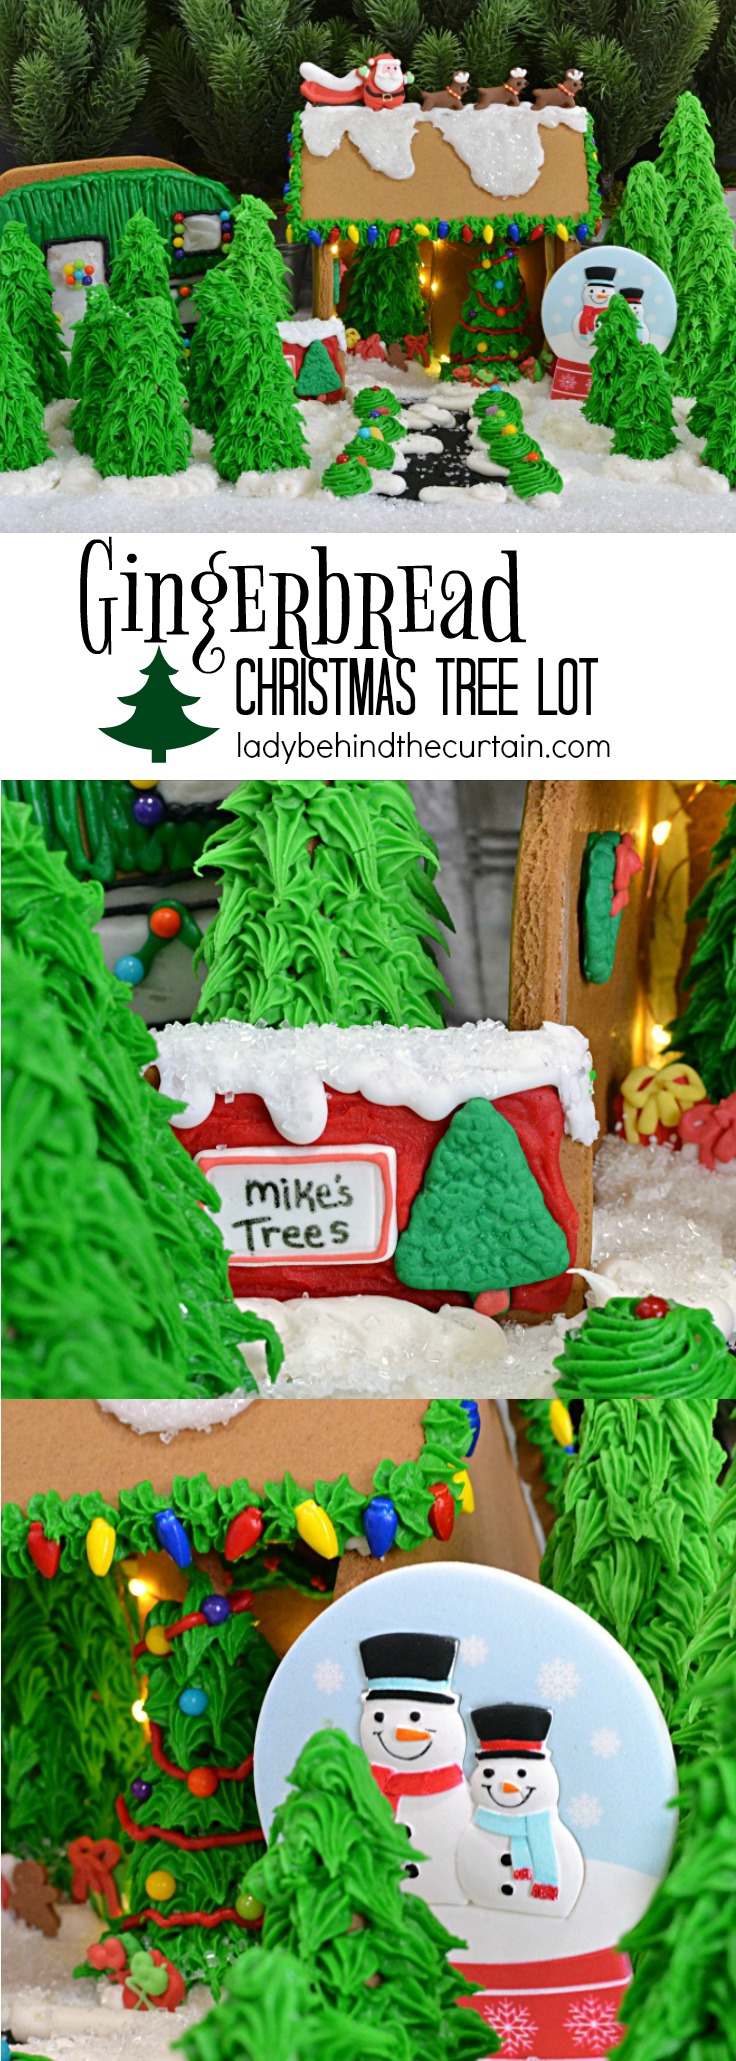
Gingerbread Christmas Tree Lot | Why make a gingerbread house when you can make a Christmas Tree Lot? This fun playful display adds something different to your holiday table/decorations. Everything is edible (except for the lights) so I plan on using mine as the centerpiece on the kids table. Hopefully they will be able to contain themselves and eat dinner before they dig in!
The Gingerbread Christmas Tree Lot smells AMAZING! I started with a Wilton® Gingerbread House and a Wilton® Camper Kit from Walmart. The gingerbread is so fresh I almost couldn’t resist taking a bite! If you can’t find what you need at Walmart you can also find all the accessories at Walmart.com.
NOTE: With drying time this project will take two days. I can’t wait any longer…..LET’S GET BUSY CREATING! Watch my video below for the full tutorial!
Supplies (all supplies except the sugar cones used for this project are from Wilton®)
gingerbread house kit
gingerbread camper kit
sugar cones
mini gum drop (comes in a little decorating kit)
sugar wreath (comes in a little decorating kit)
sugar tree (comes in a little decorating kit)
sugar sign (comes in a little decorating kit)
food writer, black
round sprinkles
piping bags
tips #3 for the fine lines #18 star tip for the trees #10 as a filler #12 gingerbread
couplers
decorating icing tubes: red, white, green and black
white decorating sugar sprinkles
leaf green gel food coloring
3 (16 ounce) cans decorating icing (stiff)
1 (16 ounce) can creamy decorator icing (medium)
battery operated lights
cardboard cake board 13×19-inches
NOTE: These are the supplies I used. This project is interpretive. You use what you like.
HERE’S HOW I CREATED THIS FUN DISPLAY/GINGERBREAD CHRISTMAS TREE LOT!
First, cut one of the roof pieces. Lay the piece on a flat surface with the flat side of the piece facing up. With a serrated knife lightly saw in a back and forth motion. Take 2-inches off the long side of the roof piece. Also, cut 2½ inches off one wall piece on the short side. Using the same method as the roof piece.
NOTE ABOUT THE LIGHTS
You have two options. First, The great thing about the new battery operated lights are they come with timers. Whatever time you turn them on will the the time they come on every day. Mine usually stays on for six hours and then turns itself off. Now onto the options. Make the faux wall and hide the battery pack behind it. OR…..before you put the walls together make a small hole in the back wall so the lights can be pulled through. It’s up to you which route you’d like to go.
DAY ONE: LET’S GLUE THE PIECES TOGETHER!
There will be a white icing pouch in the gingerbread house kit. You can either cut one corner and use the bag the frosting is in or cut a larger corner and press the frosting in a piping bag fitted with a #12. I tried it both ways and recommend using the piping bag with the tip. It gives everything a cleaner look.
Add the white frosting from the kit to the bottom of a peaked wall and one side. Lay the piece down while you add frosting to the bottom of a side wall. Position the peaked wall on the board and press onto the board. Press the side wall onto the peaked wall and the base. Hold for a couple of seconds. Add frosting to the bottom and on the side that will touch the back wall to the remaining peak wall. Press onto the board and side wall. Hold for a couple of seconds. For stability place something heavy next to the walls. Let the frosting dry for 3 to 4 hours (refer to the video).
Remove heavy objects from the walls. Pipe frosting onto the back peak on each peaked wall pieces and the top of the back wall. Press the full size roof onto the frosting peaks and back wall. Hold a couple of seconds. Add the frosting to the top of the roof where the front roof piece will touch the back piece. Pipe frosting to the front of the peaked pieces making sure to only go down as far as the cut roof piece. Press roof piece in place and hold a couple of seconds. Let the roof side to dry overnight.
Follow the directions for putting the Camper together.
DAY TWO: This is when the real fun begins! Let your creativity shine! Watch my above video for a close look at how I decorated my Christmas Tree Lot and made pine trees from sugar cones. TIP ABOUT THE DECORATING THE TREES. Leave the top of the cone without frosting until the tree has been placed in it’s spot. Then finish decorating the tree. You’ll notice this in the background of my video when I’m showing you how to make trees from sugar cones. Also if you want different levels of heights you can stack the cones. My tallest tree has four cones. For the smaller trees break away the bottom. I tried cutting them and they crumbled. But, gently breaking away the bottom in little pieces worked great!
One important piece of advice I can give you is when creating, you need to start from the back forward or top to the bottom. EXAMPLE: I decorated the top of the building, filled the inside, and added the garland. I also decorated the camper before adding the trees. The last things were the path and the snow. REMEMBER THIS IS YOUR CREATION! DO WHAT YOU LIKE!♥
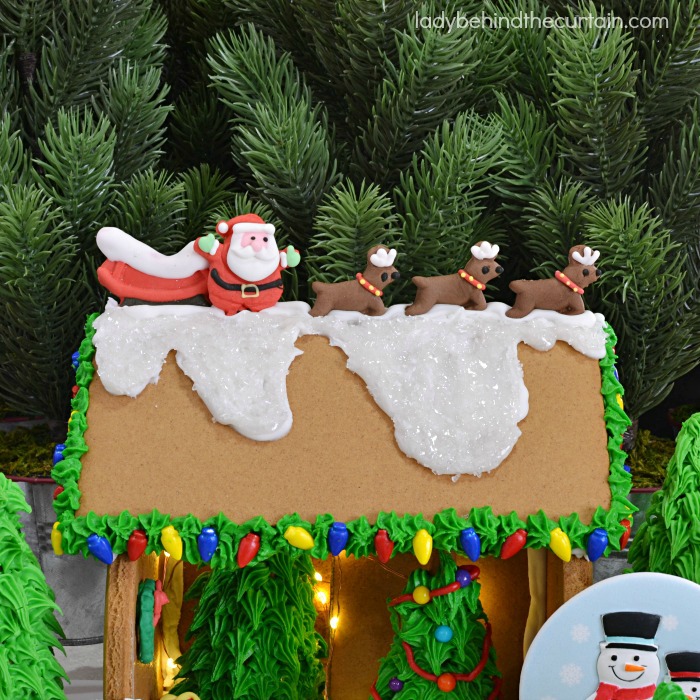
HERE ARE SOME STILL SHOTS
NEVER MISS A POST!
Sign up for my newsletter and receive my recipes in your inbox. Easy to see anytime and saved for safe keeping. Click Here and sign up today! —->>>>CURTAIN CALL NEWSLETTER





Comments
Gingerbread Christmas Tree Lot — No Comments
HTML tags allowed in your comment: <a href="" title=""> <abbr title=""> <acronym title=""> <b> <blockquote cite=""> <cite> <code> <del datetime=""> <em> <i> <q cite=""> <s> <strike> <strong>