How to Make A Cupcake Liner Honeycomb Ball
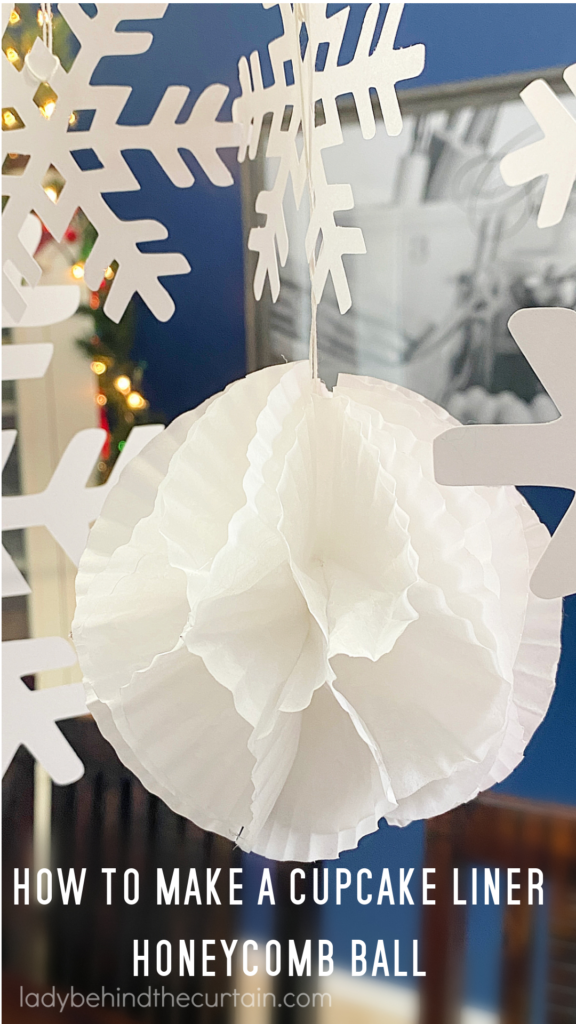
How to a Make Cupcake Liner Honeycomb Ball: These DIY 4-inch Honeycomb Balls are super easy and can be made in minutes. You only need cupcake liners, scissors, hot glue, and string. Super cute and can be customized to fit any theme.
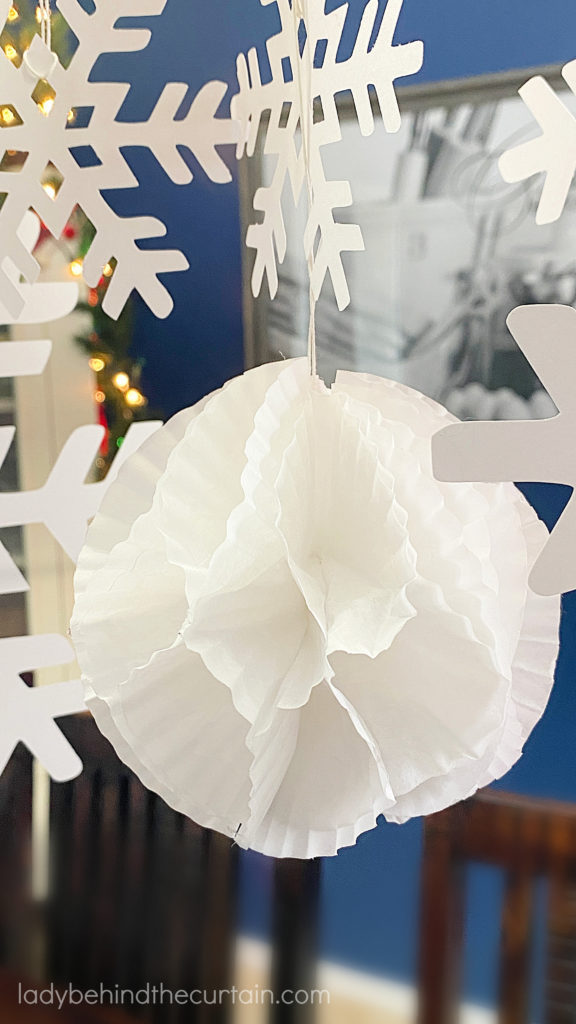
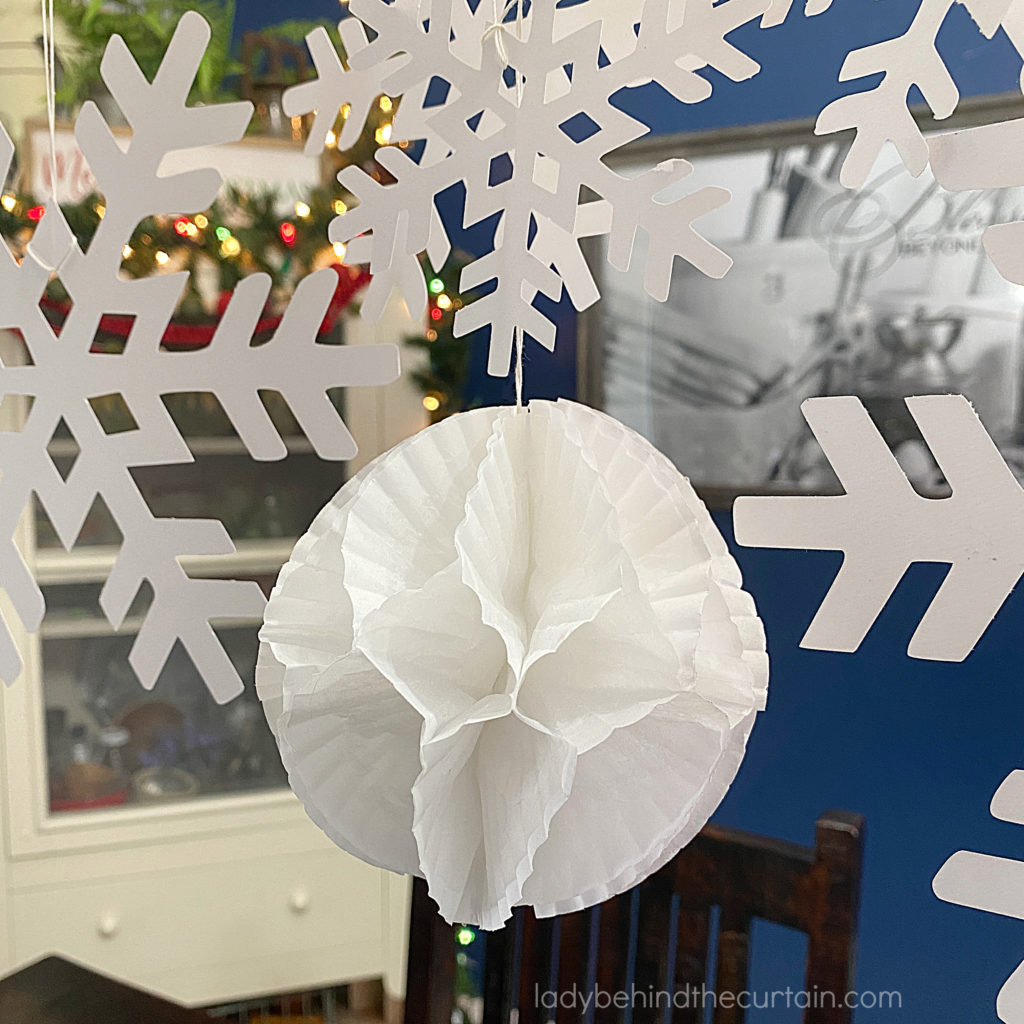
How to Make A 4-inch Cupcake Liner Honeycomb Ball
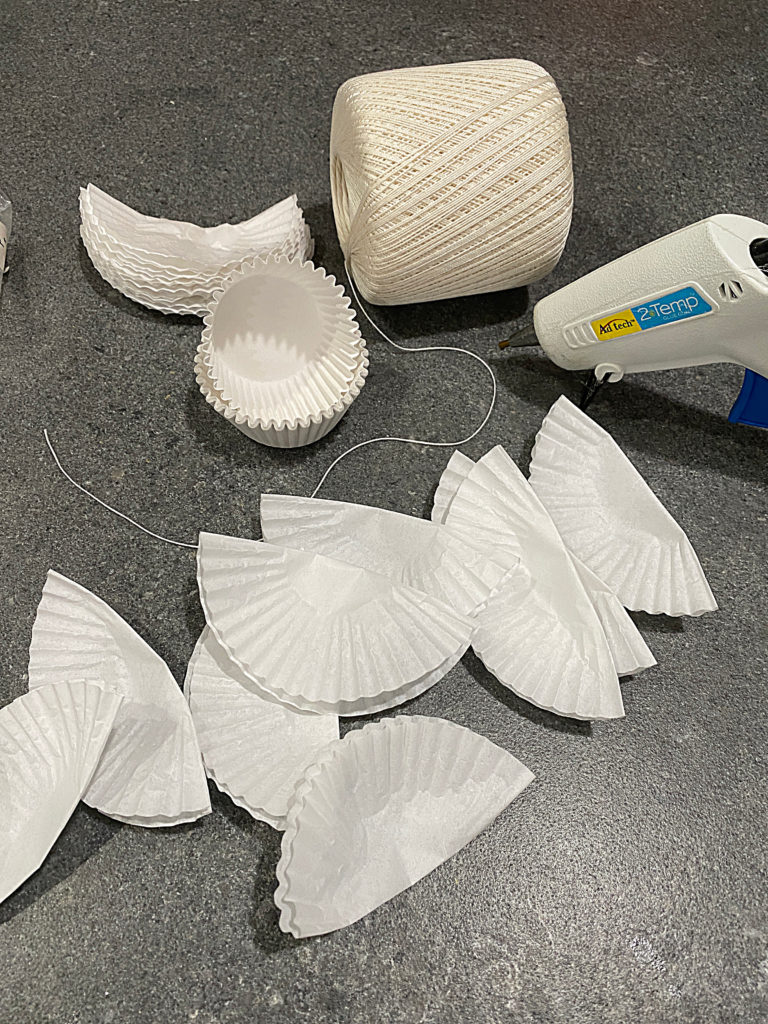
- SUPPLIES (printable tutorial and pictures below)
- 10 cupcake liners
- hot glue
- string ( I used thin crochet string)
- scissors
- DIRECTIONS (printable tutorial and pictures below)
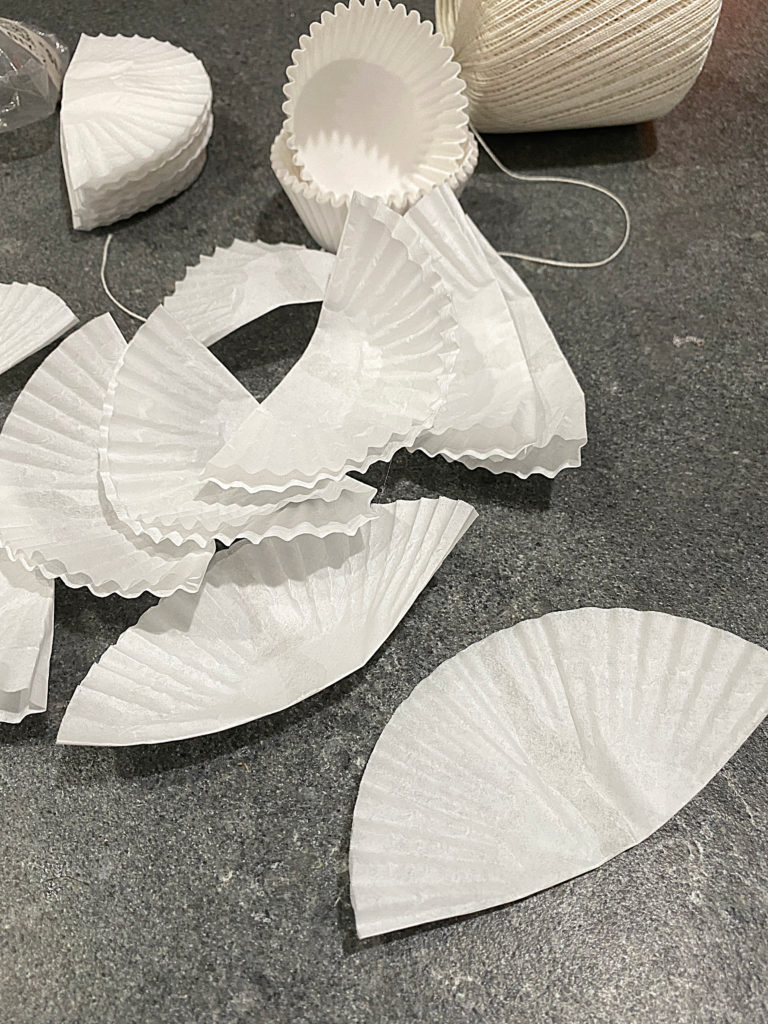
- Fold 10 cupcake liners in half.
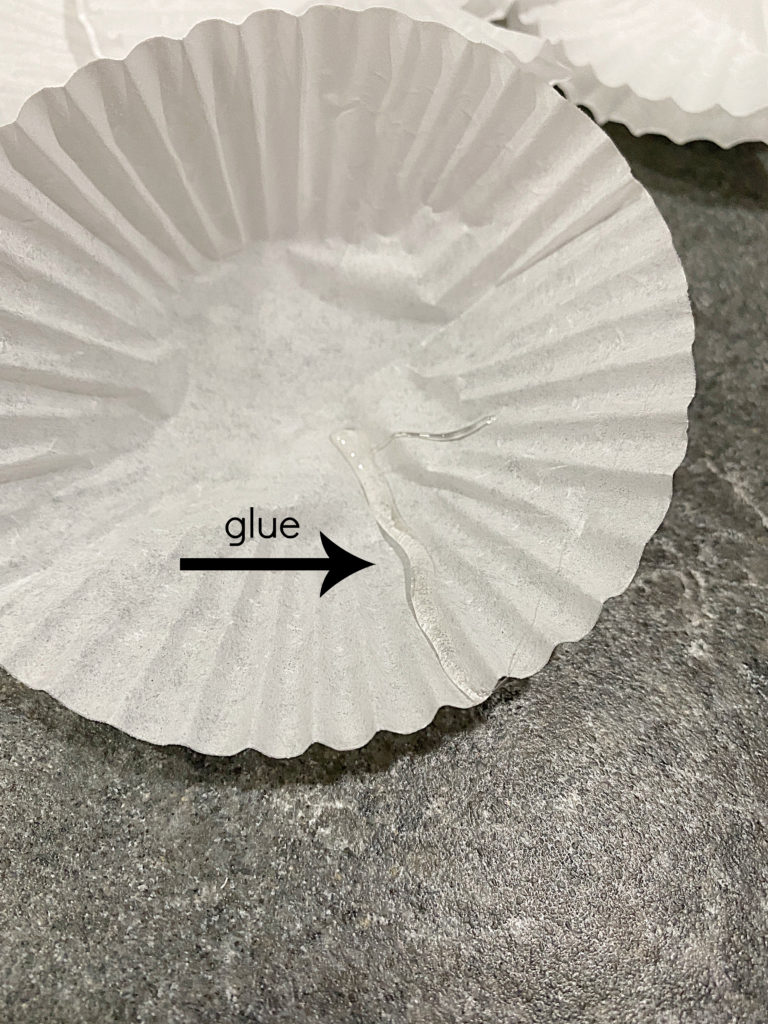
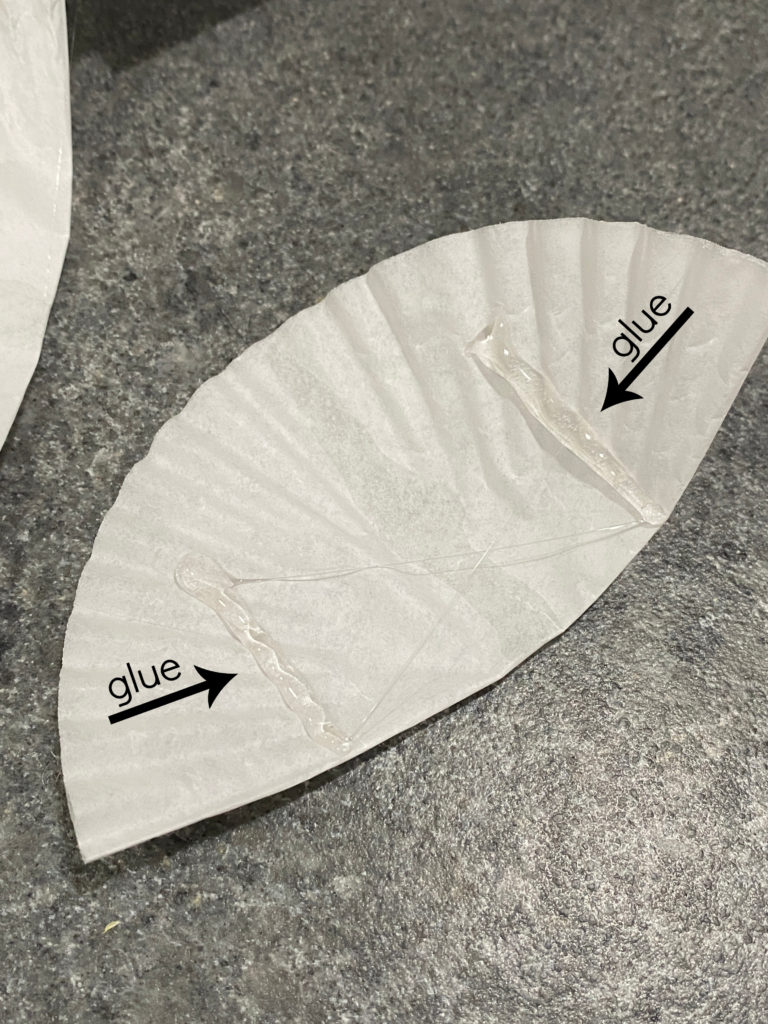
- Add a bead of hot glue down the center of bottom side of the liner.
- Press the top half on top of the bottom half with the glue.
- Do this step to ALL 10 liners
- Place two beads of glue about an inch from each side.
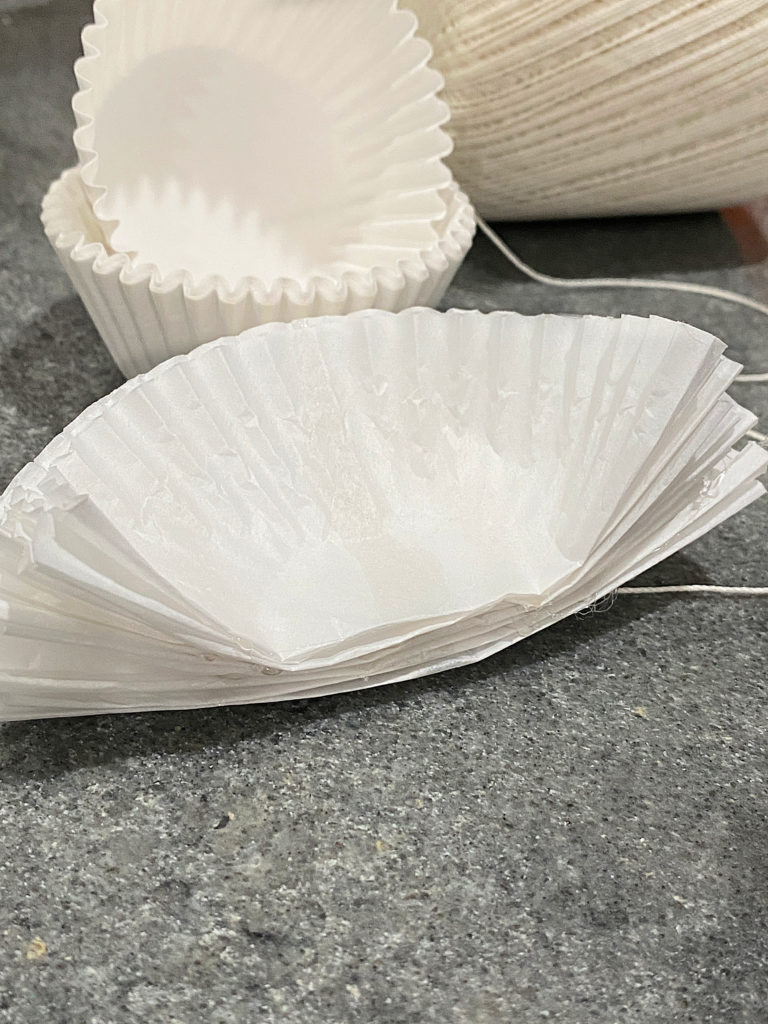
- Put another cupcake liner on top, press to adhere.
- Continue this step until all the liners have been glued.
- You will end up with a flat stack of cupcake liners.
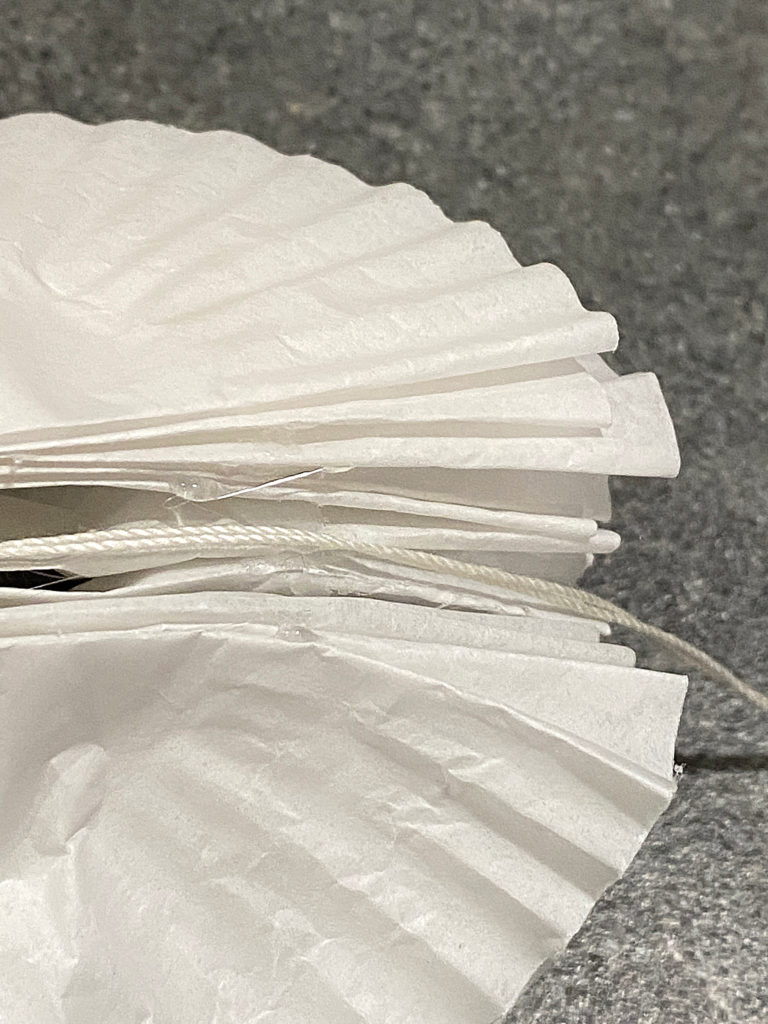
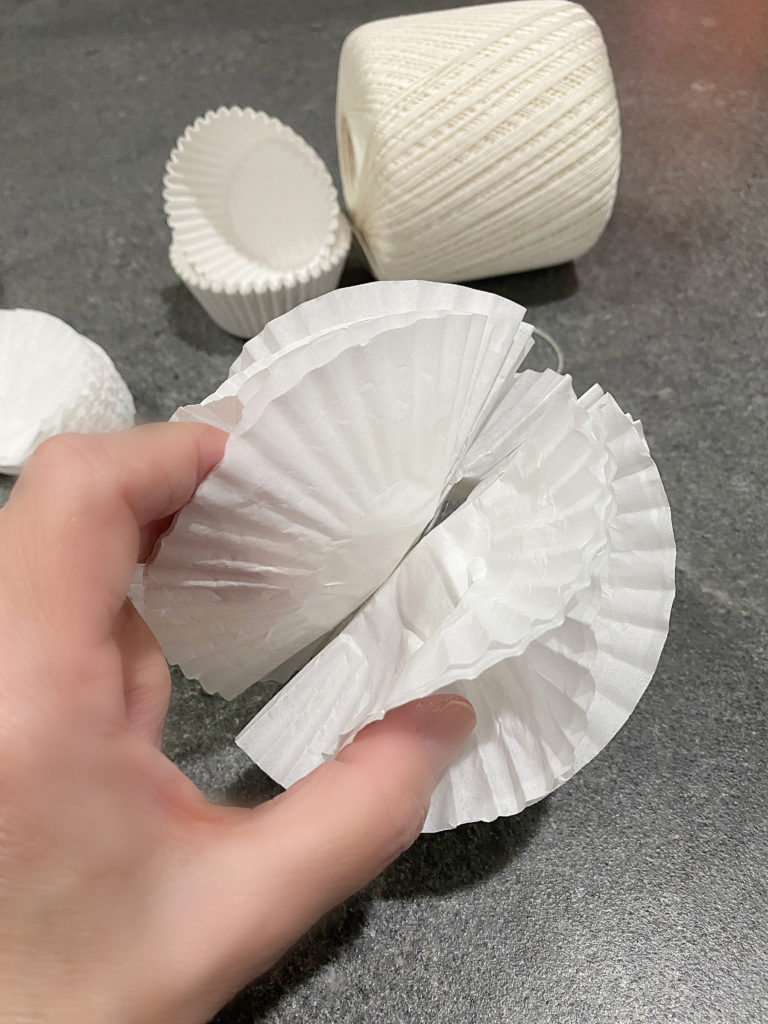
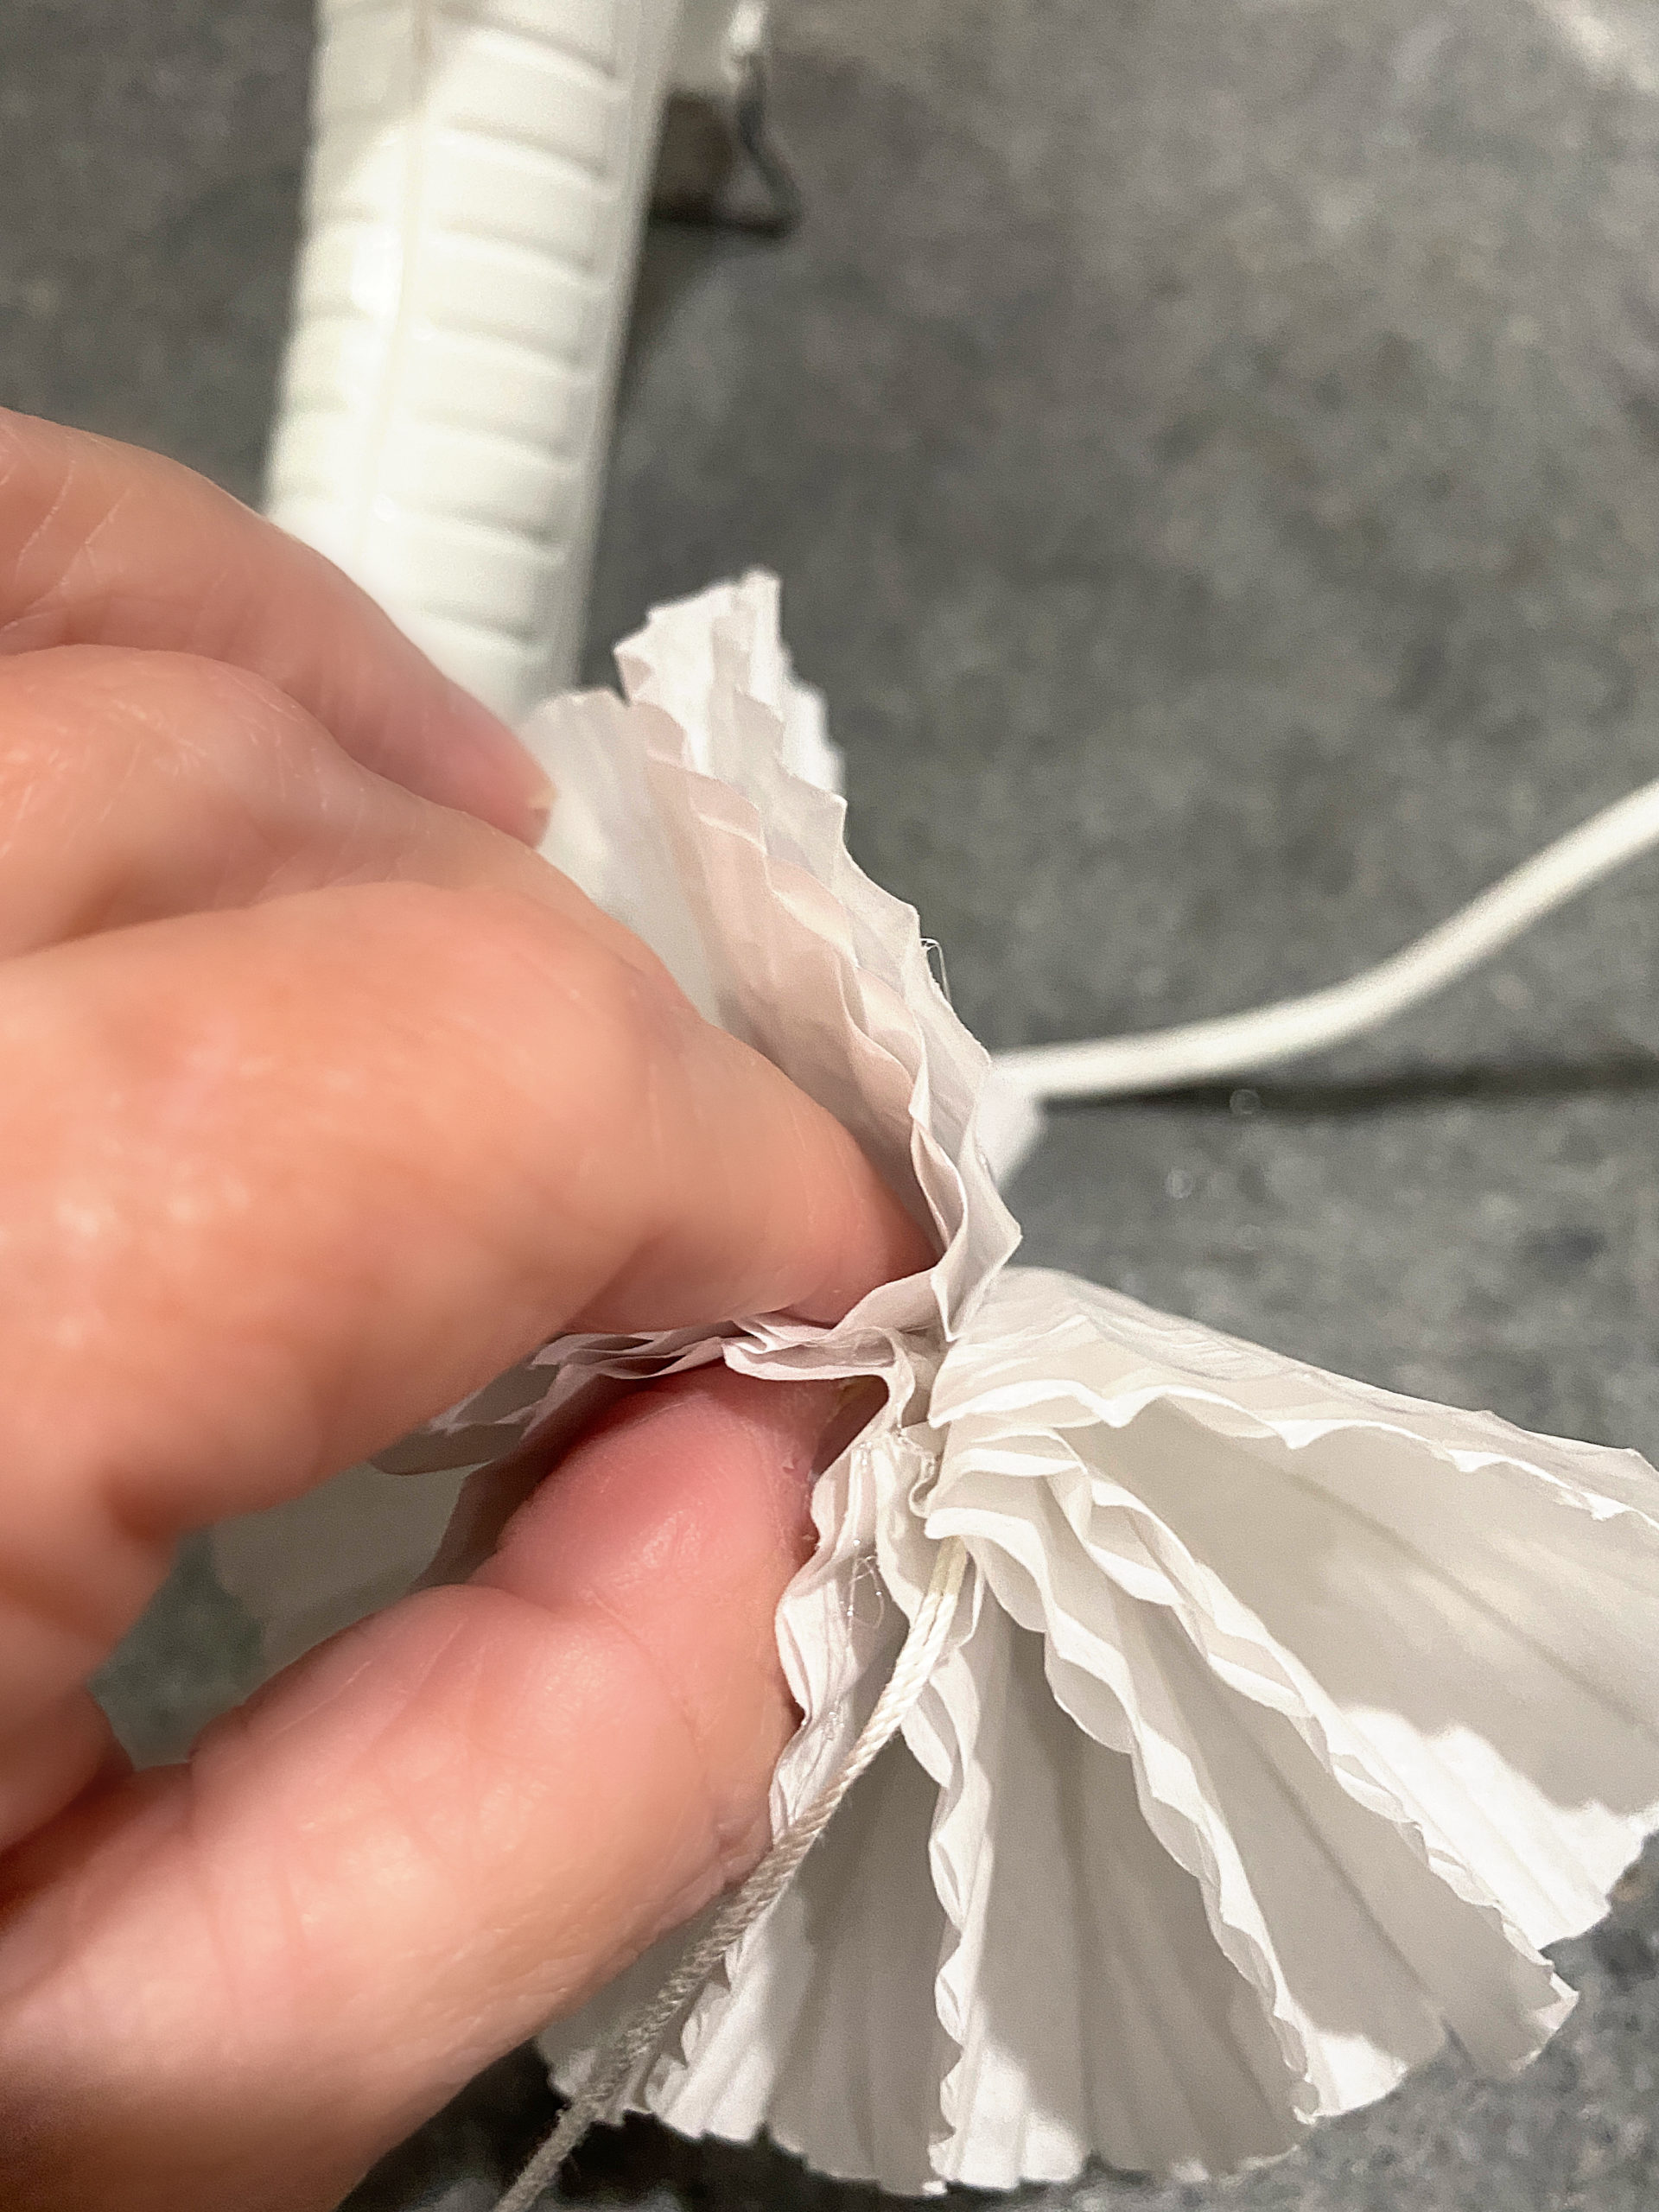
- Cut a piece of string and lay it on the folded part of the cupcake liners.
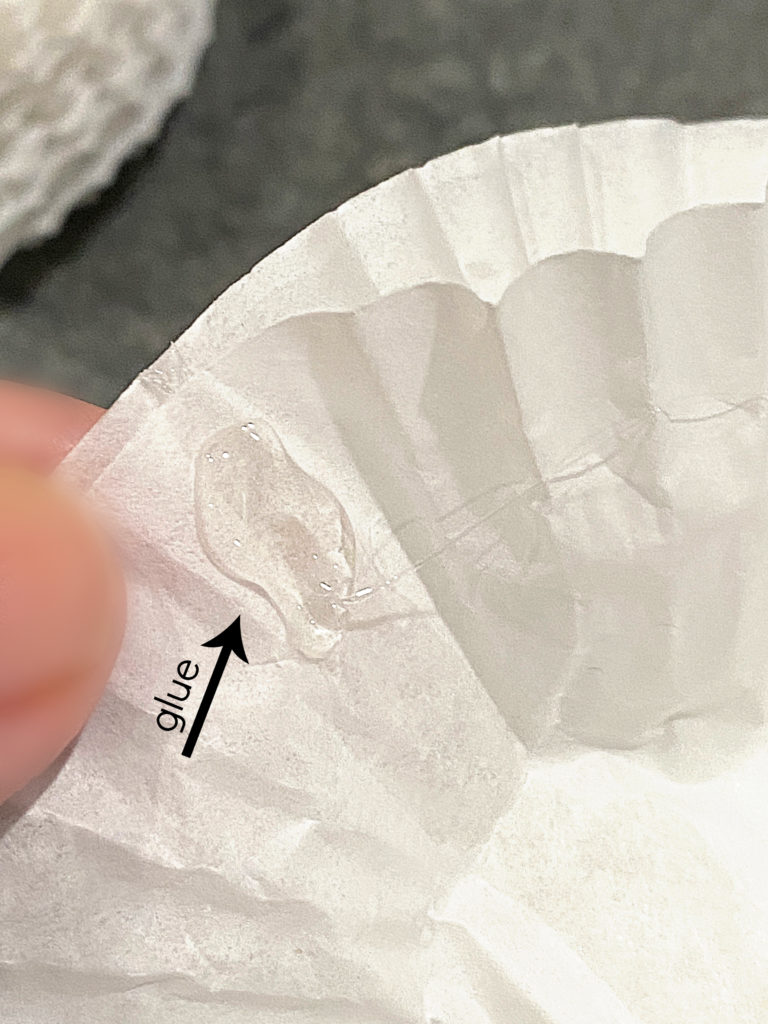
- Place a bead of hot glue over the string.
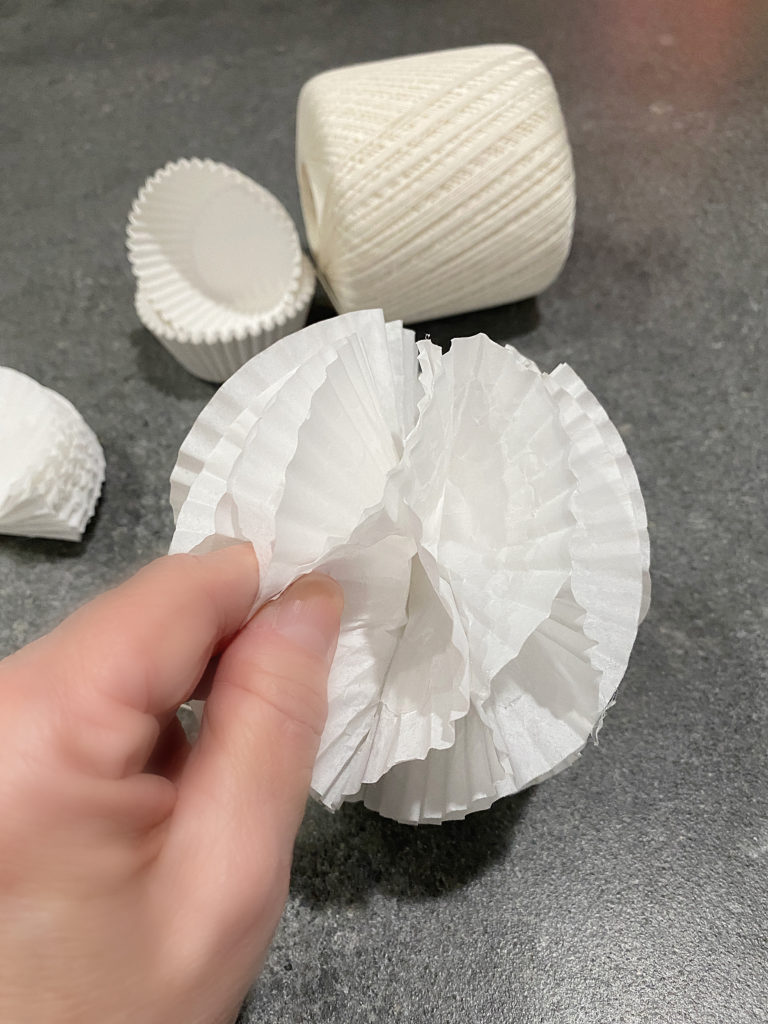
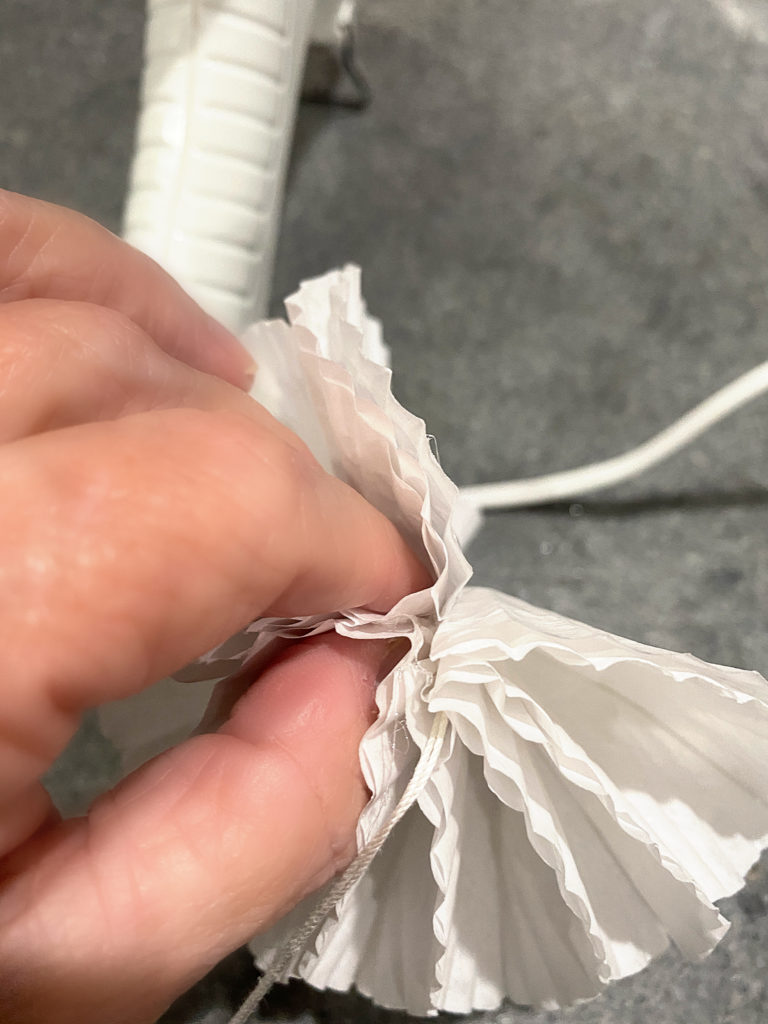
- Grab the top cupcake liner on each side and bring together.
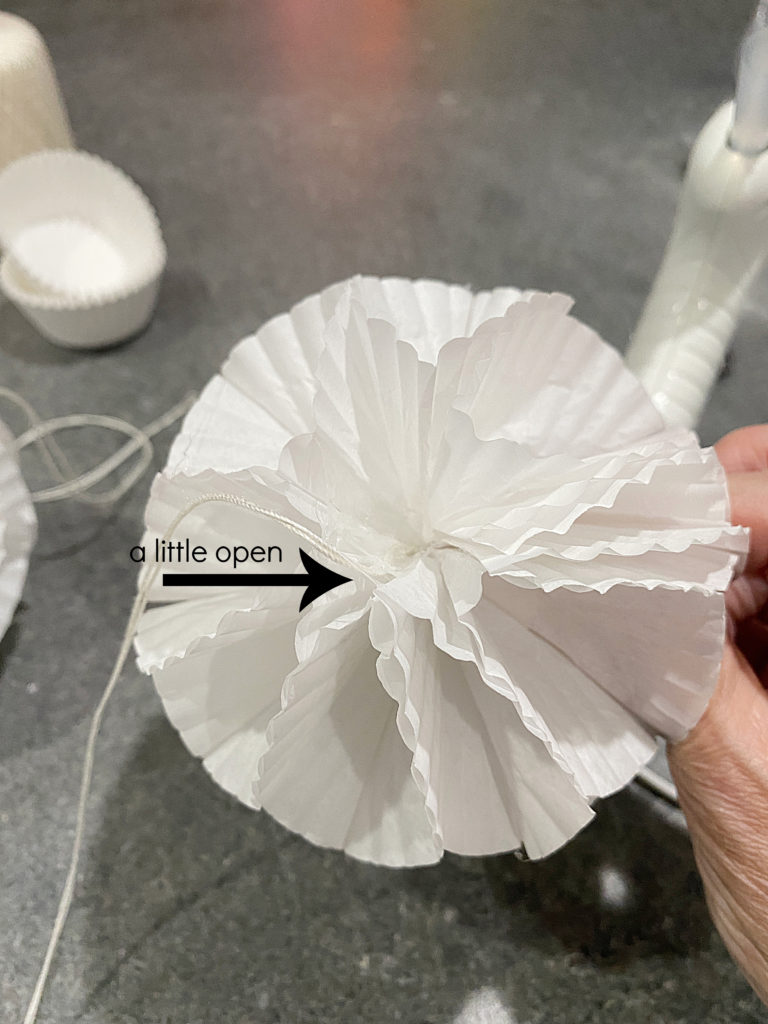
- Glue together—If the ends are separated, add a bead of glue and hold.
Compare Prices
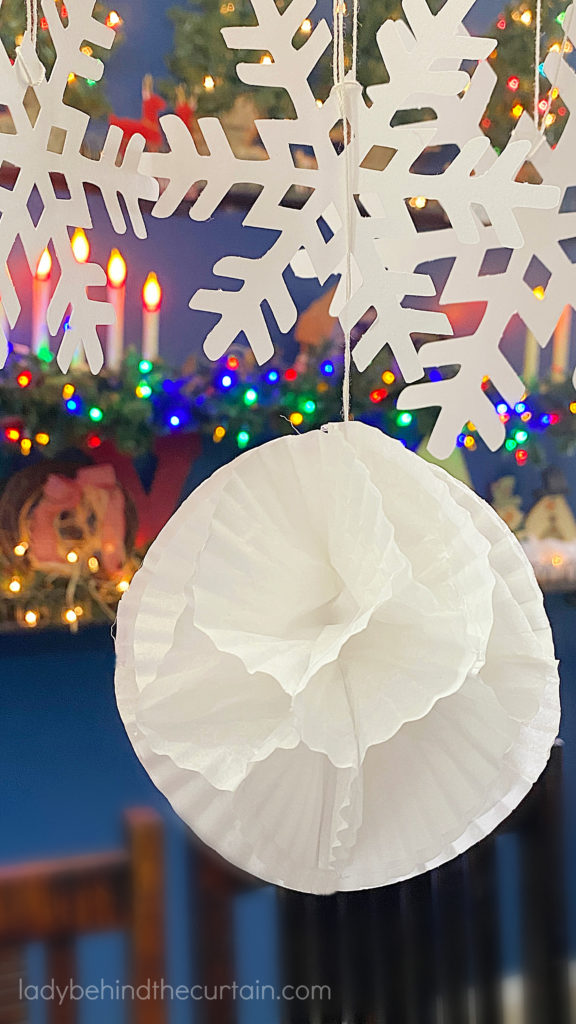
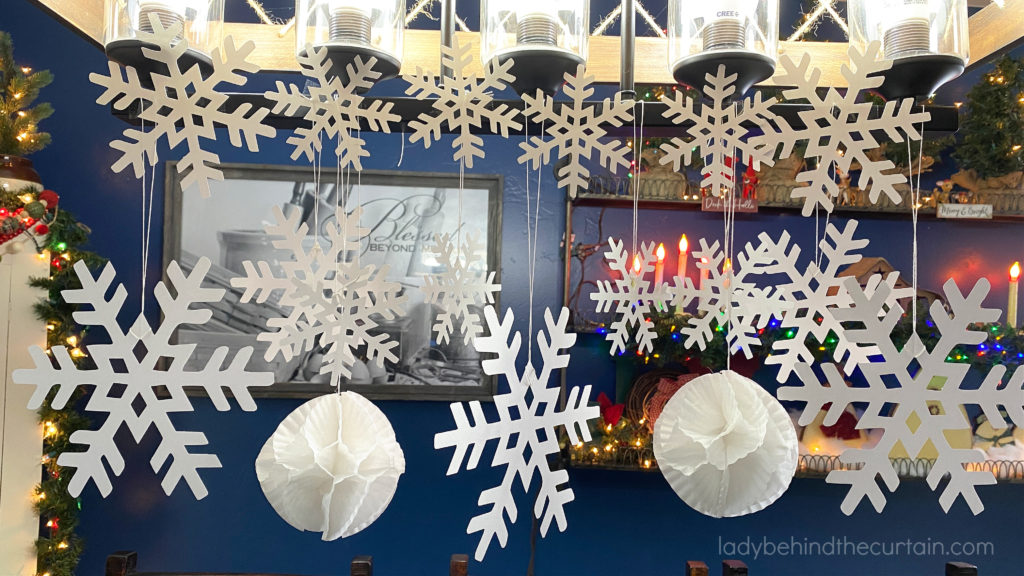
Planning a party can get expensive. Decorations are the worst….but in my opinion just as important as the food. The decorations set the tone of the party. When your guests arrive the first thing they see are the decorations. This tells them TWO things 1. They have a great hostess that cares about their experience. 2. They are going to have a fantastic time. Okay…so let’s crunch the numbers. 3 (4 inch) honeycomb balls cost $7.14 and 4 (4 inch) diy cupcake honeycomb balls cost $1.12 (the prices are from Walmart for white cupcake liners). That means you can make 24 honey comb balls for the price of 3!
MORE DIY DECORATIONS
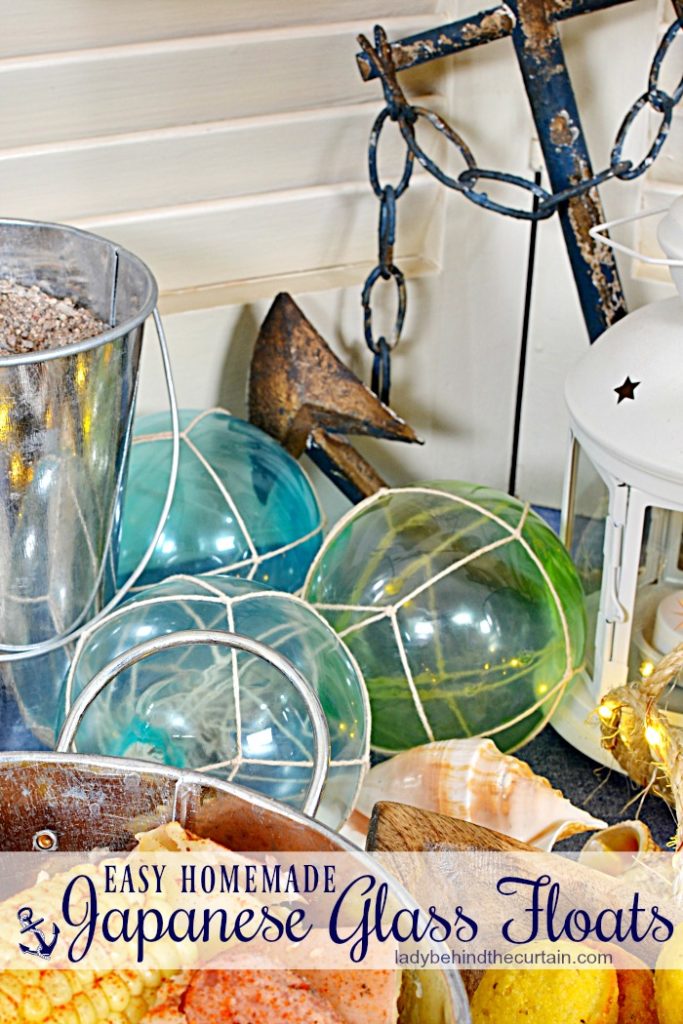
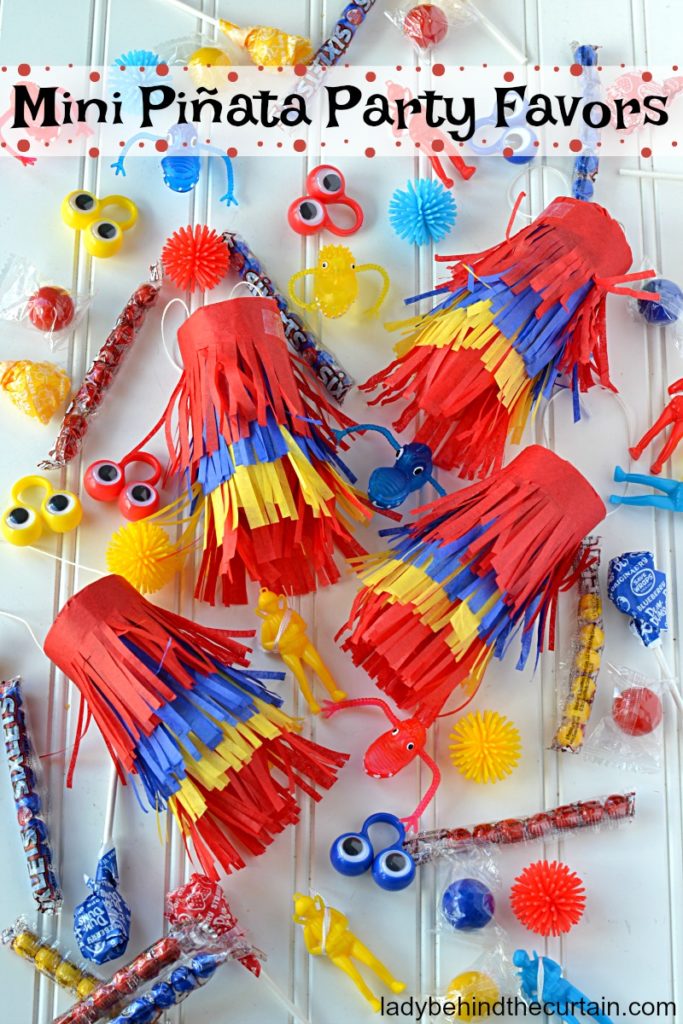
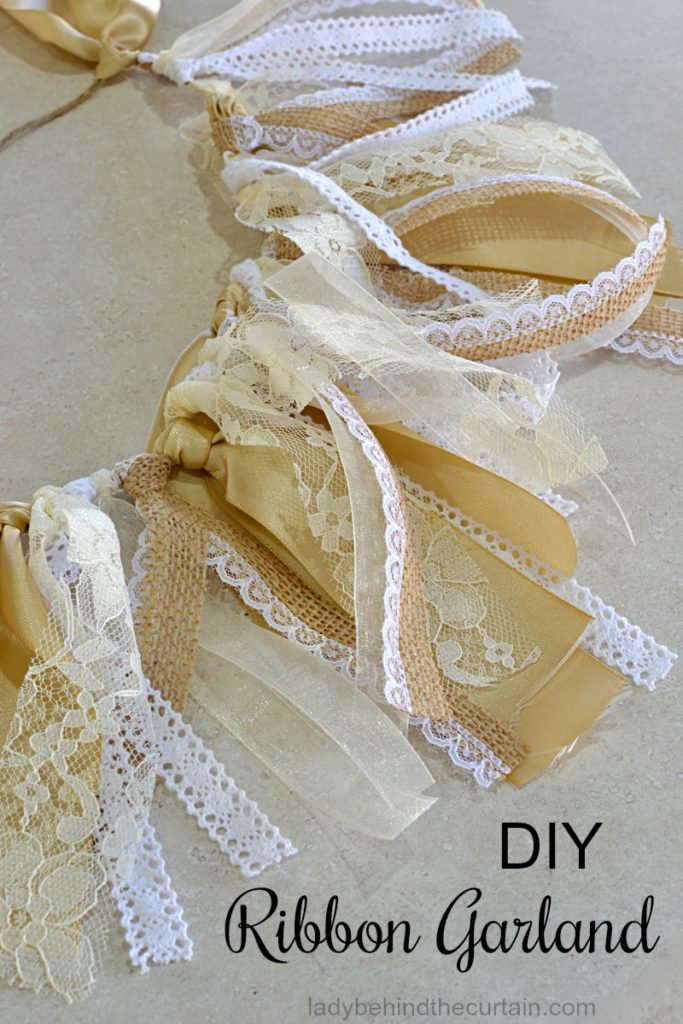
EASY HOMEMADE JAPANESE GLASS FLOATS 2. MINI PINATA PARTY FAVORS 3. DIY RIBBON GARLAND 4. AND MORE→DIY DECORATION AND PROJECT IDEAS
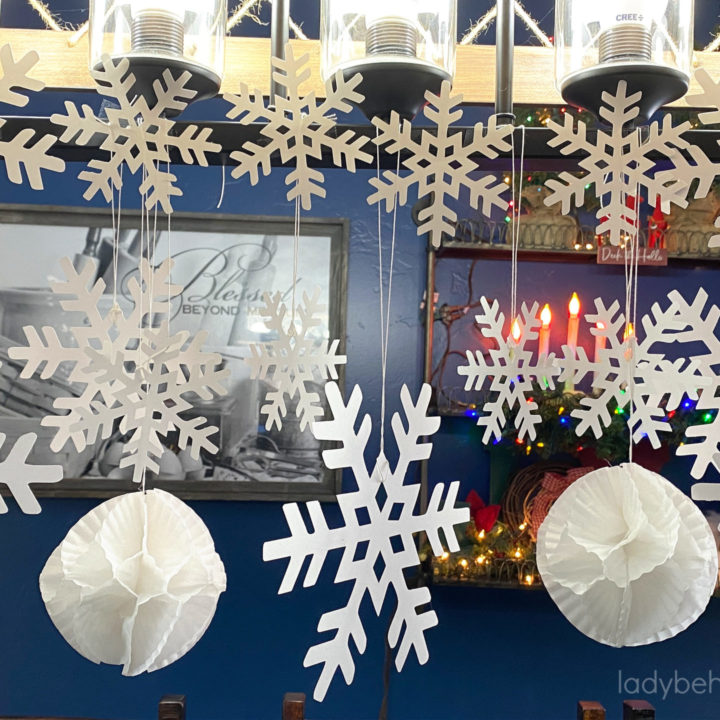
How to Make a Cupcake Liner Honeycomb Ball
Create your own party decorations for pennies!
Materials
- 10 cupcake liners
- string ( I used thin crochet thread)
Tools
- hot glue gun ( I used a low temp)
- glue sticks
- scissors
Instructions
- Fold 10 cupcake liners in half.
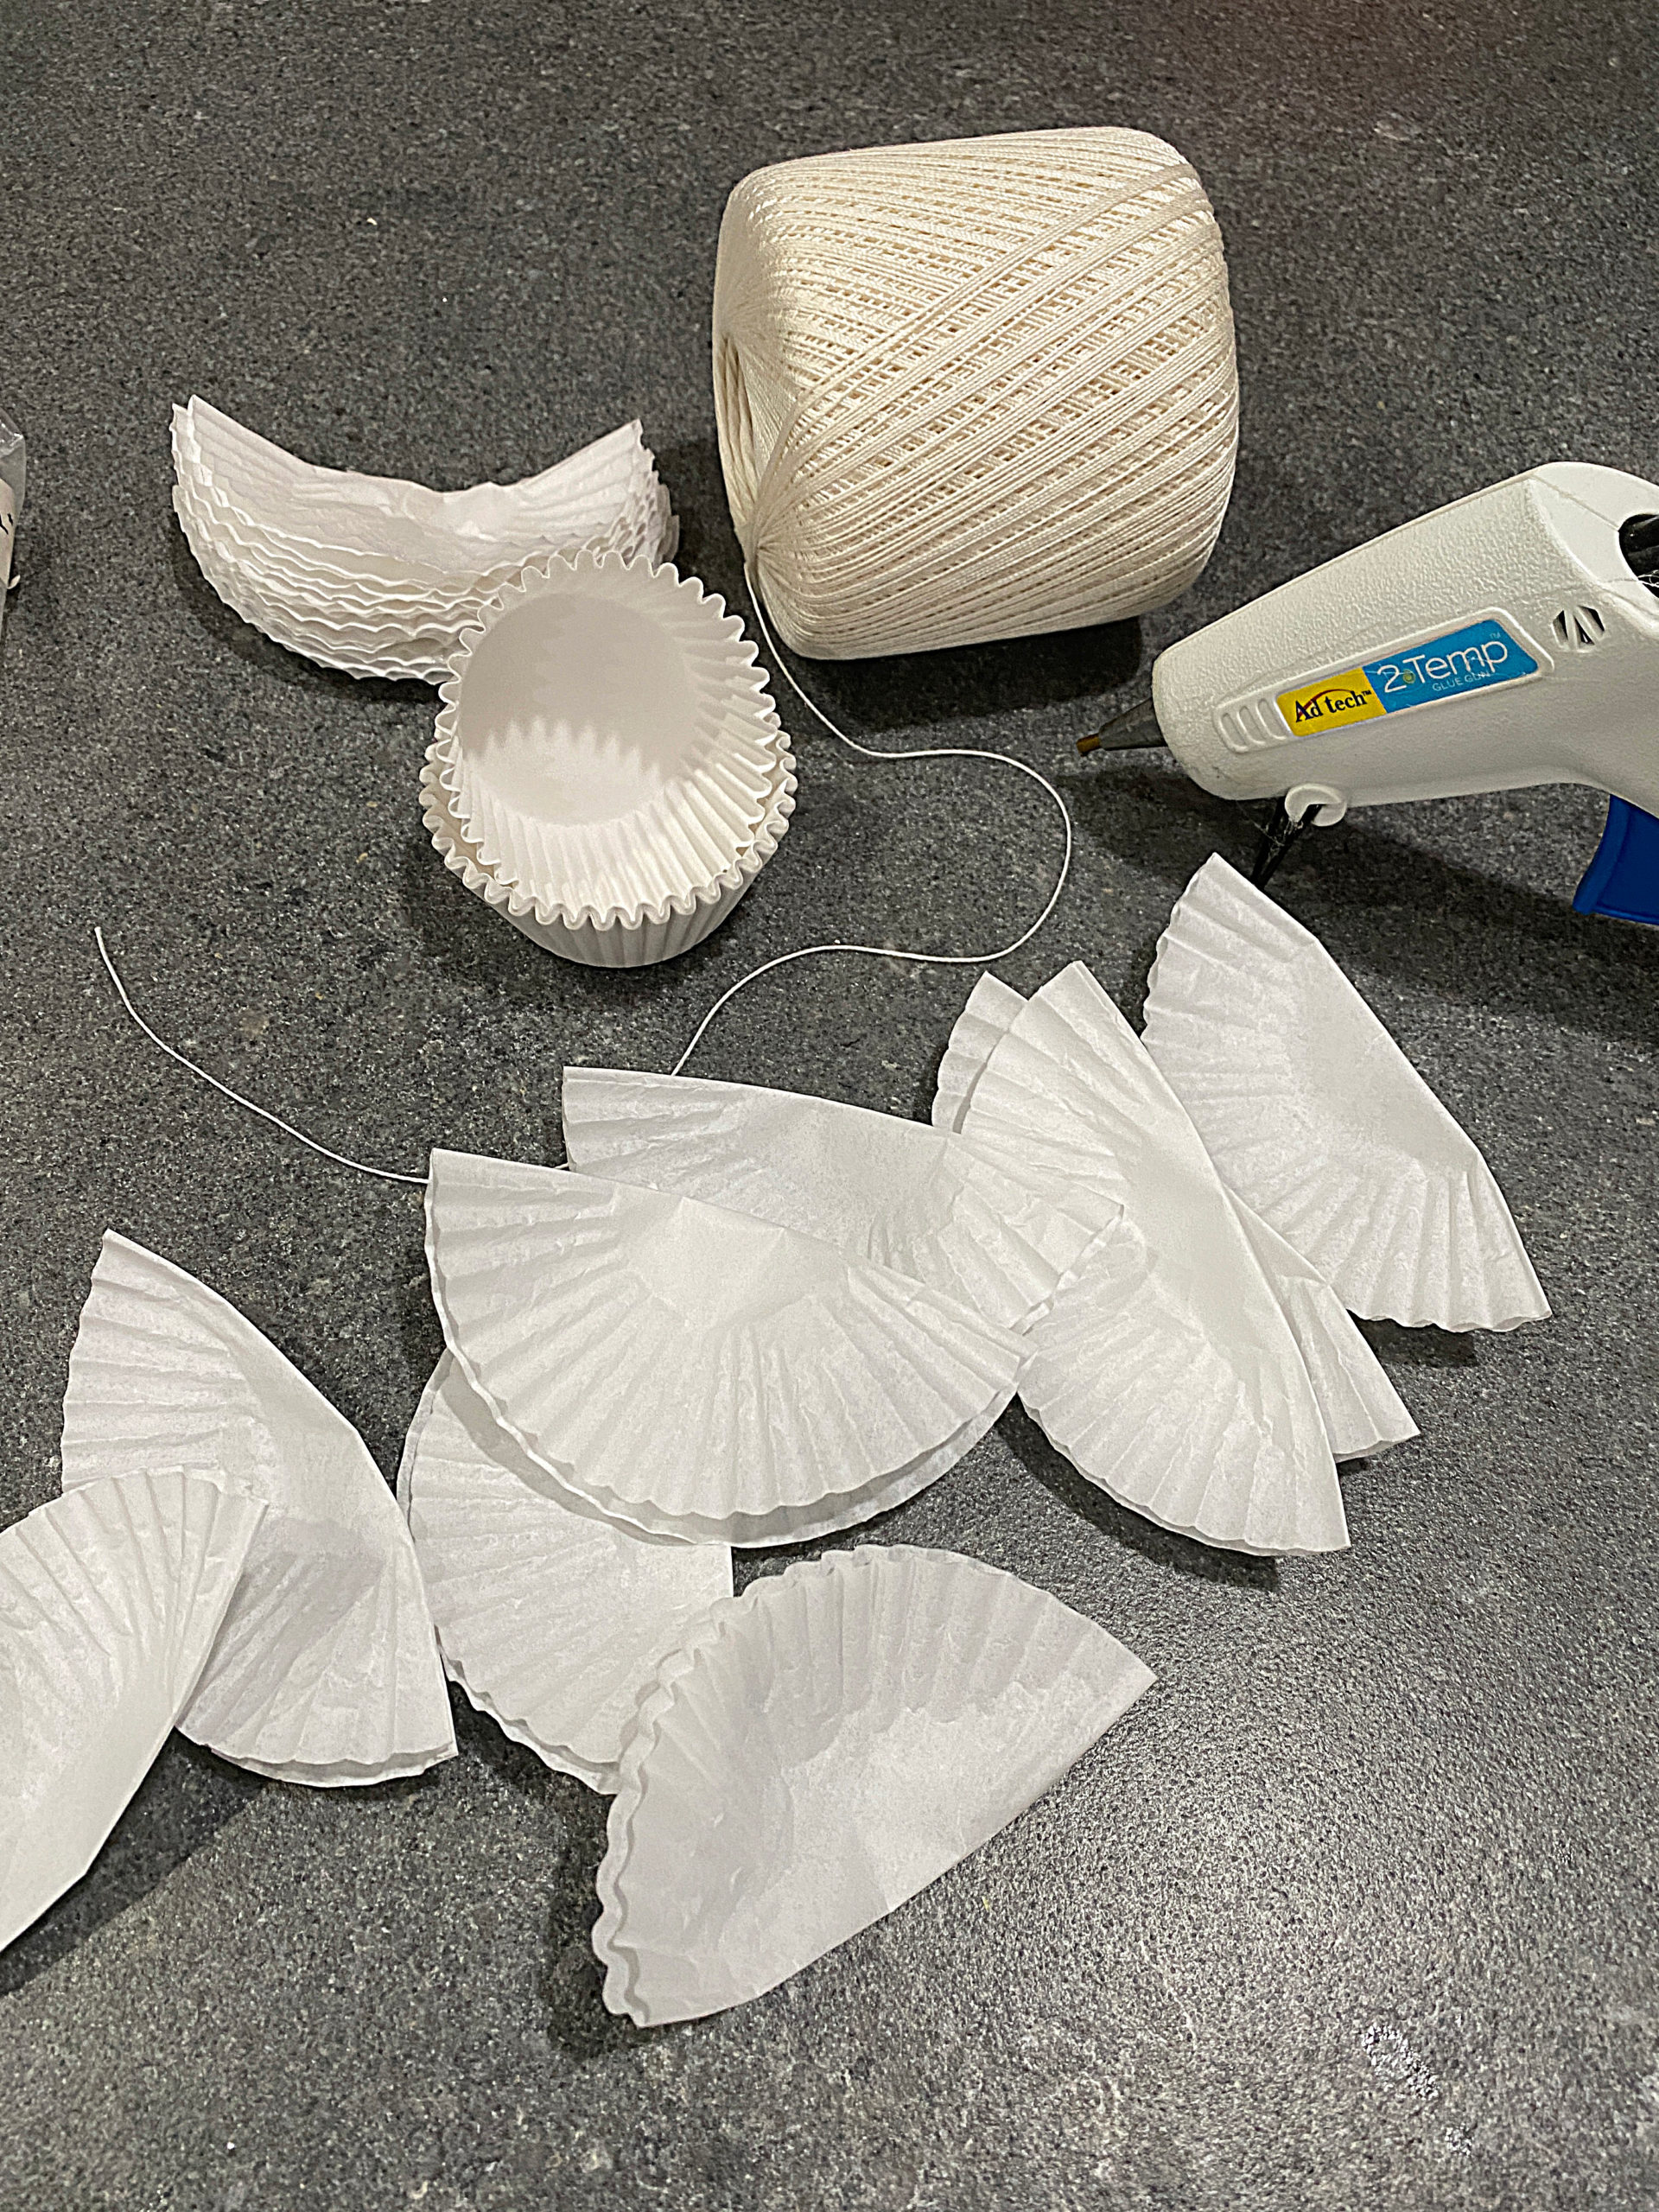
- Add a bead of hot glue down the center of the bottom side of the liner.
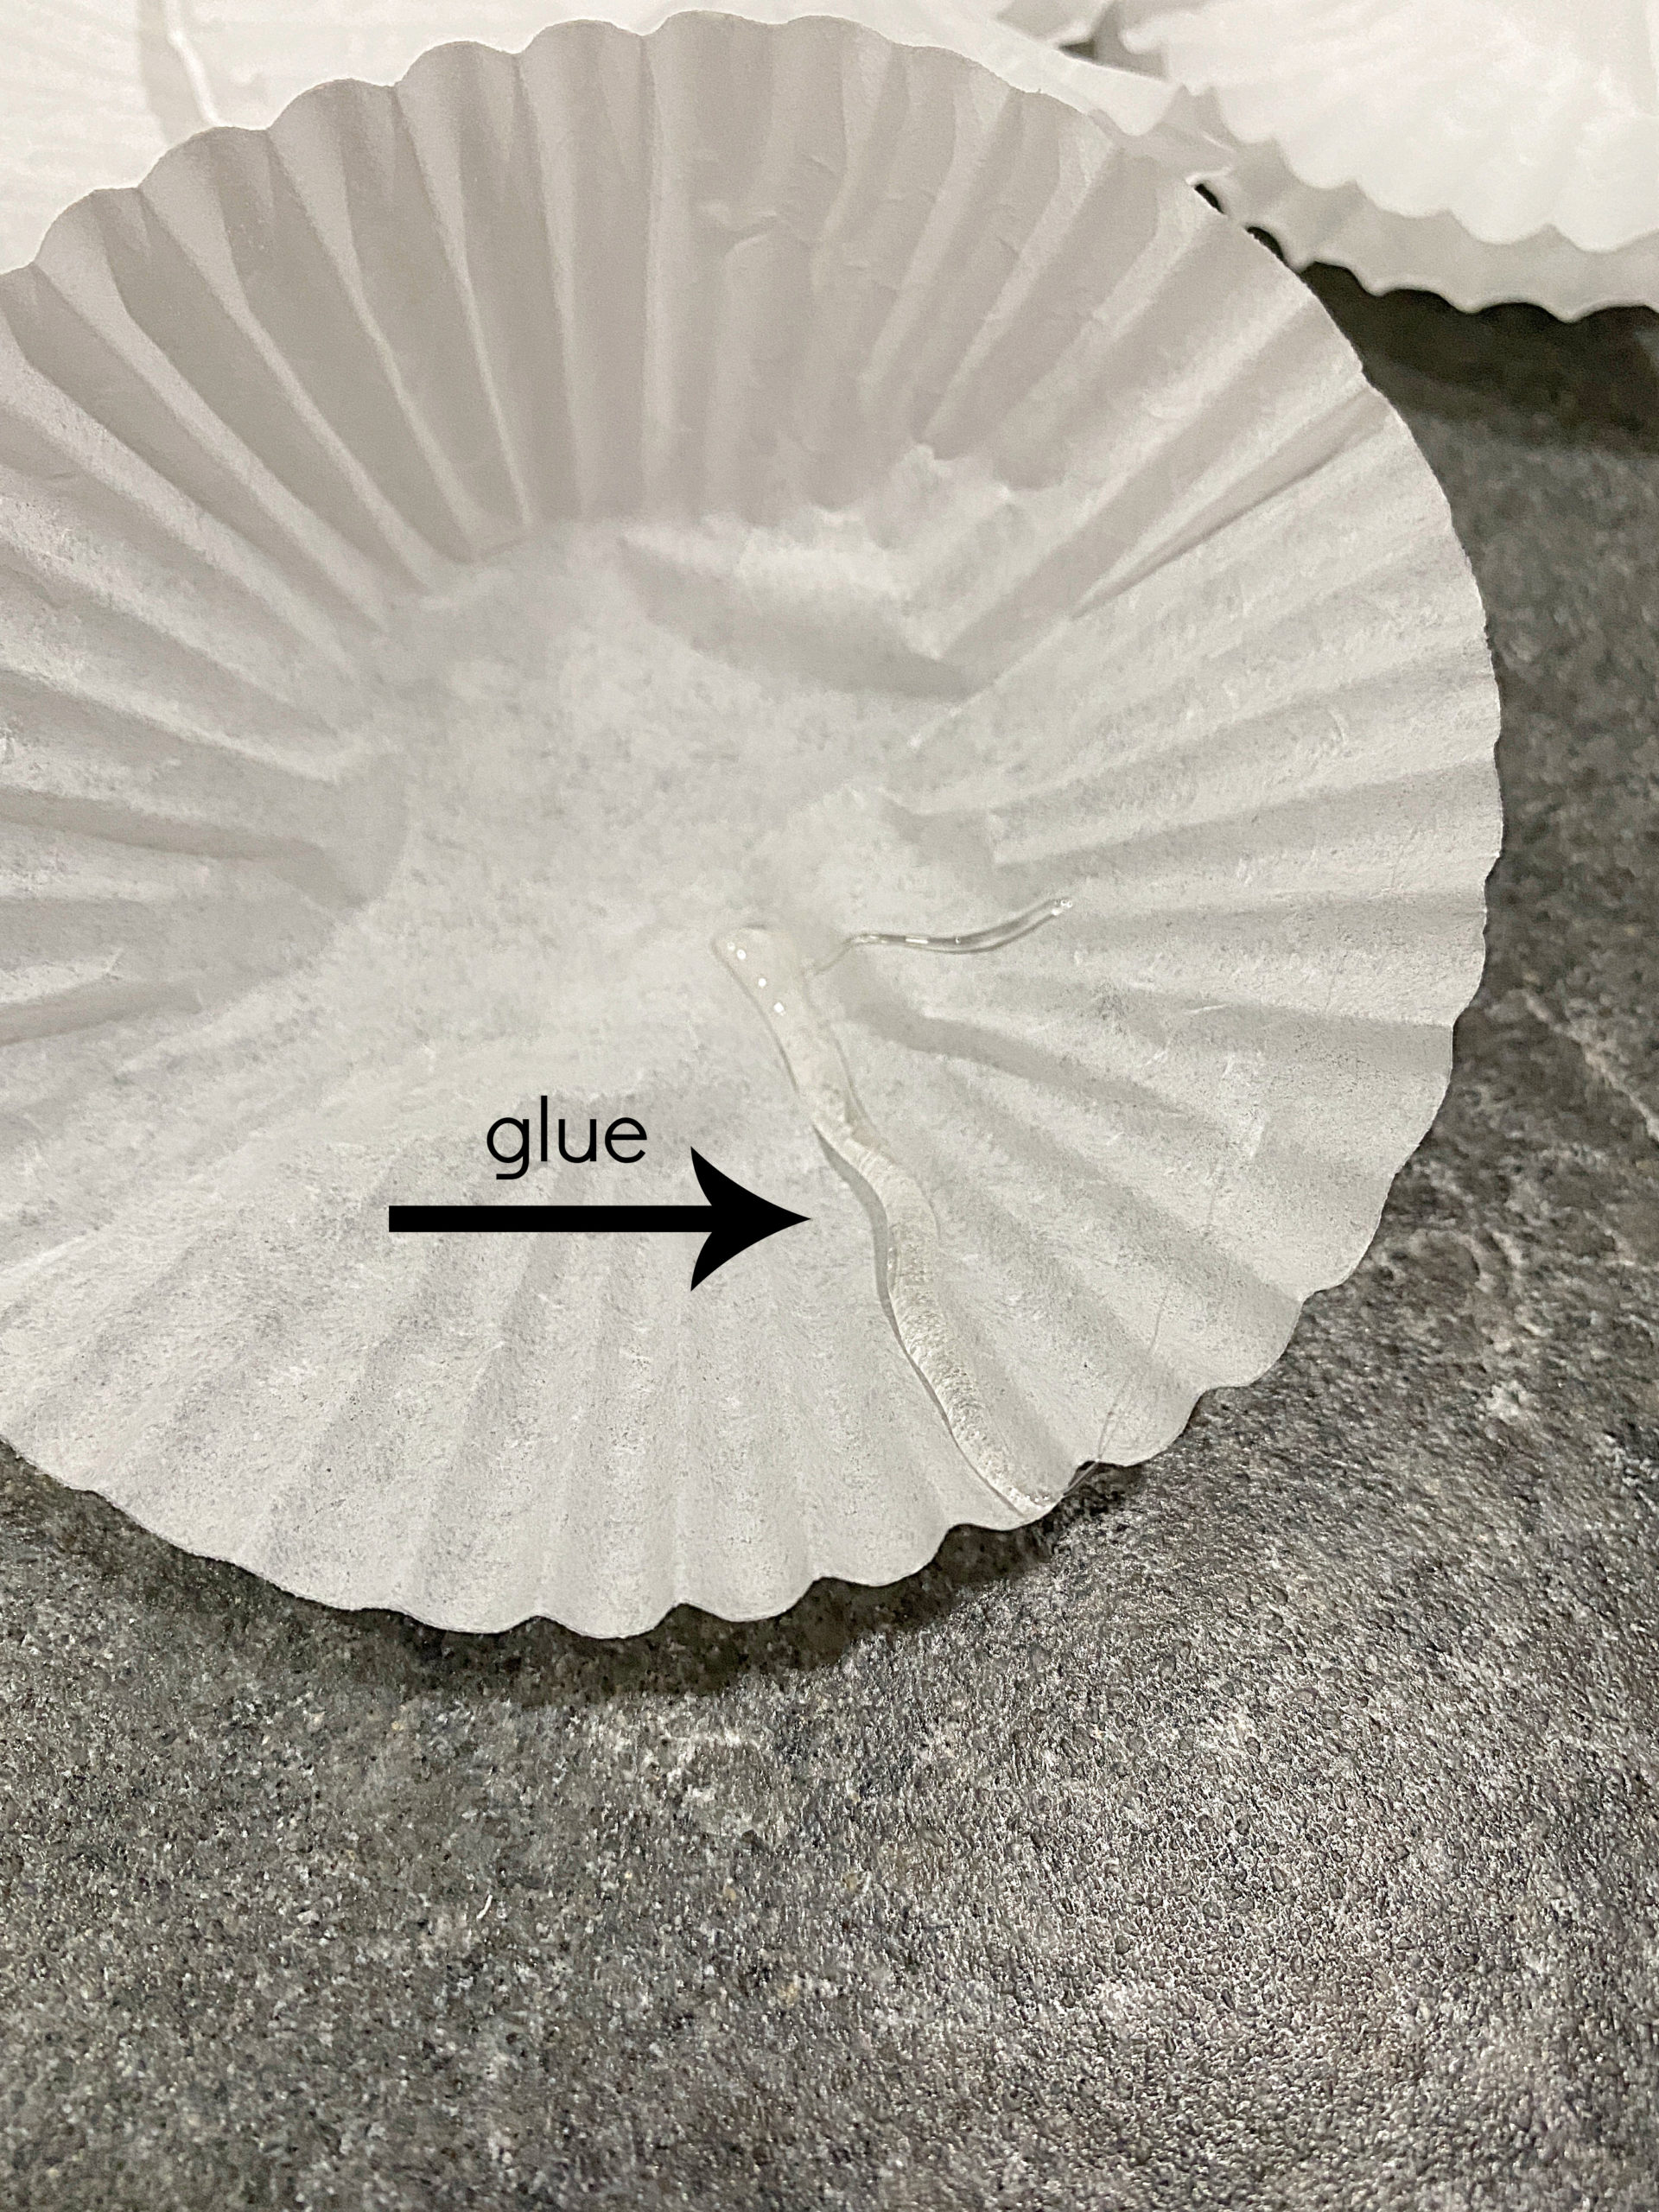
- Press the top half on top of the bottom half with the glue.
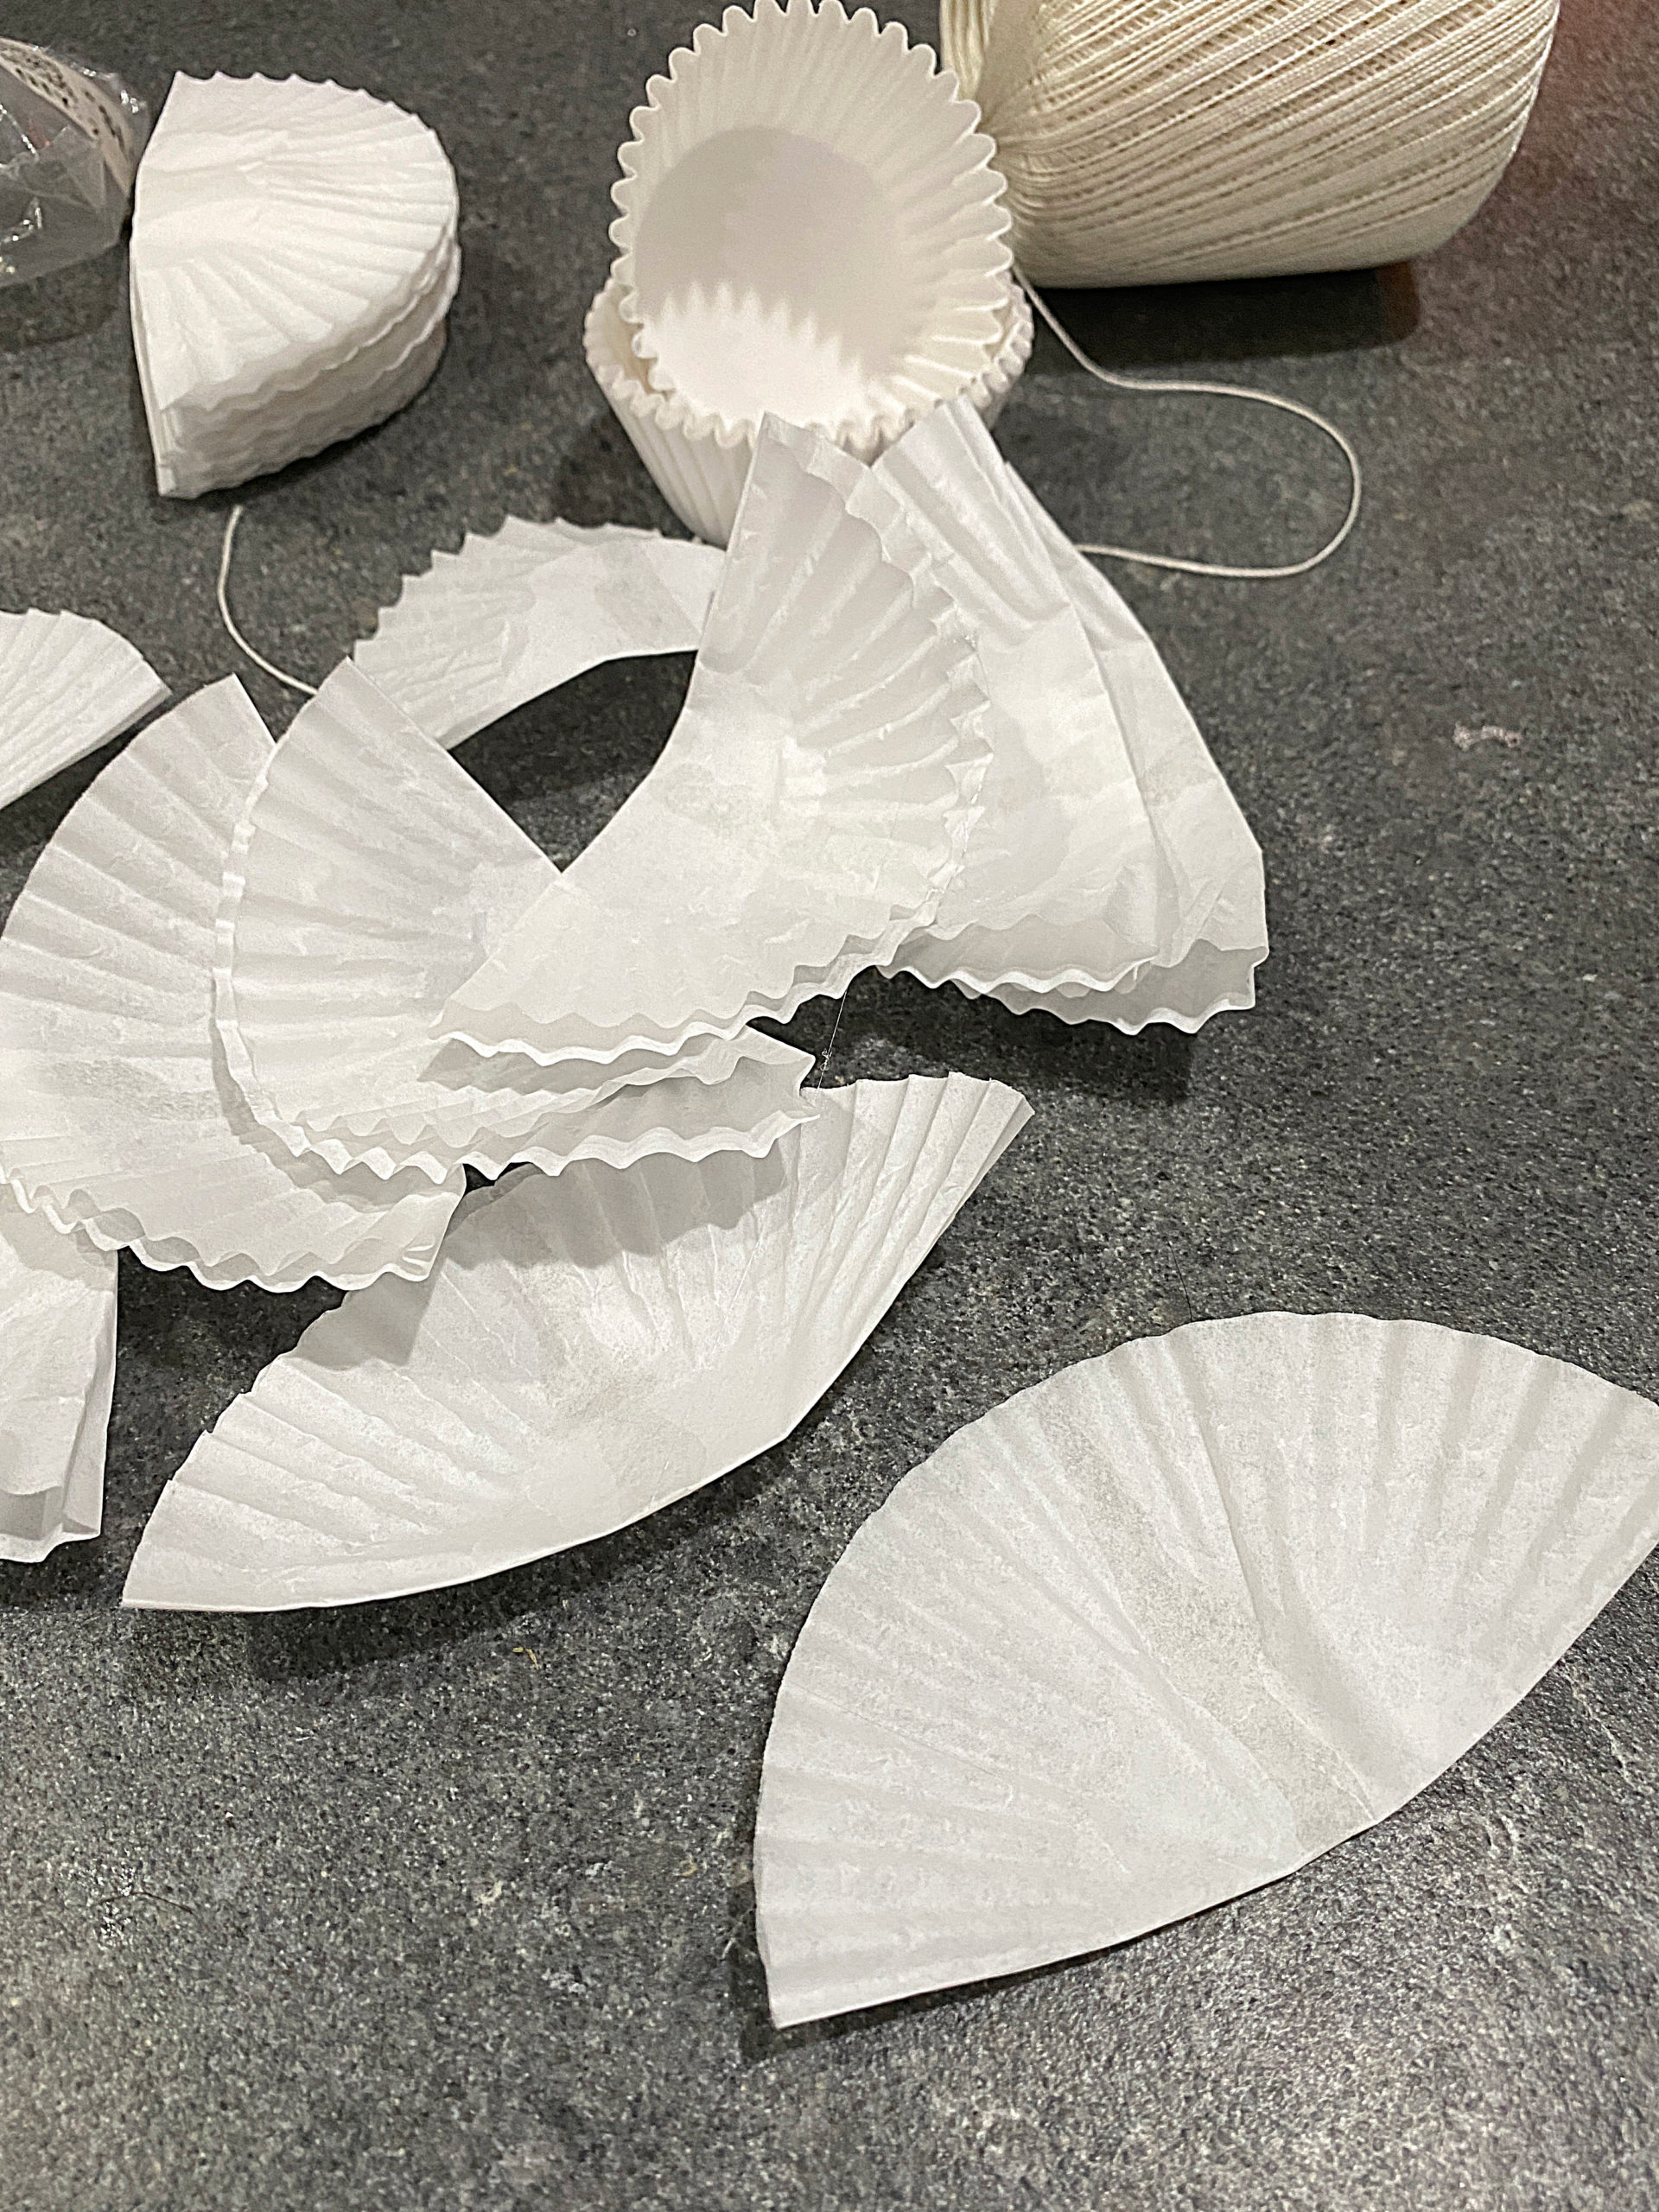
- Do this step to all 10 liners.
- Place two beads of glue about an inch in from each side.
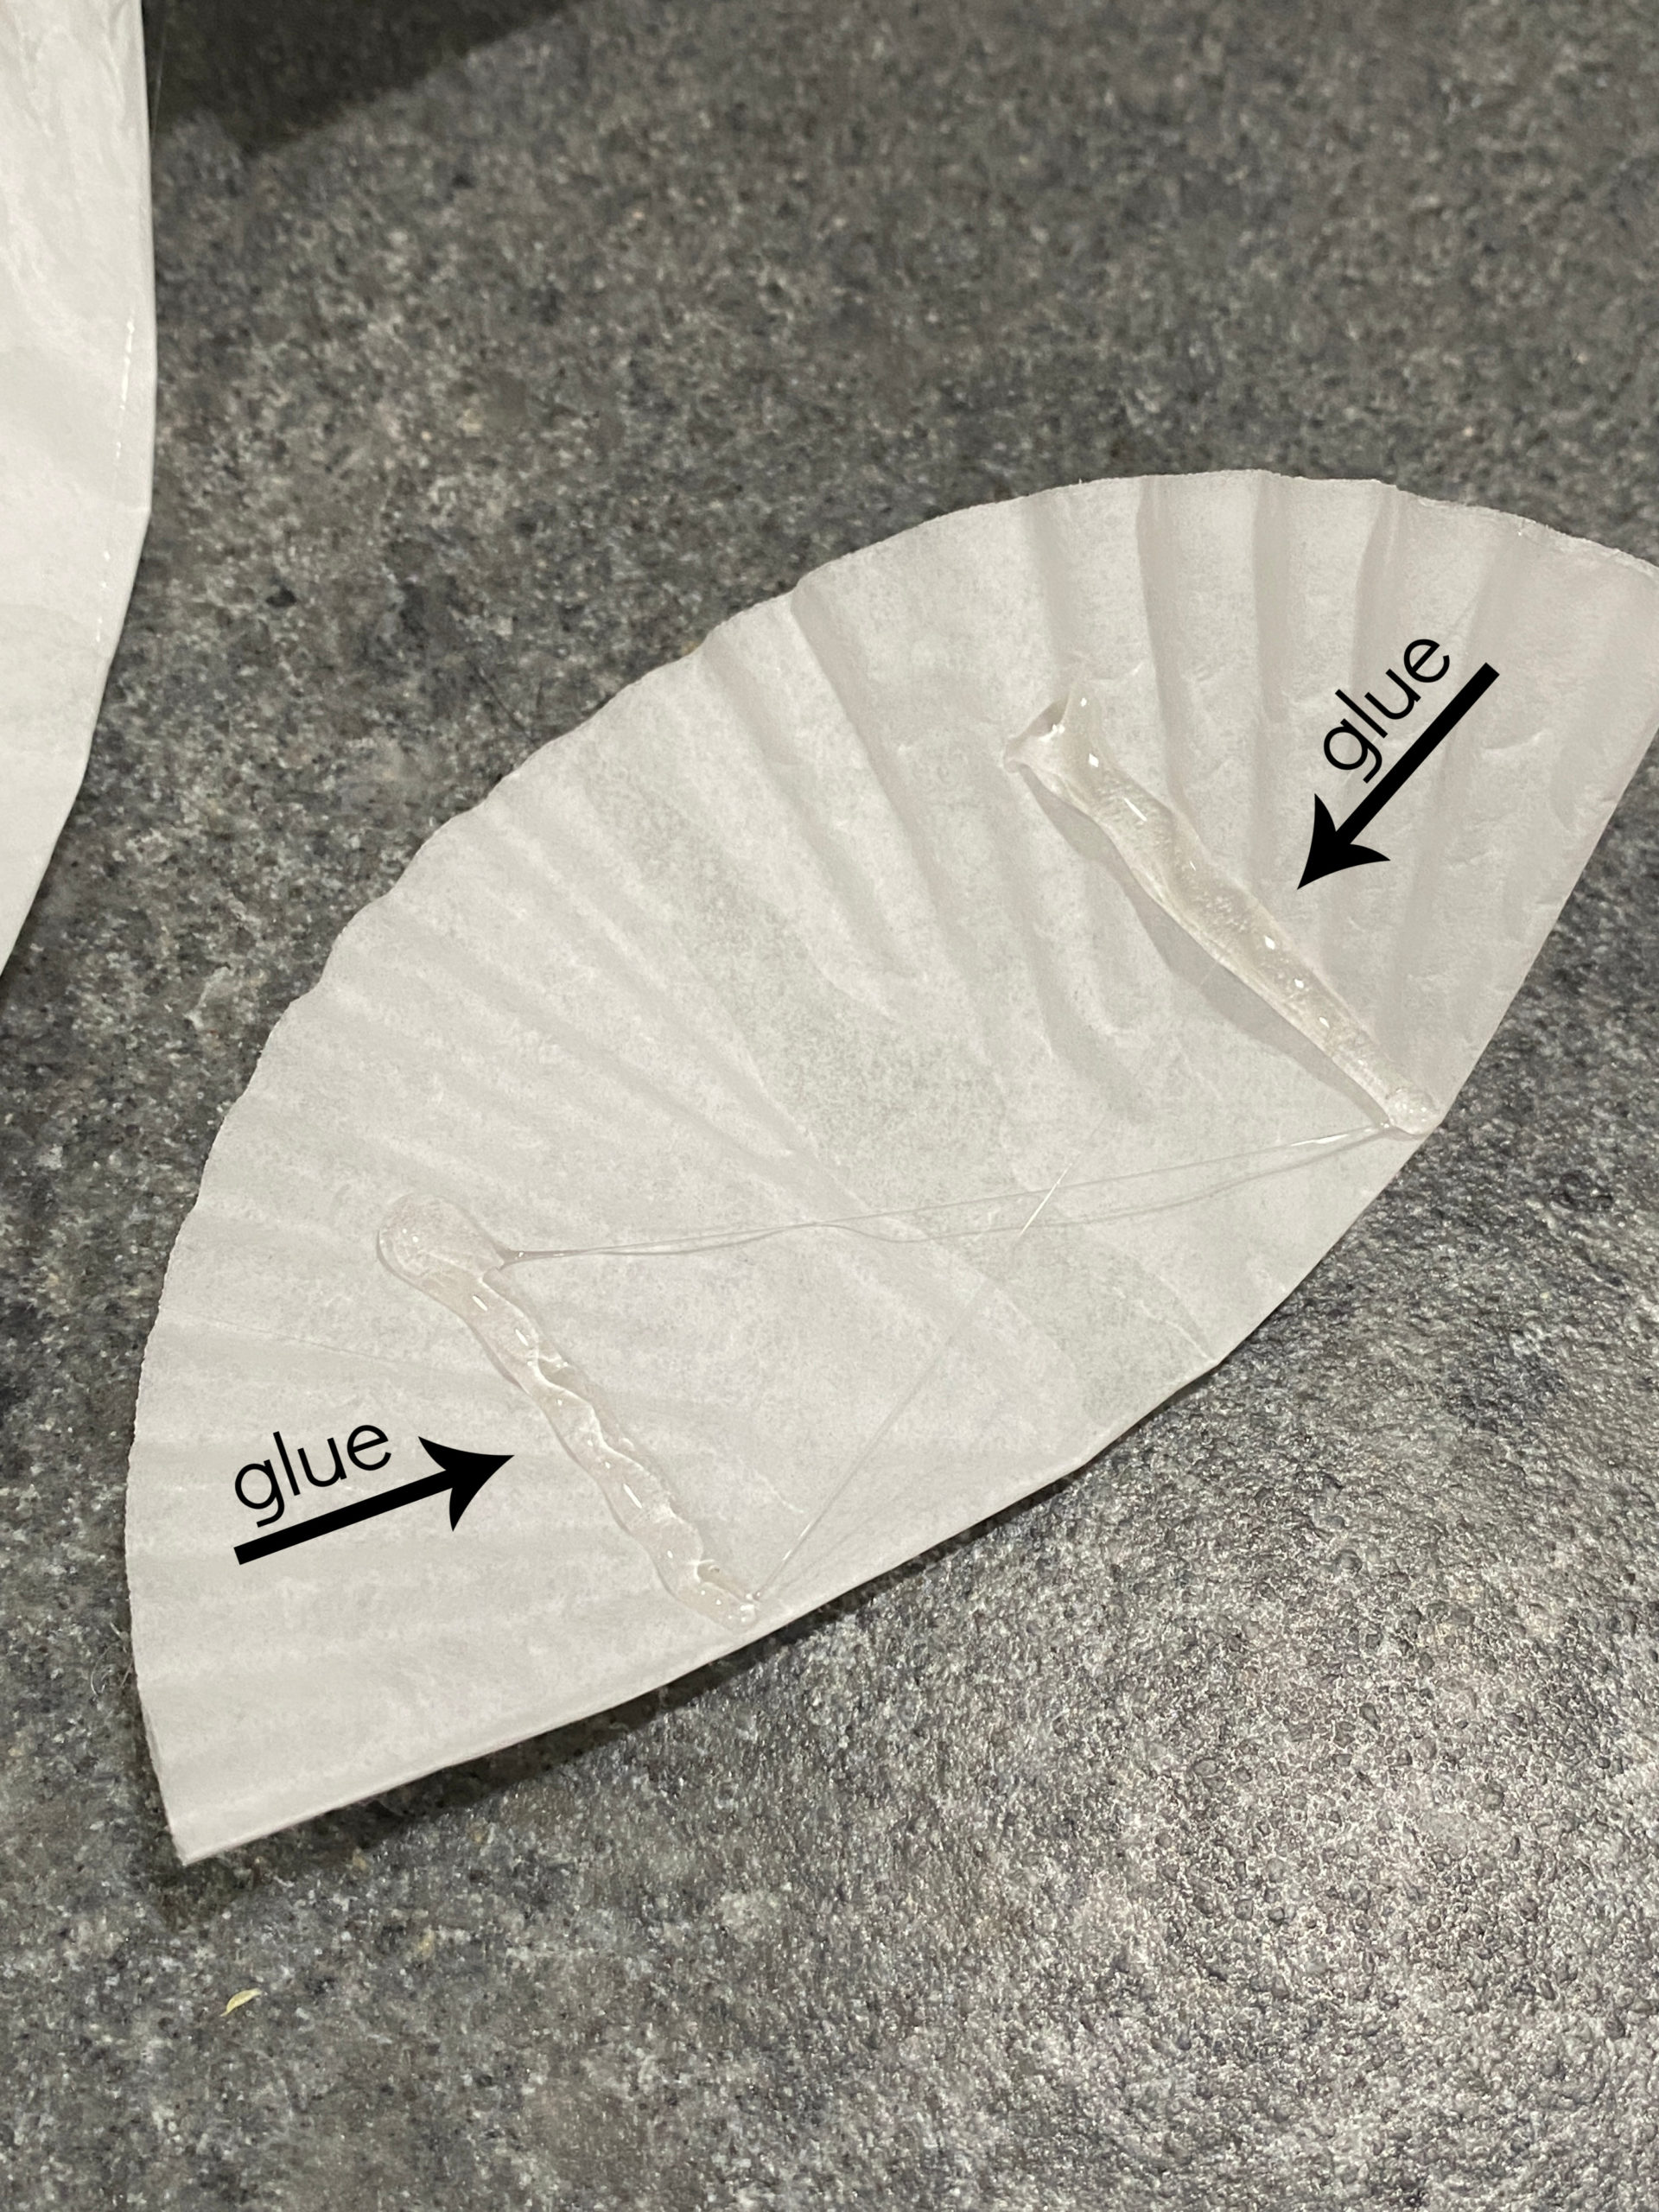
- Put another cupcake liner on top, press to adhere.
- Continue this step until all the liners have been glued.
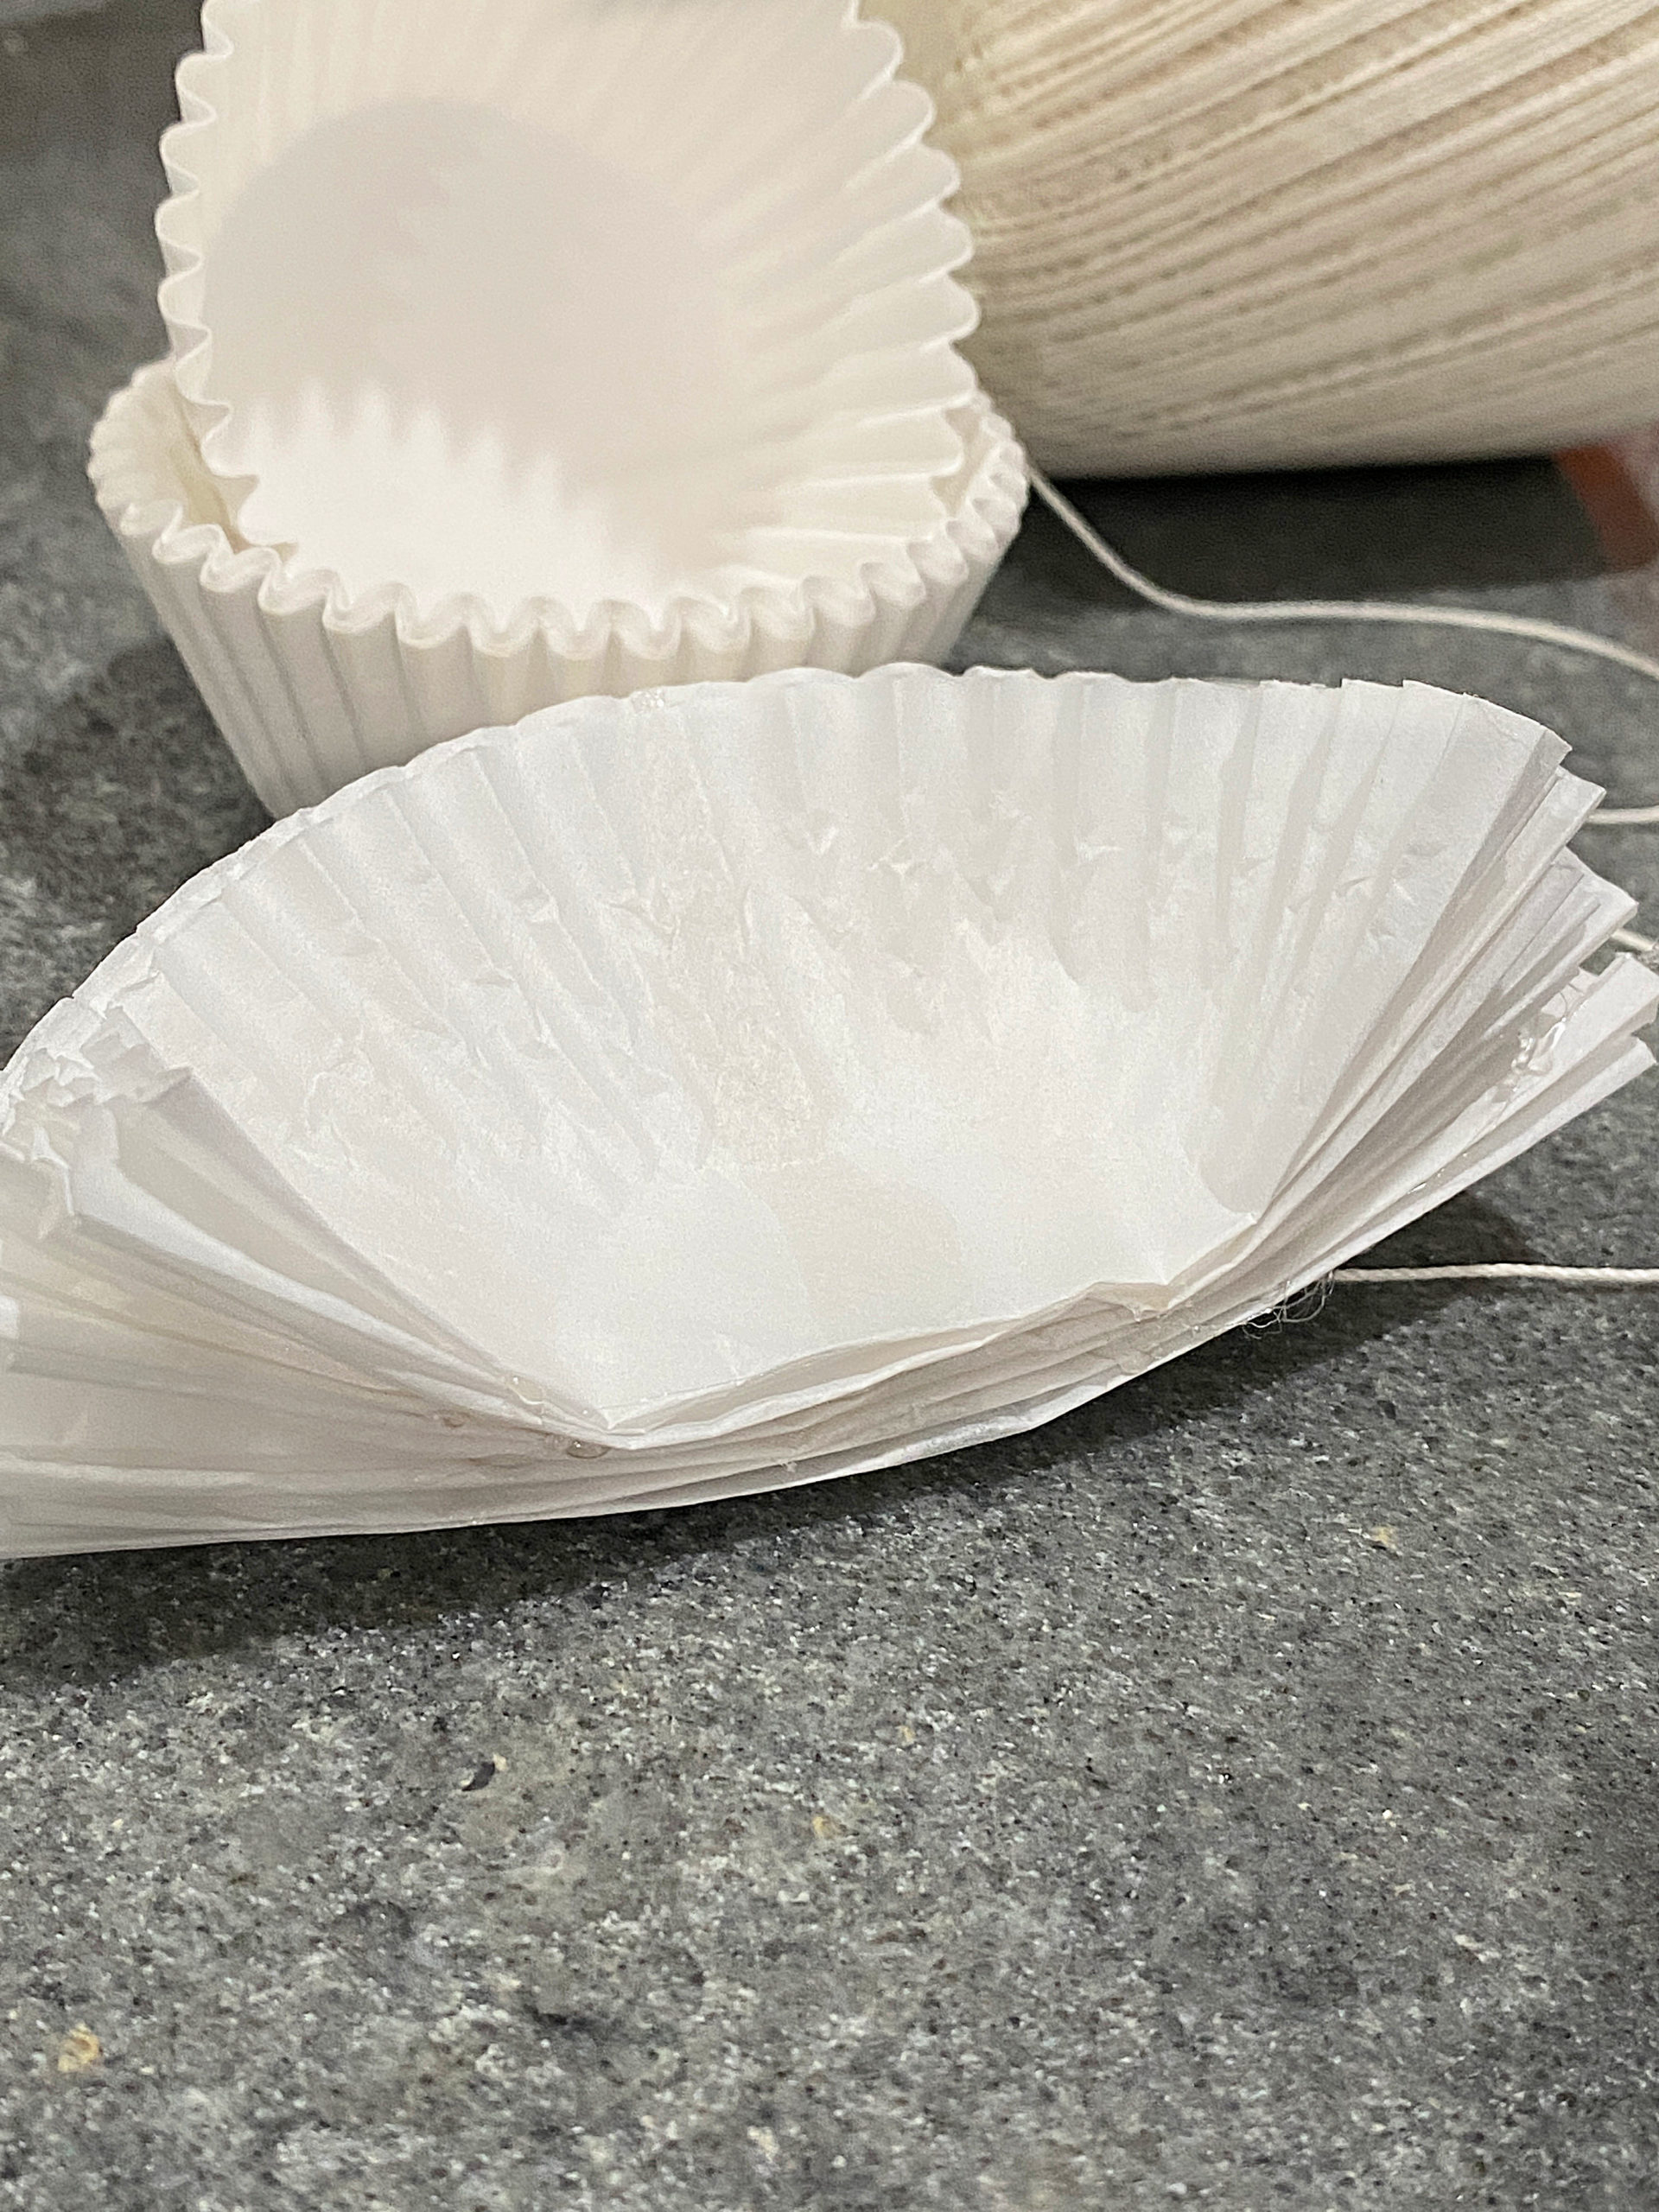
- You will end up with a flat stack of cupcake liners.
- Cut a piece of string and lay it on the folded part of the cupcake liners.
- Place a bead of hot glue over the string.
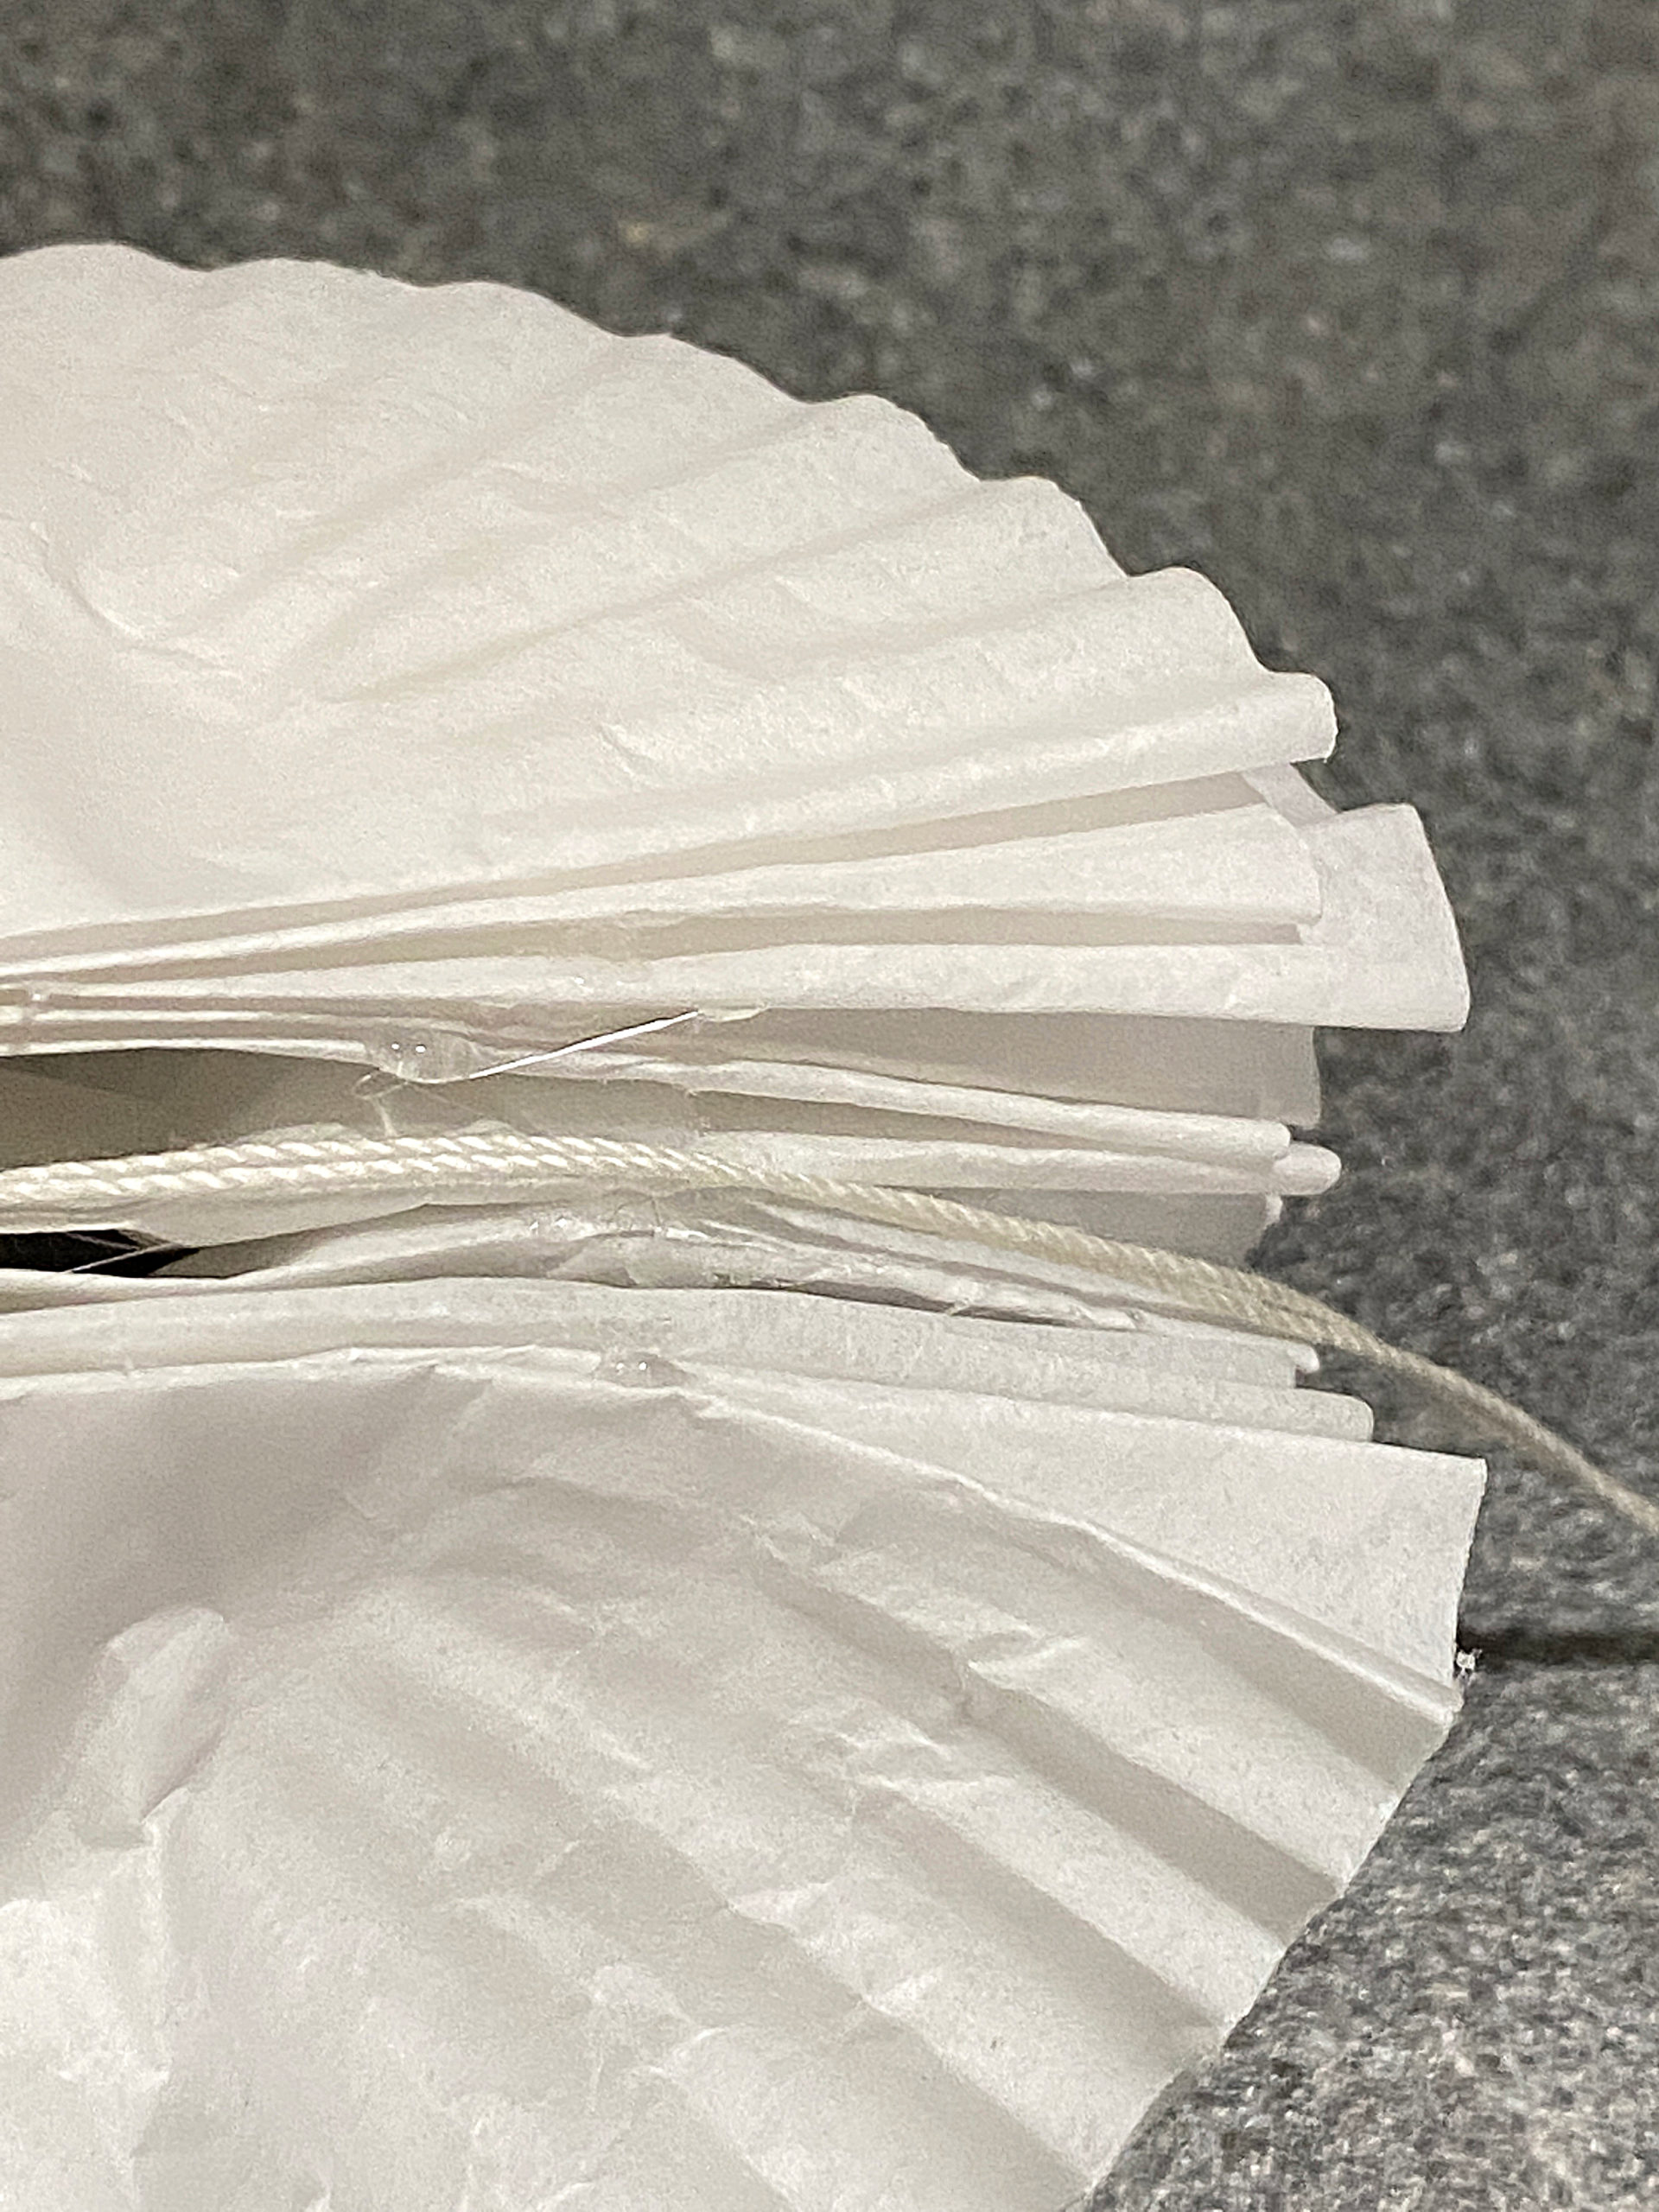
- Grab the top cupcake liner on each side and bring together.
- Glue together.
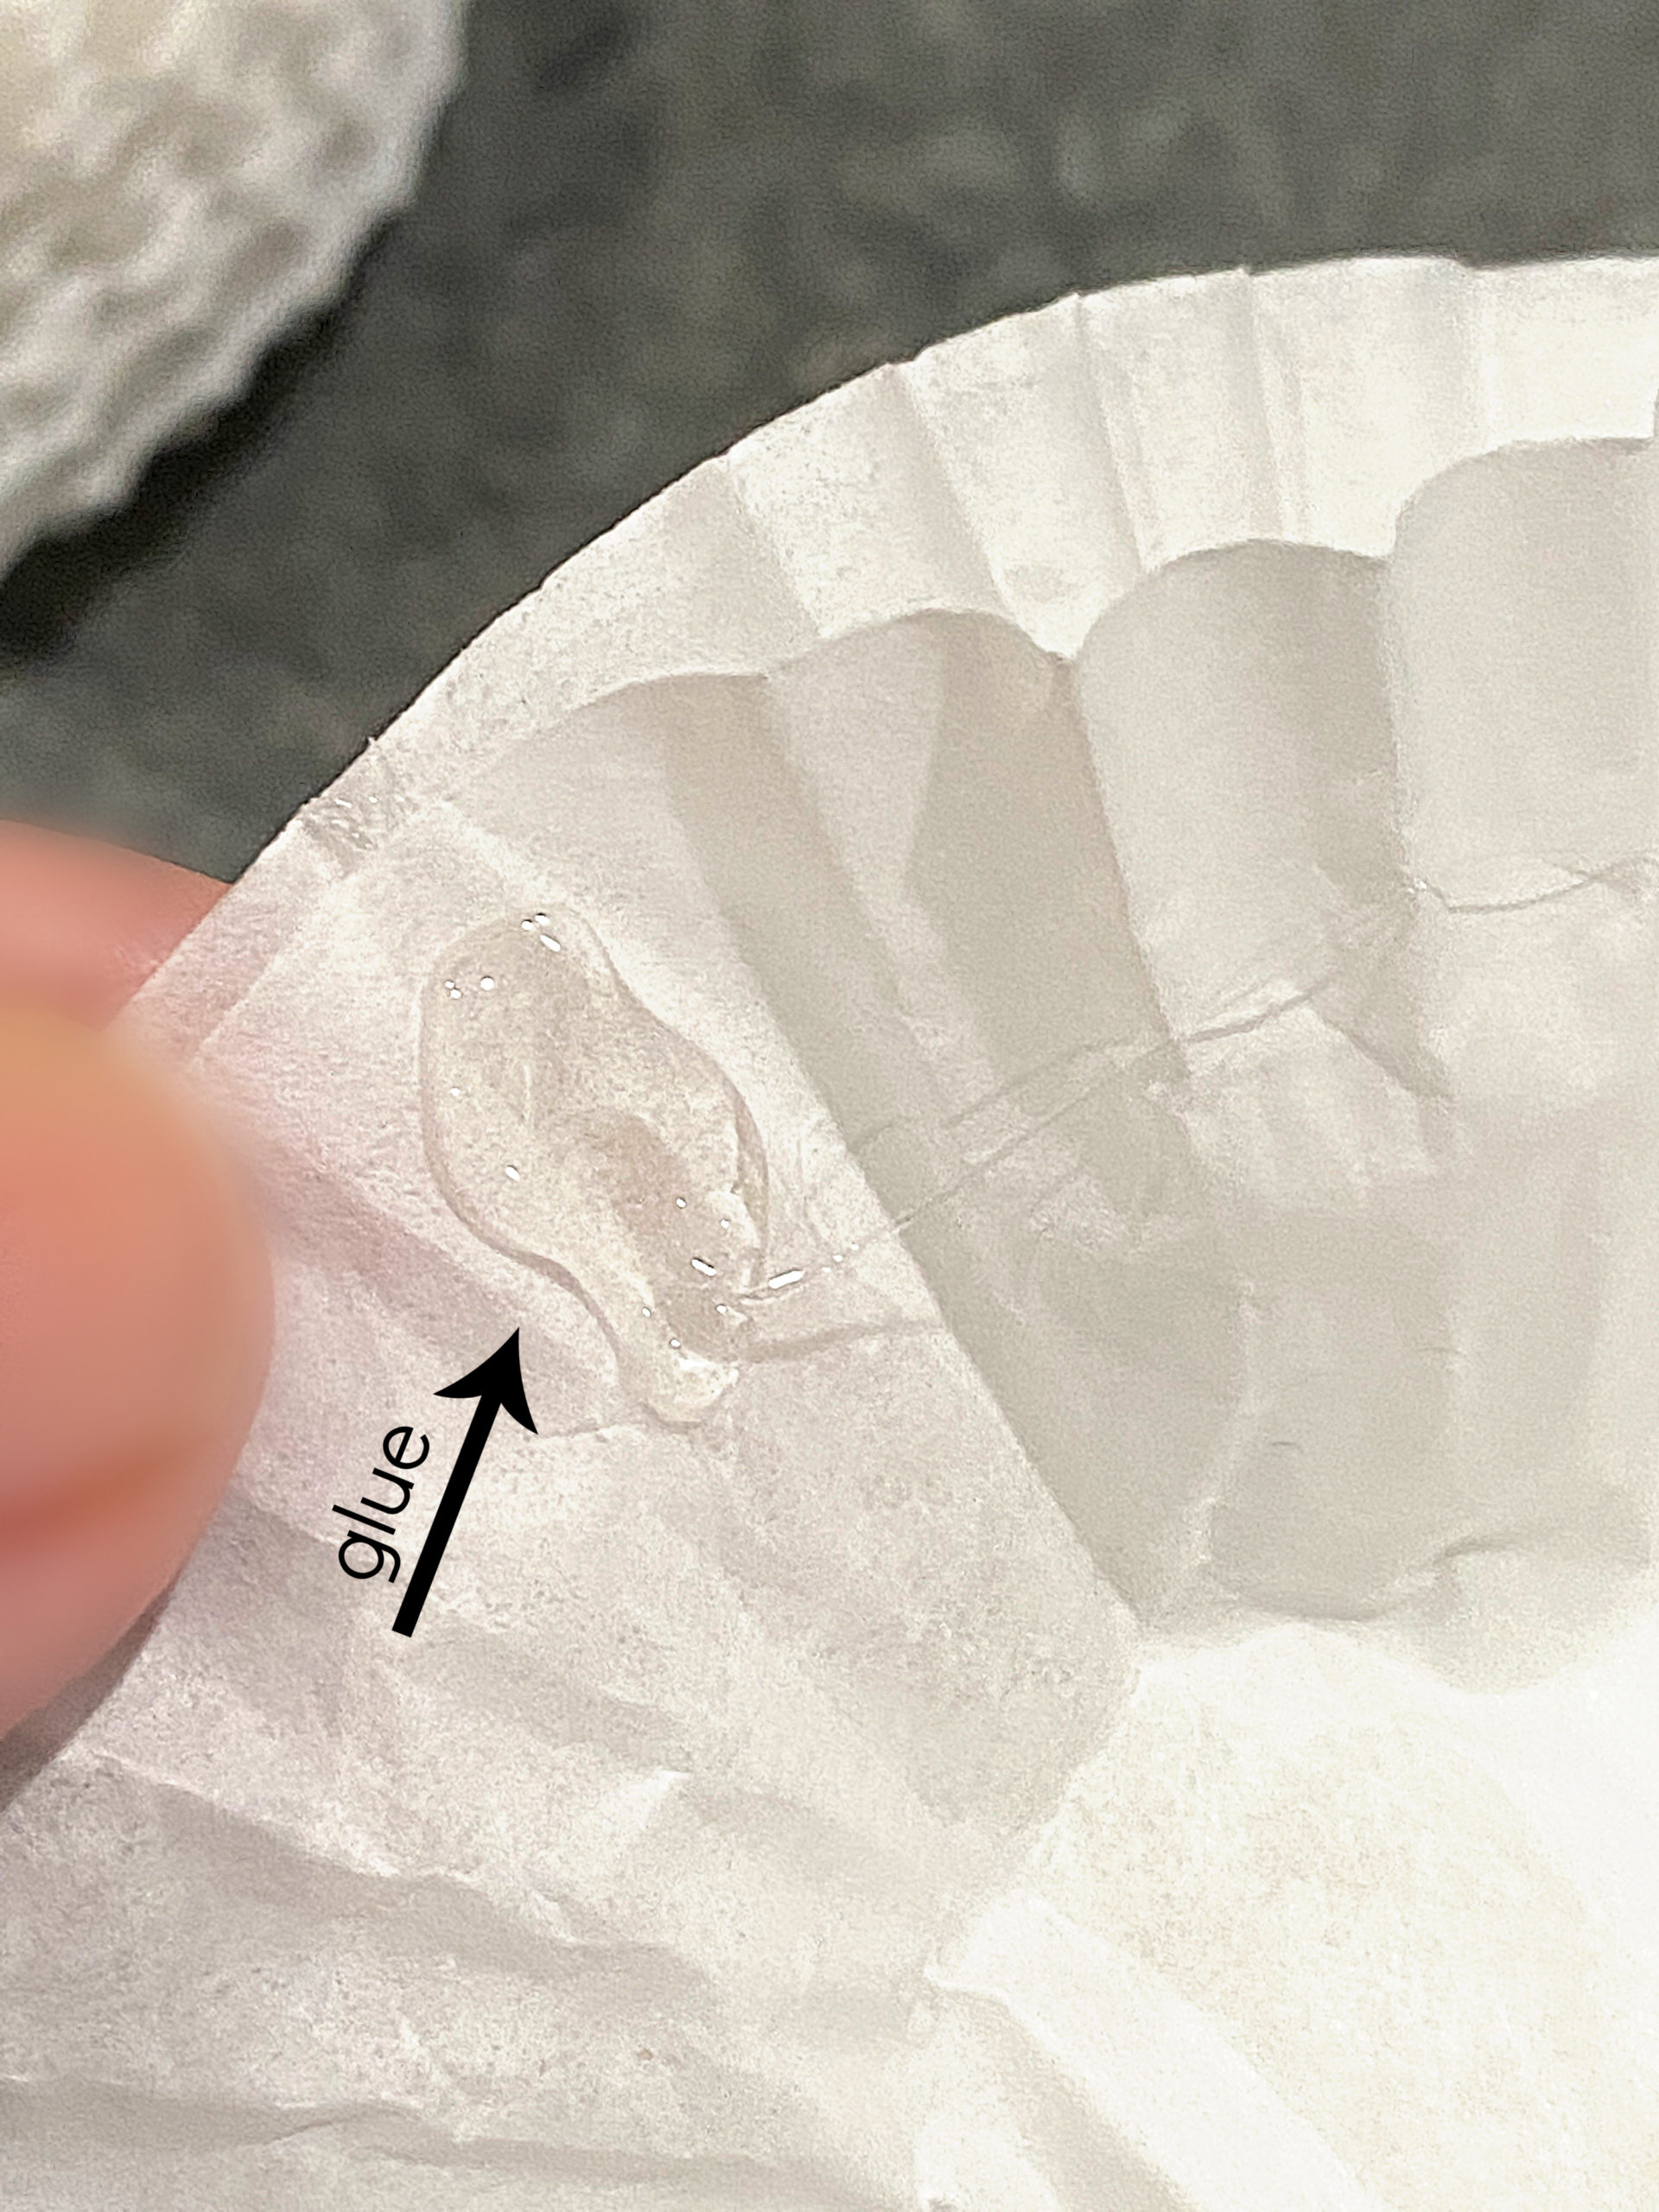
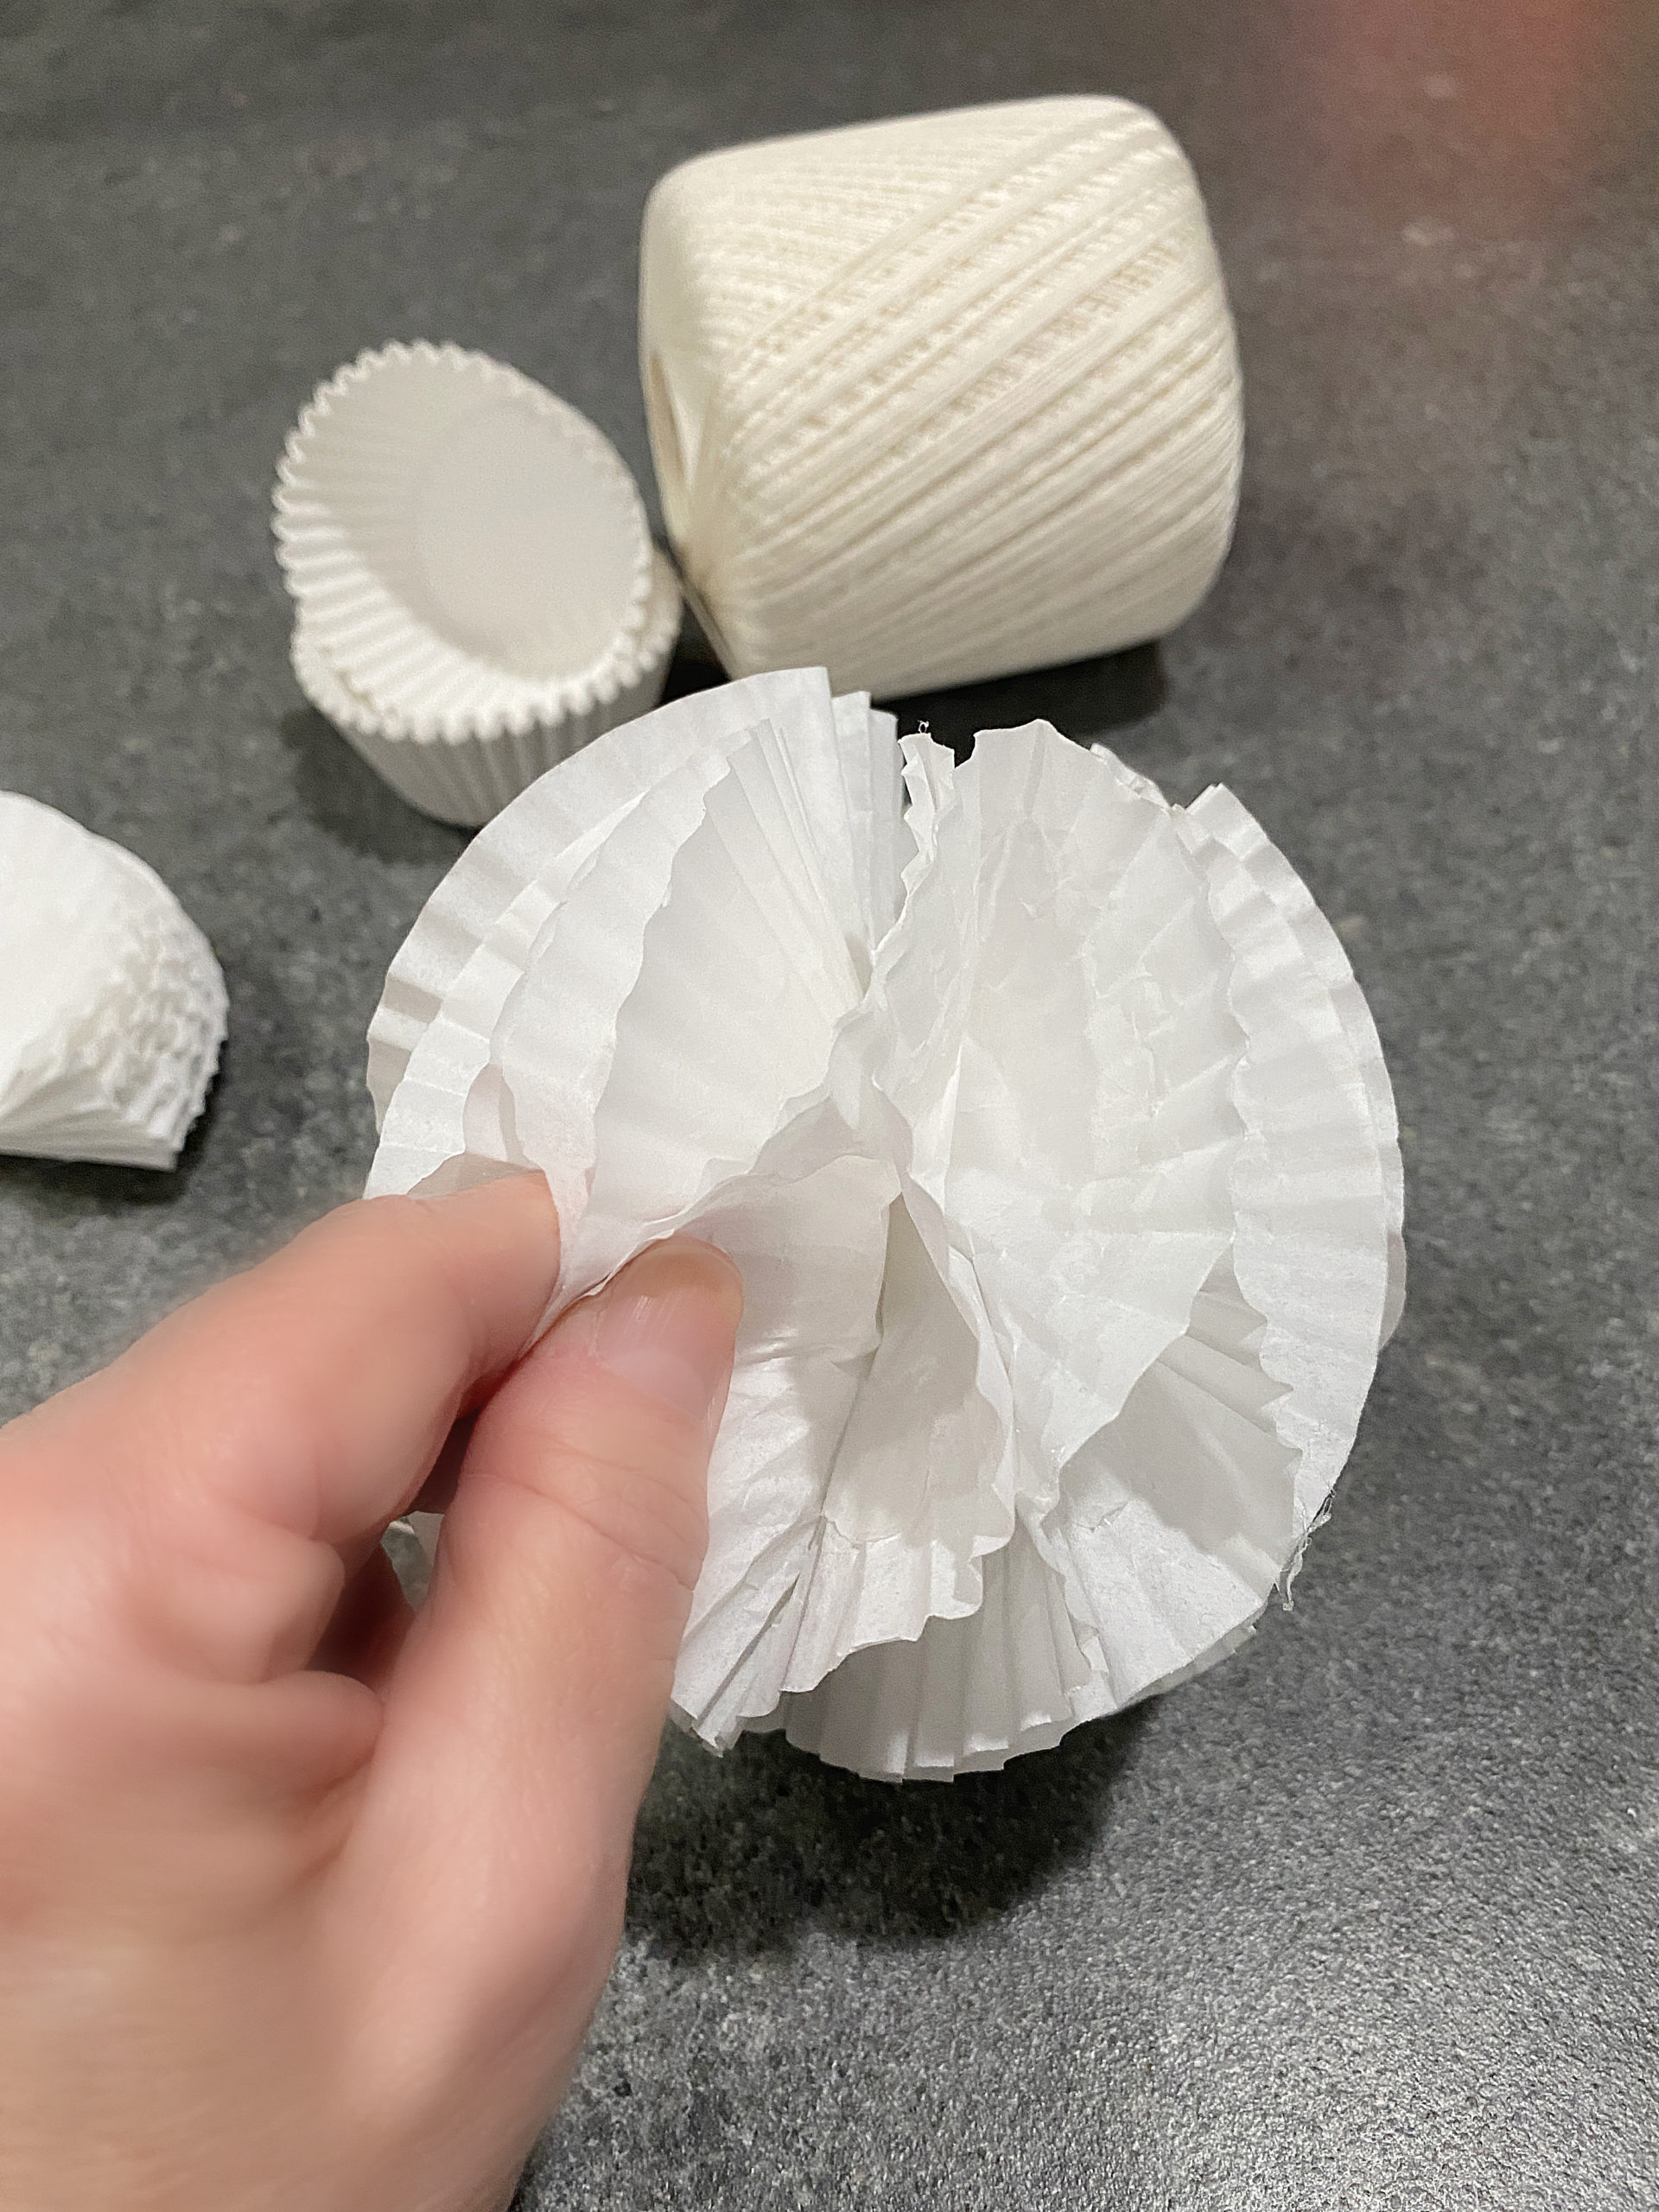
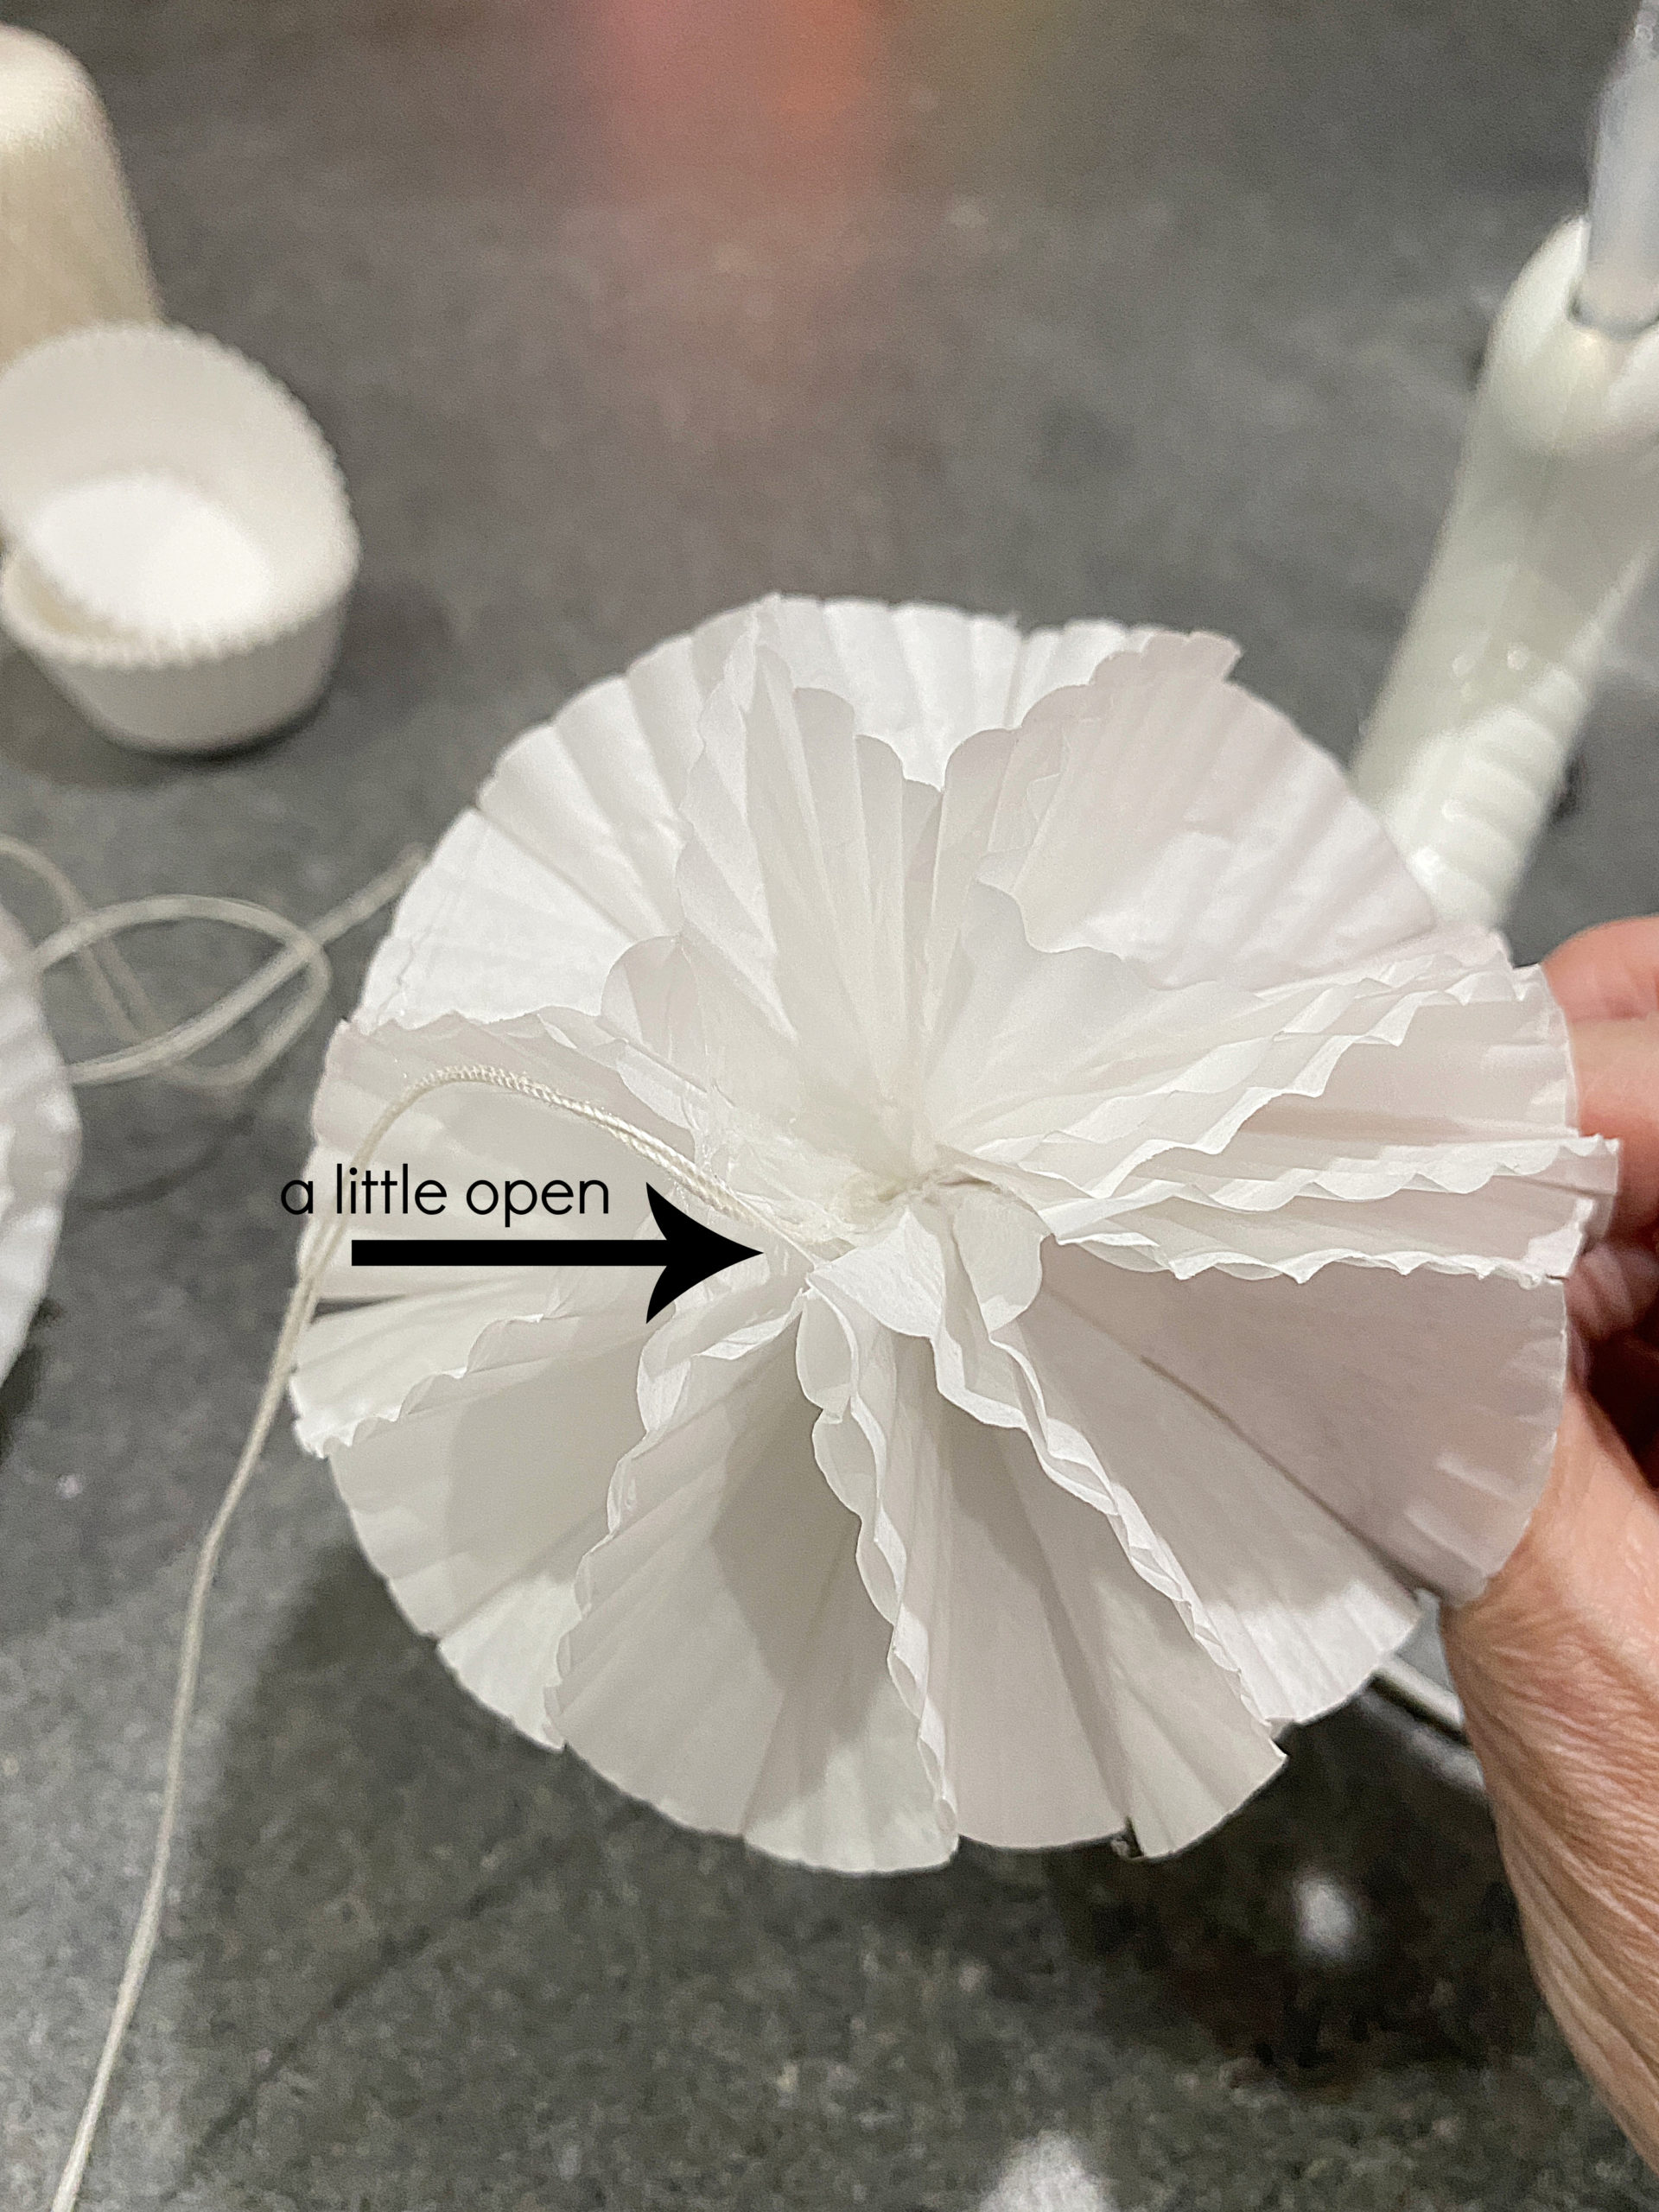
- If the ends are separated, add a bead of glue and hold.
SIGN UP FOR THE LADY BEHIND THE CURTAIN NEWSLETTER AND FOLLOW THE LADY BEHIND THE PARTY ETSY SHOP

NEWSLETTER: Receive (twice a month) seasonally themed newsletters full of recipes, tips and tricks. Sometimes even FREE gifts! ETSY SHOP: Did you know that Lady Behind the Curtain has an Etsy Shop? LADY BEHIND THE PARTY is a shop full of DOWNLOADABLE hand designed (by me) party supplies. Click here for the Newsletter→CURTAIN CALL NEWSLETTER Click here for the Esty Shop→LADY BEHIND THE PARTY
THANKS FOR VISITING♥


Comments
How to Make A Cupcake Liner Honeycomb Ball — No Comments
HTML tags allowed in your comment: <a href="" title=""> <abbr title=""> <acronym title=""> <b> <blockquote cite=""> <cite> <code> <del datetime=""> <em> <i> <q cite=""> <s> <strike> <strong>