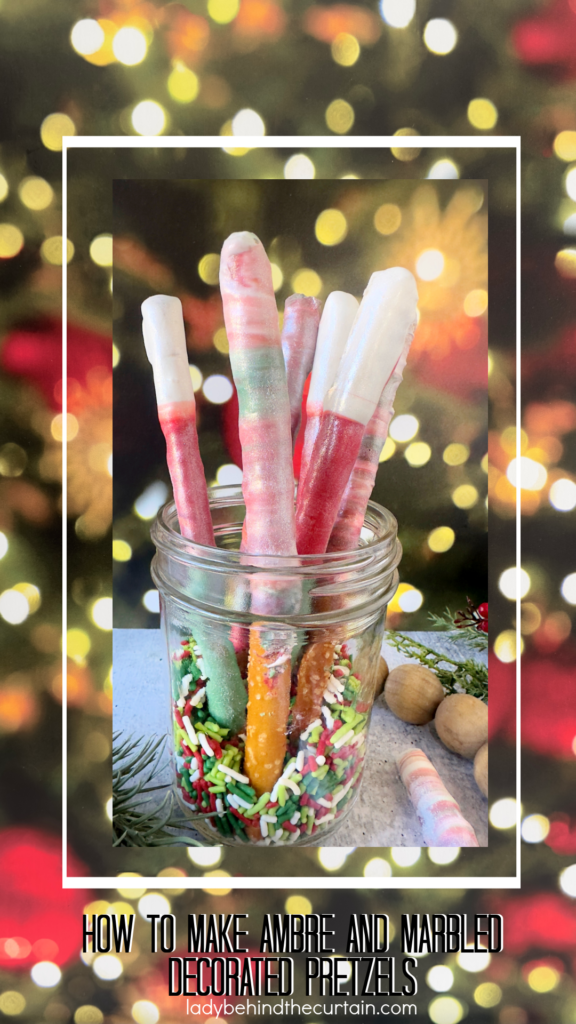
How to Make Ambre and Marbled Decorated Pretzels
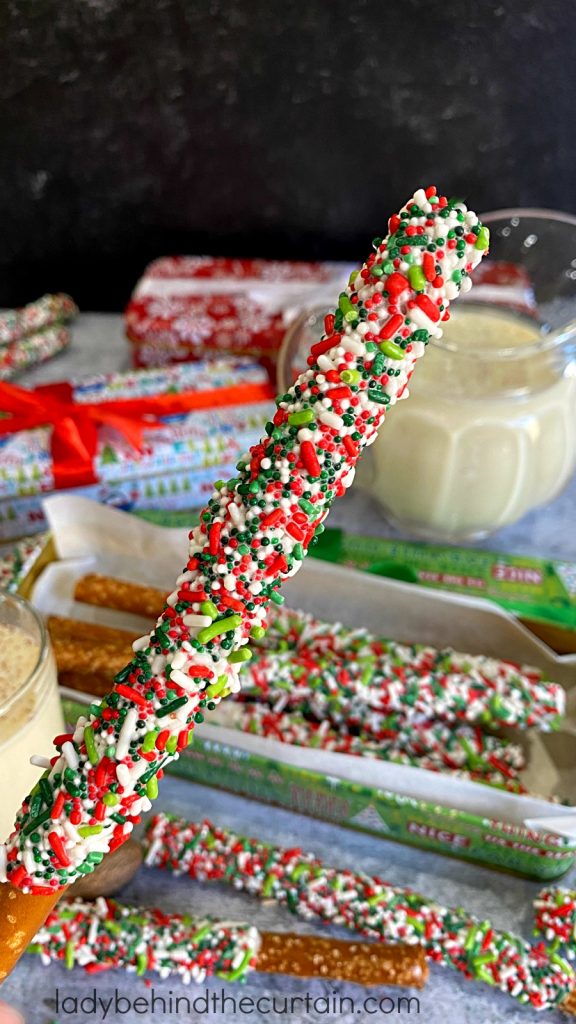
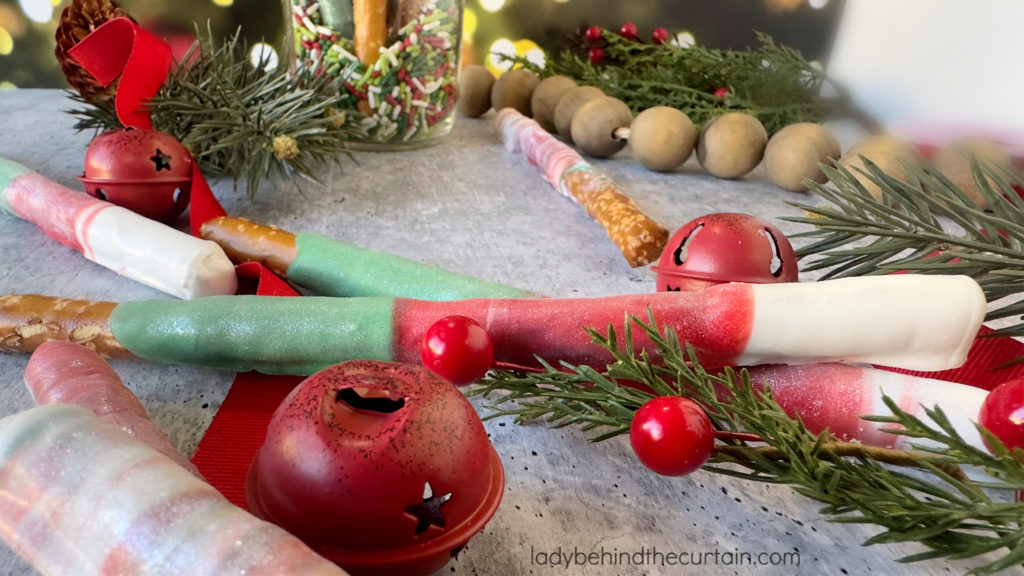
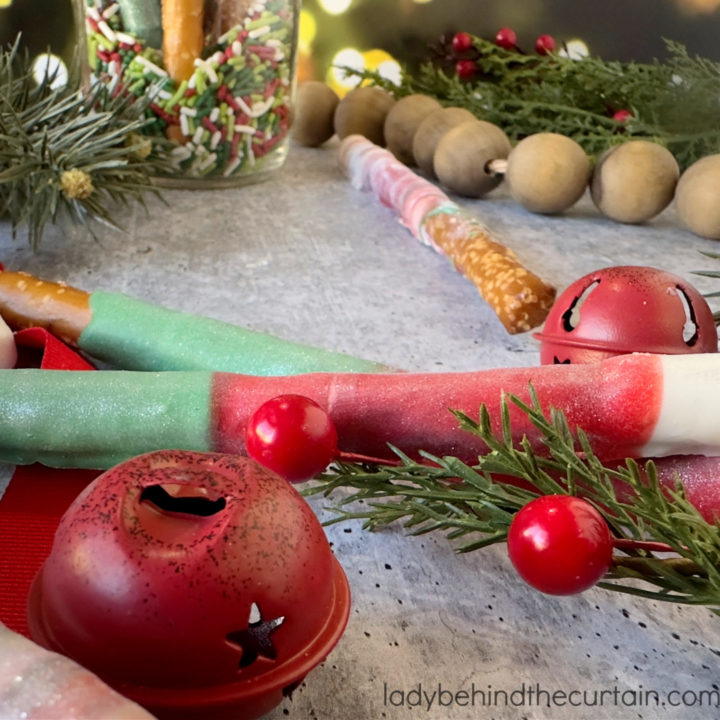
Do you need a last-minute Christmas treat? It’s easy to transform a pretzel rod into a fun and festive Christmas Party treat. In this post, you will learn how to create an ambre-ish pretzel and a marbled pretzel using the same melted candy. Collect your supplies and get ready to make the easiest holiday treat: Ambre and Marbled Decorated Pretzels!
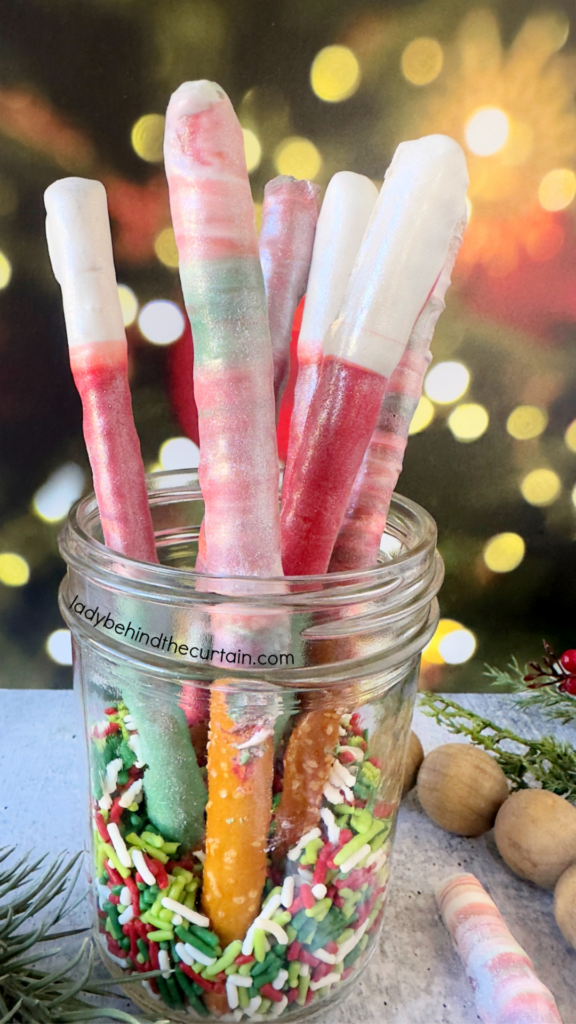
The Ultimate Guide to Red, White, and Green Pretzel Rod Decorations: Are you ready to take your pretzel rod game to the next level this holiday season? Get ready to impress your friends and family with these creative red, white, and green decorations that will elevate your snack game. From ambre and marbled designs to festive holiday treats, this ultimate guide has everything you need to create edible masterpieces that will dazzle your guests. Plus, we’ll share tips and tricks for perfect decorations and easy Christmas party treats to make your celebrations even more memorable.
PRO TIPS FOR SUCCESS!
To create perfect decorations using pretzel rods in red, white, and green, there are a few tips and tricks to keep in mind. First, make sure to use high-quality ingredients for the best results. Fresh pretzel rods and vibrant-colored candy melts will make your decorations stand out. Secondly, have all your supplies organized and ready to go before you start decorating. This will help streamline the process and prevent any last-minute mishaps. Lastly, don’t be afraid to get creative and try different techniques to achieve the look you want. Experiment with different designs and patterns to add a unique touch to your pretzel rod decorations. By following these tips and tricks, you’ll be well on your way to creating picture-perfect holiday treats with pretzel rods.
*New* Rolling Technique
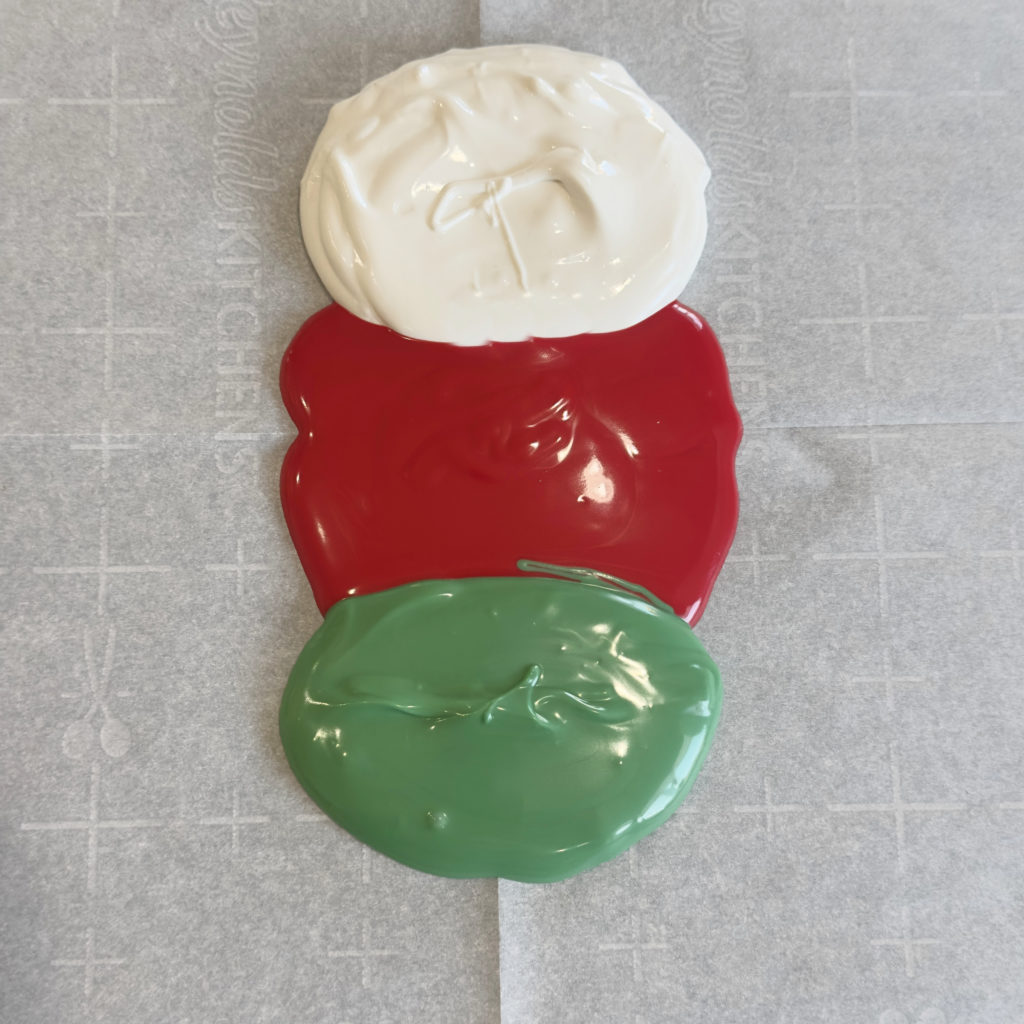
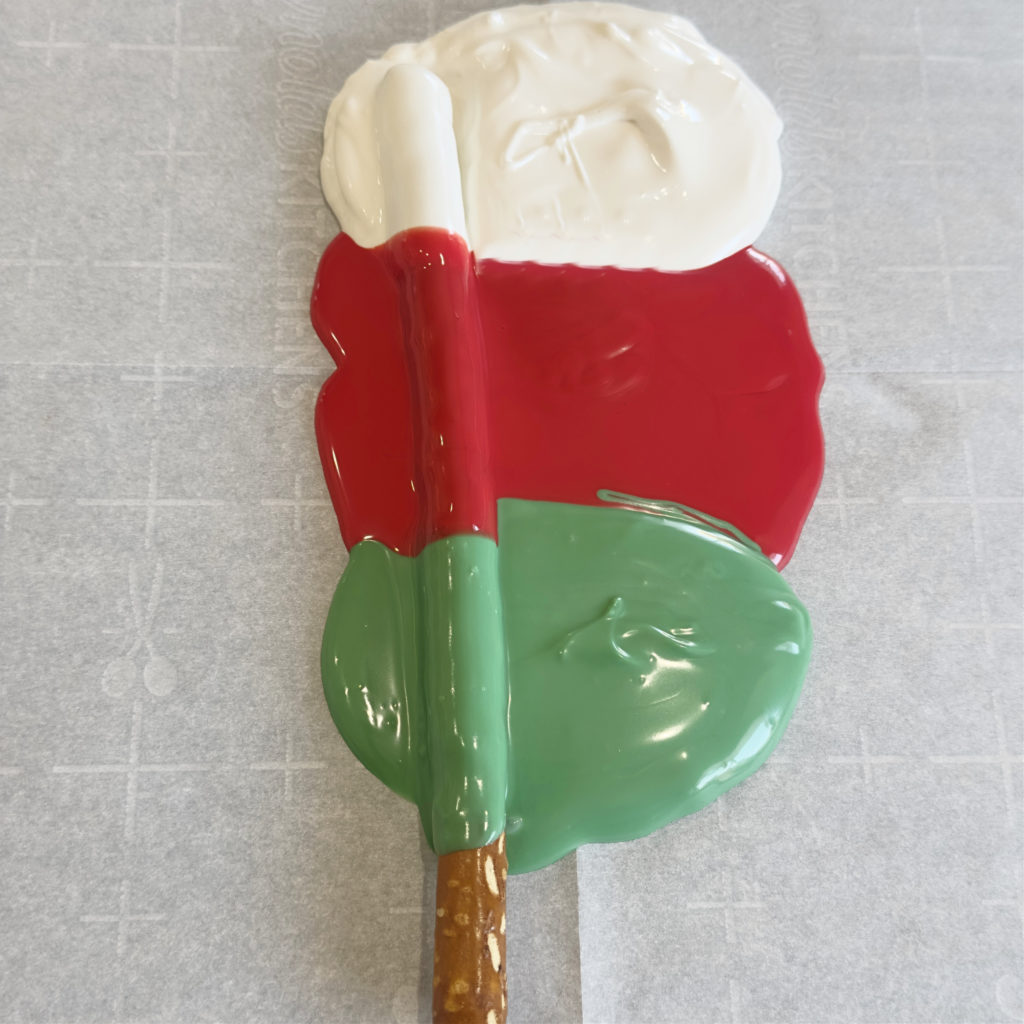
This technique is so easy! There’s no dipping. All you have to do is roll the pretzel rods in melted candy. I love how, over time, the colors start to blend, which eventually leads to the marbled look.
How to Make Ambre and Marbled Decorated Pretzels
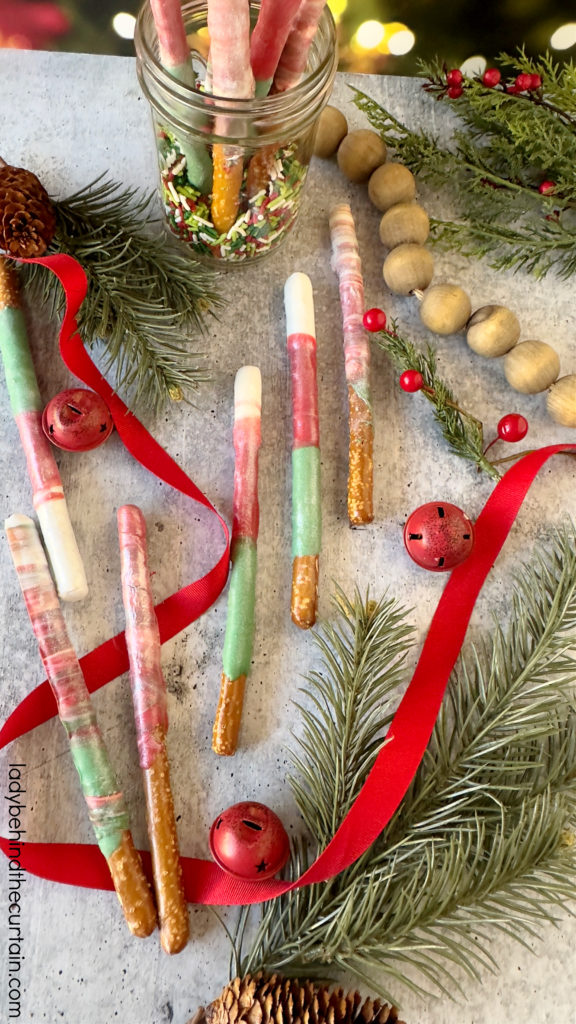
Bring a little bit of the holiday spirit to the office with these fun, festive, decorated pretzels. Get ready to impress your guests with these easy Christmas party treats featuring red, white, and green pretzel rod decorations. Whether you’re hosting a festive gathering or looking for a fun activity to do with the family, these holiday treats are sure to be a hit. The colorful and delicious combination of pretzel rods and candy melts makes these treats not only visually appealing but also incredibly tasty. So grab your supplies, put on some holiday music, and let’s get decorating!
FOR THE AMBRE TECHNIQUE
For a unique twist on pretzel rod decorations, you can try your hand at creating stunning ambre designs that blend rich shades of red, white, and green seamlessly. And if you’re looking to take your creativity even further, stay tuned for our tips on how to master marbled pretzel rod decorations next.
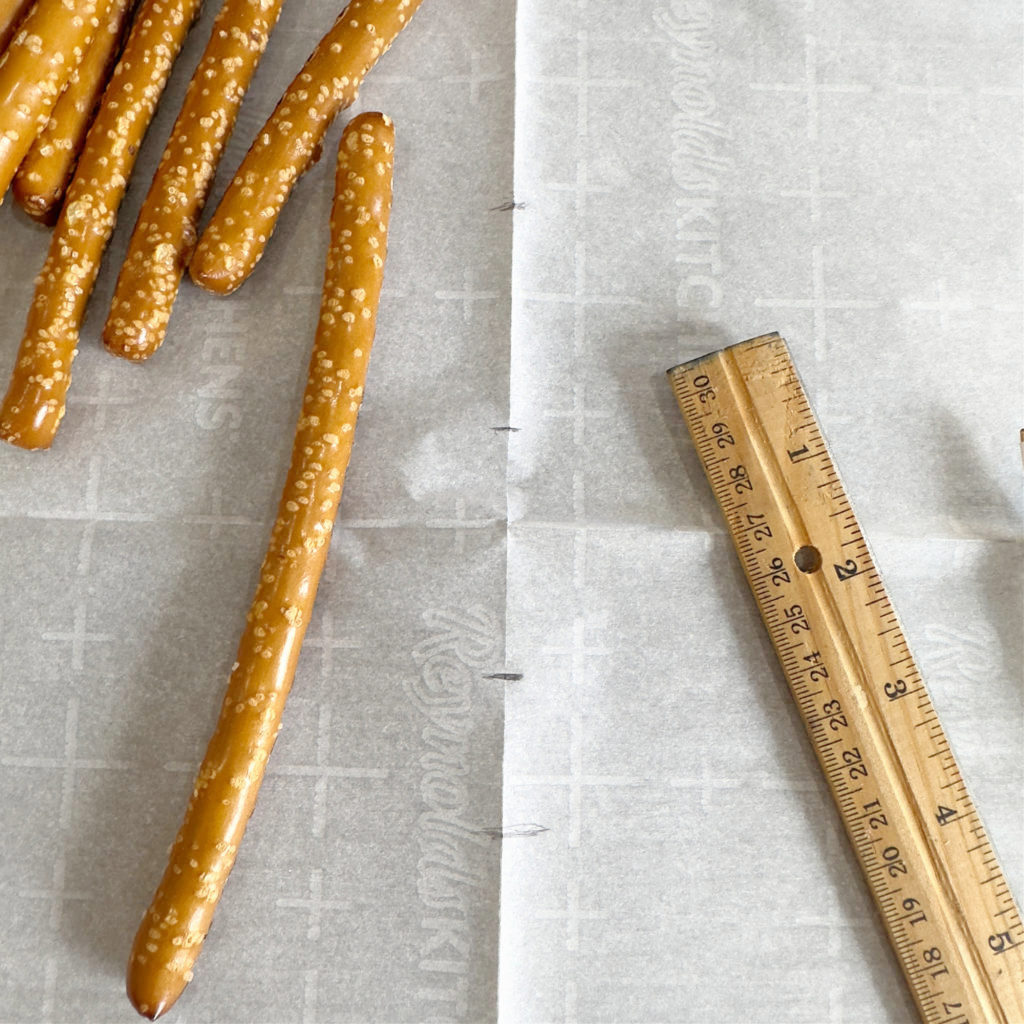
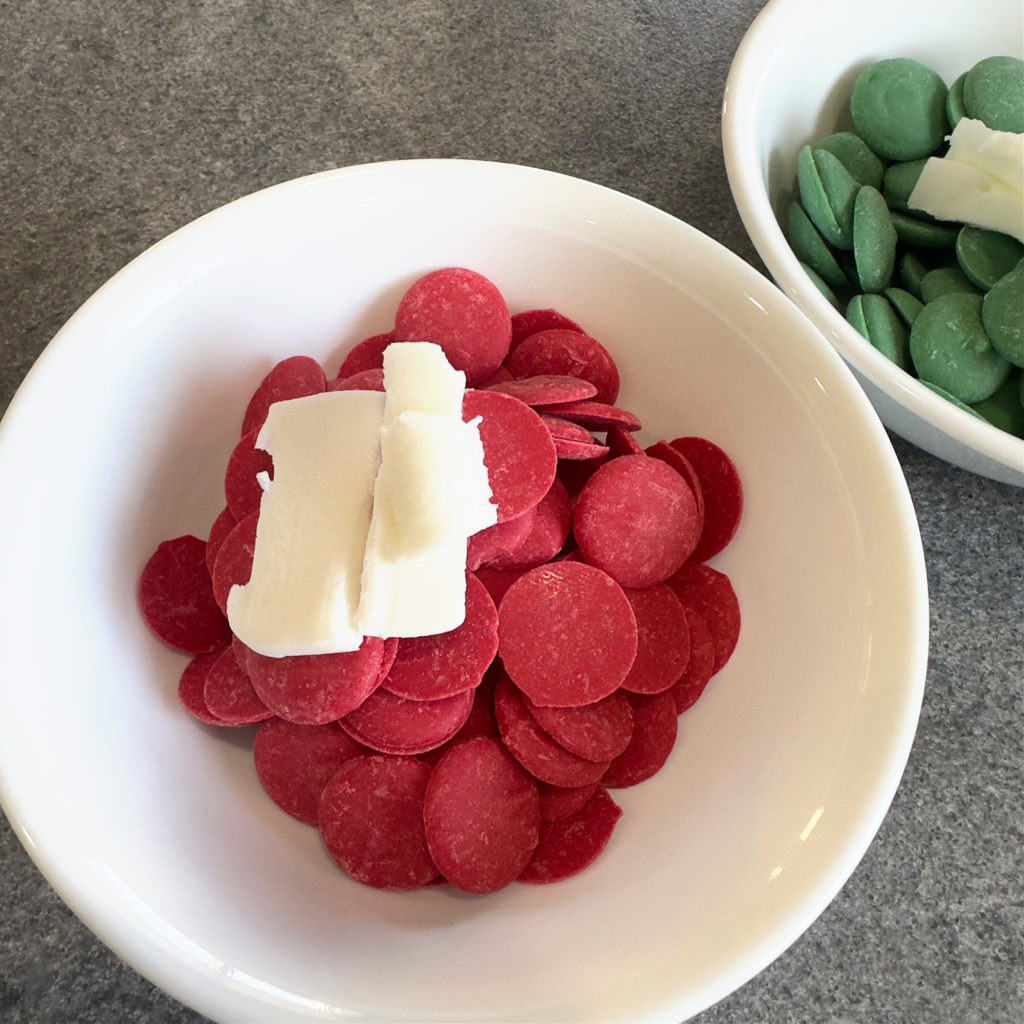


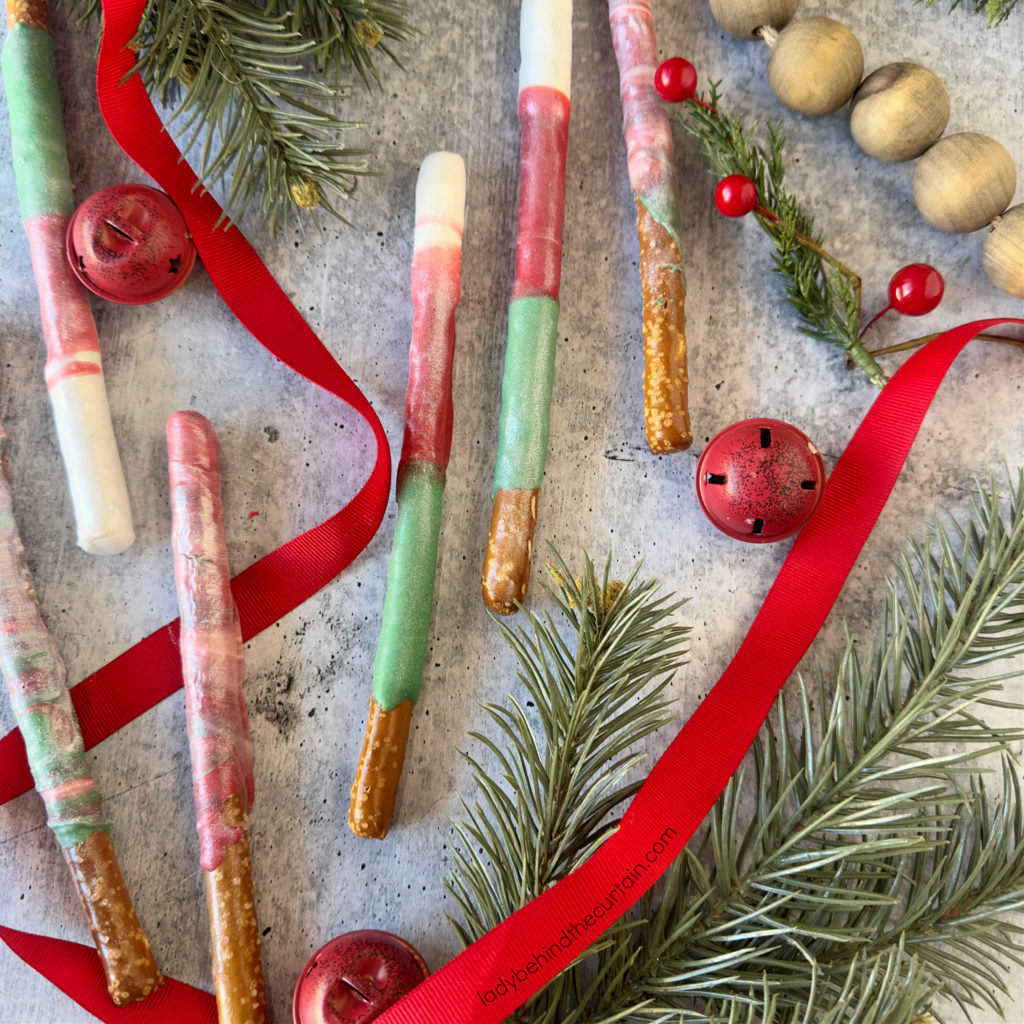
- (FULL PRINTABLE RECIPE BELOW) Place a pretzel rod in the center of a piece of parchment paper. With a pencil, mark the top, middle, and bottom of where the candy will end. I like to leave a couple of inches at the bottom so the guests can easily handle the pretzels. This step is to be used as an easy guideline, but it doesn’t have to be done. Flip the paper over so the pencil marks are on the bottom.
- Place another sheet of parchment paper to the side, another one to the side, and a fourth piece on a cookie sheet.
- Pour candy melts into small microwave-safe bowls.
- Heat only one color at a time, 1 minute for each, and stir until melted and creamy. If the candy is not melted and smooth, heat it for an additional 30 seconds.
- TIP: Since the countertops are cold, you can keep your candy warm longer by placing the bowls on a pot holder.
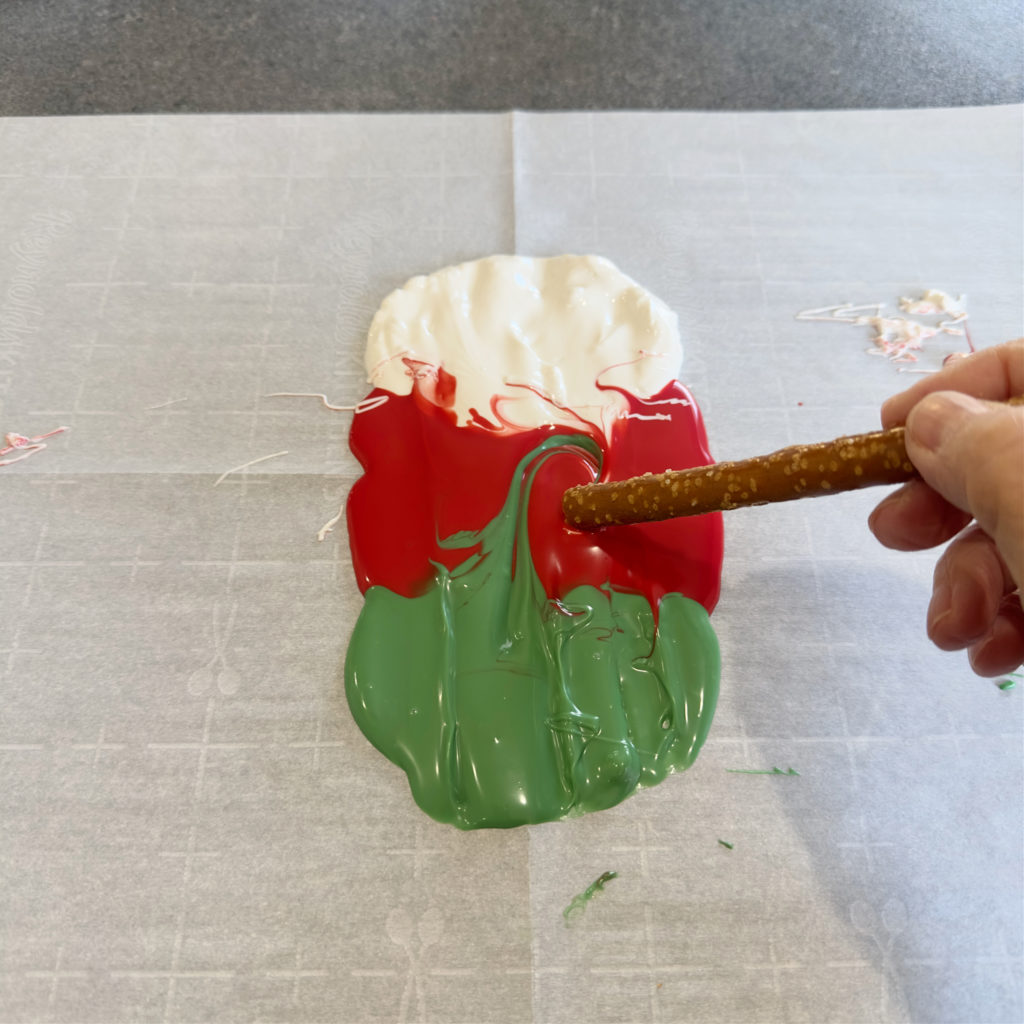
- At the top, using your guideline, spoon a good amount of the white melted candy, follow with the red and end with the green, making sure to use the bottom line as your guide. NOTE: DO NOT ADD ALL THE CANDY OF EACH COLOR AT ONCE. SAVE SOME FOR LATER.
- Dip the tip of the pretzel in the white, then lay it flat and roll it in all three colors.
- Swiftly move off the parchment paper with the three colors to a second piece of parchment paper, and lightly tap any excess candy off the pretzel.
- Lay on the third piece of parchment paper to rest for a minute. Remember, your countertops are cold, and the candy will set up quickly. While the pretzel is resting, continue coating the remaining pretzels (about 5 more). Once the pretzels have rested and are still wet, pull them straight up off the third piece of parchment paper and place them on the clean piece of parchment paper that’s on the cookie sheet. NOTE: PLACING YOUR PRETZELS CLOSE TOGETHER BUT NOT TOUCHING WILL HELP WITH THE AMOUNT OF PARCHMENT PAPER USED. Place in the refrigerator to harden (about 10 minutes. *SEE BELOW ABOUT CANDY PUDDLES
- TIP: As the piles of white, orange, and yellow deplete, spoon on the remaining candy and continue coating the pretzels.
- Once all the pretzels have been coated and the candy has hardened, if choosing, it’s time to add the dust luster.
- DUST LUSTER: This step is totally optional but adds a wonderful iridescence to the pretzels. Mine is in powder form; it can also be purchased in spray form. FOR THE POWDER: Pour some of the powder into a small bowl. Using a clean brush, dip the brush in the powder and brush it onto hardened candy. BEAUTIFUL!
More Holiday-Themed Decorated Pretzel Ideas

HOW CAN I KEEP THE CANDY MELTS FROM BLENDING?
If you want your colors to stay crisp without the blurred area of the colors starting to blend, simply add more of the melted candy over the top of the remaining candy. And just like that, you’ll be back to crisp lines.
FOR THE MARBLE TECHNIQUE
For a visually striking and modern twist on pretzel rod decorations, consider creating marbled designs that seamlessly blend shades of red, white, and green. In the next section on holiday treat ideas, we will share tips on how to master marbled pretzel rod decorations.
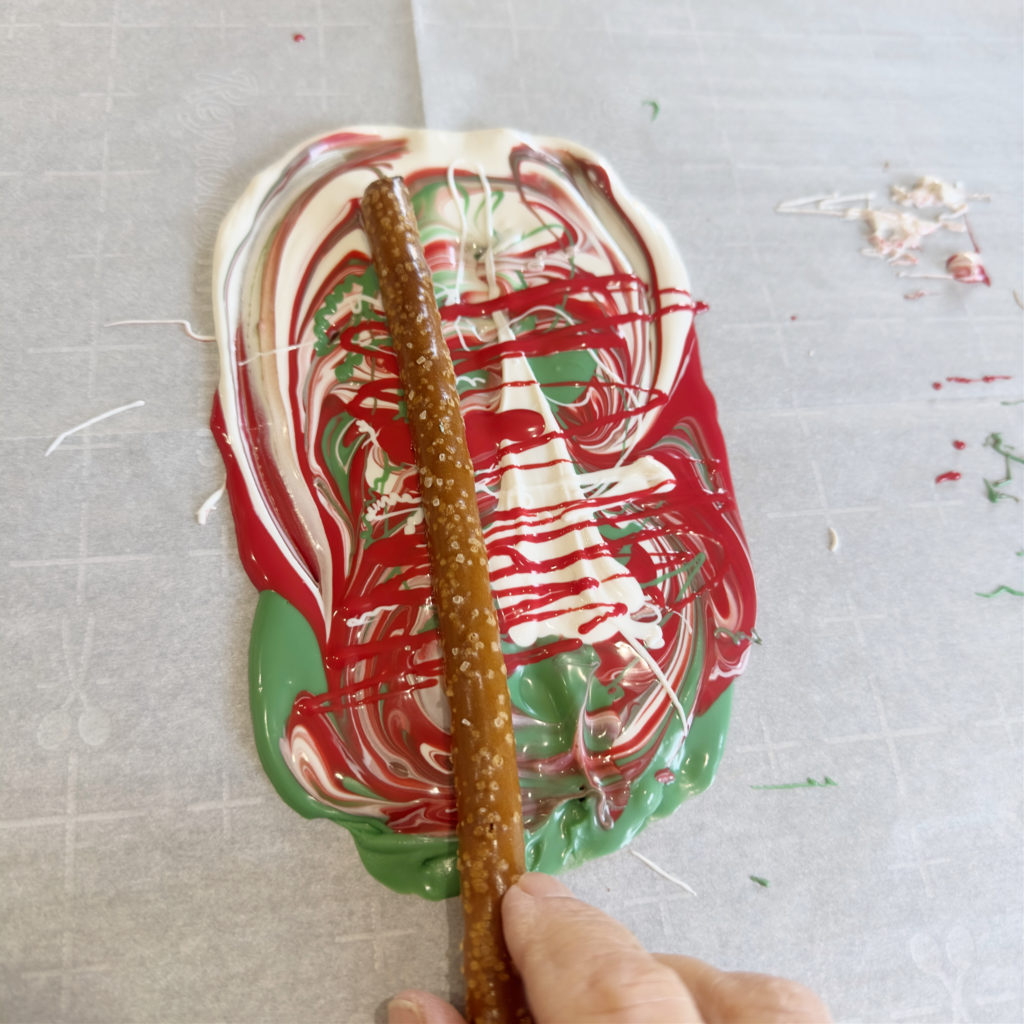
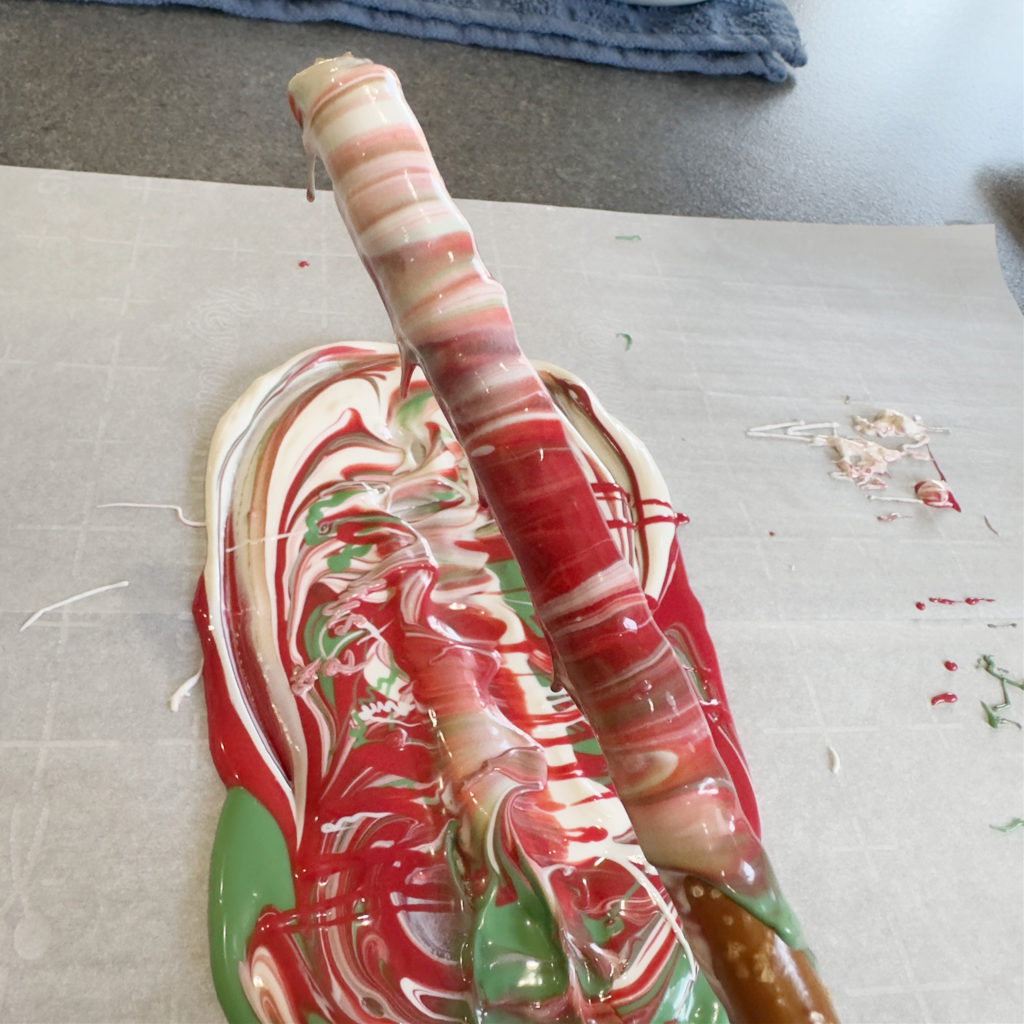
- Switch it up and also add swirled or marbled white, red, and green candy pretzels to the batch.
- Once you have made the ombre candy corn pretzels, gather the white, red, and green together (still in their individual colors but touching). With a skewer or knife, swirl the colors together, making sure not to “mix” them. You want to be able to see all three colors.
- Dip the tip of the pretzel and then roll in the marbled candy.
- Move to a separate piece of parchment paper and tap off any excess candy. NOTE: As you tap off the excess candy, it will start to swirl with the marbling.
- Place on a cookie sheet lined with a clean piece of parchment paper. Set aside to harden in the refrigerator for 10 minutes.
HOW DO I GET RID OF THE CANDY PUDDLE?

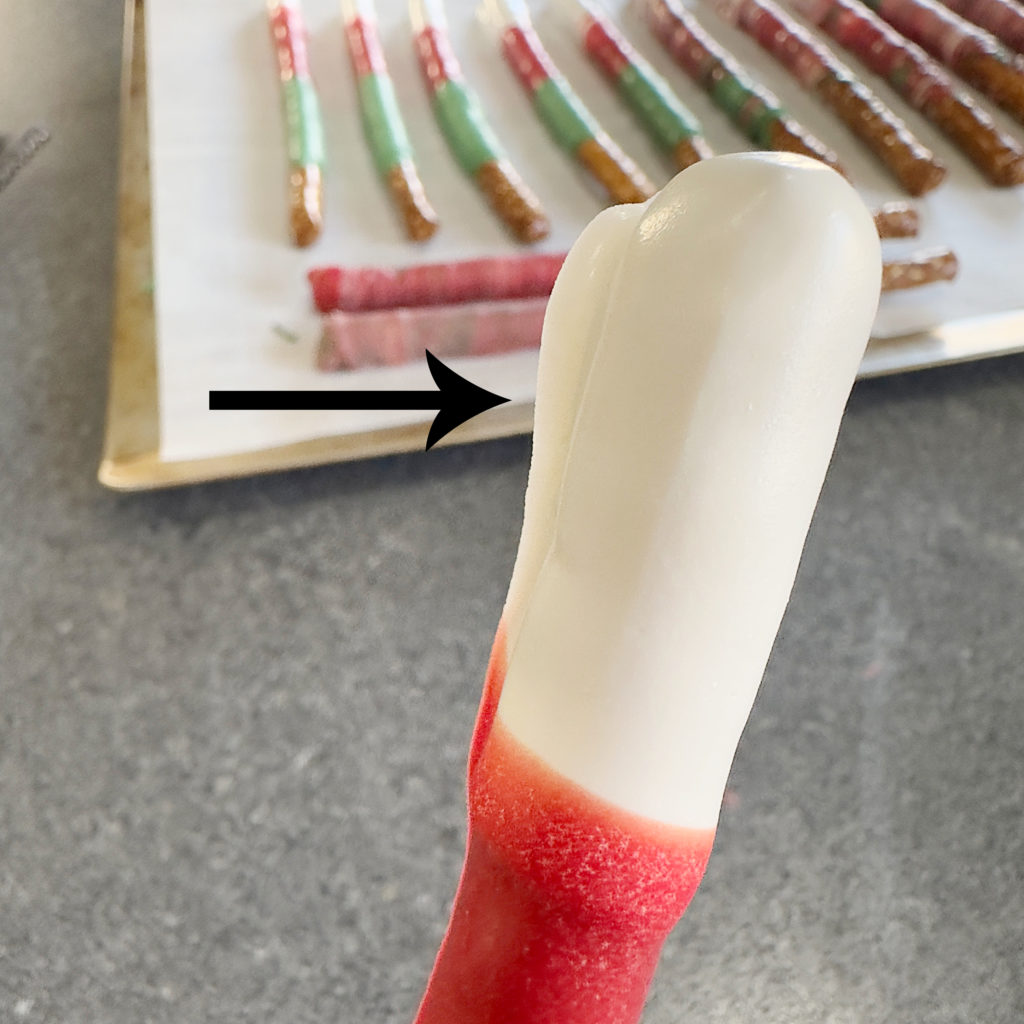
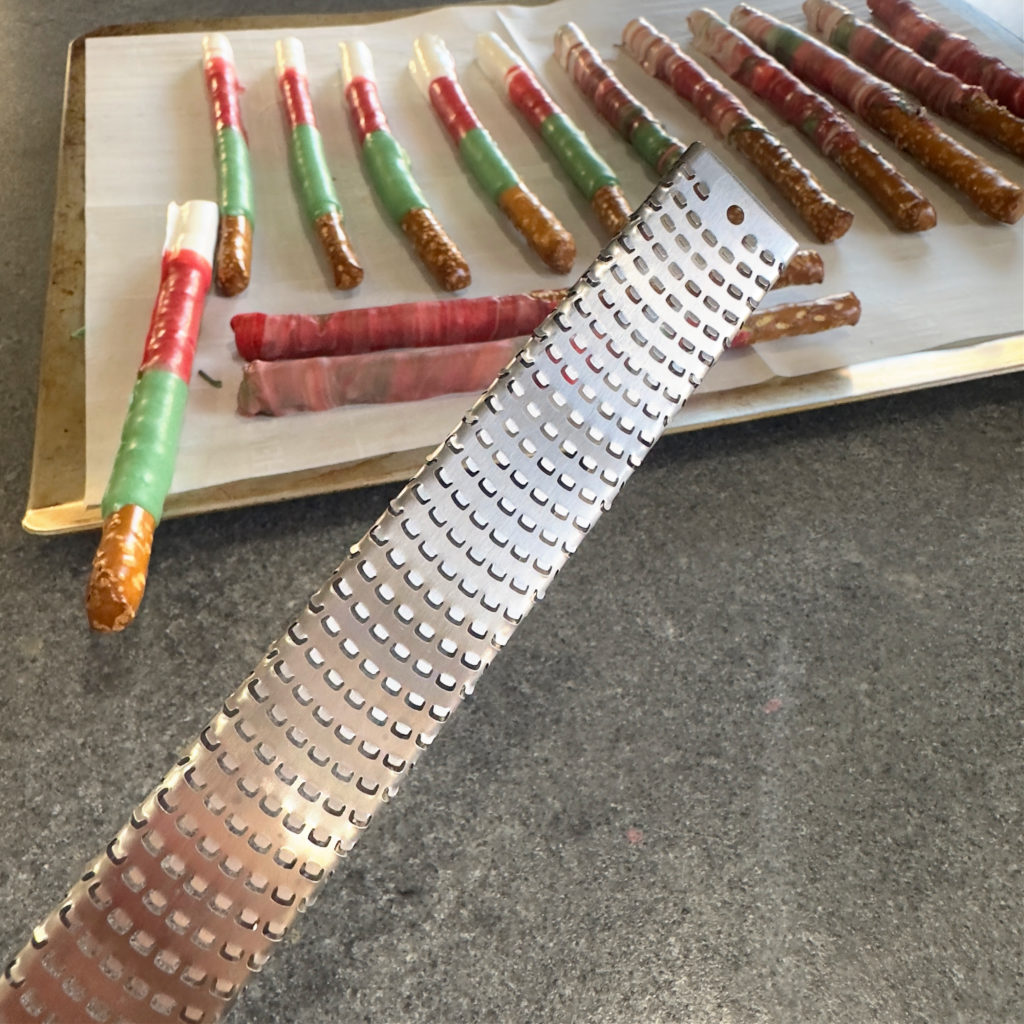
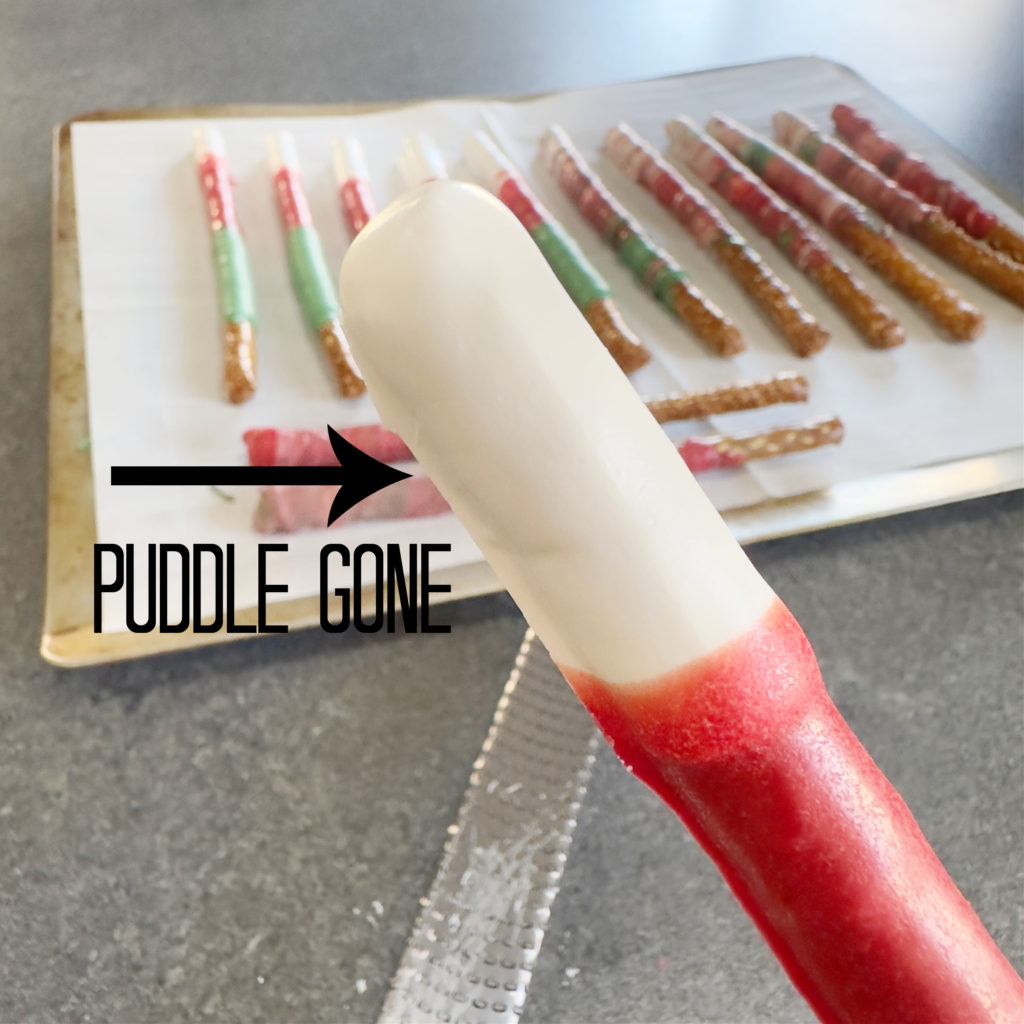
One of my favorite tips that I use every time I decorate pretzels is using a micro plane tool for the edges that have puddled under the pretzel. Carefully scrape off the excess melted candy. NOTE: CANDY MUST BE HARD FOR THIS TO WORK
CAN I DECORATE PRETZELS IN ADVANCE OF MY PARTY?
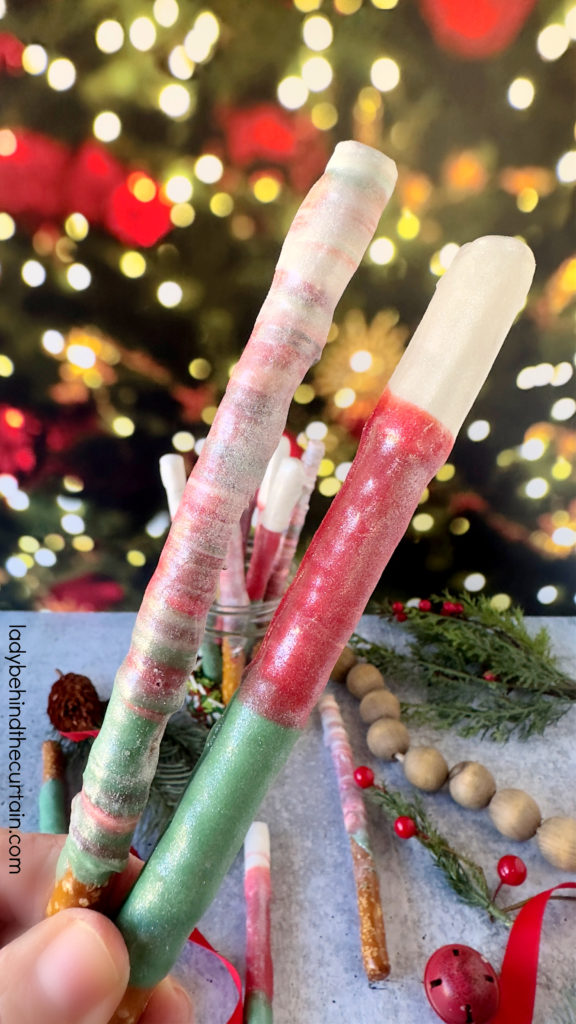
One of the best things about decorated pretzels (aside from the taste) is the convenience of being able to make them in advance of your party. It’s every hostess’s dream to be able to make something this tasty before the craziness of the party prep starts. Ultimately taking some of the stress away from hosting a party. These adorable pretzels can be made as early as a week before the party.
More Posts You Might Be Interested In

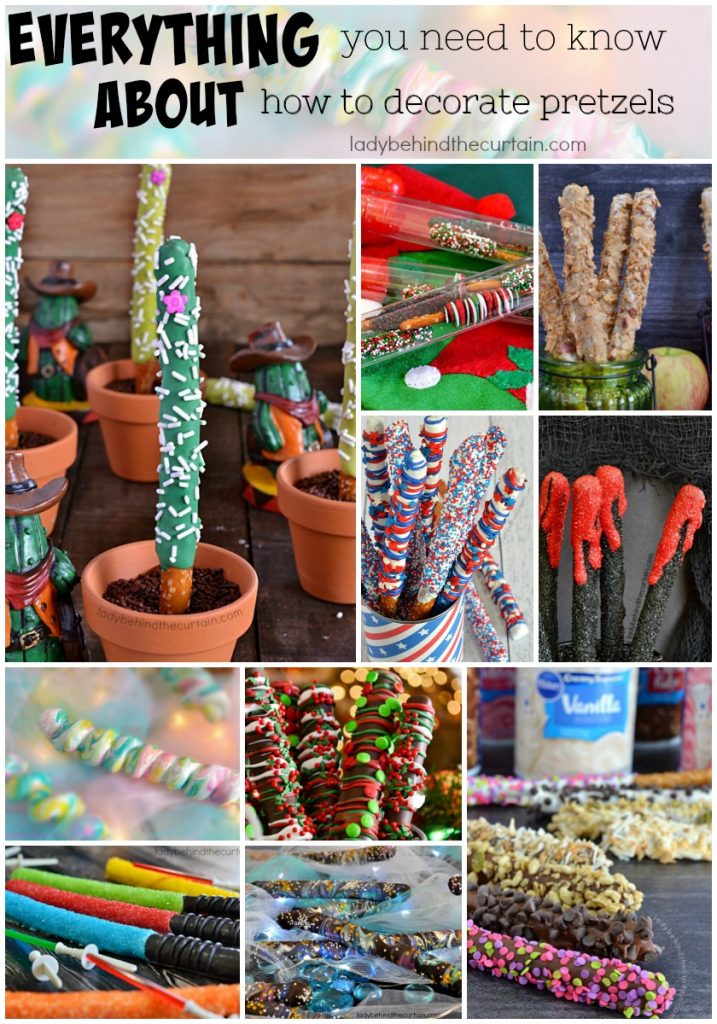
EVERYTHING YOU NEED TO KNOW ABOUT CANDY MELTS 2. EVERYTHING YOU NEED TO KNOW ABOUT HOW TO DECORATE PRETZELS
How to Store Decorated Pretzels

The easiest way is to store decorated pretzels in an airtight container at room temperature. Provided everything is fresh, to begin with, and the container is clean, dry, and has a tight seal, partially covered pretzel rods can stay fresh for about 2-3 weeks.
MORE HOLIDAY PARTY TREAT IDEAS
LATEST POSTS
In conclusion, these red, white, and green pretzel rod decorations are sure to elevate your snack game this holiday season. Whether you choose to create ambre designs or marbled masterpieces or try out our holiday treat ideas, your guests will be impressed by your creativity. Remember to use our tips and tricks for perfect decorations, and don’t be afraid to experiment with different techniques. As you prepare for your Christmas party, have fun in the kitchen and share your edible masterpieces with others. Get ready to dazzle your guests and inspire them to get creative, too – happy decorating!💗Sheryl
How to Make Ambre and Marbled Decorated Pretzels
Ingredients
- 1 cup white melting candy wafers
- 1 cup red melting candy wafers
- 1 cup green melting candy wafers
- 3 tablespoons vegetable shortening, divided
- optional: luster powder
Instructions
For the Ambre Technique:
- Place a pretzel rod in the center of a piece of parchment paper. With a pencil, mark the top, middle, and bottom of where the candy will end. So the guests can easily handle the pretzels, I like to leave a couple of inches at the bottom. This step is to be used as an easy guideline but doesn’t have to be done. Flip the paper over so the pencil marks are on the bottom.
- Place another sheet of parchment paper to the side, another one to the side, and a fourth piece on a cookie sheet.
- Pour candy melts into small microwave-safe bowls.
- Heat only one color at a time, 1 minute for each, stirring until melted and creamy. If the candy is not melted and smooth, heat it for an additional 30 seconds.
- TIP: Since the countertops are cold, you can keep your candy warm longer by placing the bowls on a pot holder.
- At the top, using your guideline, spoon a good amount of the white melted candy, follow with the red and end with the green, making sure to use the bottom line as your guide. NOTE: DO NOT ADD ALL THE CANDY OF EACH COLOR AT ONCE. SAVE SOME FOR LATER.
- Dip the tip of the pretzel in the white, then lay it flat and roll it in all three colors.
- Swiftly move off the parchment paper with the three colors to a second piece of parchment paper, and lightly tap any excess candy off the pretzel.
- Lay on the third piece of parchment paper to rest for a minute. Remember, your countertops are cold, and the candy will set up quickly. While the pretzel rests, continue coating the remaining pretzels (about 5 more). Once the pretzels have rested and are still wet, pull them straight up off the third piece of parchment paper and place them on the clean piece of parchment paper that’s on the cookie sheet. NOTE: PLACING YOUR PRETZELS CLOSE TOGETHER BUT NOT TOUCHING WILL HELP WITH THE AMOUNT OF PARCHMENT PAPER USED. Place in the refrigerator to harden (about 10 minutes. *SEE BELOW ABOUT CANDY PUDDLES
- TIP: As the piles of white, orange, and yellow deplete, spoon on the remaining candy and continue coating the pretzels.
- Once all the pretzels have been coated and the candy has hardened, if choosing, it’s time to add the dust luster.
- DUST LUSTER: This step is totally optional but adds a wonderful iridescence to the pretzels. Mine is in powder form, but spray versions can also be purchased. FOR THE POWDER: Pour some of the powder into a small bowl. Dip a clean brush into the powder and brush it onto hardened candy. BEAUTIFUL!
For the Marble Technique:
- Switch it up and also add swirled or marbled white, red, and green candy pretzels to the batch.
- Once you have made the ombre candy corn pretzels, gather the white, red, and green together (still in their individual colors but touching). Swirl the colors together with a skewer or knife, making sure not to “mix” them. You want to be able to see all three colors.
- Dip the tip of the pretzel and then roll in the marbled candy.
- Move to a separate piece of parchment paper and tap off any excess candy. NOTE: As you tap off the excess candy, it will start to swirl with the marbling.
- Place on a cookie sheet lined with a clean piece of parchment paper. Set aside to harden in the refrigerator for 10 minutes.
- See about for the dust luster instructions↑.
- *CANDY PUDDLES
- HOW DO I GET RID OF THE CANDY PUDDLES?
- One of my favorite tips for decorating pretzels is using a micro plane tool for the edges that have puddled under the pretzel. Carefully scrape off the excess melted candy. NOTE: CANDY MUST BE HARD FOR THIS TO WORK.
SIGN UP FOR THE LADY BEHIND THE CURTAIN NEWSLETTER

NEWSLETTER: Receive (twice a month) seasonally themed newsletters full of recipes, tips, and tricks. Click here for the Newsletter→CURTAIN CALL NEWSLETTER
THANKS FOR VISITING♥


Comments
How to Make Ambre and Marbled Decorated Pretzels — No Comments
HTML tags allowed in your comment: <a href="" title=""> <abbr title=""> <acronym title=""> <b> <blockquote cite=""> <cite> <code> <del datetime=""> <em> <i> <q cite=""> <s> <strike> <strong>