How to Make Cake Pops or Cake Balls Three Ways
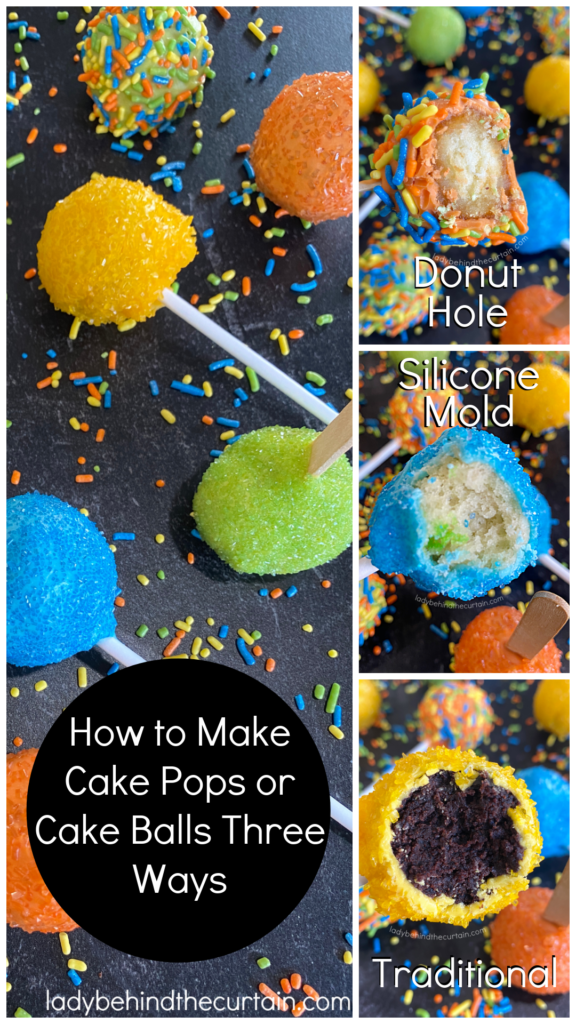
How to Make Cake Pops or Cake Balls Three Ways: Are you craving a sweet treat but don’t want to commit to a whole slice of cake? Look no further than cake pops-bite-sized delights. These miniature desserts have gained immense popularity in recent years and for good reason-they are delicious, easy to make, and customizable to fit any occasion. From learning how to roll a traditional cake pop, using a silicone mold, to using donut holes. Stop paying outrageous prices and discover how easy it is to make your own cake pops.

Traditionally cake pops are made with crumbled cake. I’ll show you how to make the traditional homemade cake pop along with using a silicone mold and donut holes. Cake pops are the perfect little party treat. They can either be placed on a stick or sitting on a tray as cake balls. These easy to make party treats and can be made in advance.
How to Make Traditional Cake Pops


TRADITIONAL CAKE POP RECIPE INGREDIENTS LIST-full printable recipe below in recipe card
- 1 box cake mix of your choice
- 1 (3.4 ounce) box pudding your choice of flavor
- 4 large eggs
- 1 cup water
- 1/3 cup vegetable oil
- Optional: gel food coloring
- ½ cup frosting OR enough frosting for the cake to come together (store bought frosting or homemade frosting)
- 1 (12 ounce) bag candy melts (your choice of color)
- toppings (nuts, sprinkles etc.)
- CAKE POP MAKING THE BATTER AND BAKING THE CAKE INSTRUCTIONS
- Preheat oven to 350℉. Spray sheet cake pan with nonstick spray.
- In a large bowl, combine the box of cake mix, pudding mix, eggs, water, oil, and optional food coloring.
- Beat at medium speed with an electric mixer for 2 minutes.
- Pour into the prepared pan.
- Bake35 to 40 minutes, or until a toothpick inserted in the center comes out clean.
- Cool cake in pan for 10 minutes, then remove from pan and cool completely.
- Divide cake in half and freeze one half for future use.
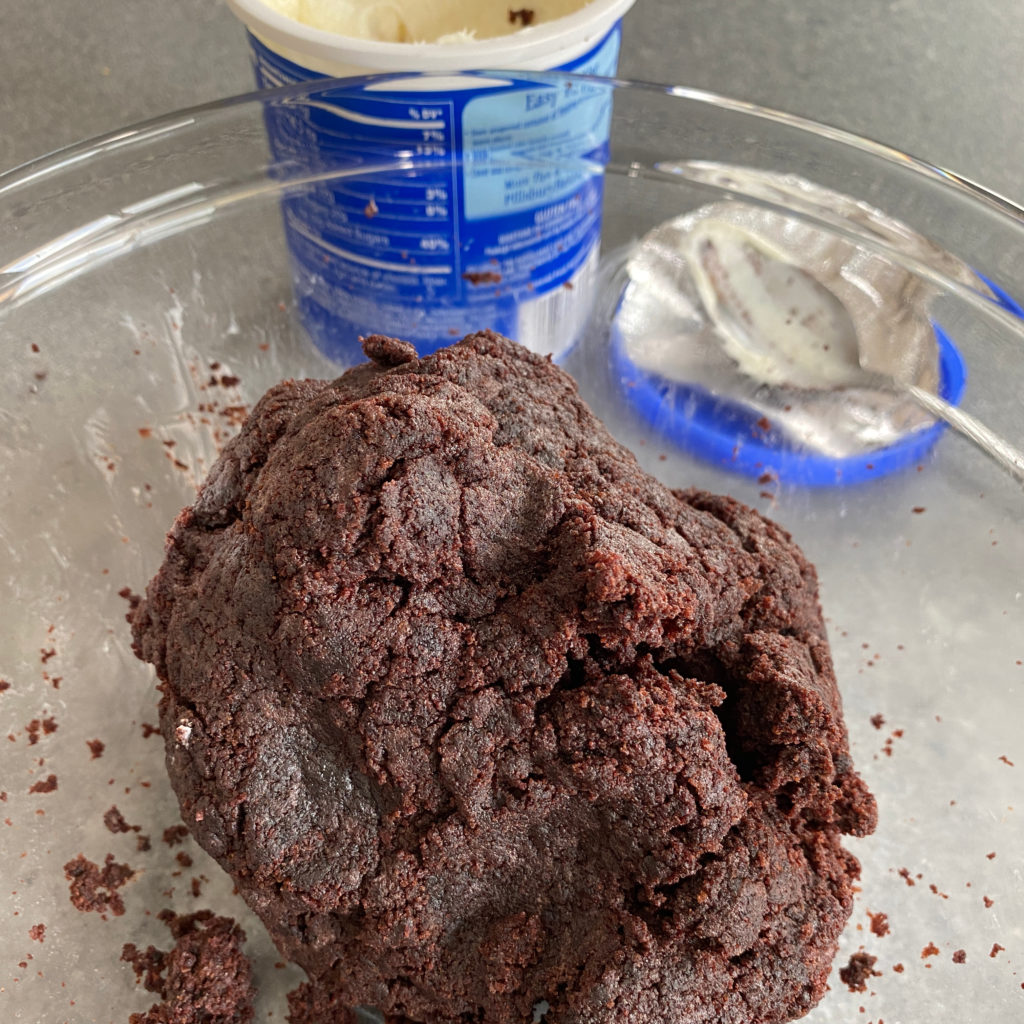
- Using your hands, crumble up the cake until no large pieces remain. NOTE: You can use a food processor or mixer but I find the hands work just as good.
- Add frosting to the cake crumbs, mixing with fingers until well combined.
- HOW TO FORM CAKE BALLS FOR CAKE POPS:
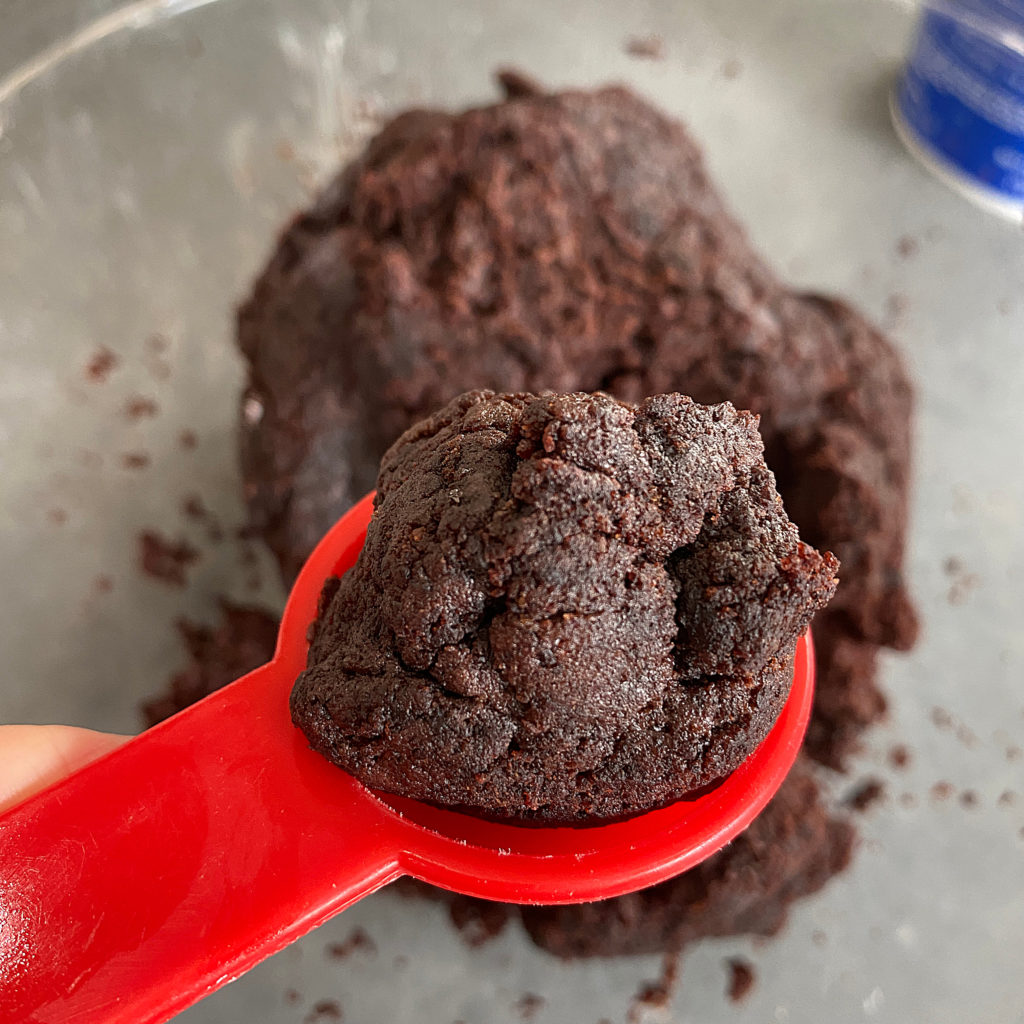
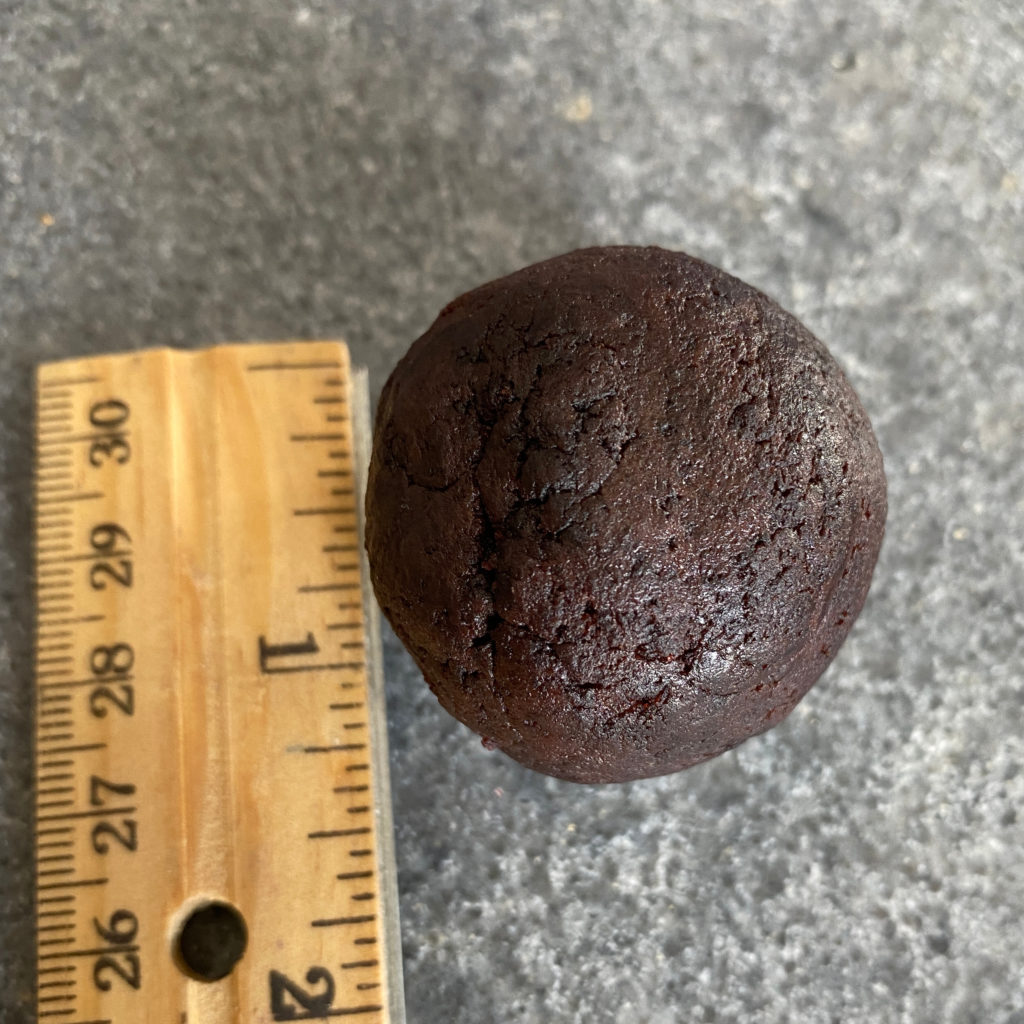
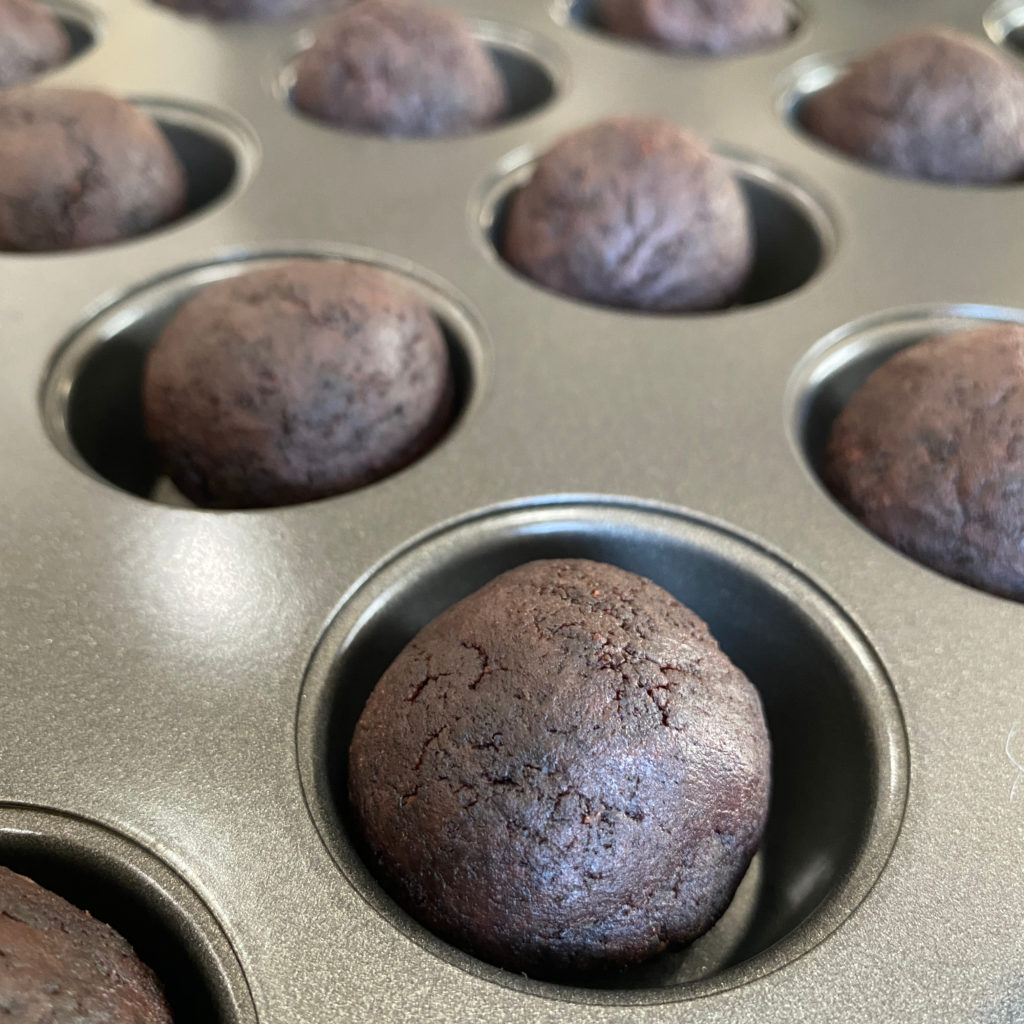
- Use a cookie scoop or melon baller to form cake into cake pop balls and chill until set, about 2 hours.
- Small cake pops: 1 tablespoon-sized cake balls (each about 1 1/4 inch diameter) makes about 48 cake pops.
- Medium cake pops: 2 tablespoons-sized cake balls (each about 1 1/2 inch diameter) makes about 24 cake pops.
- Large cake pops: 3 tablespoons-sized cake balls (each about 1 3/4 inch diameter) makes about 16 cake pops.
- MELTED CANDY COATING:
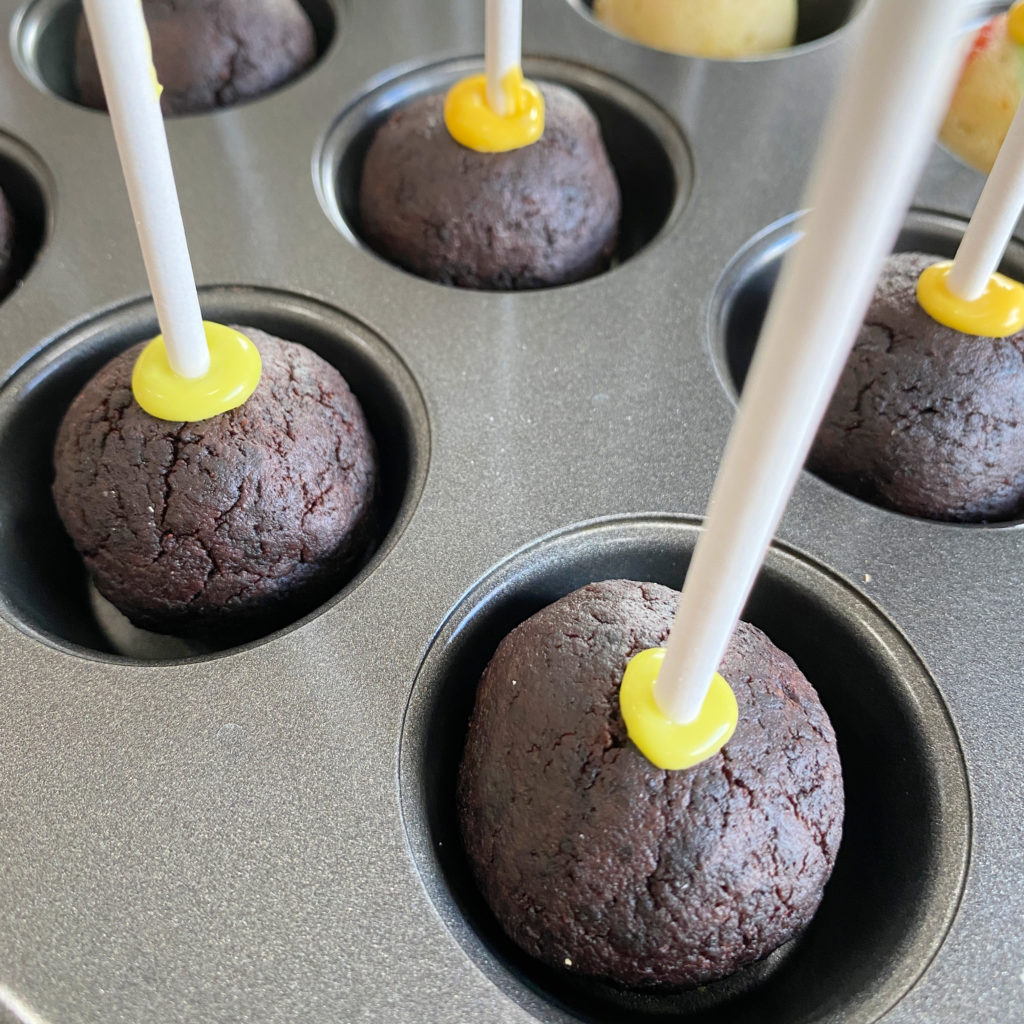
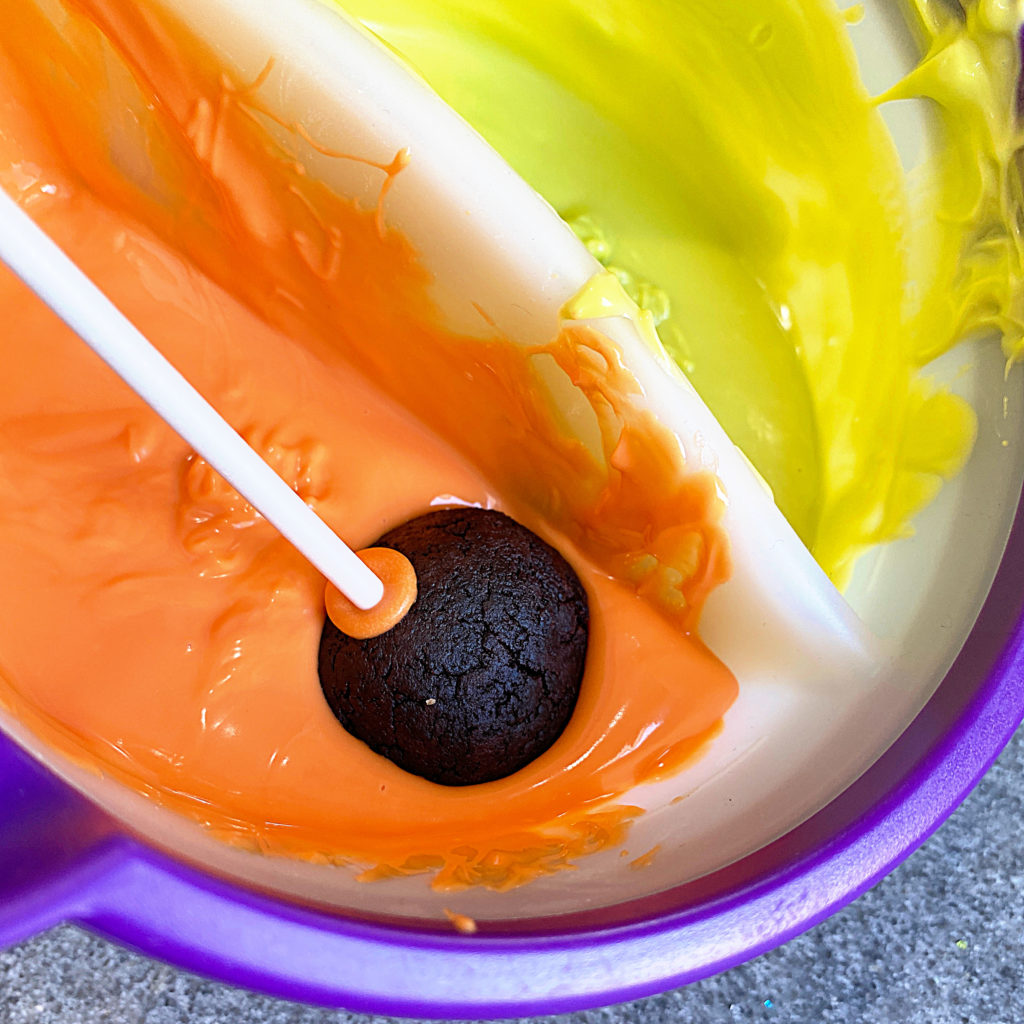
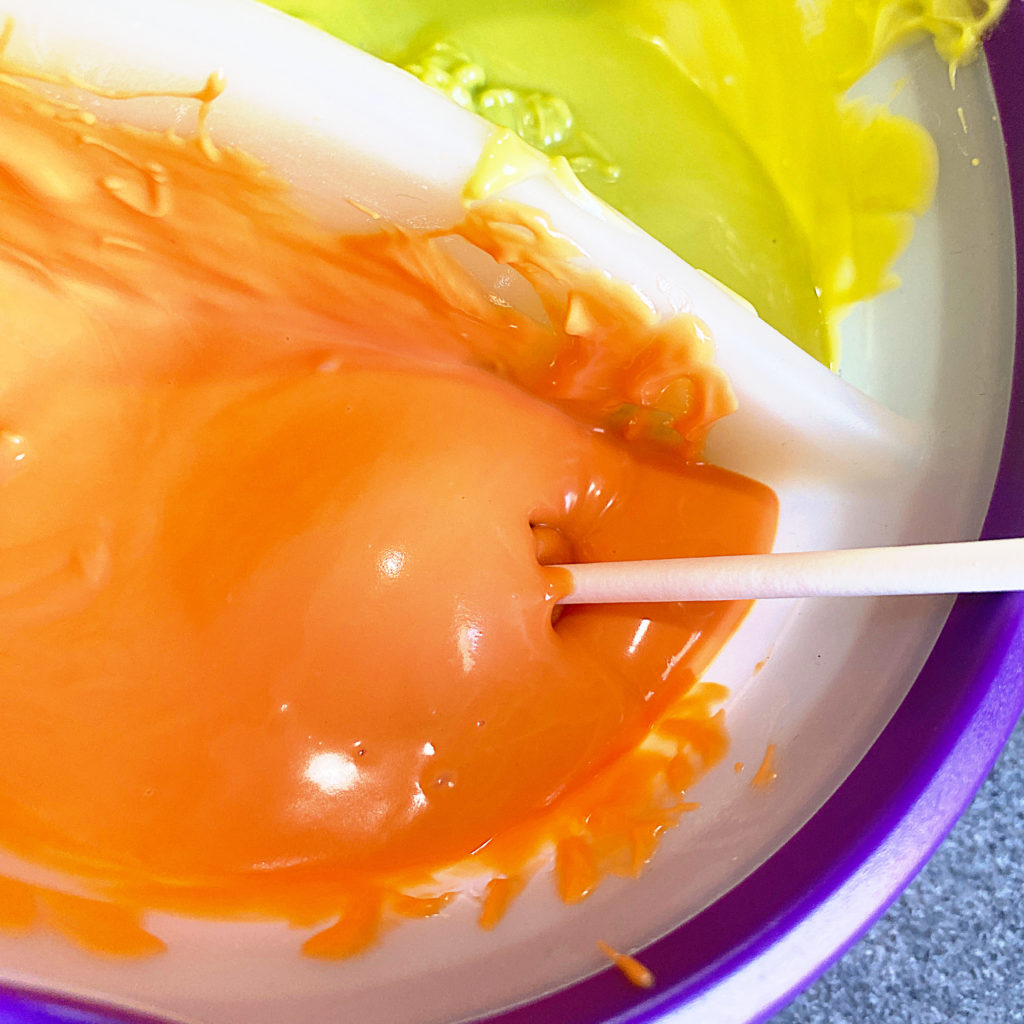
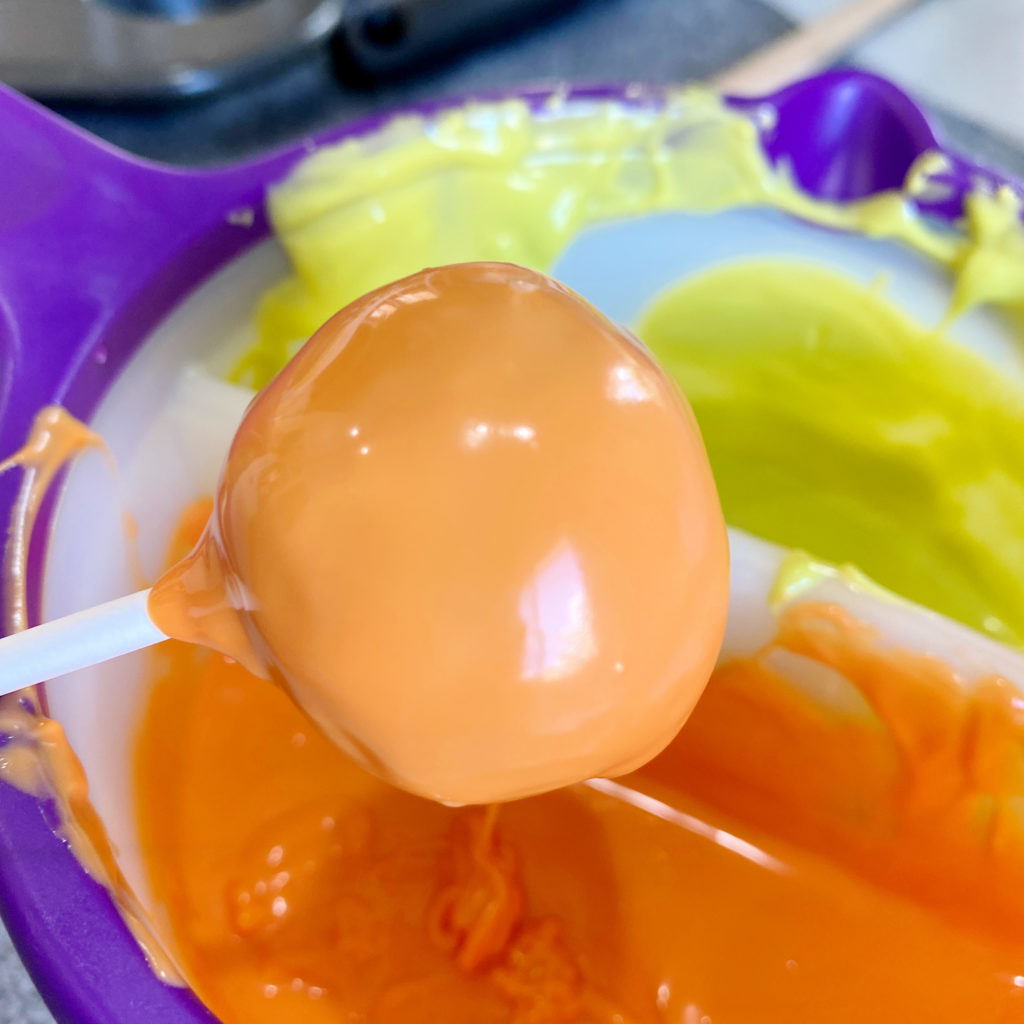
- While cake balls are setting, melt Candy Melts candy according to package instructions. Dip the tip of a lollipop stick into melted candy, insert cake pop sticks into chilled cake balls. Repeat with all cake balls, then let chill again until set, about 10 minutes. Reserve remaining melted candy. Dip homemade cake pops, one at a time, into remaining melted candy. Tap lightly to remove excess. If needed, you can reheat the candy with some EZ Thin Dipping Aid or vegetable shortening to thin it out for easier dipping. Immediately cover with sprinkles or topping of choice, then transfer to craft foam. Repeat with remaining cake pops. Chill until set, about 10 to 15 minutes.
Chocolate VS Melting Candy
What is the difference between candy melts and regular chocolate and white chocolate? The main difference between candy melts and regular chocolate is the use of cocoa butter. Candy melts use palm kernel oil and other vegetable oils in place of cocoa butter. These oils eliminate the need to temper the candy melts.
CAKE POP BATTER AND BAKED CAKE ADDITIONS
It’s easy to transform a plain cake into a cake pop with a little pizzazz! Add a pop of flavors with add-ins.
HOW TO MAKE MULTIPLE FLAVORED CAKE POPS WITH ONE CAKE RECIPE
- RAW CAKE BATTER: Split cake batter into separate bowls. Add a variety of items: Chocolate Chips, Toffee Bits, Mini M&M’s, Broken Pretzels, Nuts etc. Spoon batter into individual ramekins or small cake pans. Bake until a toothpick inserted into the center comes out clean. Cool completely and continue with the basic cake pop making instructions
- BAKED CAKE: This can be done as one flavor with multiple ingredients added (a total of only 1 cup) or split into smaller batches for multiple flavors. DO NOT ADD THESE ITEMS until the frosting has been mixed into the cake. Toasted Coconut, Chopped Candy Bars, Chopped Nuts, Toffee Bits, Cut-up Gummy Candies, Smashed Hard Candies etc.
OTHER TYPES OF CAKE POPS
Using a baked cake isn’t the only option for making easy cake pops. Below are a few options to consider.
- EDIBLE CHOCOLATE CHIP COOKIE DOUGH: Roll dough into balls just like your would for a classic cake pop, refrigerate until dough hardens, and dip in melted candy.
- OREO CAKE POPS: In a food processor, grind Oreo cookies until they reach a powder state, continue with the instructions for making cake pops recipe.
- BROWNIES: Make and bake brownies according the package. Continue with the instructions for making cake pops.
How to Store Cake Pops While the Candy is Hardening
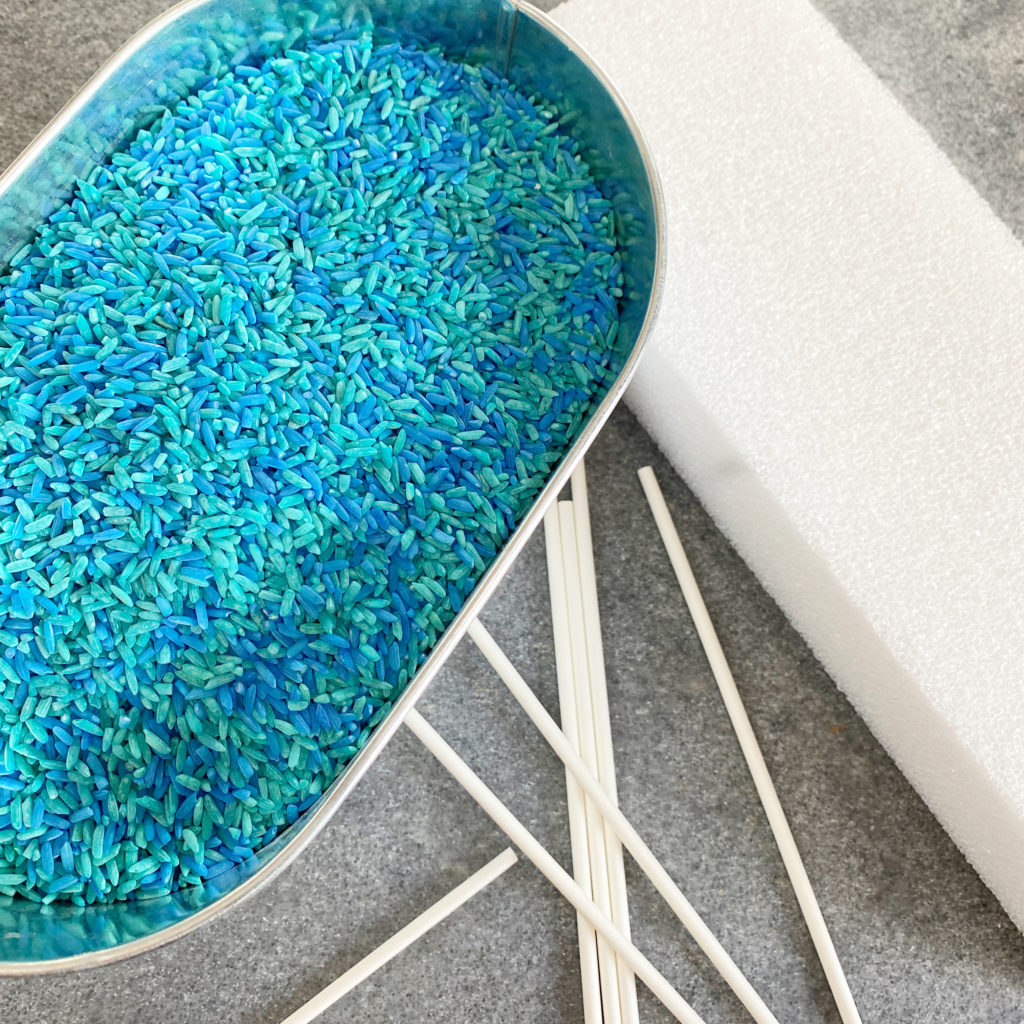
I have two favorite ways of protecting the cake pops while the candy is drying. 1. STYROFOAM: Using the same size lollipop stick as the cake pops, make holes a few inches apart in the styrofoam block. This will make placing the wet cake pops easier then having to make holes while the cake pops are wet. 2. RICE: Pouring rice into a container that is as deep as the cake pops (with the sticks) and wide enough to hold several will keep cake pops from falling over while drying.
HOW TO AVOID HARD CANDY SHELL FROM CRACKING
HELP! WHY DID MY CAKE POP CRACK? The trick is to make sure that both the cake and the sweet outer layer (which is usually made from icing, melted chocolate, or candy melts) are as close to the same temperature as possible before coating.
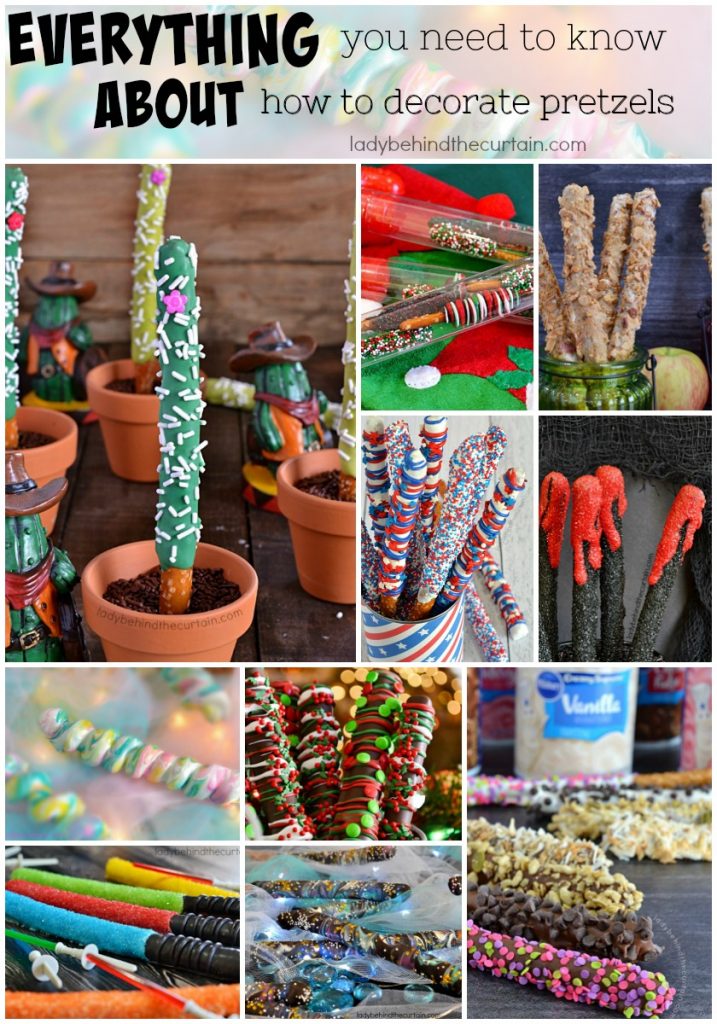
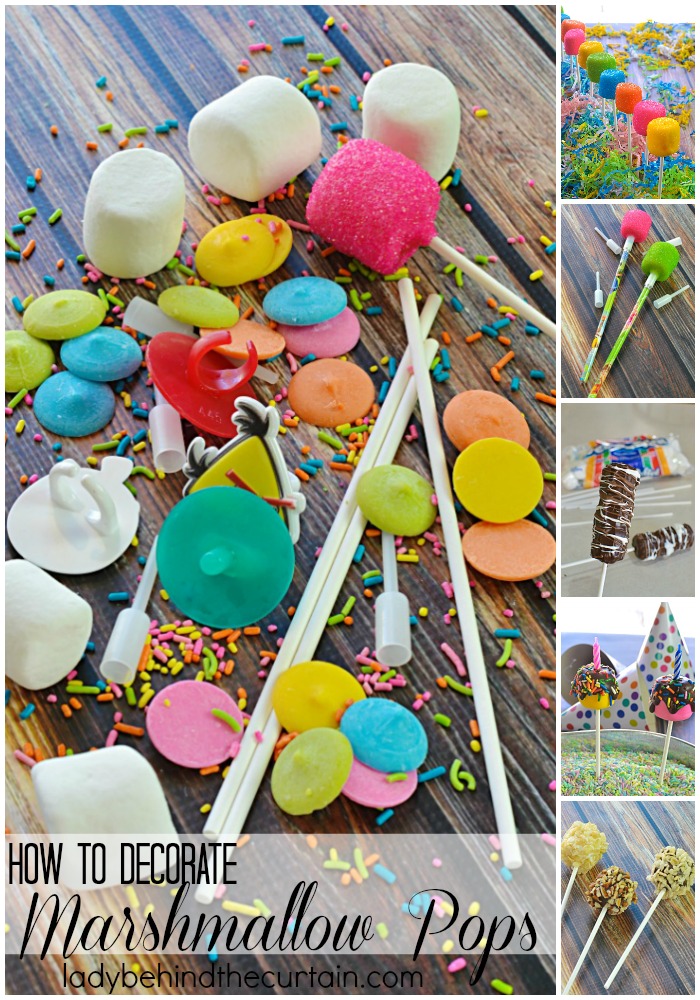
ALSO, LEARN HOW TO DECORATE PRETZELS AND MARSHMALLOW POPS
My Favorite Tool for Melting Candy
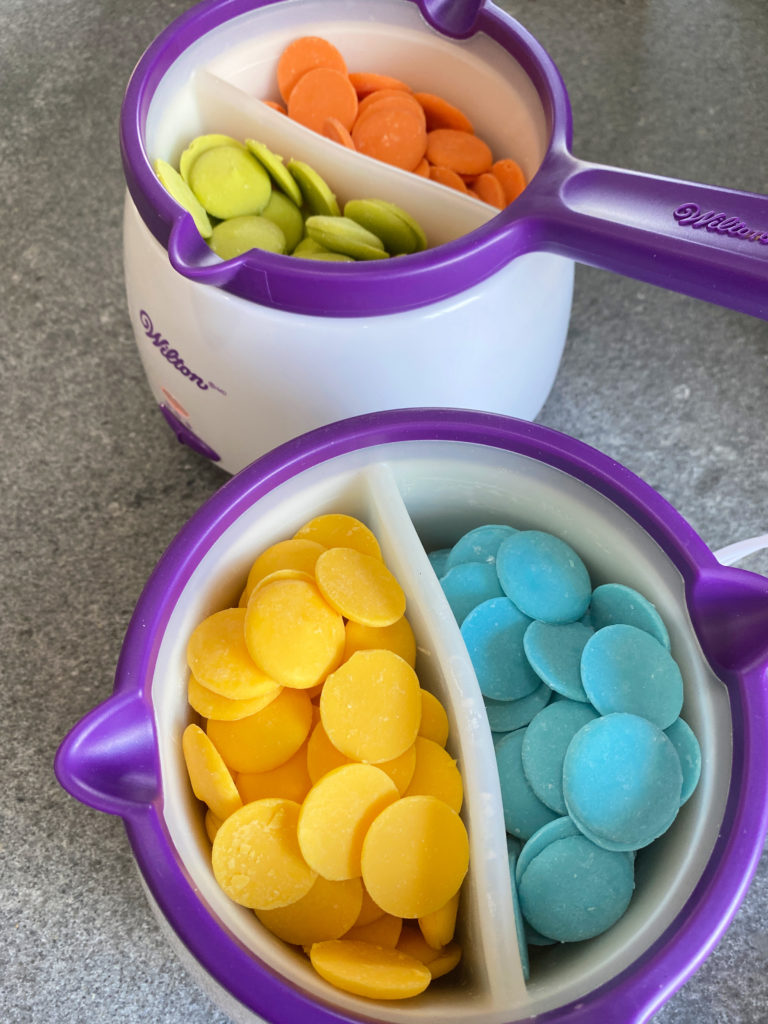
Melting pots from Wilton make candy making so easy. You can keep 1 or two colors warm at the same time. The insert comes out so you can also keep piping bags with melted candy warm.
IMPORTANT TIP: ONE 12 OUNCE BAG OF CANDY MELTS WILL COVER ABOUT 24 CAKE BALLS
Vegetable Shortening VS Wilton EZ Thin Dipping Aid
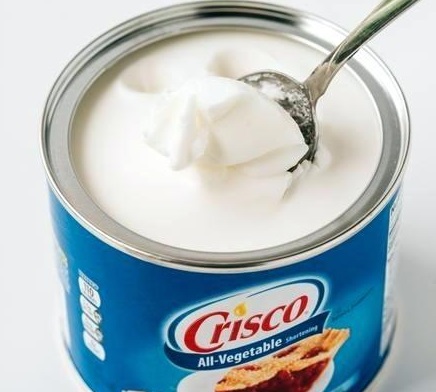
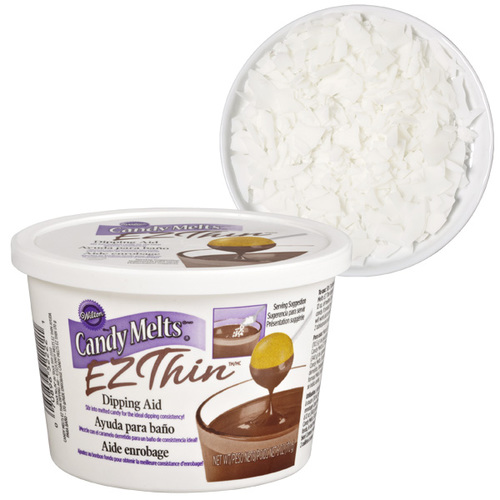
Vegetable Shortening or Wilton EZ Thin, which one should you use. Both work great and both are Hydrogenated oil.
How Far in Advance Can You Make Cake Pops?

CAKE BALLS (NO COATING): The cake mixture can be prepared a couple days in advance and kept in the refrigerator until ready to use. You can even form the cake balls a day ahead and let them chill in the refrigerator for easier dipping. If you want to prep your cake balls and freeze them, store them in a large freezer bag. They can be kept frozen up to 6 weeks. Let your cake balls come to room temperature before dipping. ***SEE BELOW WHY CAKE POPS CRACK***
COATED CAKE POPS OR CAKE BALLS: Dipped cake pops decorated with Candy Melts can be stored at room temperature in an airtight container for a week. If you use white or dark chocolate, store the finished cake pops in the refrigerator so the chocolate doesn’t melt.
FREEZING CAKE POPS: Once the cake pops are dry, place the decorated cake pops in a freezer safe zip top bag. They will stay fresh up to 6 weeks. When ready to use let them thaw overnight in the refrigerator and serve at room temperature.
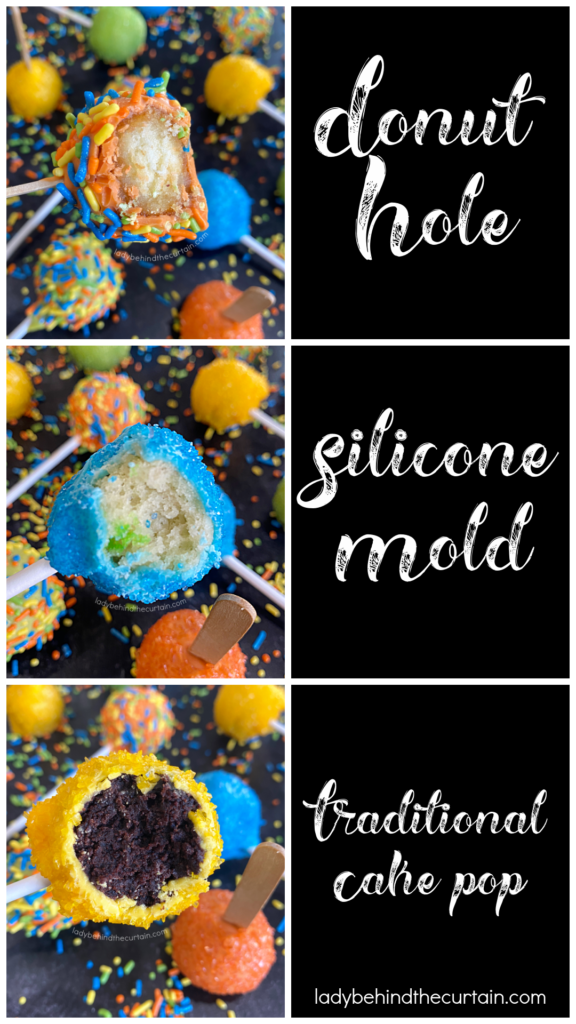
A Common Problem when Using a Silicone Mold or Donut Holes
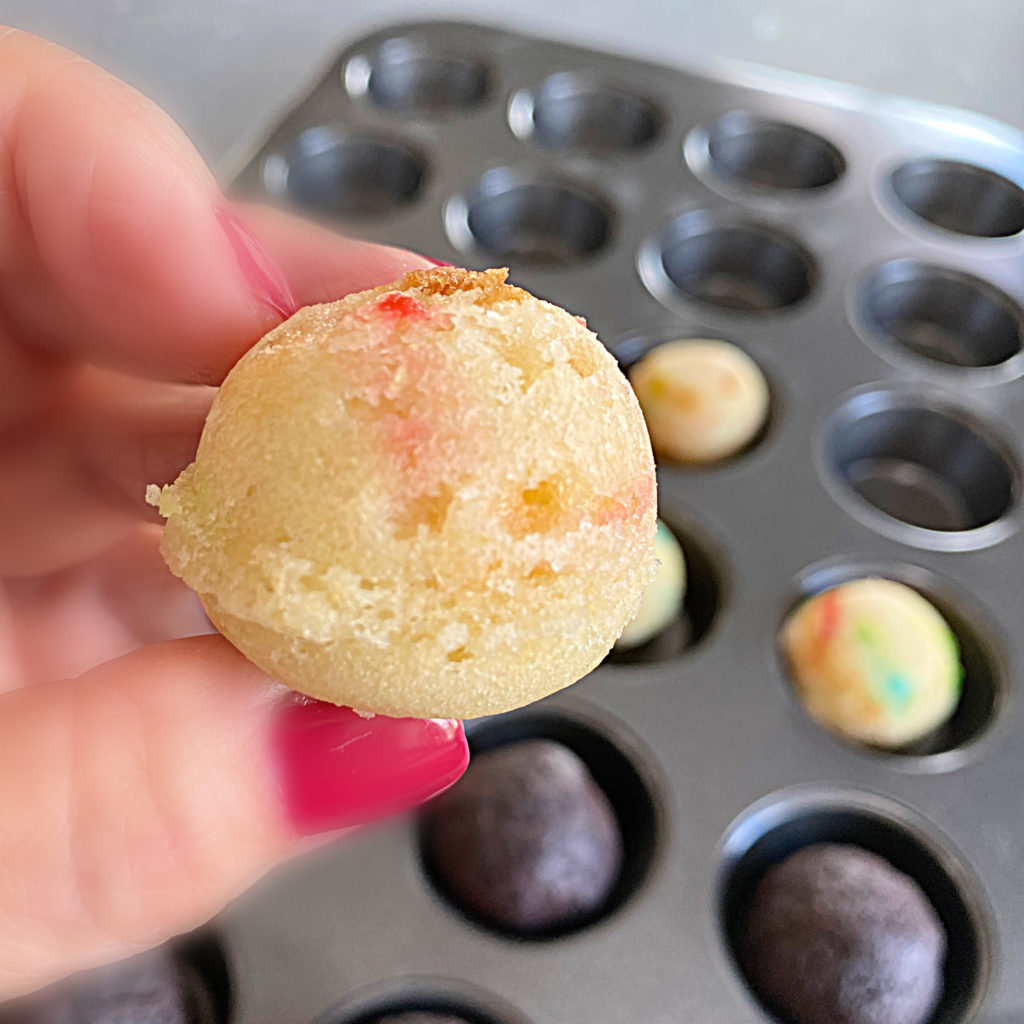
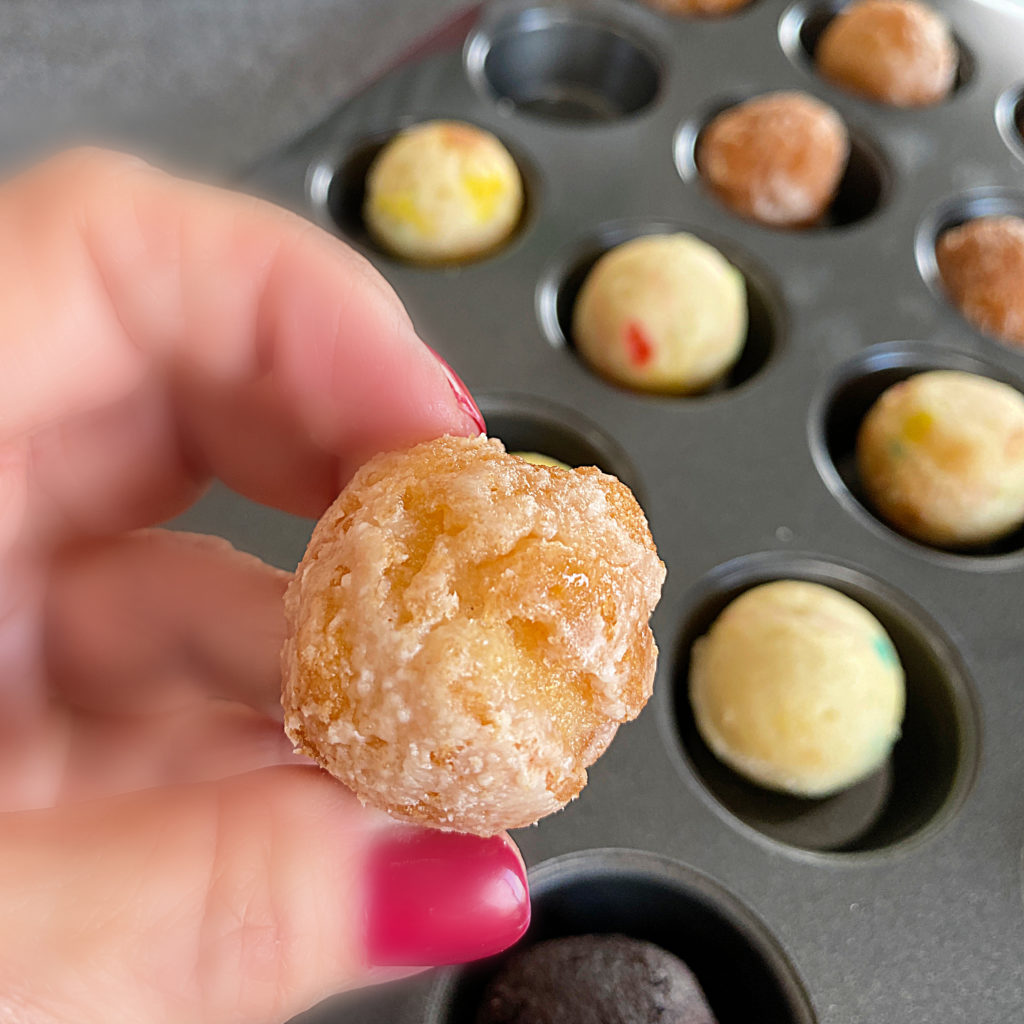
YOU DON’T GET THE SMOOTH SURFACE YOU WOULD GET FROM A TRADITIONAL CAKE POP OR CAKE BALL
Silicone Mold Cake Pops

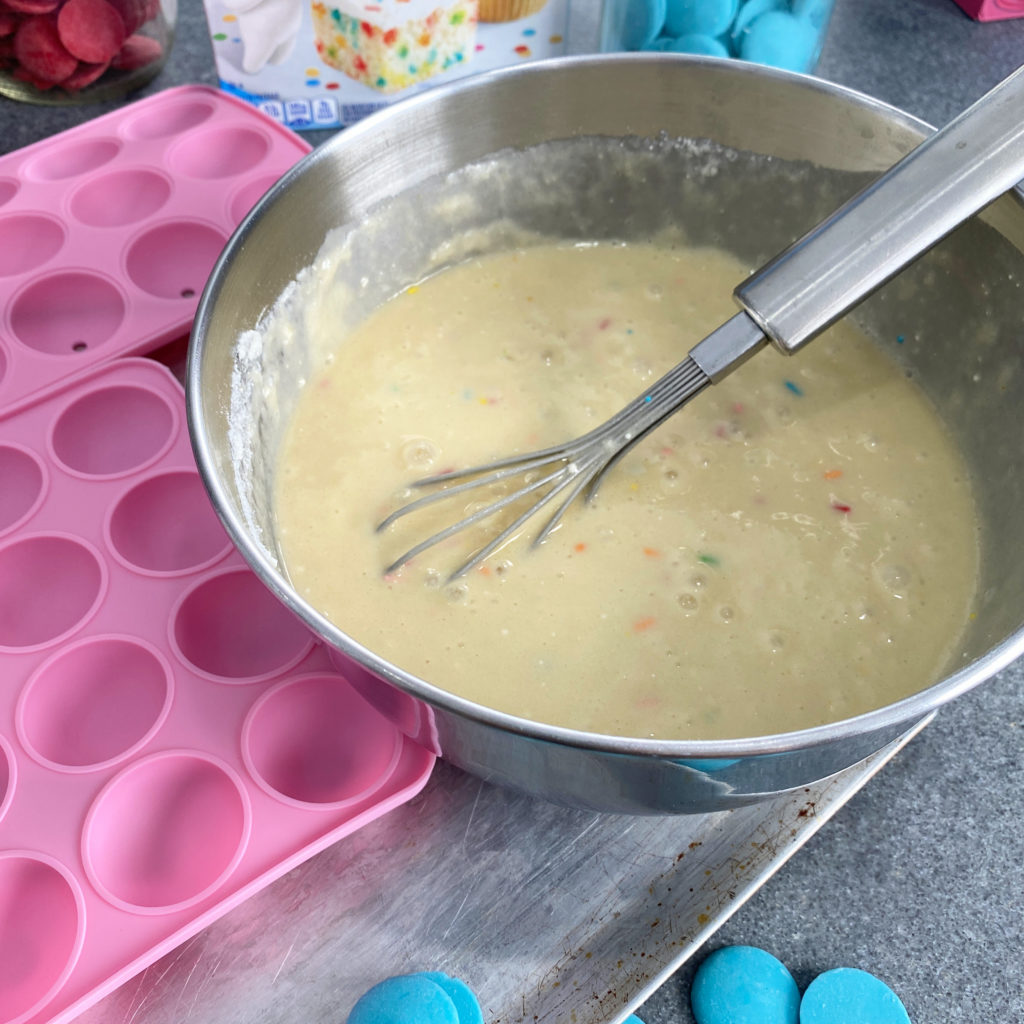
Make the boxed cake mix according to the back of the cake mix box.
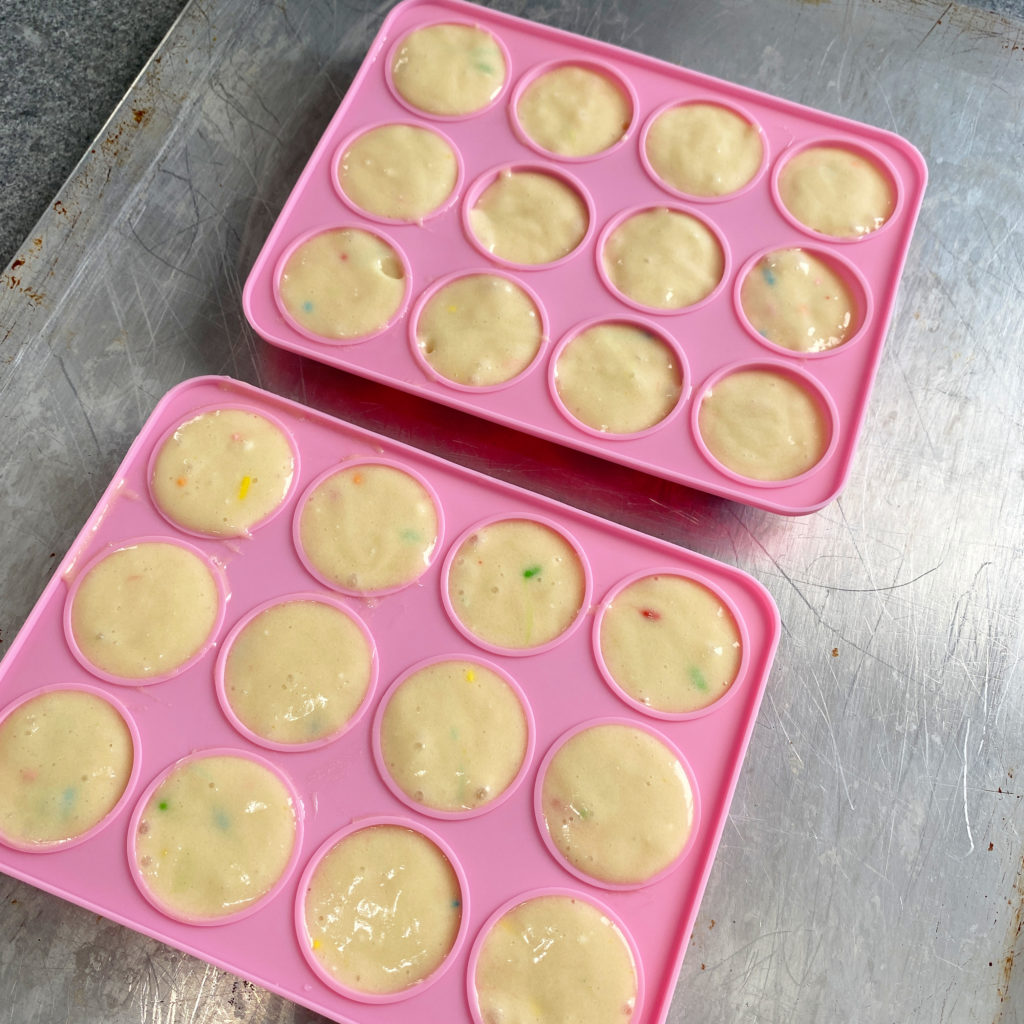
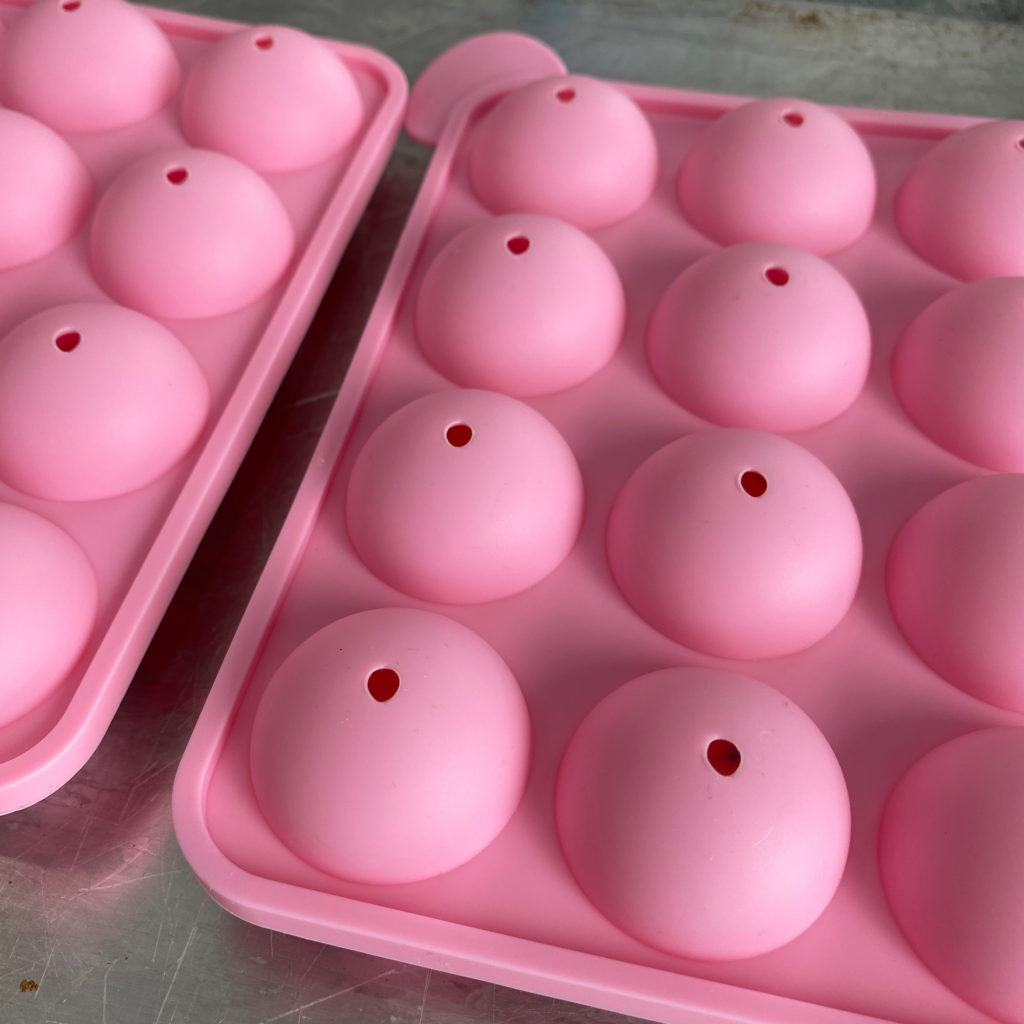
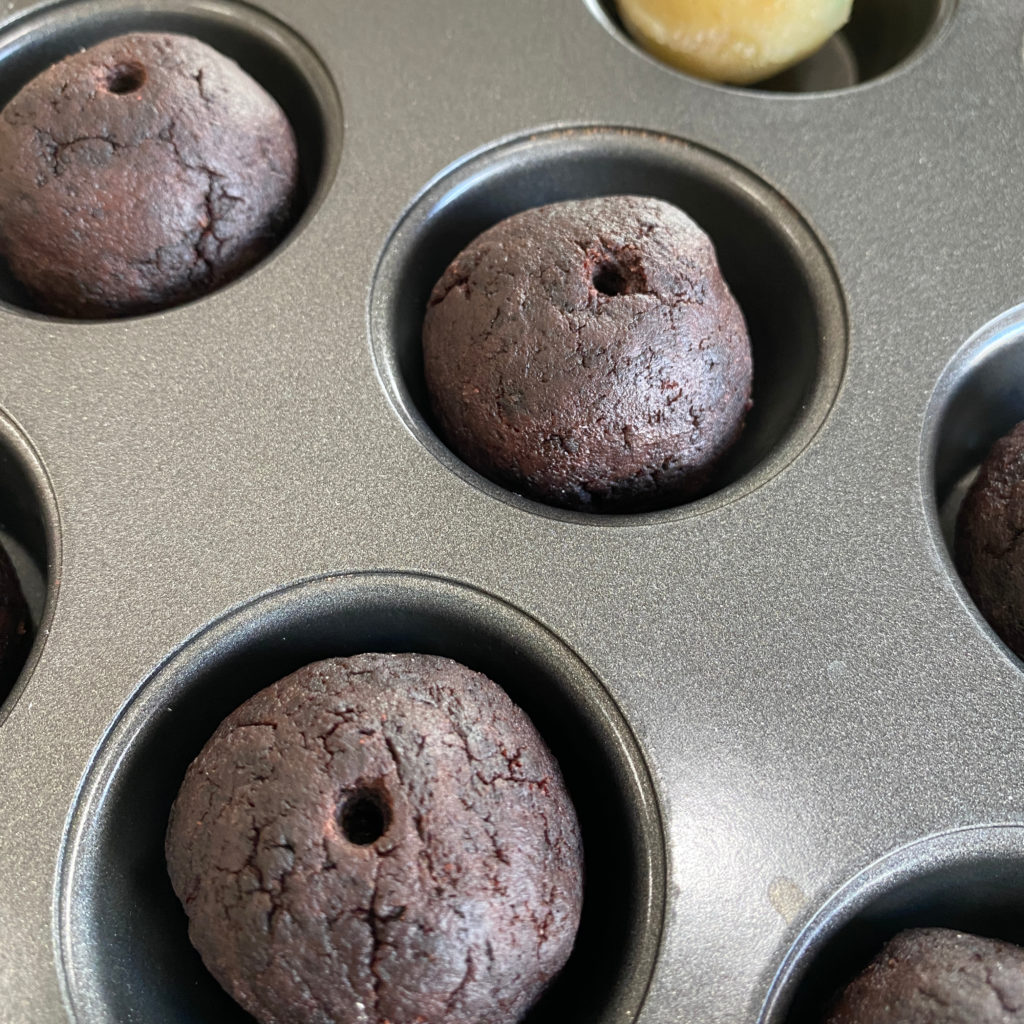
Bake at 350° for 13 minutes or until toothpick inserted into the the center (through the hole) comes out clean.
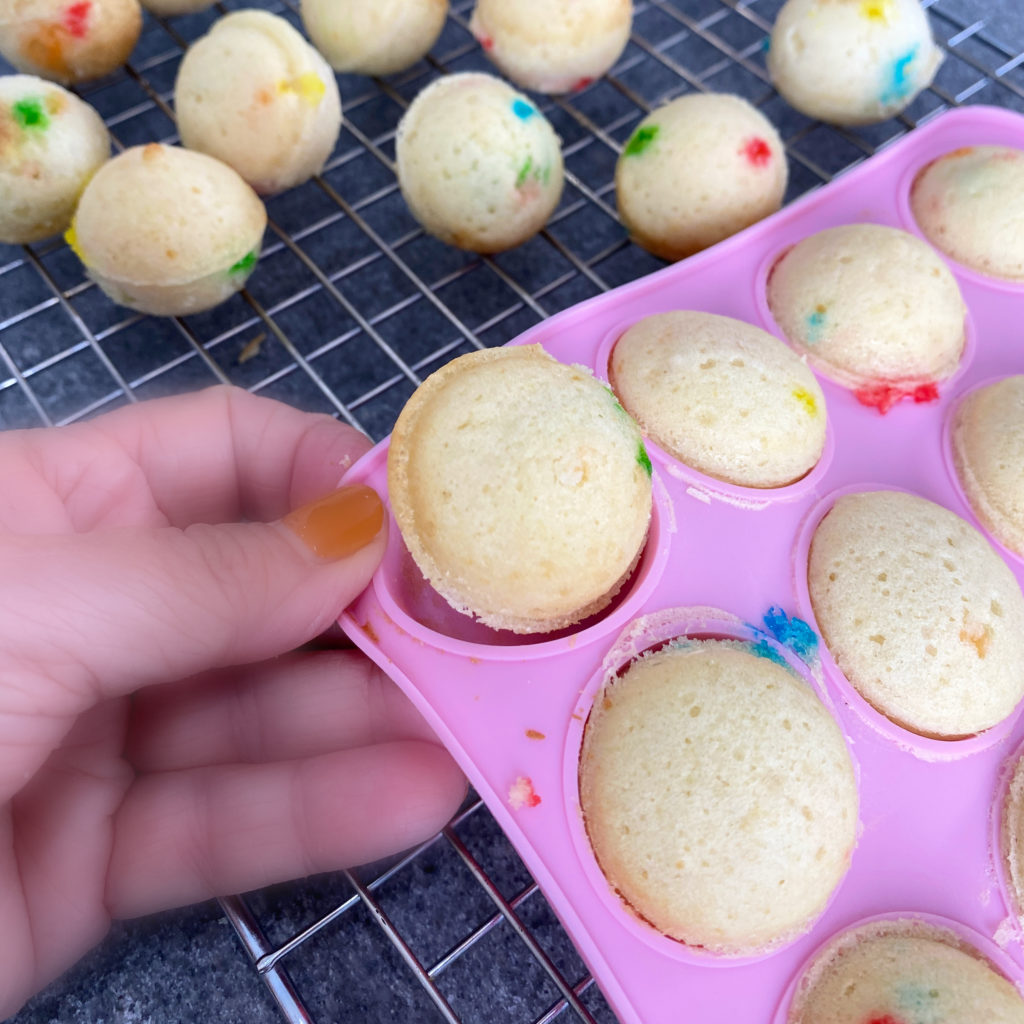
Continue with the cake pop instructions and Decorate!
Why are My Cake Pops Cracking?
If your candy shell is cracking, it’s mostly due to an extreme change in temperature (cold cake balls being dipped into hot candy). This can also happen with hot candy or chocolate being put into a cold refrigerator or freezer. To avoid cracking, let your cake balls warm up to room temperature a bit before dipping in warm candy or chocolate. Once dipped, let your cake pops sit at room temperature for 5 to 7 minutes before placing in the refrigerator or freezer so the candy has time to cool.
Why Do My Cake Pops Fall Off the Stick?
If your cake balls are falling off your treat stick, they could be too heavy due to size or adding too much frosting. To help ensure your cake balls stay, be sure to dip the stick in melted candy before inserting it into the cake ball. This hardened candy coating acts as a glue to hold the stick in place. If you think you’ve added too much frosting, add a little more cake to help even out the texture.
Donut Hole Cake Pops

We just went from easy, to easier to easiest. NO BAKING for these cake pops.
Melt candy as directed in the Cake Pop instructions, dip stick into the melted candy and insert into the donut hole. Let the candy harden.
Dip the donut hole in melted candy, add toppings and place in a styrofoam board to harden or on a flat surface lined with parchment paper if laying them top side down.
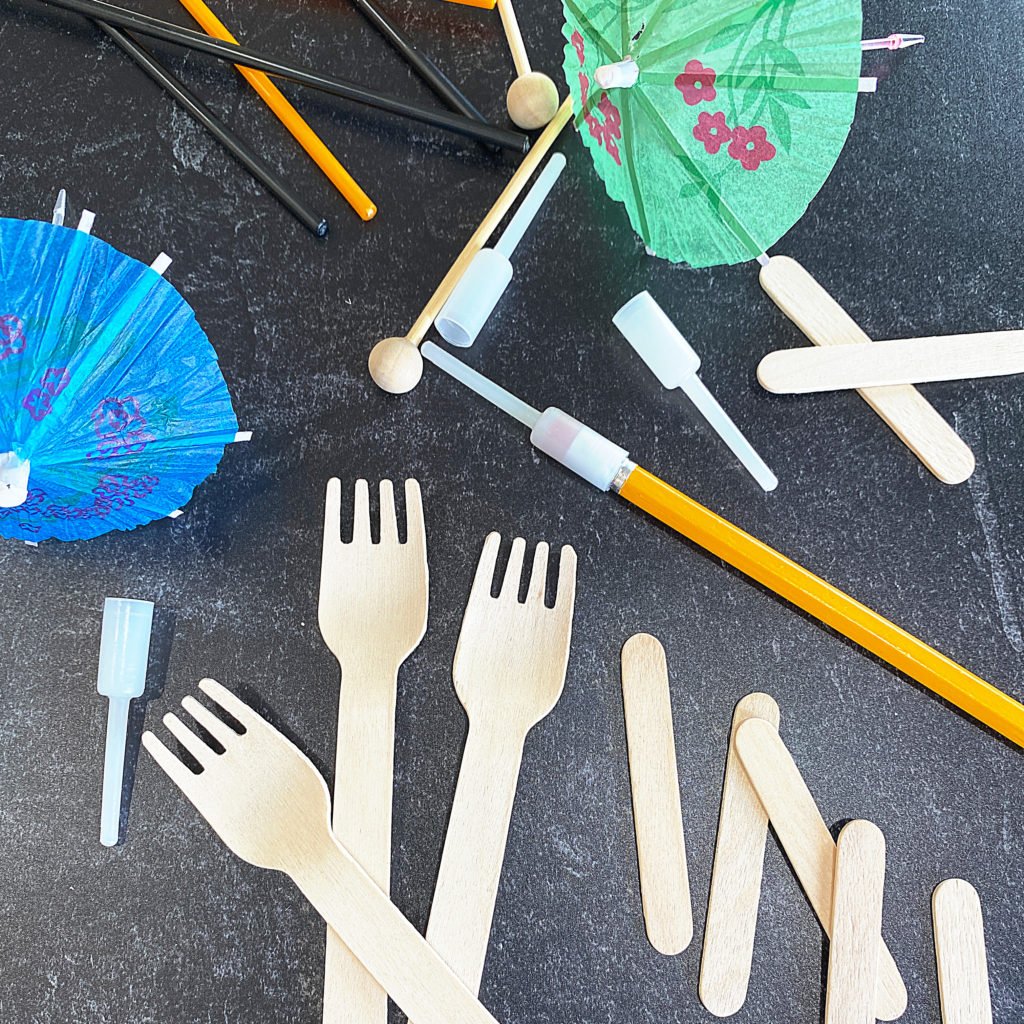
You can use other items not just lollipop sticks
Frosting to Cake Ratio
When it comes to adding frosting to your cake, you want just enough to moisten it. This is especially important to keep in mind if you’re using a boxed cake mix, which is already pretty moist. Start with a small amount and add more as needed.
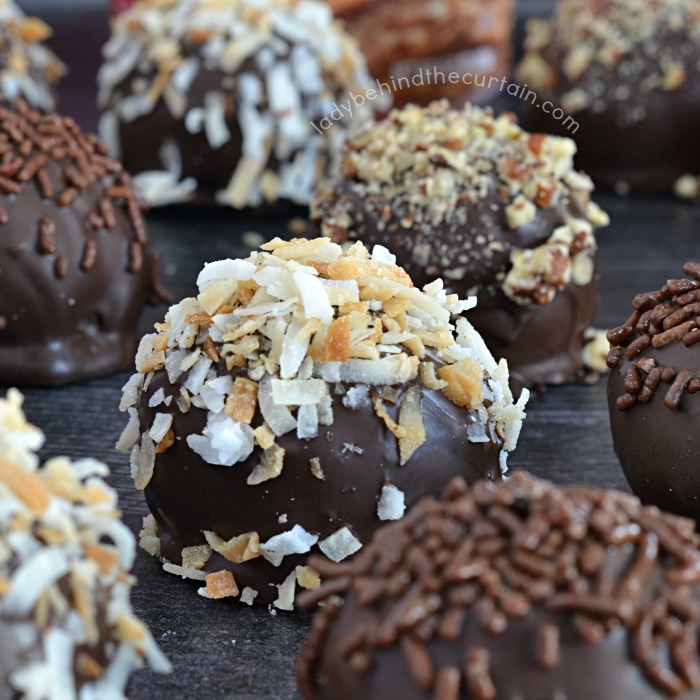
CAKE POP OR CAKE BALL IDEAS/RECIPES

LATEST POSTS
In conclusion, whether you’re a baking novice or a seasoned pro, making cake pops or cake balls can be a fun and delicious addition to any dessert spread. In this article, we explored three different methods for creating these bite-sized treats: the classic cake ball, the silicone cake pop, and the unique cake cake donut hole cake pop. We learned that with a little creativity and patience, anyone can make these delectable confections at home. So next time you’re craving a sweet treat, why not give one of these methods a try?
Remember to use quality ingredients, experimenting with flavors and decorations, and staying true to your own unique style, your cake pops or cake balls are sure to be a hit. And don’t forget to get creative and have fun! 
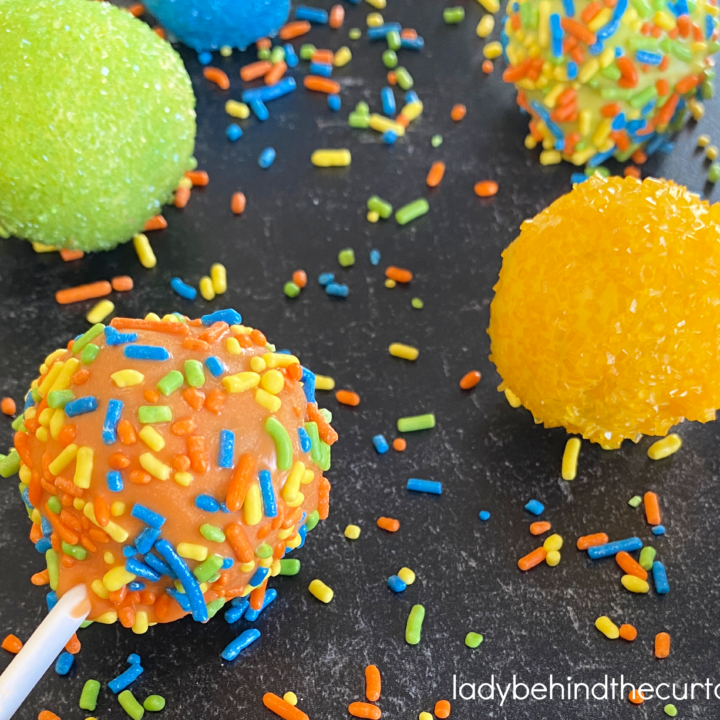
Traditional Cake Pops
Easy to make party treat that can be made in advance and styled to match any decor.
Ingredients
Traditional Cake Pop:
- 1 box cake mix of your choice
- 1 (3.4 ounce) box pudding your choice of flavor
- 4 large eggs
- 1 cup water
- 1/3 cup vegetable oil
- ½ cup frosting (store bought or homemade)
- 1 (12 ounce) bag candy melts (your choice of color)
- toppings (nuts, sprinkles etc.)
Silicone Mold Cake Pops:
- box cake mix PLUS ingredients listed on the box
Instructions
Traditional Cake Pops:
- Preheat oven to 350℉. Spray sheet cake pan with nonstick spray.
- In a large bowl, combine the cake mix, pudding mix, eggs, water and oil.
- Beat at medium speed with an electric mixer for 2 minutes.
- Pour into the prepared pan.
- Bake35 to 40 minutes, or until a toothpick inserted in the center comes out clean.
- Cool cake in pan for 10 minutes, then remove from pan and cool completely.
- Divide cake in half and freeze one half for future use.
- Using your hands, crumble up the cake until no large pieces remain.
- Add frosting, mixing with fingers until well combined.
Form Cake Balls:
- Form into cake balls and chill until set, about 2 hours.
- Small cake pops: 1 tablespoon-sized cake balls (each about 1 1/4 inch diameter) makes about 48 cake pops.
- Medium cake pops: 2 tablespoons-sized cake balls (each about 1 1/2 inch diameter) makes about 24 cake pops.
- Large cake pops: 3 tablespoons-sized cake balls (each about 1 3/4 inch diameter) makes about 16 cake pops.
Coating:
Silicone Cake Pop Mold:
- Make the cake mix according to the back of the cake mix box.
- Spoon batter into cake ball wells, fill to the top.
- Cover with silicone cake pop mold topper (the side with the hole on top).
- Bake at 350° for 13 minutes or until toothpick inserted into the the center (through the hole) comes out clean.
- Let cool for a minute.
- Pop out of mold to cool completely.
- Continue with the cake pop instructions and Decorate!
SIGN UP FOR THE LADY BEHIND THE CURTAIN NEWSLETTER

NEWSLETTER: Receive (twice a month) seasonally themed newsletters full of recipes, tips and tricks. Sometimes even FREE gifts! Click here for the Newsletter→CURTAIN CALL NEWSLETTER
THANKS FOR VISITING♥


Comments
How to Make Cake Pops or Cake Balls Three Ways — No Comments
HTML tags allowed in your comment: <a href="" title=""> <abbr title=""> <acronym title=""> <b> <blockquote cite=""> <cite> <code> <del datetime=""> <em> <i> <q cite=""> <s> <strike> <strong>