Piña Colada Cake Pops
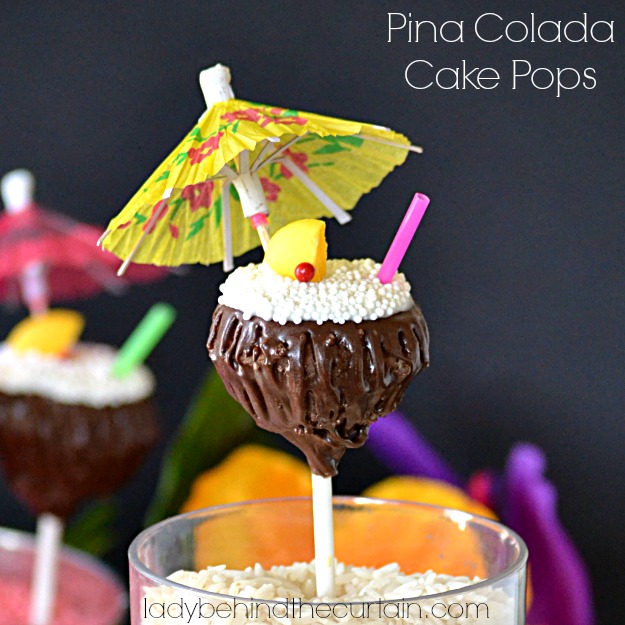
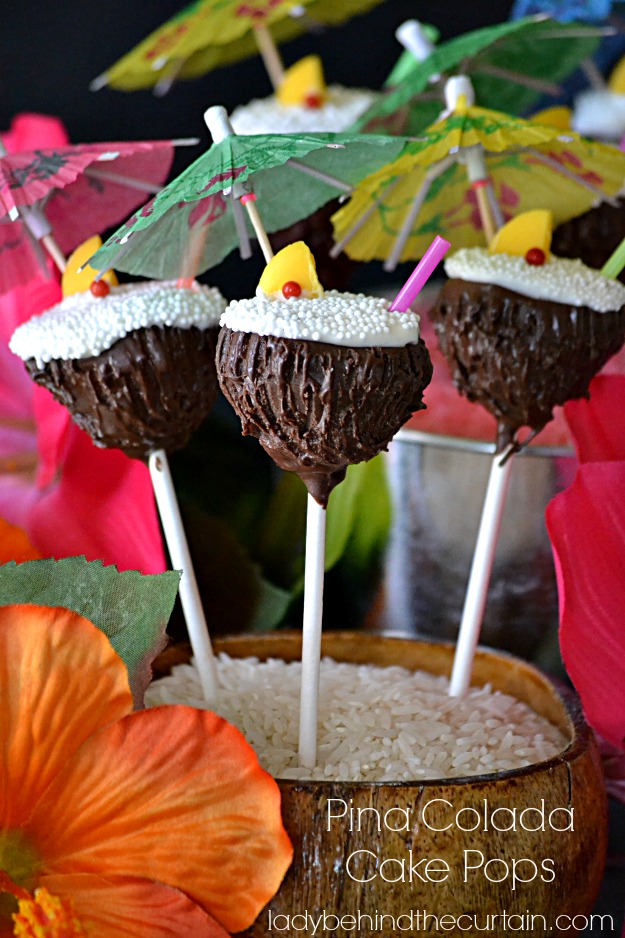
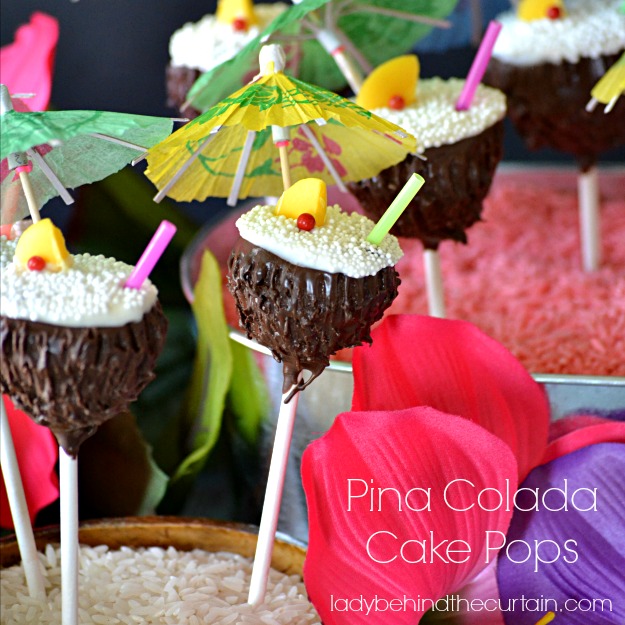
Piña Colada Cake Pops. Summer is here and it’s time to party! Enjoy the summer and throw a Luau themed party! Watch your guests eyes light up when they spy these adorable cake pops. The inside of the cake pop is made from a pineapple upside down cake mix, then dipped in dark chocolate (to represent the coconut shell) and a layer of coconut flavored melting candy or white chocolate on top represents the piña colada. So put on your leis and let’s make Piña Colada Cake Pops!
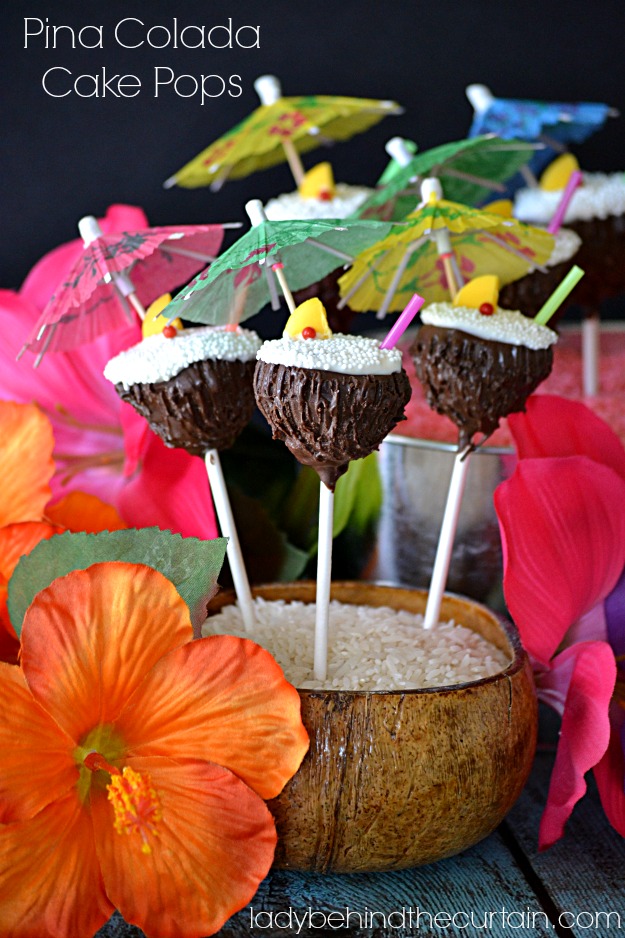
How to store your cake pops while they dry
- Styrofoam block—Use the lollipop stick to poke holes in it first
- Rice—A great alternative if you don’t have styrofoam on hand. Make sure the container is deep enough to handle the weight of the cake pop.
Supplies
- Candy Melts—Michaels Craft Store
- Nonpareil Sprinkles (red and white)—Michaels Craft Store
- Cocktail Umbrella—Party City
- Cocktail Straws—Party City
- Lollipop Sticks—Michaels Craft Store
- Cake Portion of the Cake Pops—Safeway
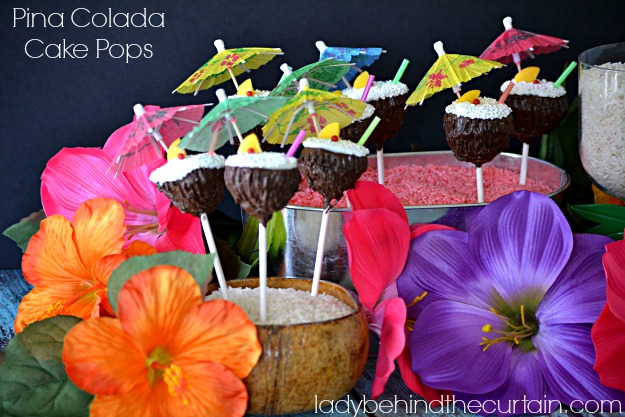
HOW TO MAKE PIÑA COLADA CAKE POPS
Scroll down for the printable recipe
- Bake cake according to the directions.
- Let cake cool completely.
- Place the cake in a medium mixing bowl, add the cherries and softened cream cheese, and mix until the cake comes together in a ball.
- Shape cake into coconut shapes and place in a mini cupcake or push up pop pan.
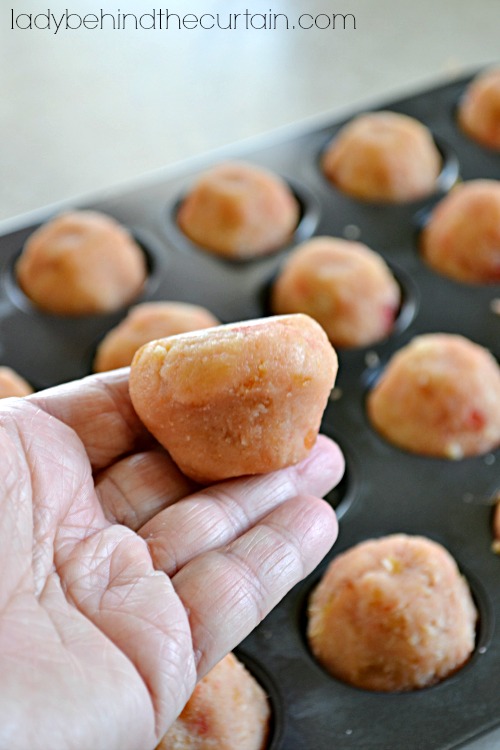
- Melt 1 cup to 1 1/2 cups of dark chocolate candy by placing in a microwave safe bowl and microwaving in 30 second increments until chocolate is melted.
- Dip a lollipop stick into the melted chocolate, insert straight into the shaped cake.
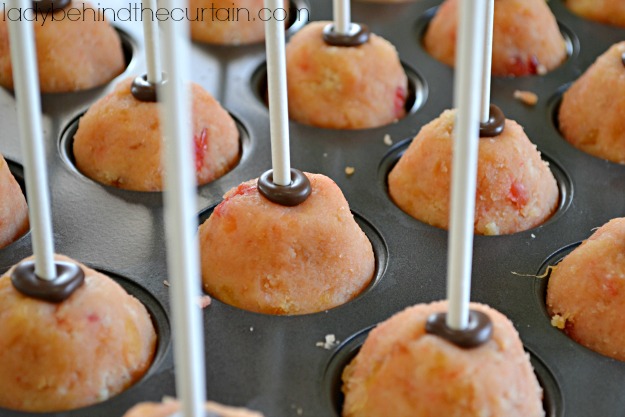
- Place in the refrigerator about 5 minutes or until the chocolate hardens.
- If the melted chocolate that’s in the bowl gets too cold, re heat again in the microwave.
- Tilt the cake pop to the side and only get the melted chocolate around the edge on the top of the cake pop.
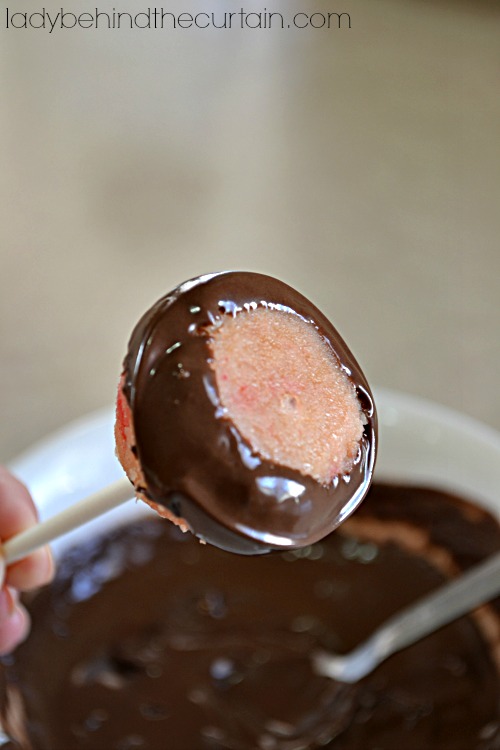
- Using a spoon drizzle chocolate over the remaining cake pop making sure not to get anymore chocolate on the top of the cake pop.
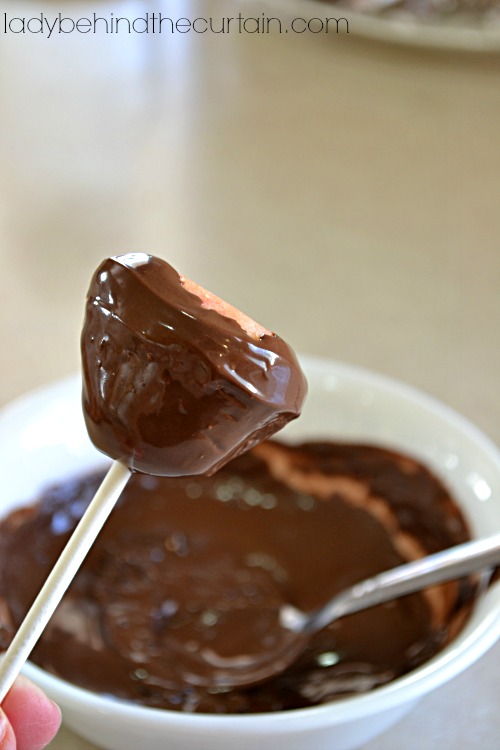
- Smooth with the back of the spoon.
- Place in prepared Styrofoam block to semi harden.
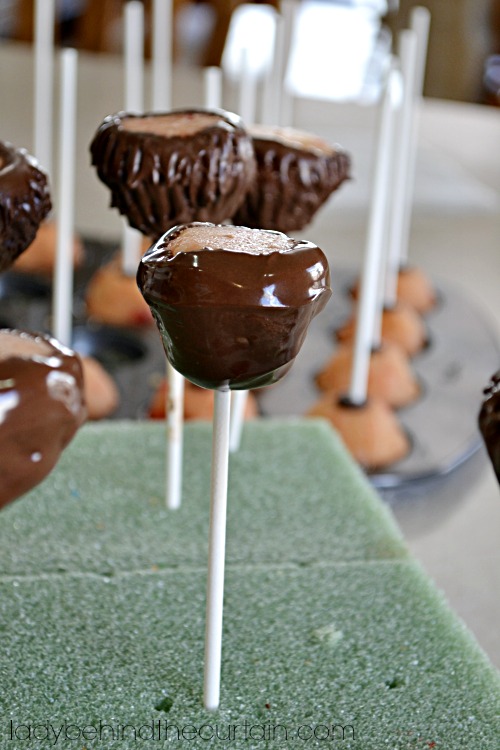
- Let the chocolate slightly harden and then run a fork down to the sides.
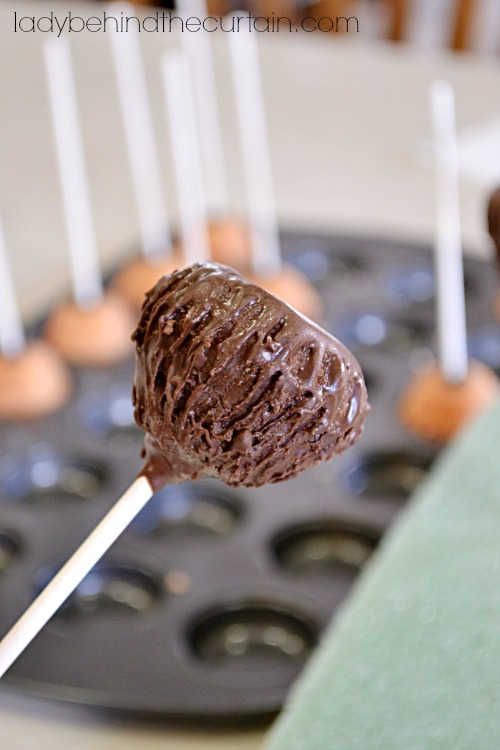
- TIP: Before starting this phase get all your supplies ready: white nonpareil sprinkles (poured into a small bowl), yellow candy melts cut into four pie shape pieces,umbrellas opened ( I broke off about an inch of the toothpick to make the umbrella smaller), snipped mini straws and large red nonpareil.
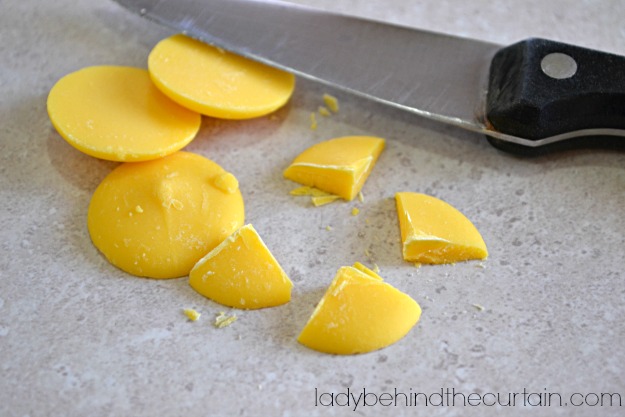
- Melt the coconut flavored or vanilla (bright white)candy melts
- Dip the top of the cake pop in the melted coconut or white chocolate and then dip into the white nonpareil sprinkles.
- Insert on one side the umbrella and on the other side the straw.
- Dip a yellow candy wedge in the melted coconut or white chocolate and place in front of the umbrella.
- Dip the large red nonpareil (I used tweezers) and place in front of the yellow wedge.
HOW DO I DISPLAY MY PIÑA COLADA CAKE POPS?
- Make a centerpiece! Cut a long narrow piece of styrofoam, place it in a container the same size, add pops, cover with shredded paper and line the pops down the center of your dinner table. A fun edible centerpiece!
- Place settings! Fill a small container like a metal bucket with colored rice as a sweet treat for each guest.
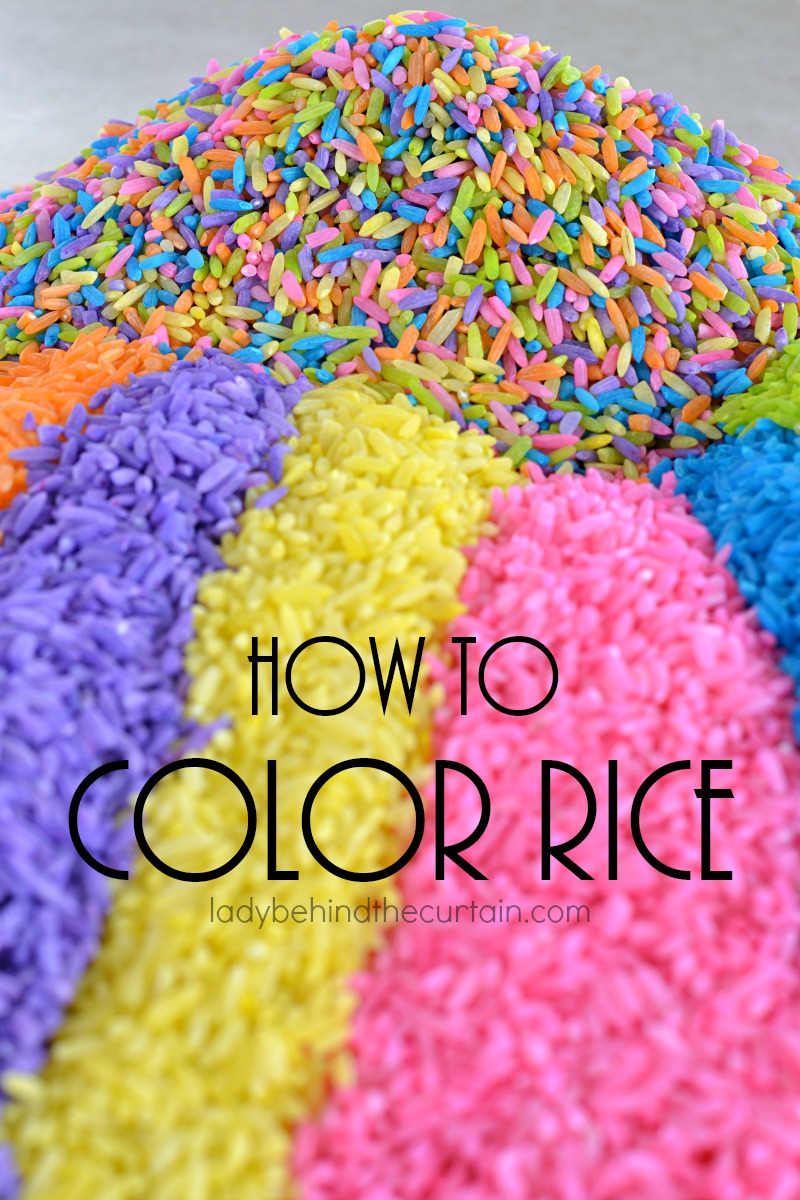
- CLICK HERE→HOW TO COLOR RICE.
MORE PARTY TREAT IDEAS/RECIPES
- PIÑA COLADA CUPCAKES
- A DAY AT THE BEACH PUDDING DESSERT
- CHERRY LIMEADE PETIT FOURS
- TROPICAL MANGO CUPCAKES
- FISH BOWL PUNCH
- SAND BUCKET CAKE
- SUNSET CUPCAKES
- MAI TAI CUPCAKES
Pina Colada Cake Pops
Ingredients
- 1 (21.5 ounce) pineapple upside down cake mix, plus ingredients on the box
- 6 maraschino cherries, chopped
- 4 ounces cream cheese softened
- dark chocolate candy melts
- coconut or white (bright white) candy melts
- lollipop sticks
- white nonpareil sprinkles
- 5 yellow candy melts, cut into 4 pie shape pieces
- red large nonpareil sprinkles
- 5 mini cocktail straws, each cut into 4 pieces
- paper cocktail umbrellas
Instructions
- Bake cake according to the directions.
- Let cake cool completely.
- Place the cake in a medium mixing bowl, add the cherries and softened cream cheese, and mix until the cake comes together in a ball.
- Shape cake into coconut shapes and place in a mini cupcake or push up pop pan.
- Melt 1 cup to 1 1/2 cups of dark chocolate candy by placing in a microwave safe bowl and microwaving in 30 second increments until chocolate is melted.
- Dip a lollipop stick into the melted chocolate, insert straight into the shaped cake.
- Place in the refrigerator about 5 minutes or until the chocolate hardens.
- If the melted chocolate that's in the bowl gets too cold, re heat again in the microwave.
- Tilt the cake pop to the side and only get the melted chocolate around the edge on the top of the cake pop.
- Using a spoon drizzle chocolate over the remaining cake pop making sure not to get anymore chocolate on the top of the cake pop.
- Smooth with the back of the spoon.
- Place in prepared Styrofoam block to semi harden.
TIP:
Before the chocolate hardens completely run a fork down the cake pop . Start from the top and go down about 1/2-inch repeat two more rows like this.
NOTE:
Before starting this phase get all your supplies ready: white nonpareil sprinkles (poured into a small bowl), yellow candy melts cut into four pie shape pieces,umbrellas opened ( I broke off about an inch of the toothpick to make the umbrella smaller), snipped mini straws and large red nonpareil.
- Melt coconut flavored or white (bright white) candy melts in a microwave safe bowl in 30 second increments stirring in between until melted and creamy.
- Dip the top of the cake pop in the melted coconut or white chocolate and then dip into the white nonpareil sprinkles.
- Insert on one side the umbrella and on the other side the straw.
- Dip a yellow candy wedge in the melted coconut or white chocolate and place in front of the umbrella.
- Dip the large red nonpareil (I used tweezers) and place in front of the yellow wedge.
NEVER MISS A POST


These are so adorable Sheryl and perfect for a summer party – pinning!!
Thanks Deb,
I had fun making these pops!
LOVELOVELOVE these Sheryl!!! :>D!
Thanks Lisa!
These are just so, so cute Sheryl! pinned. Have a great week:)
Thanks Rachel. You’re sweet!
your cake look very yummy Sheryl