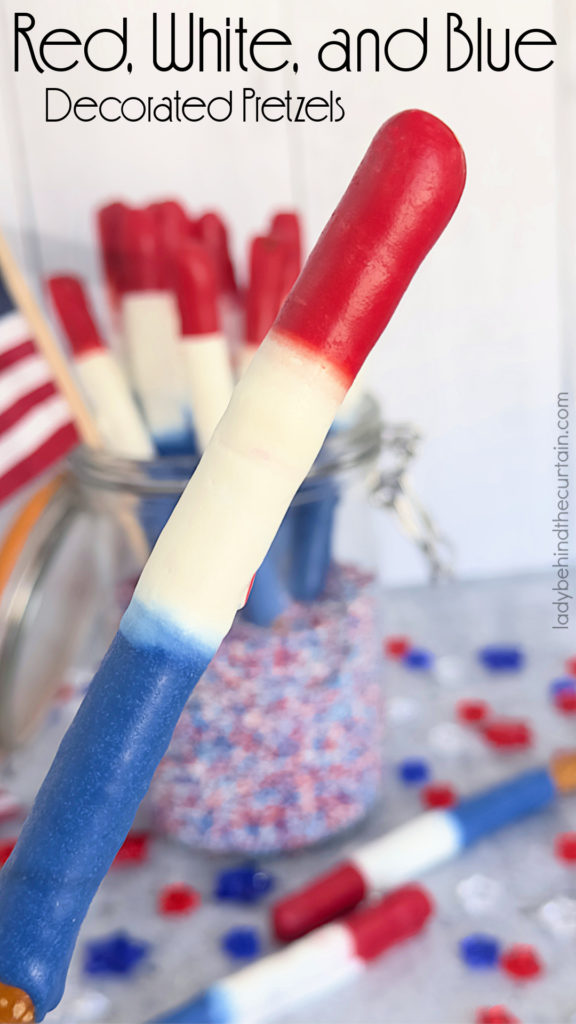
Red, White, and Blue Decorated Pretzels
Red, White, and Blue Decorated Pretzels: These stunning patriotic decorated pretzels offer the perfect sweet and salty flavor, are super easy to make, and affordable too! NO DIPPING! Scroll down to see my new technique that makes these red, white, and blue decorated pretzels the easiest treat you’ll ever make.
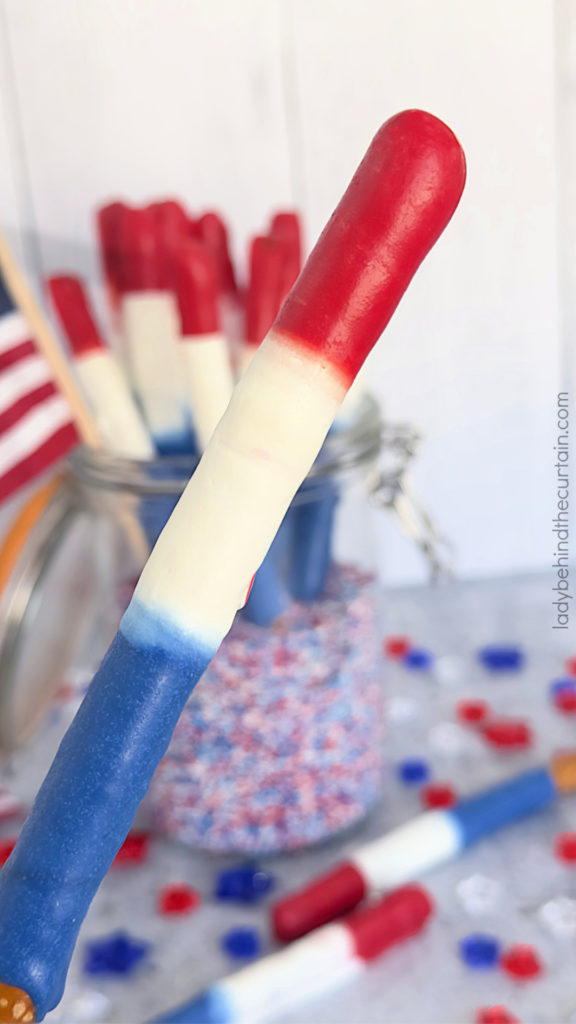
*NEW* Rolling Technique
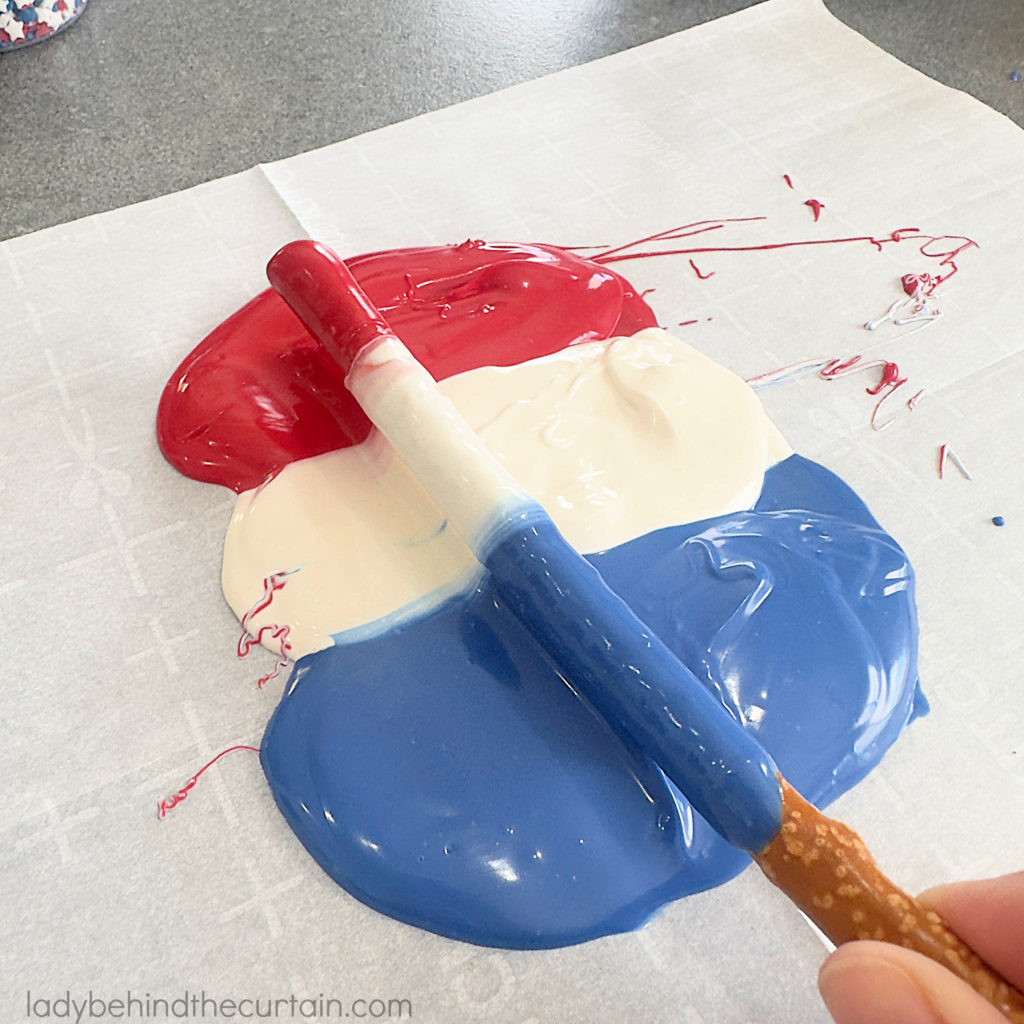
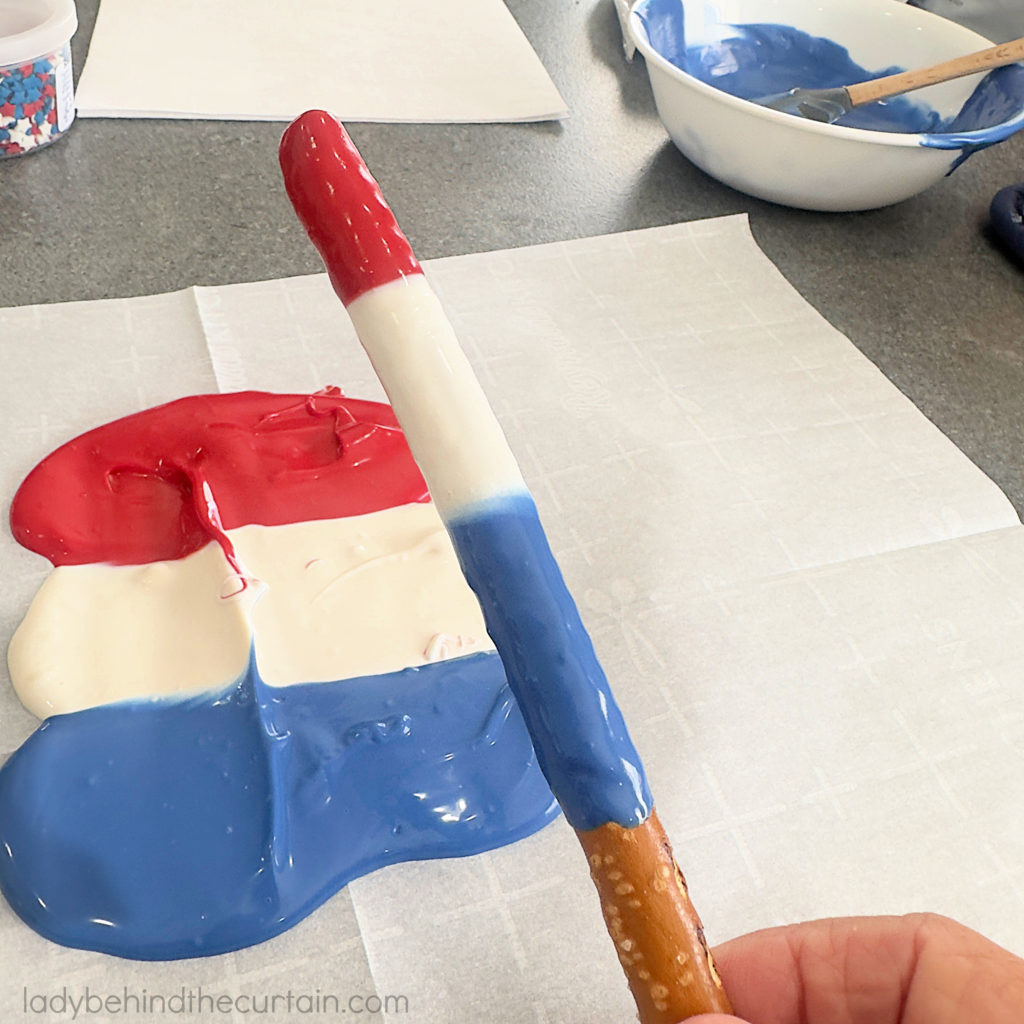
This technique is so easy! There’s no dipping. All you have to do is roll the pretzel rods in melted candy. I love how, over time, the colors start to blend.
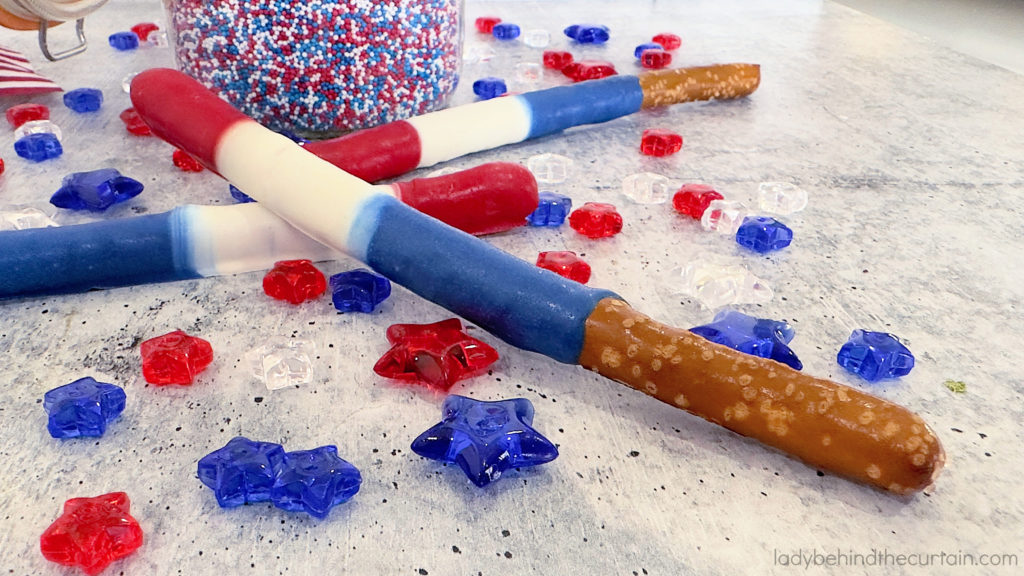
How to Make Red, White, and Blue Decorated Pretzels
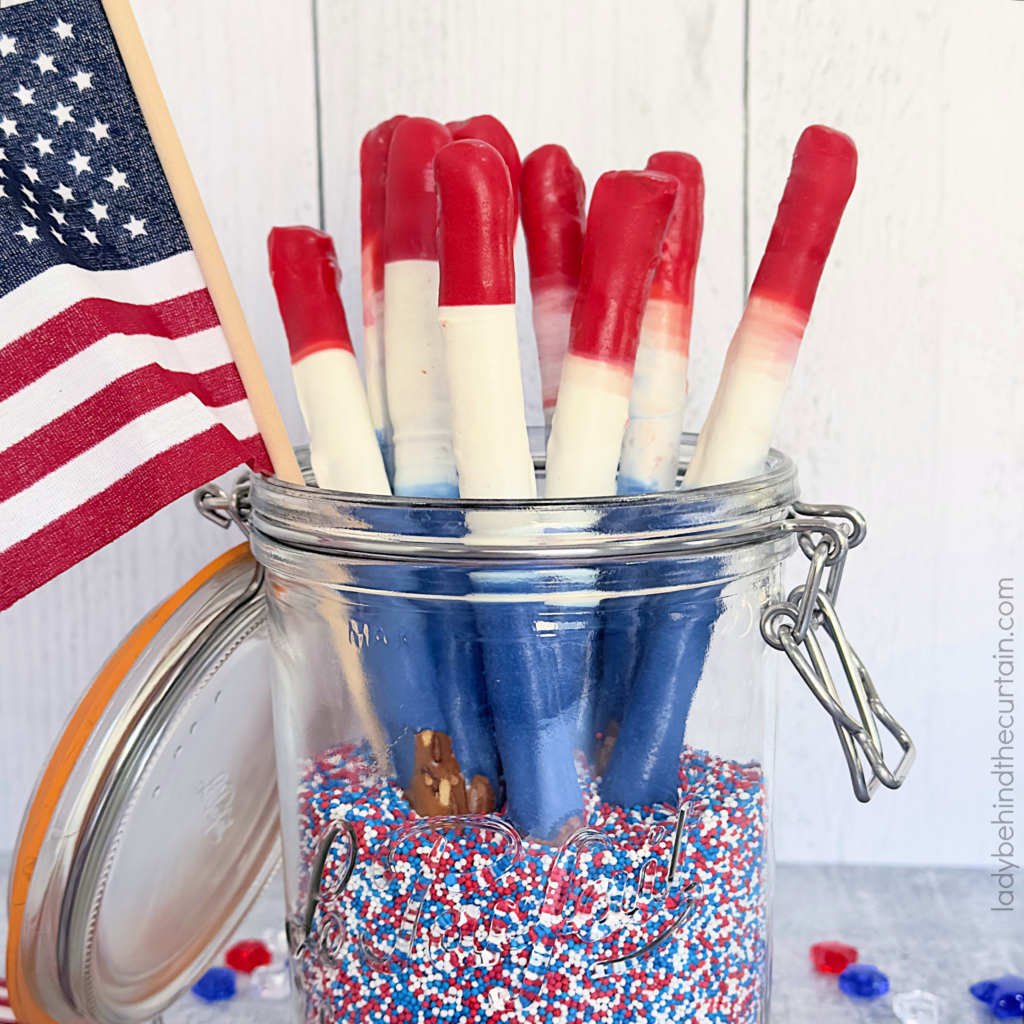
HOW TO ROLL PRETZEL RODS IN MELTED CANDY MELTS
SUPPLIES (full printable recipe below)
- Candy Melts (red, white, and blue)
- Pretzel Rods
- Vegetable shortening
- Parchment paper
- pencil
DIRECTIONS
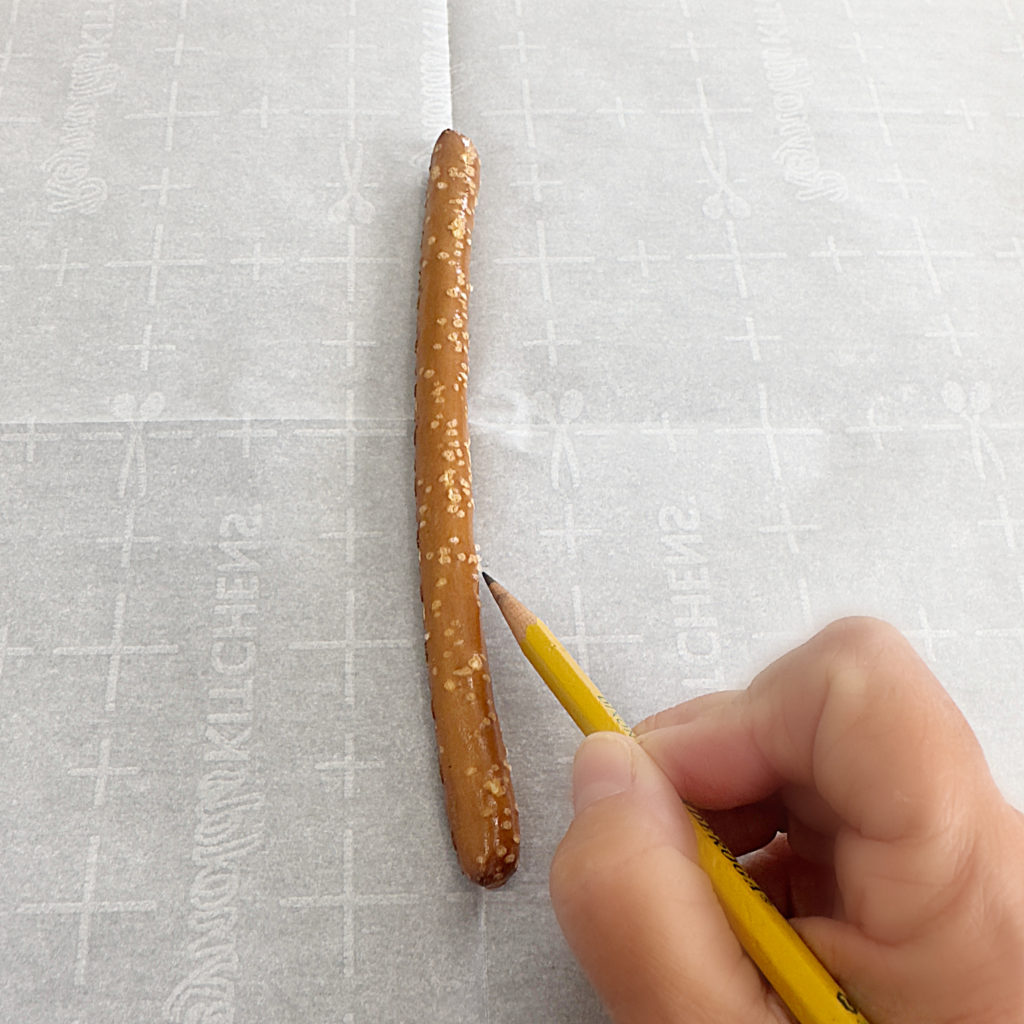
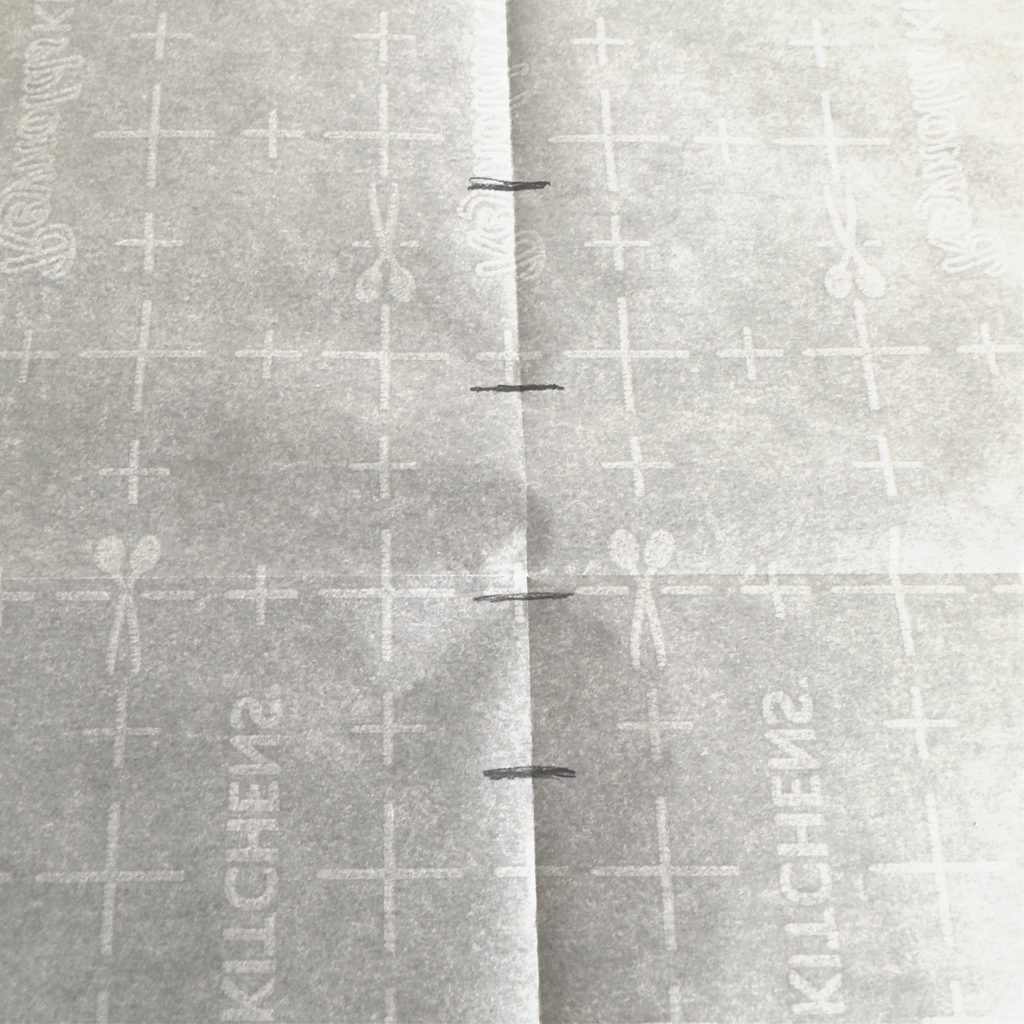
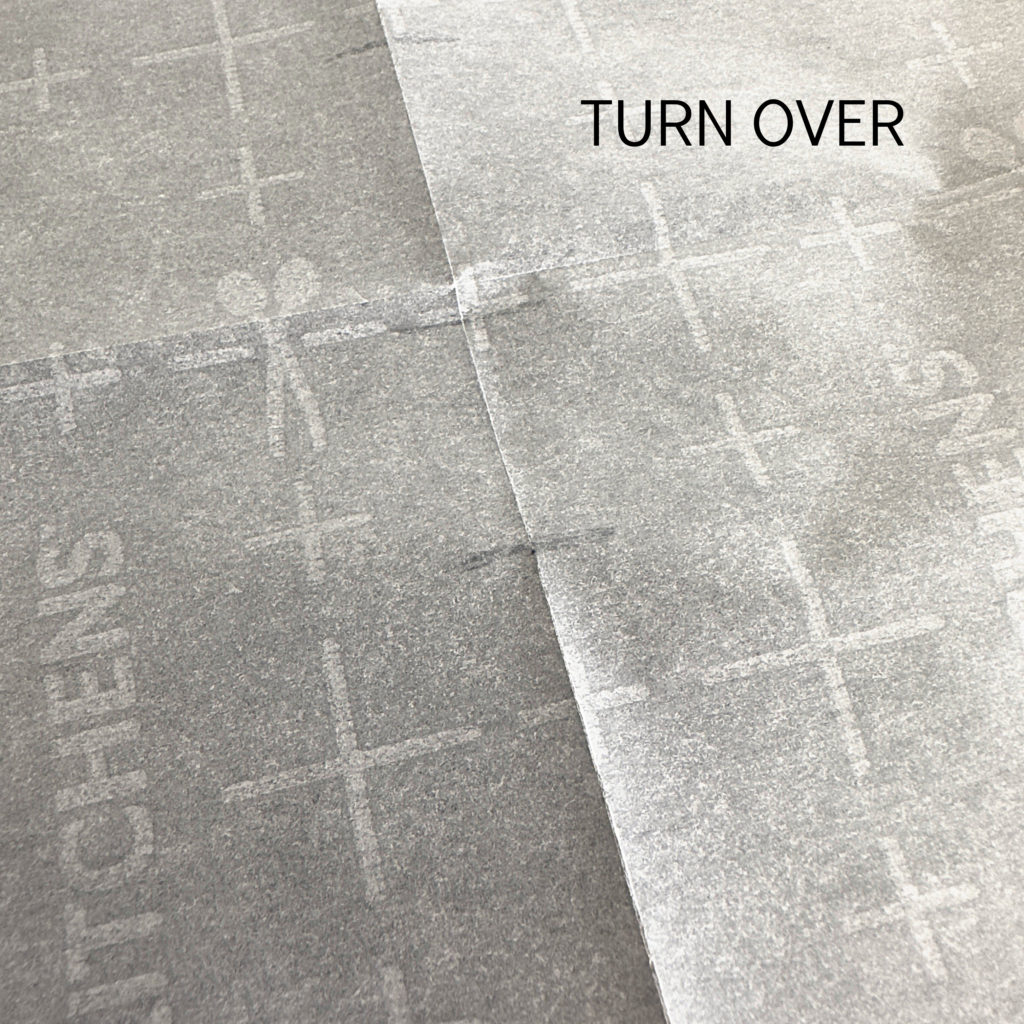
- As a guide, lay a pretzel on a sheet of parchment paper, using a pencil, mark the top and bottom of where you would like the candy to start (at the top) and end (at the bottom). You can also add lines as a guide to the width of the candy for each color.
- Flip the parchment paper over, set aside until ready to use.
- Pour ½ cup candy melts into a small microwave safe bowl.
- Add 1 teaspoon vegetable shortening to the bowl with the candy.
- Heat in the microwave 1 minute on high, stir until creamy. If needed heat an additional 15 seconds at 60%.
- Set aside and repeat with remaining colors.
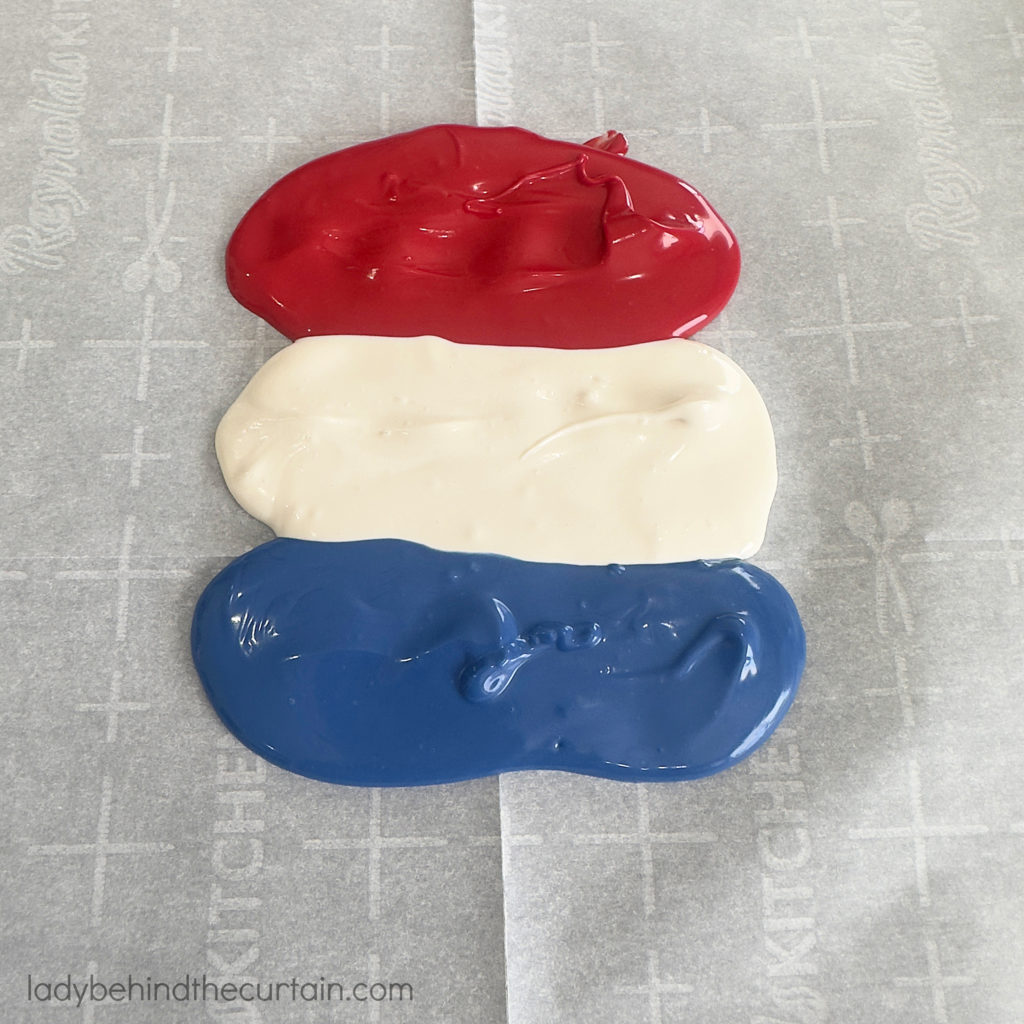
- Using your guide lines, pour colors onto the marked parchment paper, starting with red at the top, white and then blue.
- TIP: More times then not most of the pretzels will be curved, make sure to pour enough candy so that the curved parts will be covered.
- Lay the pretzel rod into the melted candy and roll.
- Place coated candy on a cookie sheet lined with parchment paper.
- Once all the pretzels have been coated, place them in the refrigerator for 10 minutes to harden.
How Can I Keep the Candy Melts from Blending?
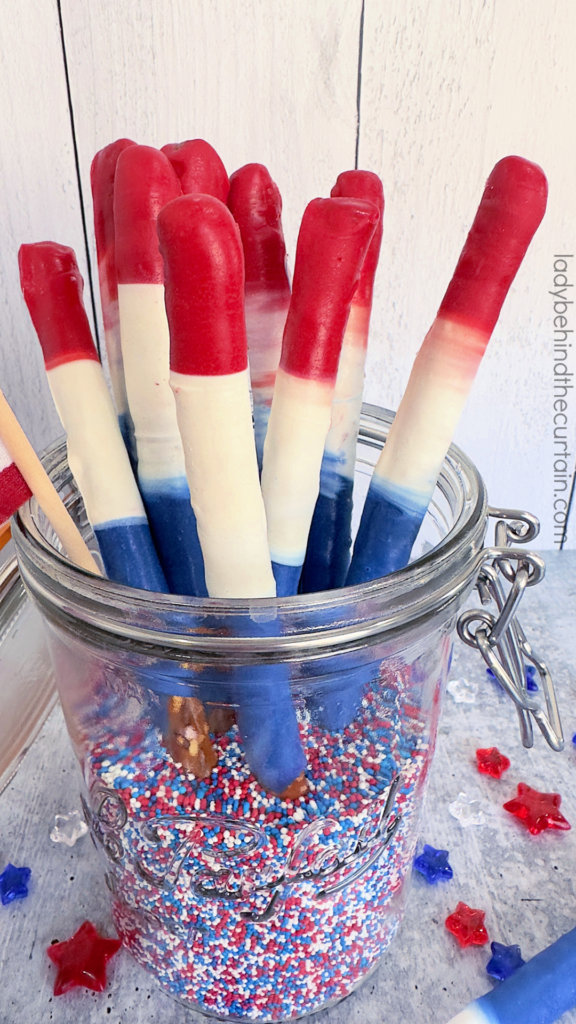
If you want your colors to stay crisp without the blurred area of the colors starting to blend, simply add more of the melted candy over the top of the remaining candy. And just like that, you’ll be back to crisp lines.
How Do I Get Rid of the Candy Puddle?
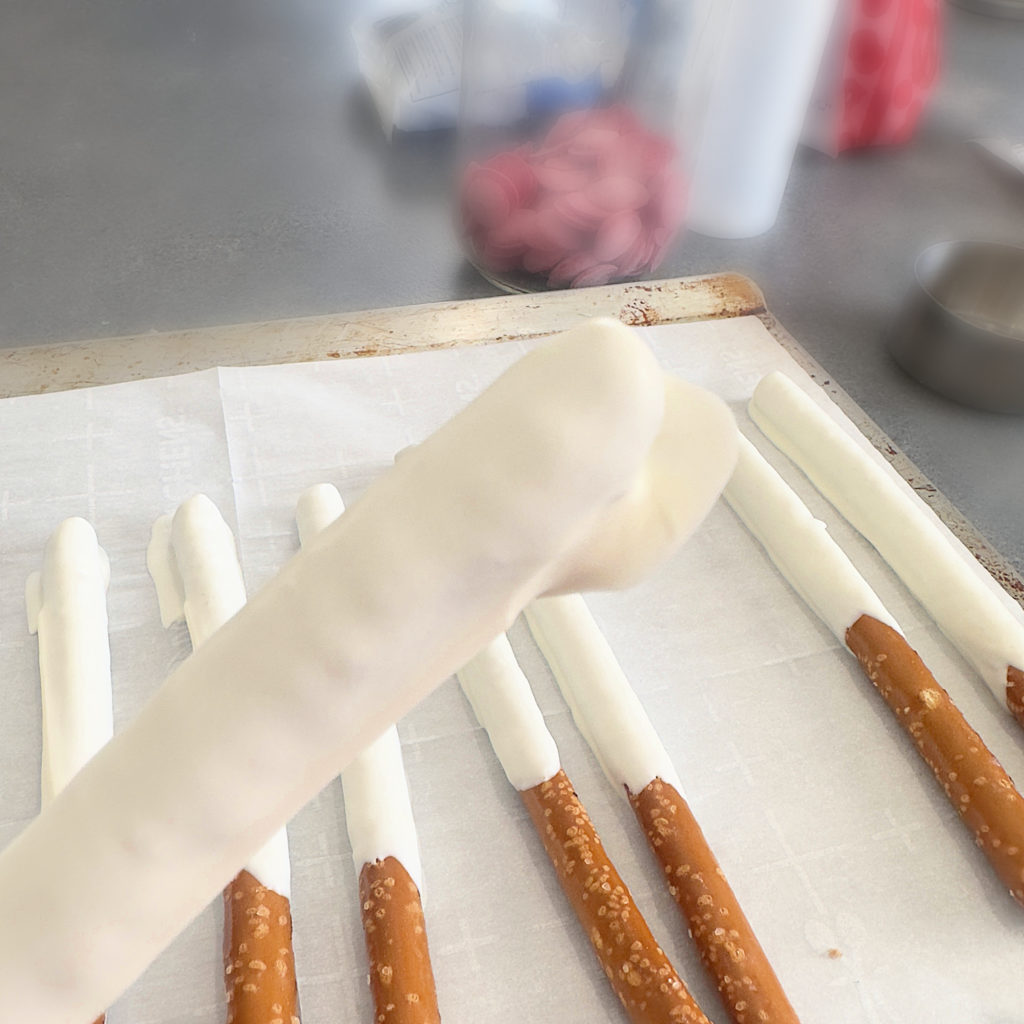
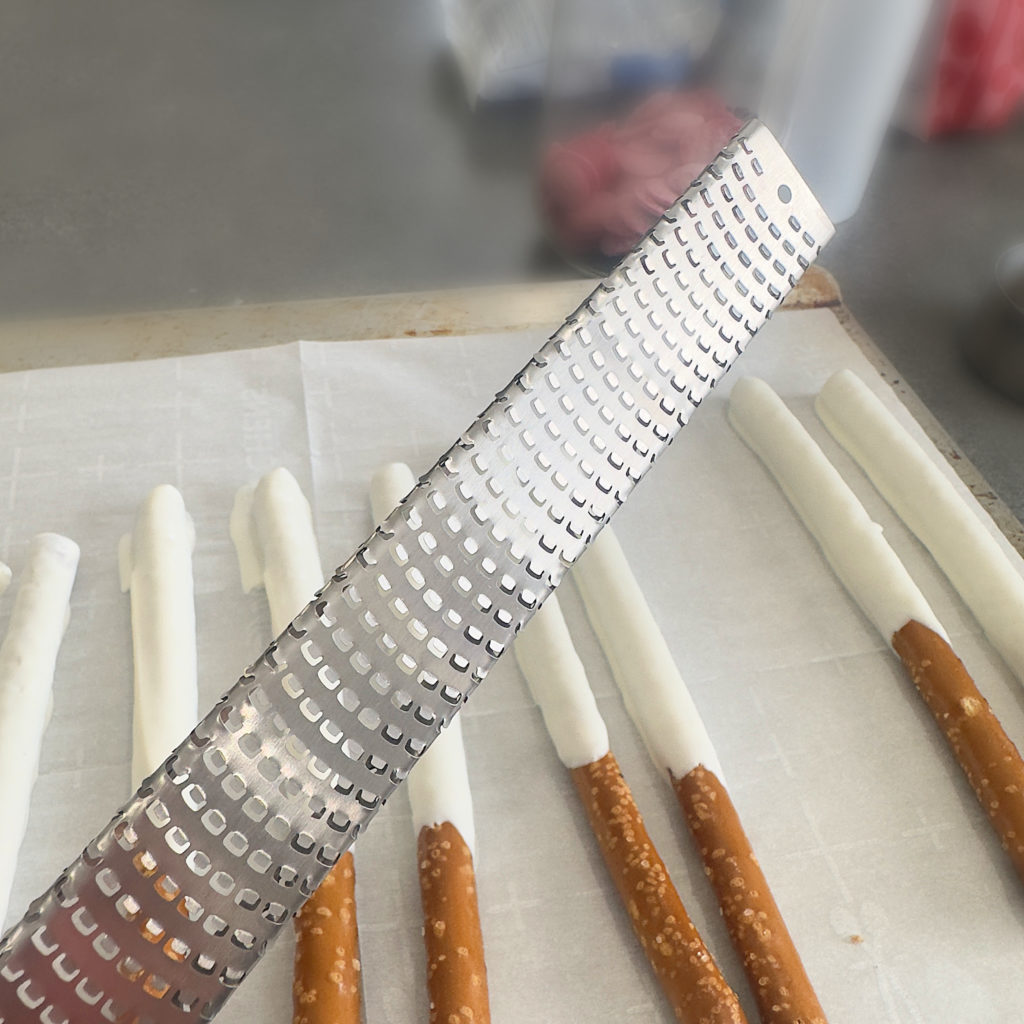
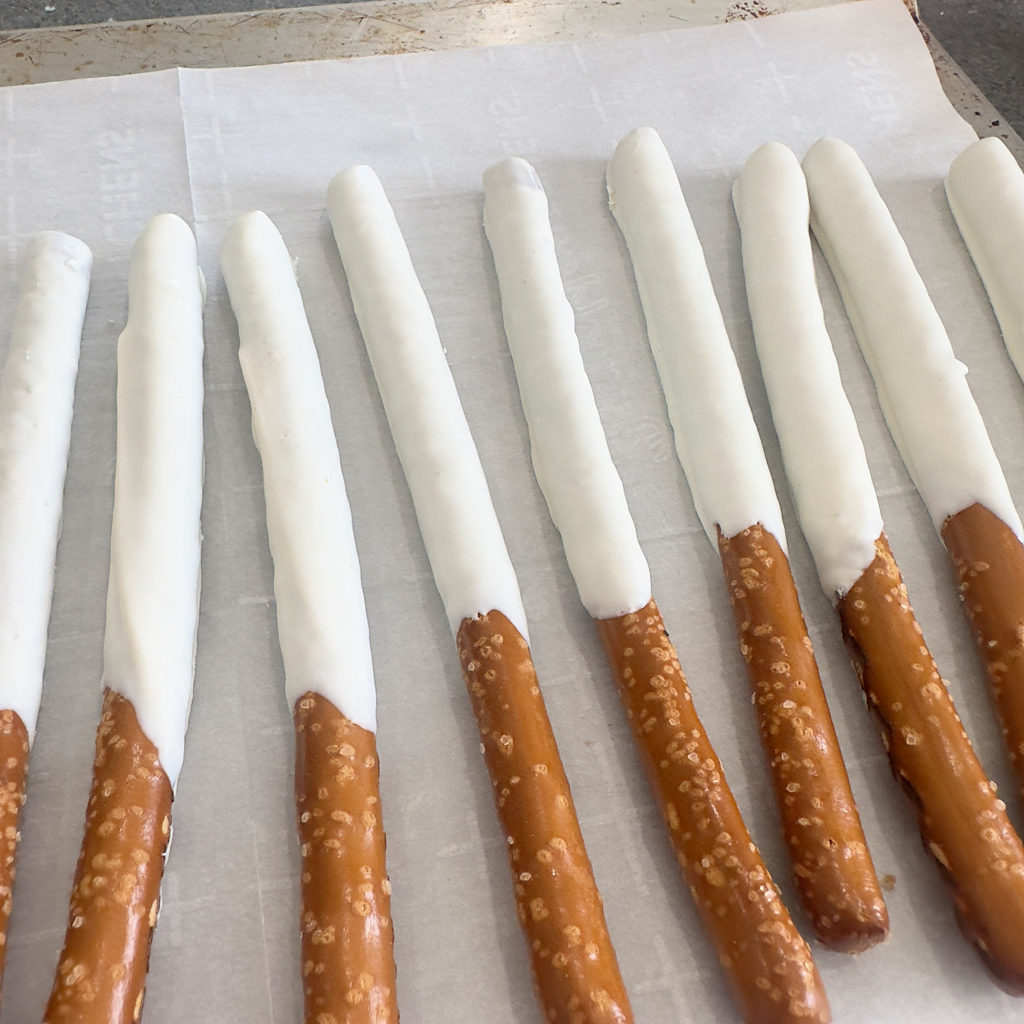
One of my favorite tips that I use every time I decorate pretzels is using a micro plane tool for the edges that have puddled under the pretzel. Carefully scrape off the excess melted candy. NOTE: CANDY MUST BE HARD FOR THIS TO WORK
Can I Decorate Pretzels in Advance of My Party?
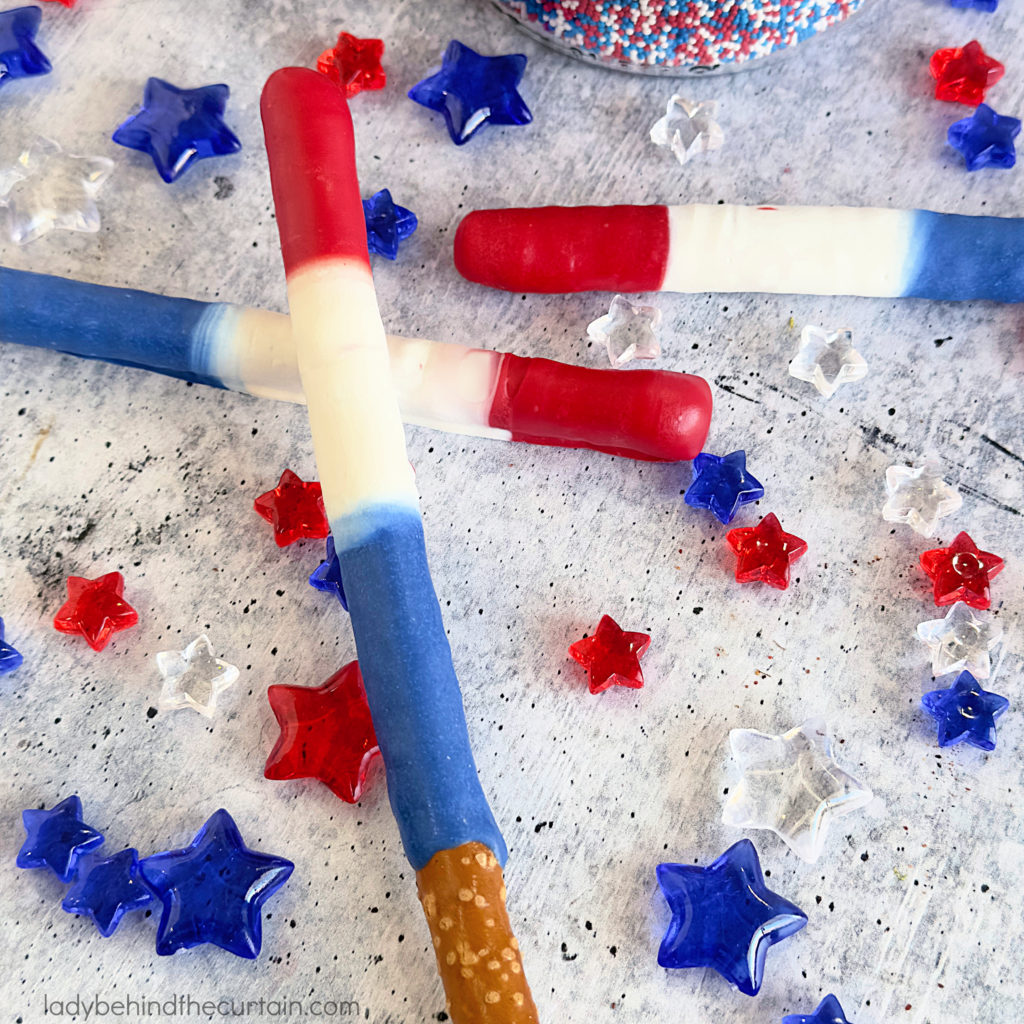
One of the best things about decorated pretzels (aside from the taste) is the convenience of being able to make them in advance of your party. It’s every hostess’s dream to be able to make something this tasty before the craziness of the party prep starts. Ultimately taking some of the stress away from hosting a party. These adorable pretzels can be made as early as a week before the party.
How to Store Decorated Pretzels
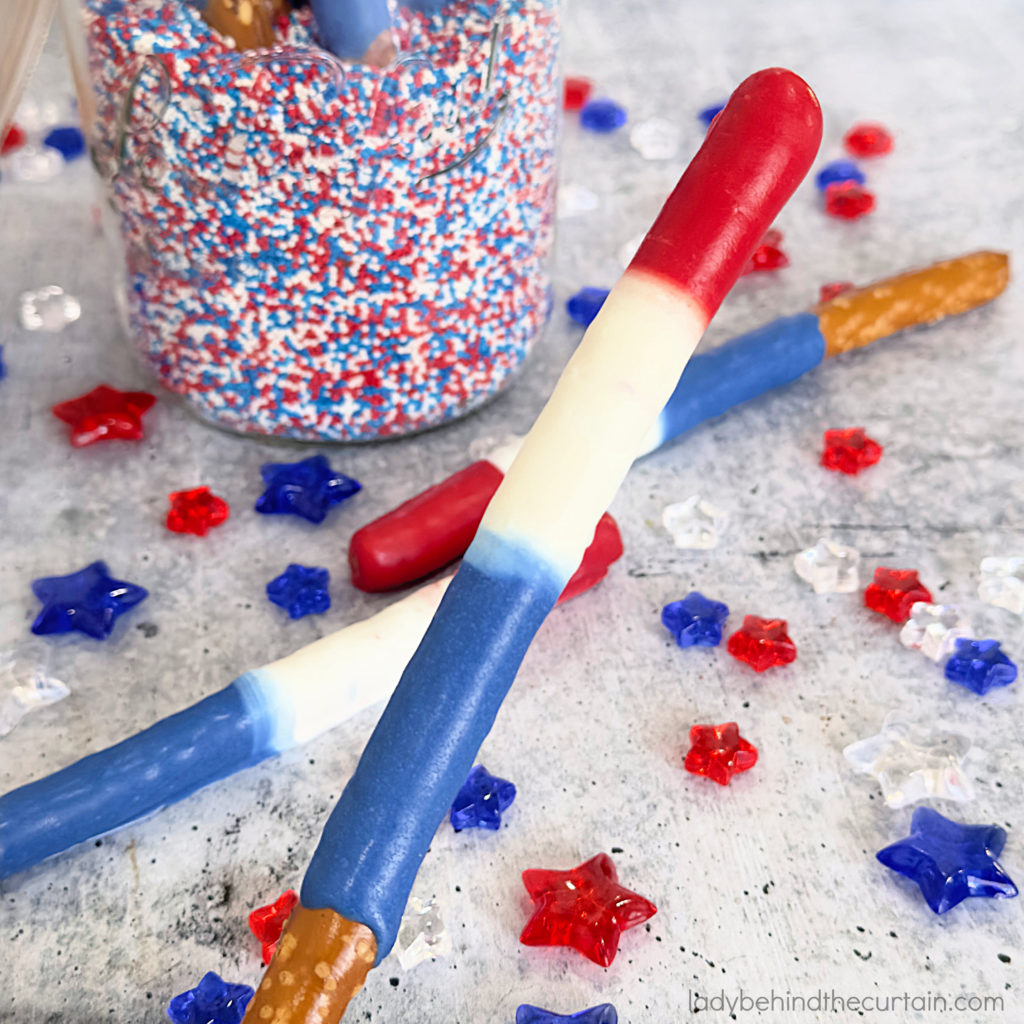
The easiest way is to store decorated pretzels in an airtight container at room temperature. Provided everything is fresh, to begin with, and the container is clean, dry, and has a tight seal, partially covered pretzel rods can stay fresh for about 2-3 weeks.
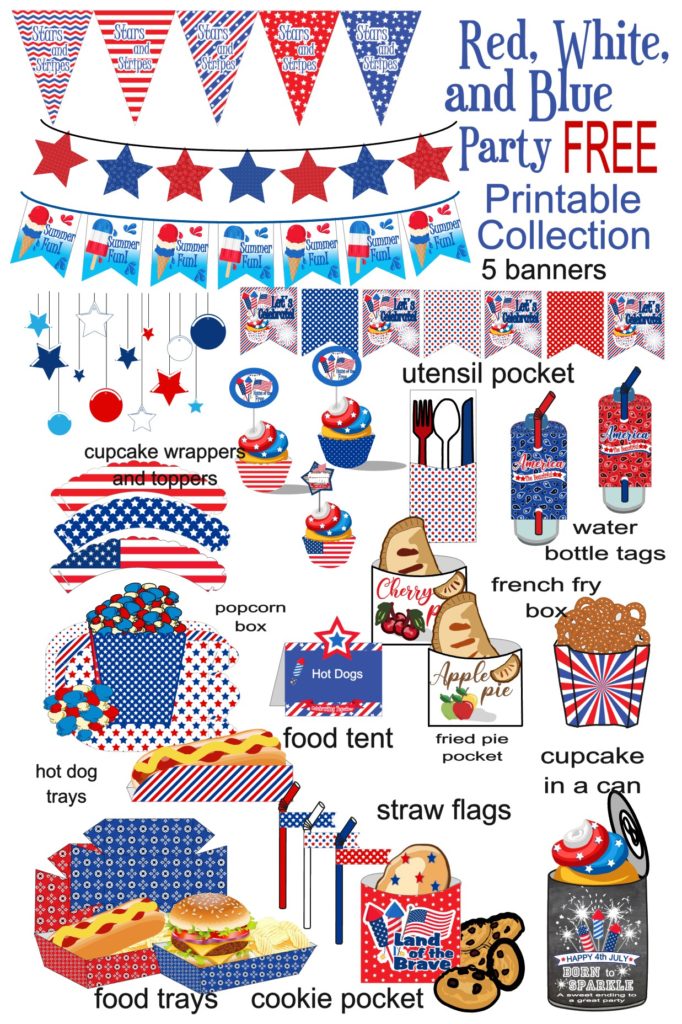
4TH OF JULY PART FREE PRINTABLE COLLECTION
MORE POSTS YOU MIGHT BE INTERESTED IN

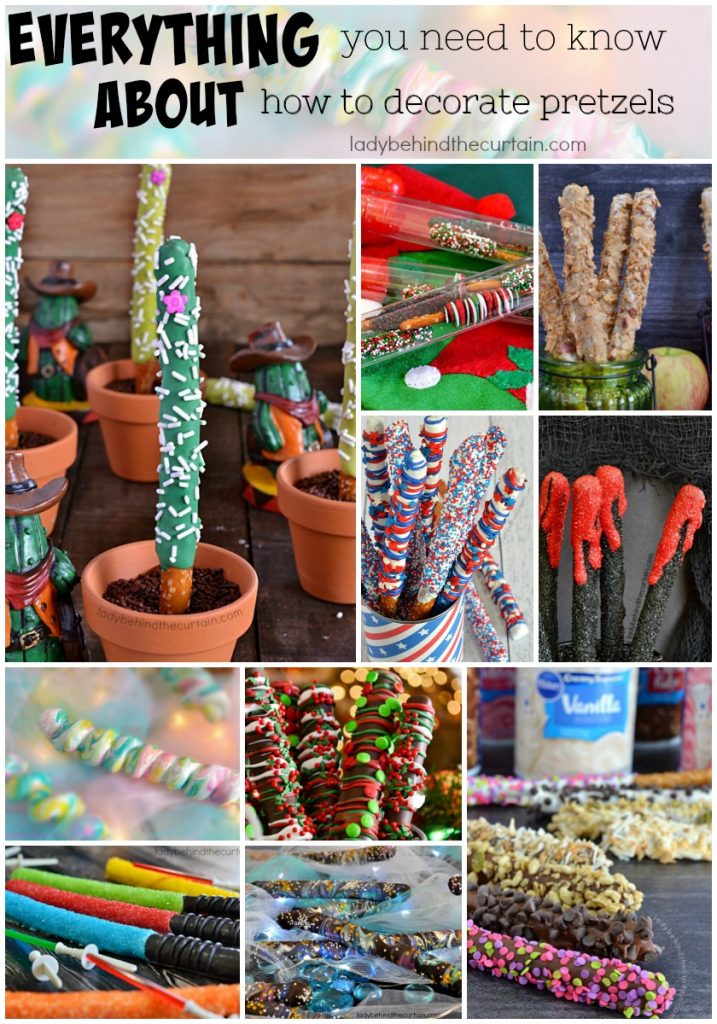
EVERYTHING YOU NEED TO KNOW ABOUT CANDY MELTS 2. EVERYTHING YOU NEED TO KNOW ABOUT HOW TO DECORATE PRETZELS
DECORATED PRETZELS
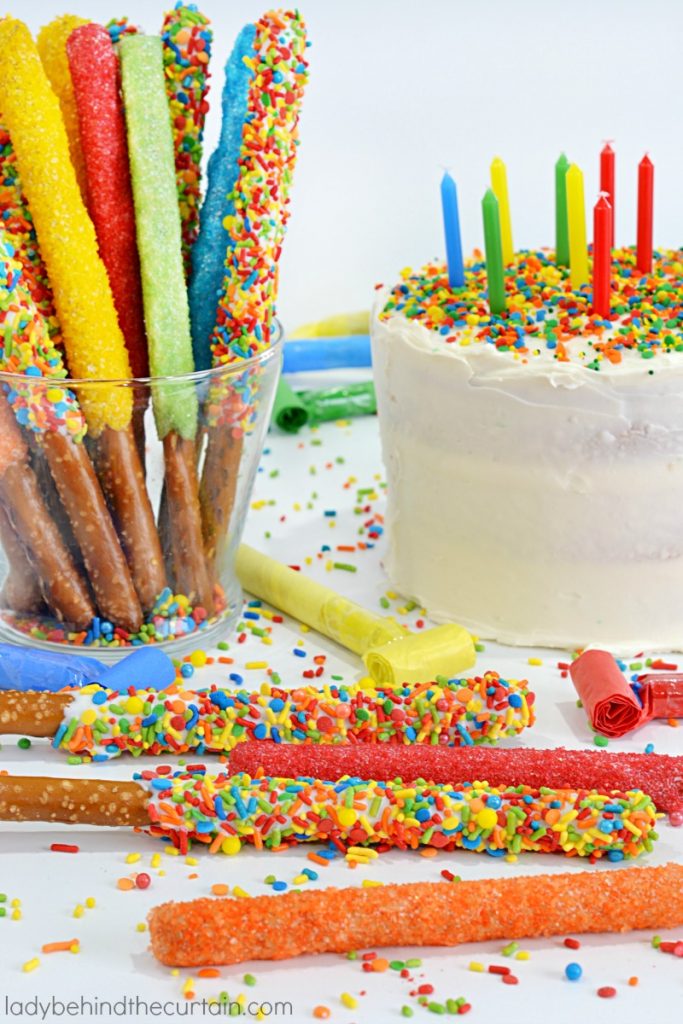
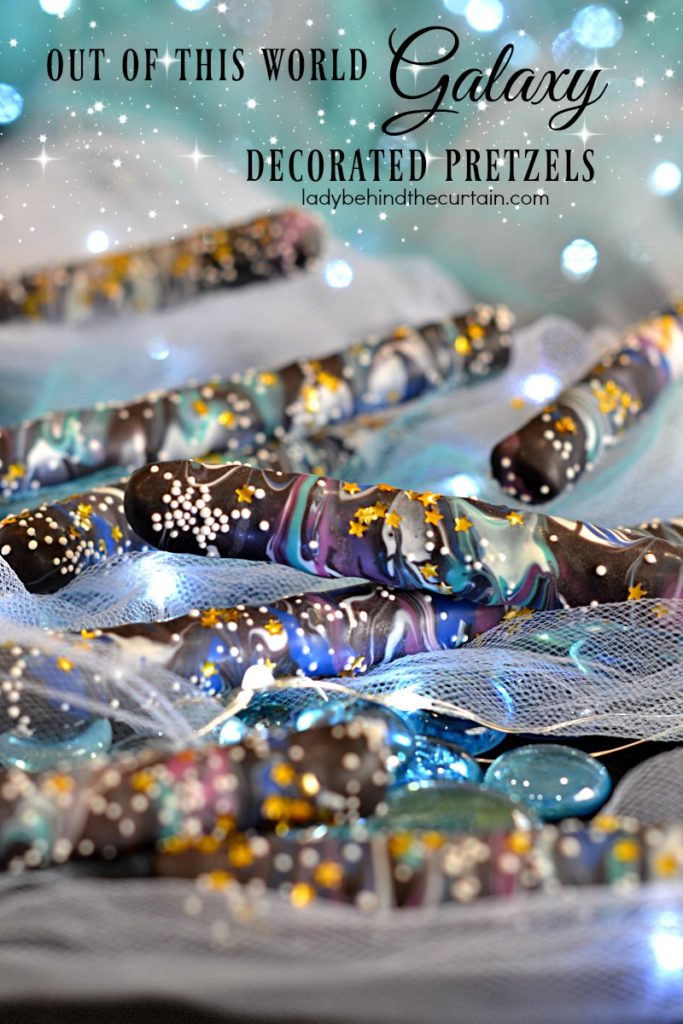
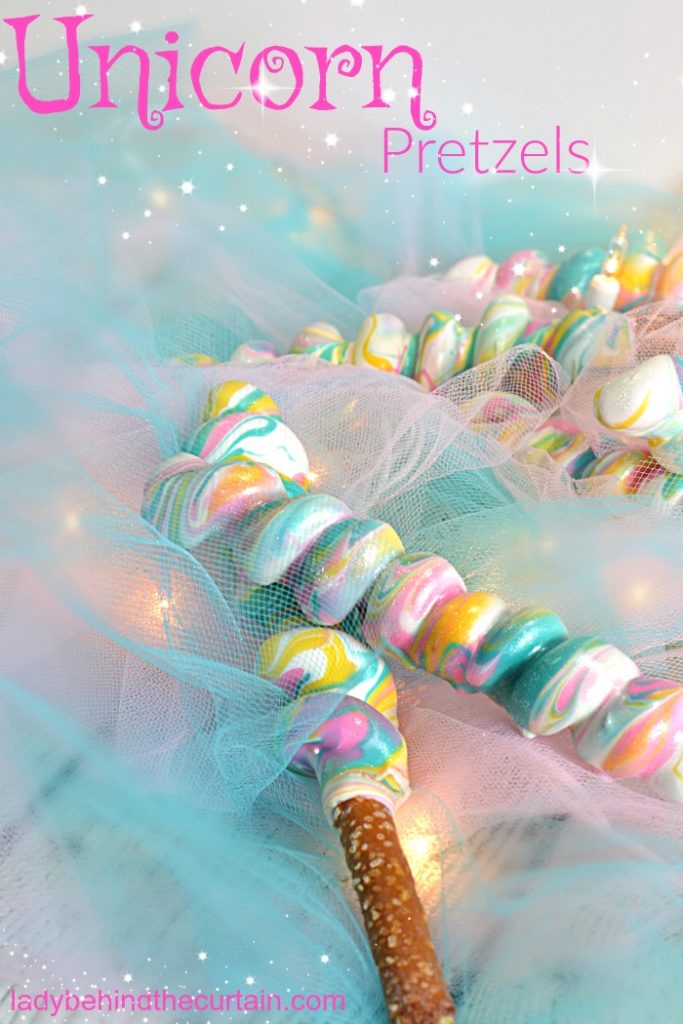
BIRTHDAY CAKE DECORATED PRETZELS 2. OUT OF THIS WORLD GALAXY DECORATED PRETZELS 3. UNICORN PRETZELS 4. OVER 40 PRETZEL IDEAS
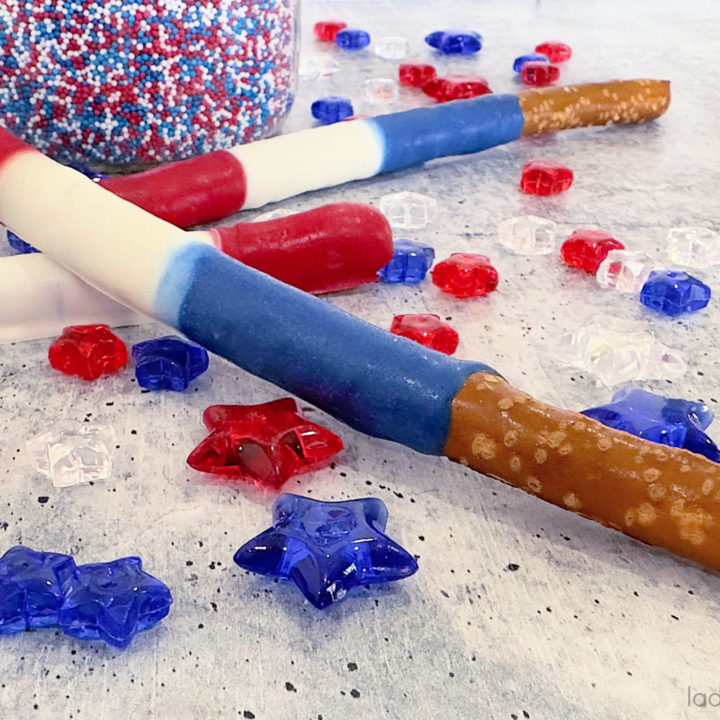
Red, White, and Blue Decorated Pretzels
Wow your guests with these easy to make stunning decorated pretzels.
Ingredients
- 18 pretzel rods
- ½ cup red candy melts or wafers
- ½ cup white candy melts or wafers
- ½ cup blue candy melts or wafers
- 1 tablespoon vegetable shortening, divided
- parchment or wax paper
- pencil
Instructions
- As a guide, lay a pretzel on a sheet of parchment paper, using a pencil, mark the top and bottom of where you would like the candy to start (at the top) and end (at the bottom).
- You can also add lines as a guide to the width of the candy for each color.
- Flip the parchment paper over, set aside until ready to use.
- Pour ½ cup candy melts into a small microwave safe bowl.
- Add 1 teaspoon vegetable shortening to the bowl with the candy.
- Heat in the microwave 1 minute on high, stir until creamy. If needed heat an additional 15 seconds at 60%.
- Set aside and repeat with remaining colors.
- Using your guide lines, pour colors onto the marked parchment paper, starting with red at the top, white and then blue.
- TIP: More times then not most of the pretzels will be curved, make sure to pour enough candy so that the curved parts will be covered.
- Lay the pretzel rod into the melted candy and roll.
- Place coated candy on a cookie sheet lined with parchment paper.
- When candy starts to run low or is mixed too much, add the remaining melted candy on top and continue rolling.
- Once all the pretzels have been coated, place them in the refrigerator for 10 minutes to harden.
SIGN UP FOR THE LADY BEHIND THE CURTAIN NEWSLETTER AND FOLLOW THE LADY BEHIND THE PARTY ETSY SHOP

NEWSLETTER: Receive (twice a month) seasonally themed newsletters full of recipes, tips and tricks. Sometimes even FREE gifts! ETSY SHOP: Did you know that Lady Behind the Curtain has an Etsy Shop? LADY BEHIND THE PARTY is a shop full of DOWNLOADABLE hand designed (by me) party supplies. Click here for the Newsletter→CURTAIN CALL NEWSLETTER Click here for the Esty Shop→LADY BEHIND THE PARTY
THANKS FOR VISITING♥


Comments
Red, White, and Blue Decorated Pretzels — No Comments
HTML tags allowed in your comment: <a href="" title=""> <abbr title=""> <acronym title=""> <b> <blockquote cite=""> <cite> <code> <del datetime=""> <em> <i> <q cite=""> <s> <strike> <strong>