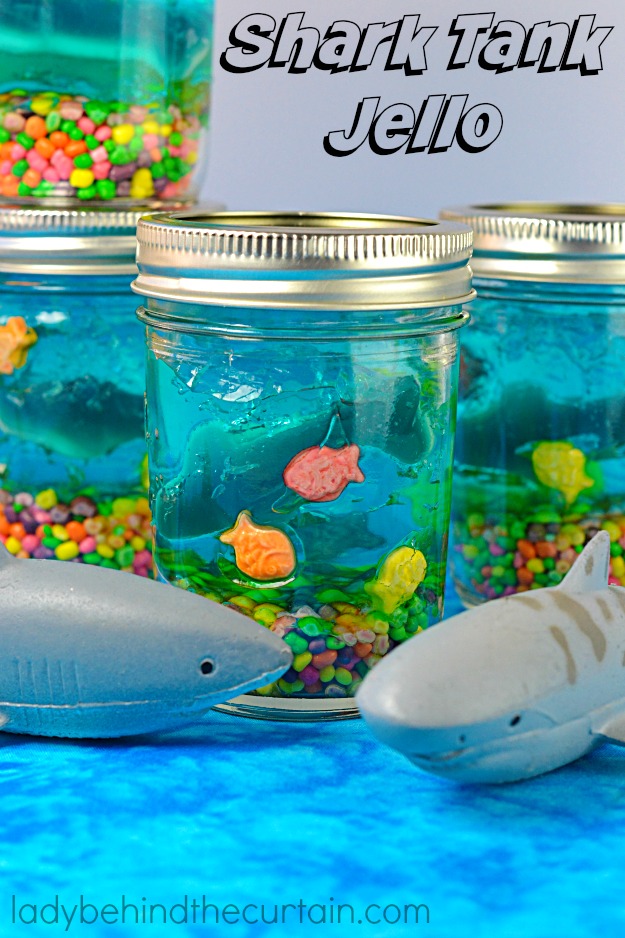
Shark Tank Jello
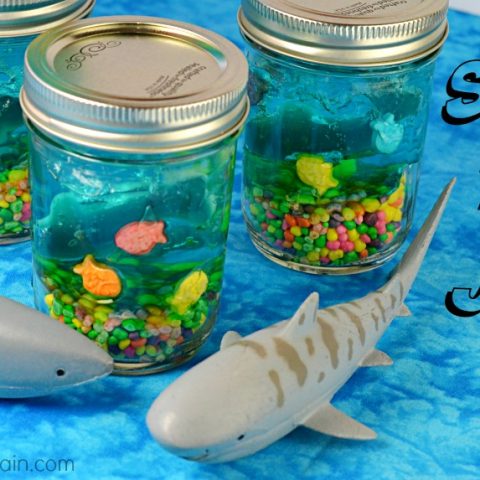
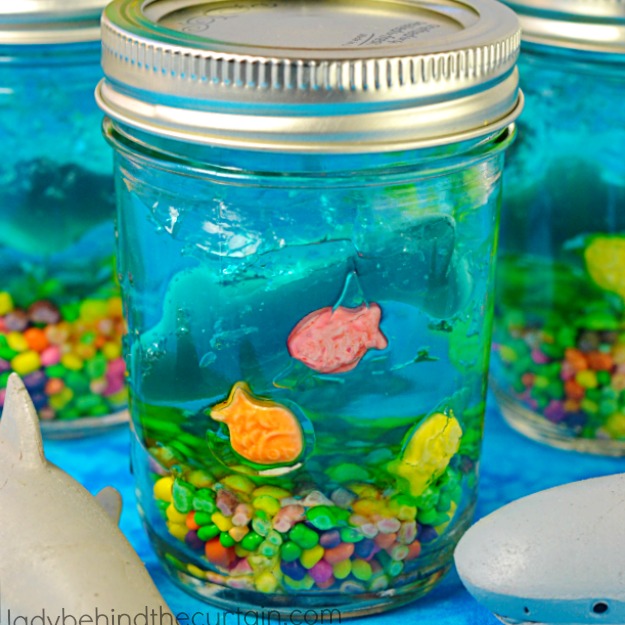
Celebrate Shark Week with this fun Shark Tank Jello! Your kids can have all kinds of fun with these fun treats. Perfect for a pool party, shark theme or beach party. With some easy directions you can make these inexpensive jello in a jar treats.
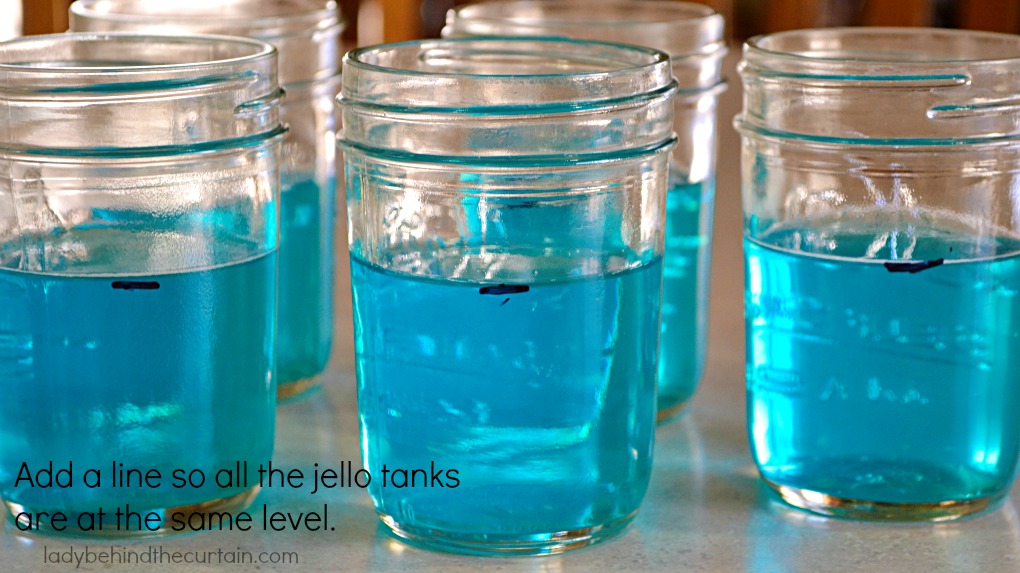
Use a permanent marker to mark how high you want the jello to be in the jar. The mark can easily be removed with nail polish remover.
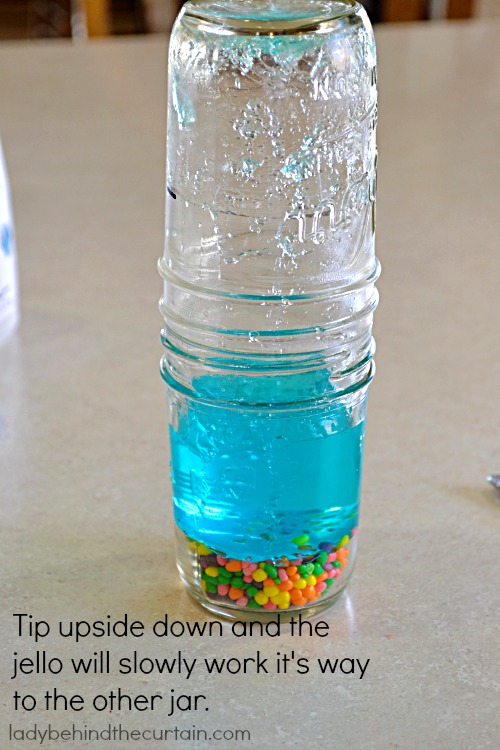
Make your jellos ahead of time in half pint jars. Once the jello is solidified. Pour some of the nerds into the jars that will be used as a tank (about 3 per box). Run a knife around the edges of the jello releasing the seal; turn the jar upside down on top of the tank jar and wiggle the jello into the tank jar.
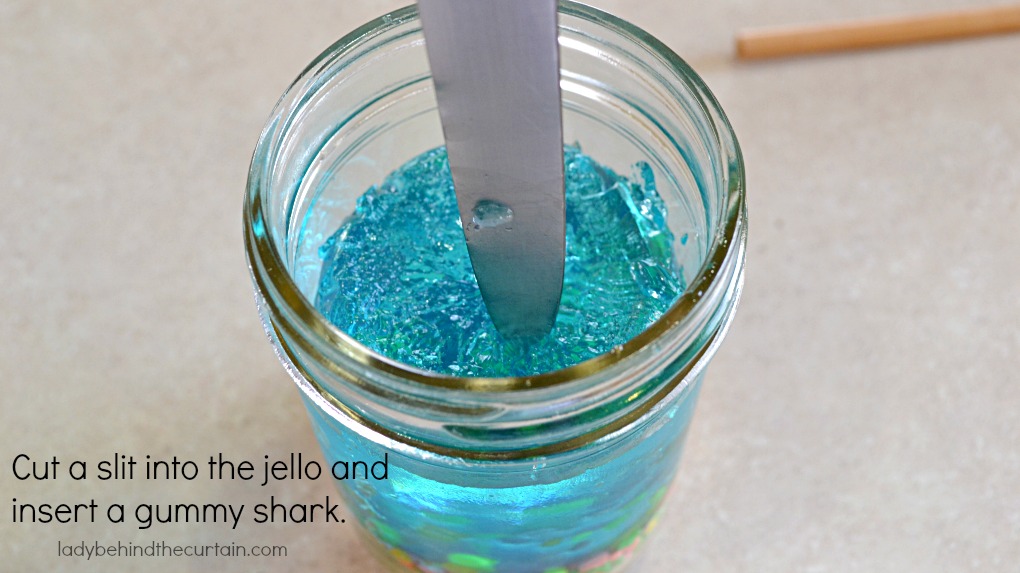
Cut a slit in the jello and using a skewer submerge a shark into the jar (you can also add candy fish too).
So much fun and everything is edible!
Shark Tank Jello
Ingredients
For the Jello:
- 1 (2 liter) bottle lemon lime soda, flat
- 4 (1/4 ounce) packages unflavored gelatin
- 2 drops blue food coloring
For the tanks:
- 26 half pint jars (with a lid) 13 for the shark tank and 13 for the jello to set up in.
- gummy sharks (I found mine at Walmart)
- nerds (about 5 boxes)
Instructions
For the Jello:
- Pour the soda into a large bowl and let it sit on the counter up to 4 hours to become flat.
- Once the soda is flat; pour 1 cup of the soda into a bowl; sprinkle the gelatin over the soda and let stand to soften (about 5 minutes).
- Pour 2 cups of soda in a small saucepan over medium heat.
- Heat until just before a boil.
- Add softened gelatin, stiffing to dissolve completely (about 2 minutes).
- Pour into the bowl with the remaining soda along with food coloring; stir to combine.
- Fill each jar up to the line.
- Store in refrigerator until solidified (overnight is best).
For the Tanks:
- When ready, run a knife around the edges to release the seal, turn upside down on top of another jar that already has the nerds in the bottom (about 3 jars per box).
- Jiggle loose the jello until it starts to move; it will slowly slide down into the jar that is ready to become a shark tank.
- Once the jello is in place; make a slice in the jello with a sharp knife and insert the gummy shark.
- You may also add candy shaped fish.
MORE POOLSIDE FUN
1. FISH BOWL PUNCH 2. JELLO LIFE SAVER COOKIES 3. POOL WATER JELLO




SO fun! My kiddos would love this!
How creative! Awesome idea and so cute! Thanks for sharing.
These are so cute! My kiddos would love them!
Does it work with juice instead of soda?
Hi Julie, This is a total guess but I would say yes.
Hi this is so great and I can’t wait to try it! But I was also wondering where you got the toy sharks from? The ones you used to decorate around the jars.
Many thanks!
Hi Melissa, I found the sharks at Dollar Tree. 🙂
Hi! Does this make a total of 6 or 13? I’m trying to figure out how many jars I’d need to end up with 7 total. I assume 14. But since the instructions call for 13 mason jars, I’m a little confused 🙂 Thanks!
Sorry about that Tina, Yes you will need double the amount of jars. One to fill with jello and another for the jello to fall into. This recipe makes 13 so you would need 26 jars. If you only want a total of 7 then you will need 14. You can just add the rest of the jello to a bowl. 🙂
My stepdaughter made these for her son’s birthday party for party favors and they were amazing!! They are the cutest things ever!
Yay! I’m so glad you liked them. Thanks for sharing! 🙂
Can these be made ahead of time???
Sure Krysta. That’s the reason I didn’t combine the nerds with the jello. Keeping them separate allows the nerds to keep their color and will continue looking awesome a few days after they’re made.
Hi. Do these jars have to stay refrigerated once they’re done ?
We’re having the party at a party place and I won’t be able to refrigerate them for a few hours.
Hi Massiel, It’s jello so I think it’ll be fine as long as the room isn’t super hot.
Can you use regular jello
Hi Marci, Sure….I think it will work the same. ♥
I made these for my kids and they loved them. So cute. We already had some shark toys so I decided to place them on the table too. I thought I’d practice making these ahead and then I’ll make them again for birthdays. Such a great idea. Thanks for sharing.
That’s so amazing Edwina!