Spiral Christmas Cookies
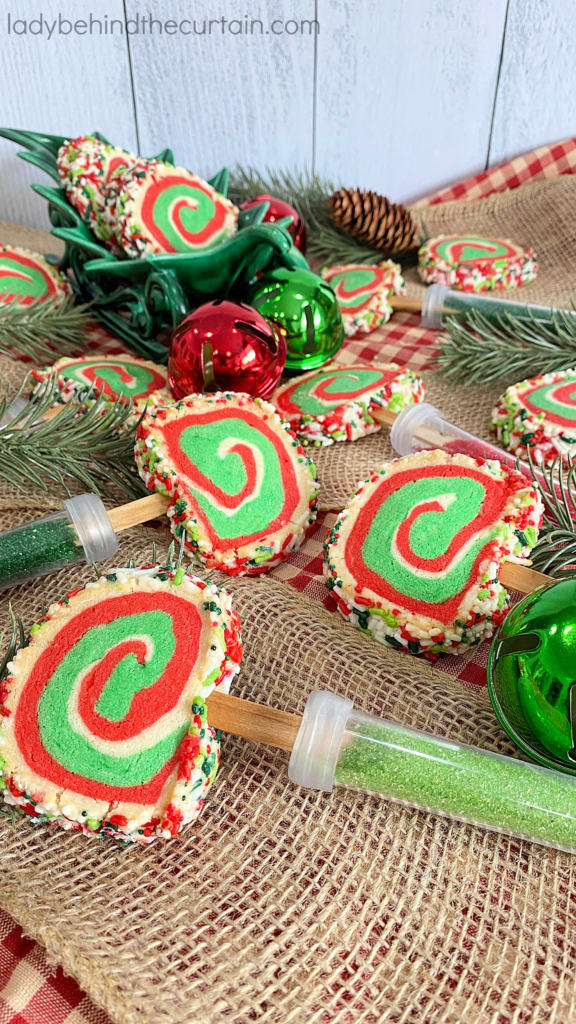
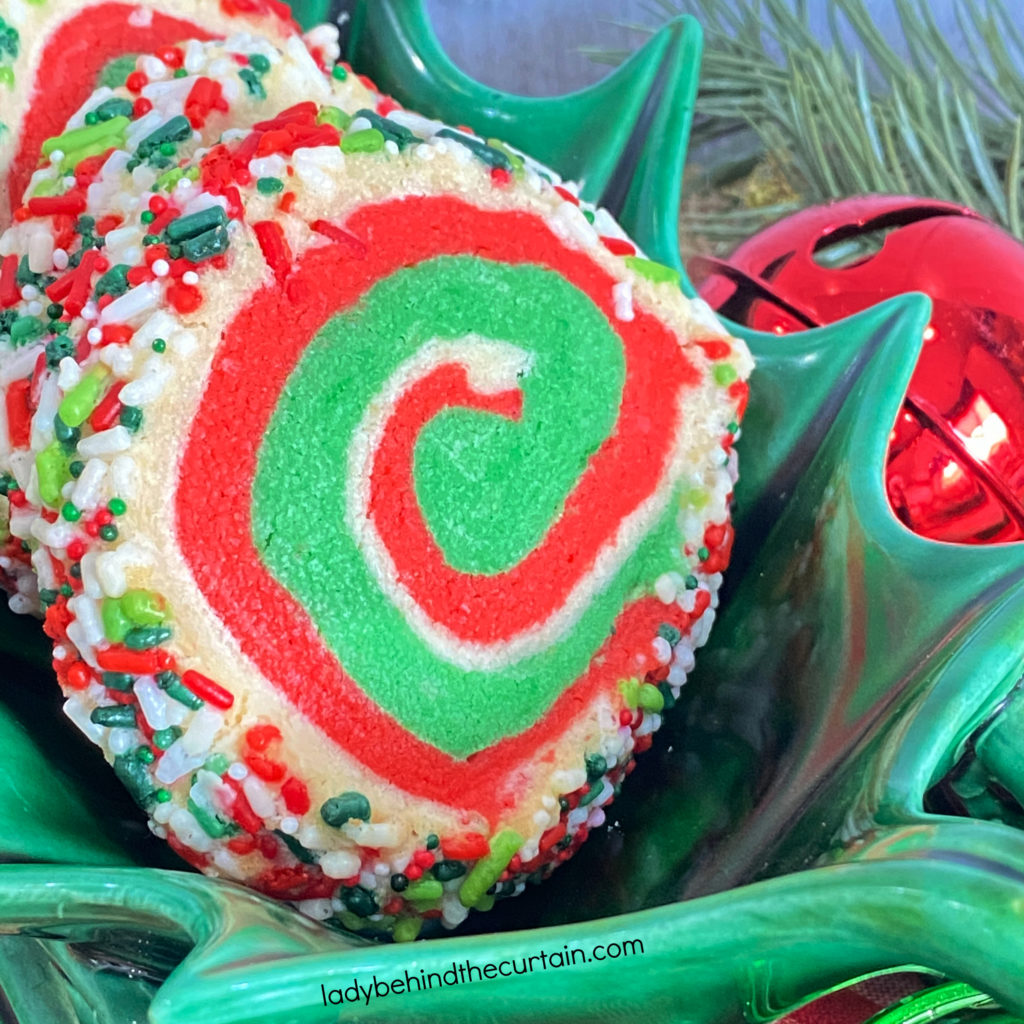
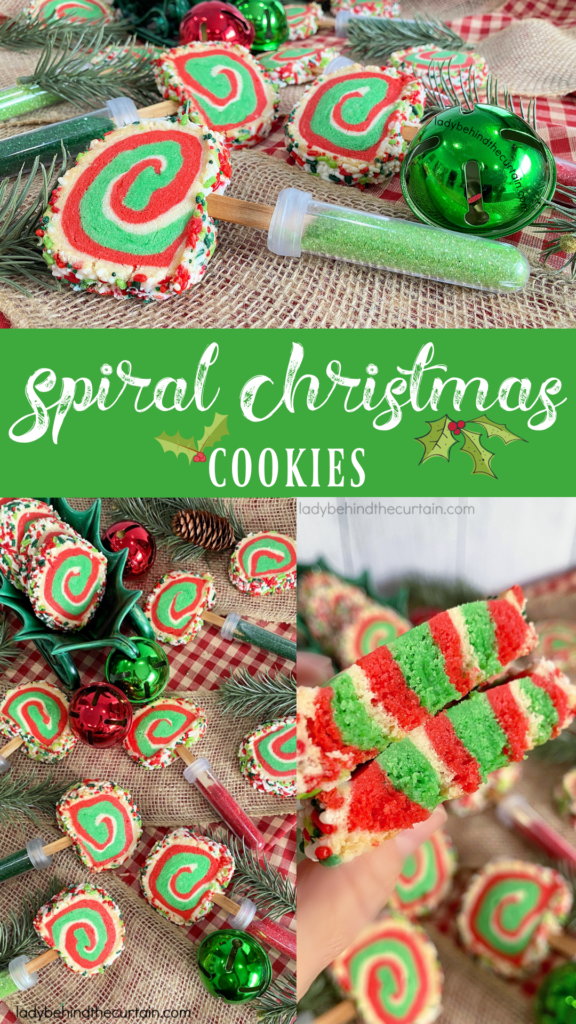
Spiral Christmas Cookies: Learn how to make these easy melt in your mouth three colored Spiral Christmas Sugar Cookies. With lots of tips and tricks too!
Tip:
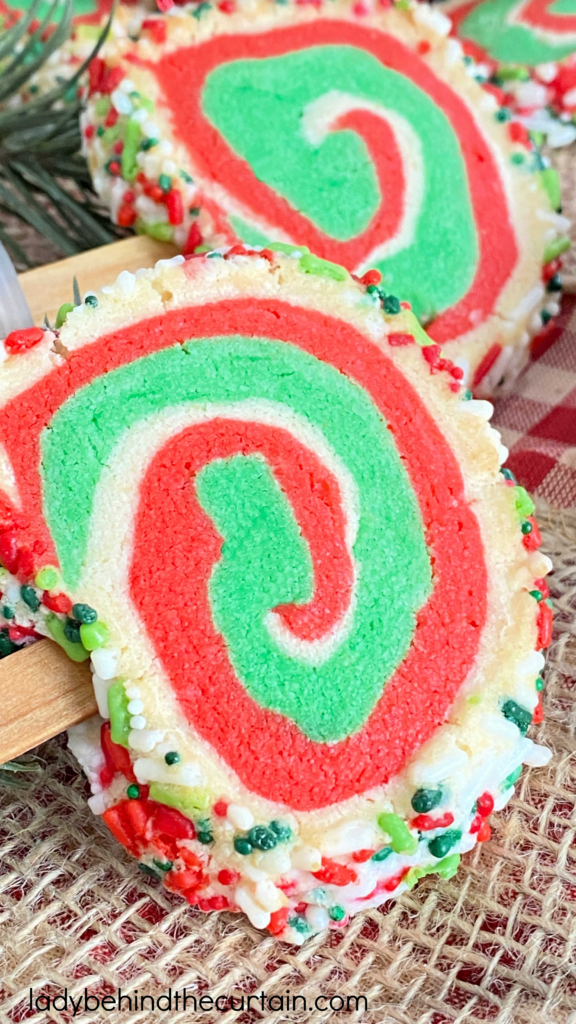
How to Transform these fun Cookies into a Kids Christmas Party Cookie
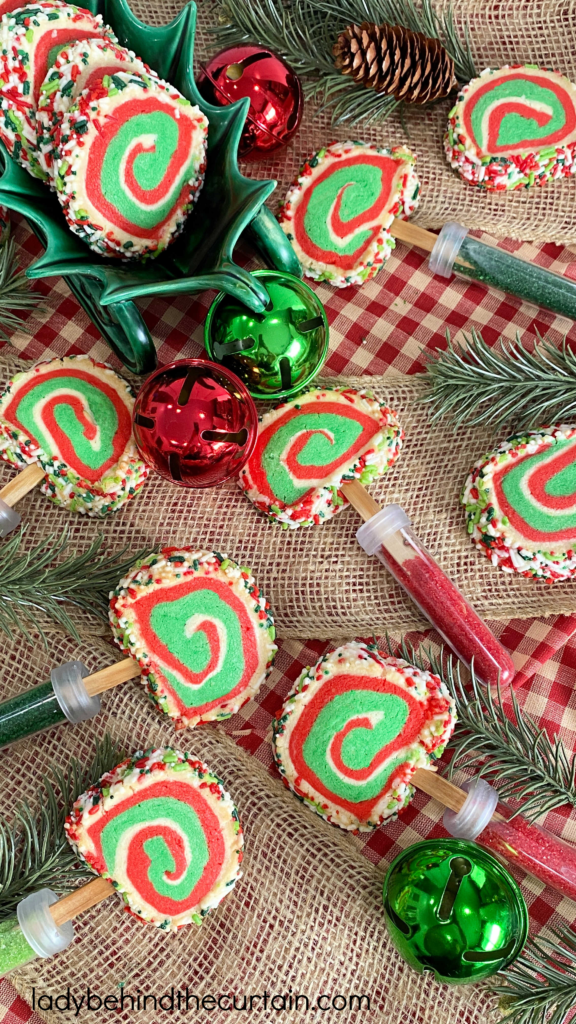
Spiral Christmas Cookie Party Favor
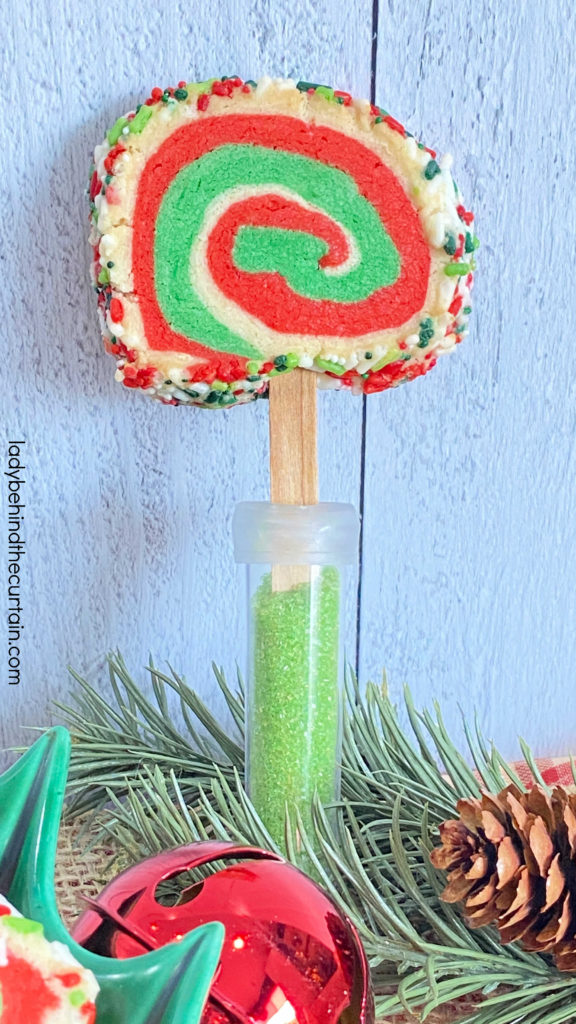
- ITEMS THAT CAN BE ADDED TO A FLORAL VIAL
- Mini red and green holiday M&M’s
- Candy coated sunflower seeds
- Assortment of Sprinkles
Slice and Bake Cookie Recipes
How to Make Spiral Christmas Cookies
- INGREDIENTS (full printable recipe below)
- 2¼ cup all-purpose flour
- ½ teaspoon baking powder
- ¼ teaspoon salt
- 2/3 cup powdered sugar
- ¼ cup granulated sugar
- 1¼ cup unsalted butter, softened
- 1½ teaspoon vanilla extract
- gel food coloring (I used leaf green and super red)
- red, green and white sprinkles (1 cup combined)
- Optional: craft sticks (4½ inches tall x ¾ inch wide)
- Floral vials
- DIRECTIONS
- In a large mixing bowl, add the flour, baking powder and salt; stir. To the same bowl add the sugars, butter and vanilla. Mix until everything is combined and forms a ball.
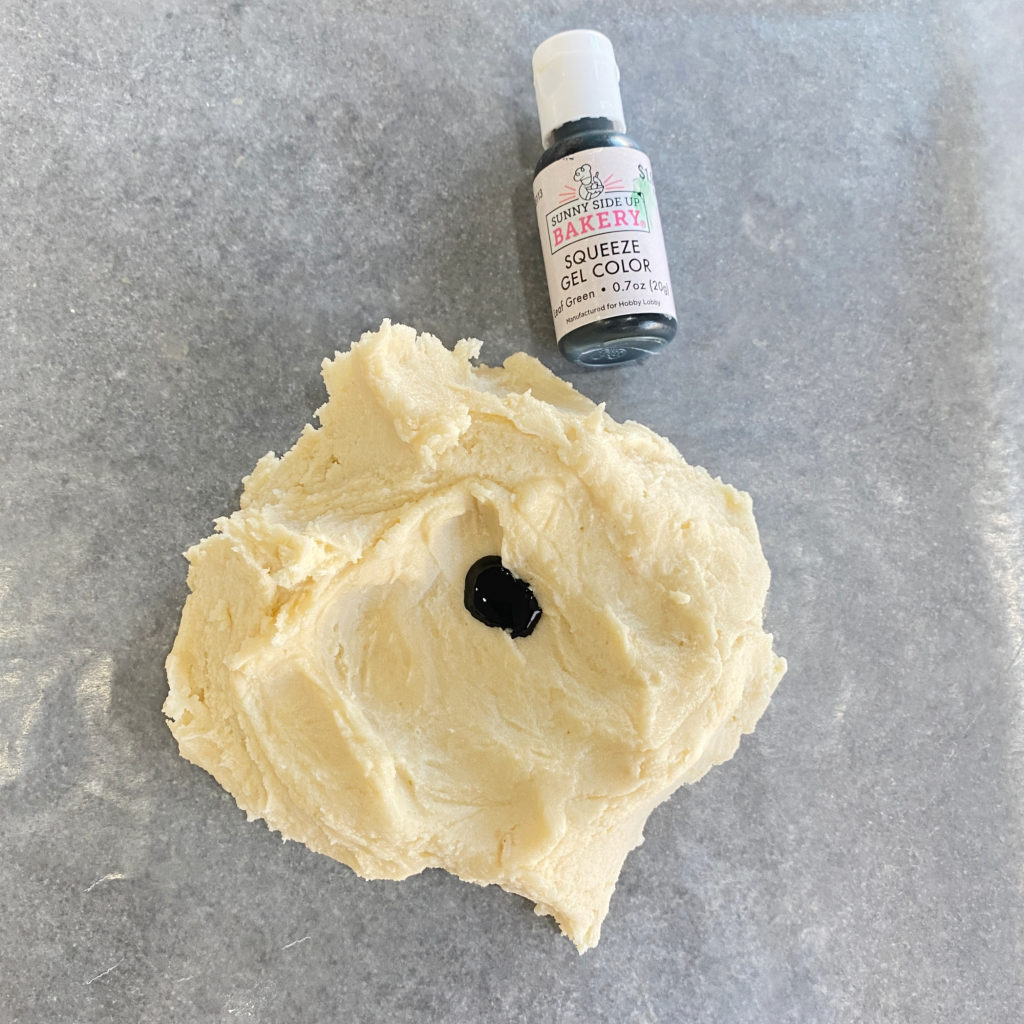
- Divide dough into THREE pieces (about 7.4 ounces each) Color one green, the other one red and leave the third one plain. NOTE: As the dough sits out while you’re adding color to the other portions it will stiffen up a bit for you.
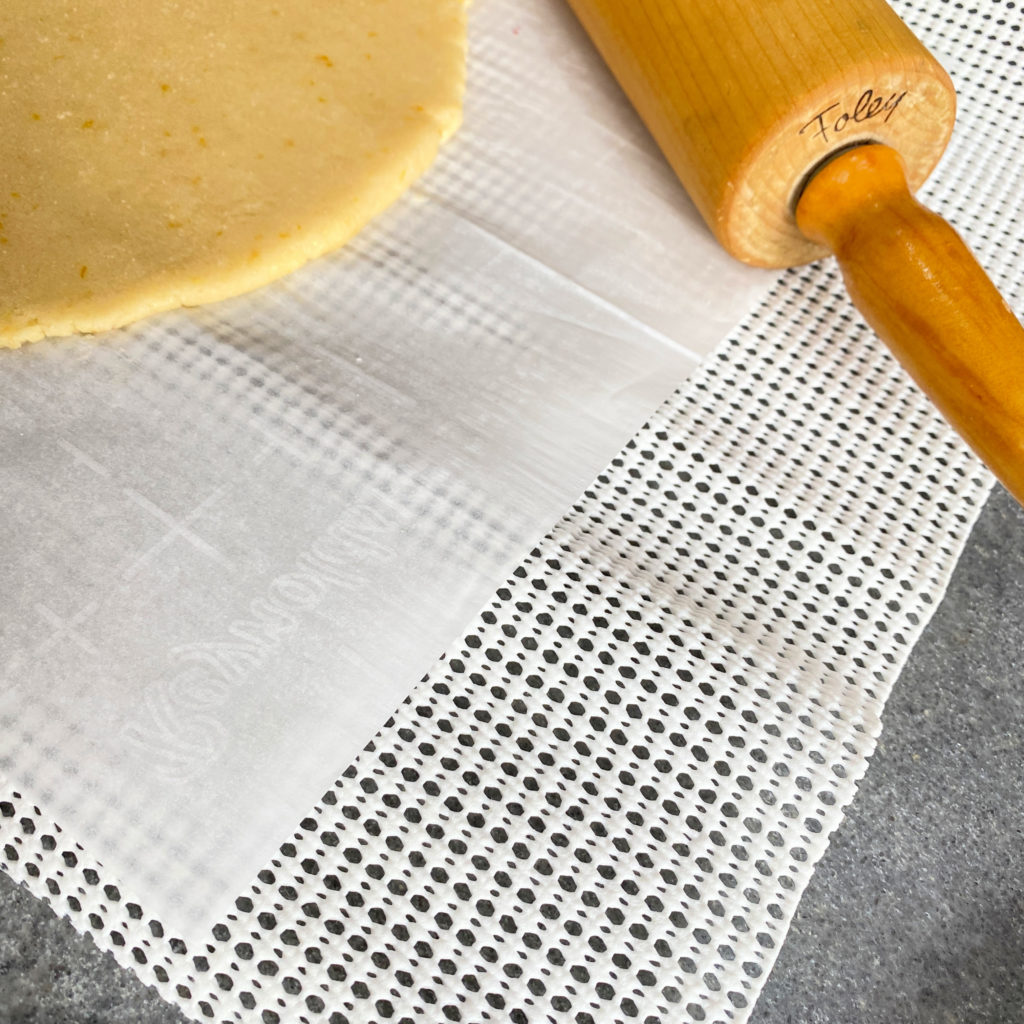
- Between two sheets of wax paper roll out one portion of the dough into a 18 x 8 inch rectangle and set aside. Repeat the same with the two remaining dough portions. TIP: The color you want on the outside is the color on the bottom.
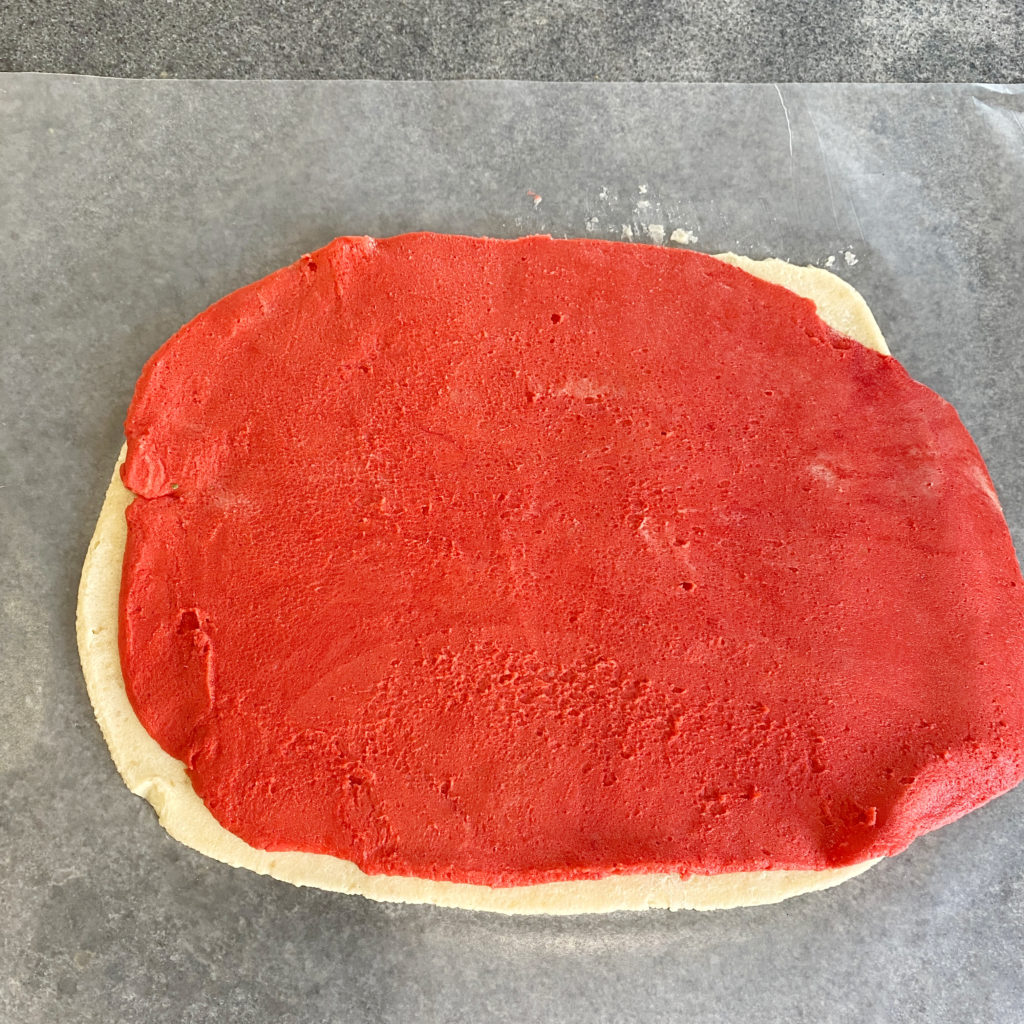
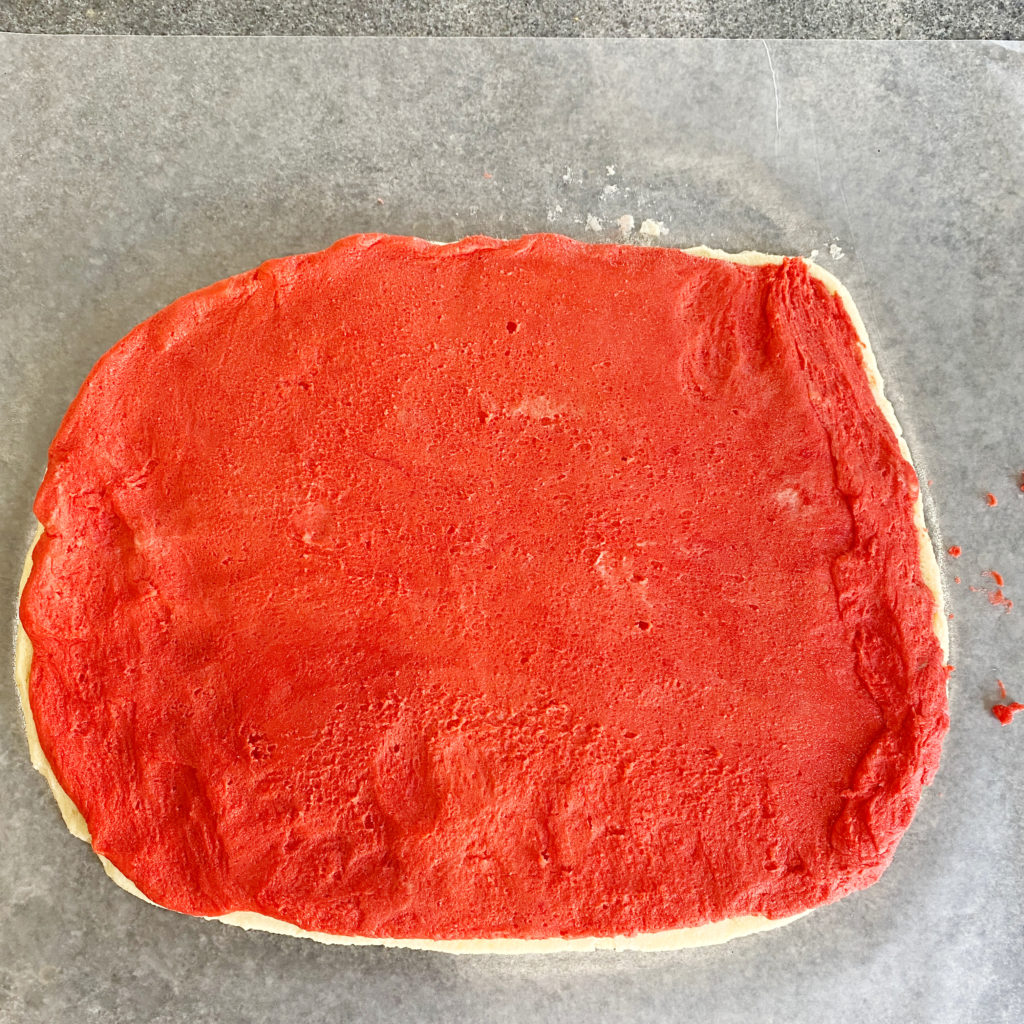
- Take the piece of wax paper off the top of the regular dough color piece, making sure to leave the bottom piece of wax paper where it is. Next take the top piece of wax paper off the red dough (this will be the bottom or where the two doughs touch. LEAVE THE TOP PIECE OF WAX PAPER ON THE DOUGH. Carefully lay the red dough on top of the regular dough. TIP: Keeping the dough attached to the piece of wax paper on top allows you to reposition the dough until you’re pleased.
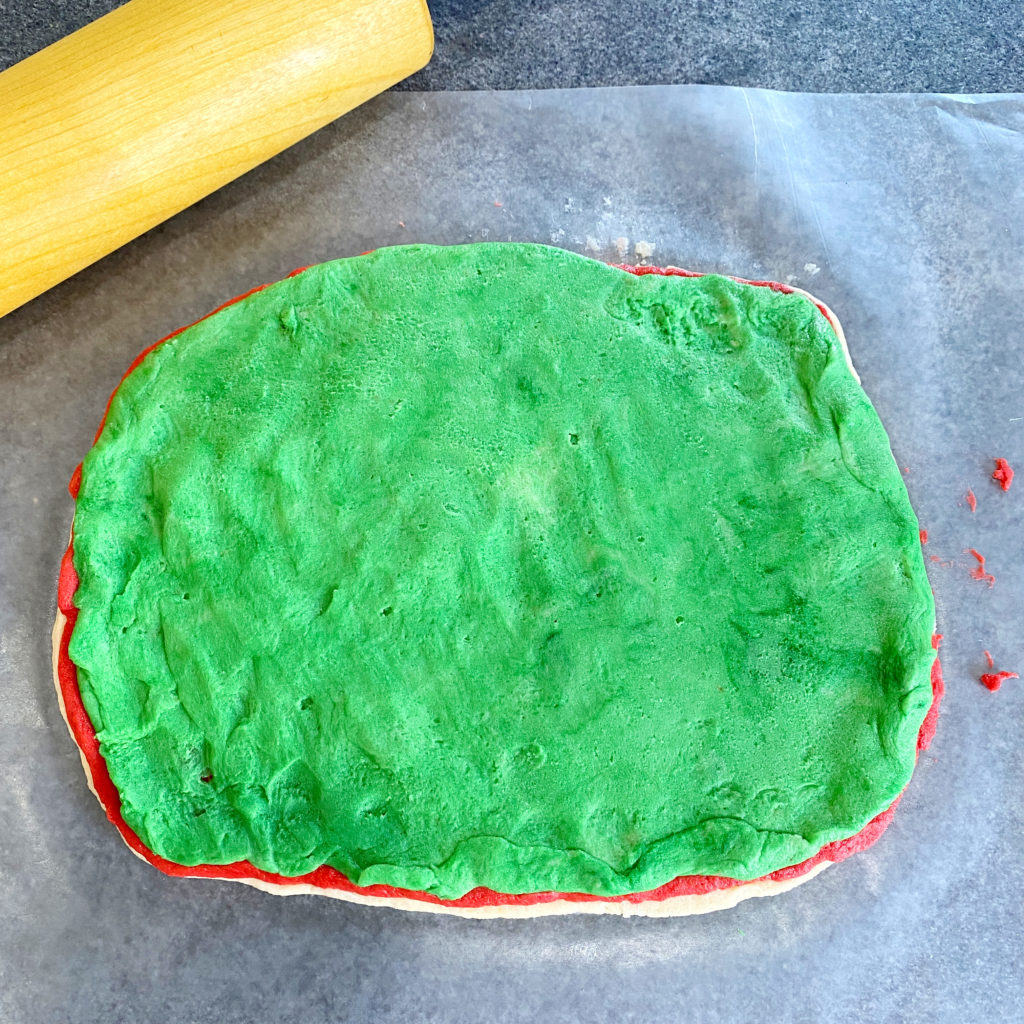
- At this point the dough is still really pliable and easy to maneuver. If the dough is short in some areas and too big in others, lightly use your finger tips to move it. Now it’s time to add the last dough piece (green). Use the same method as you did for the red.
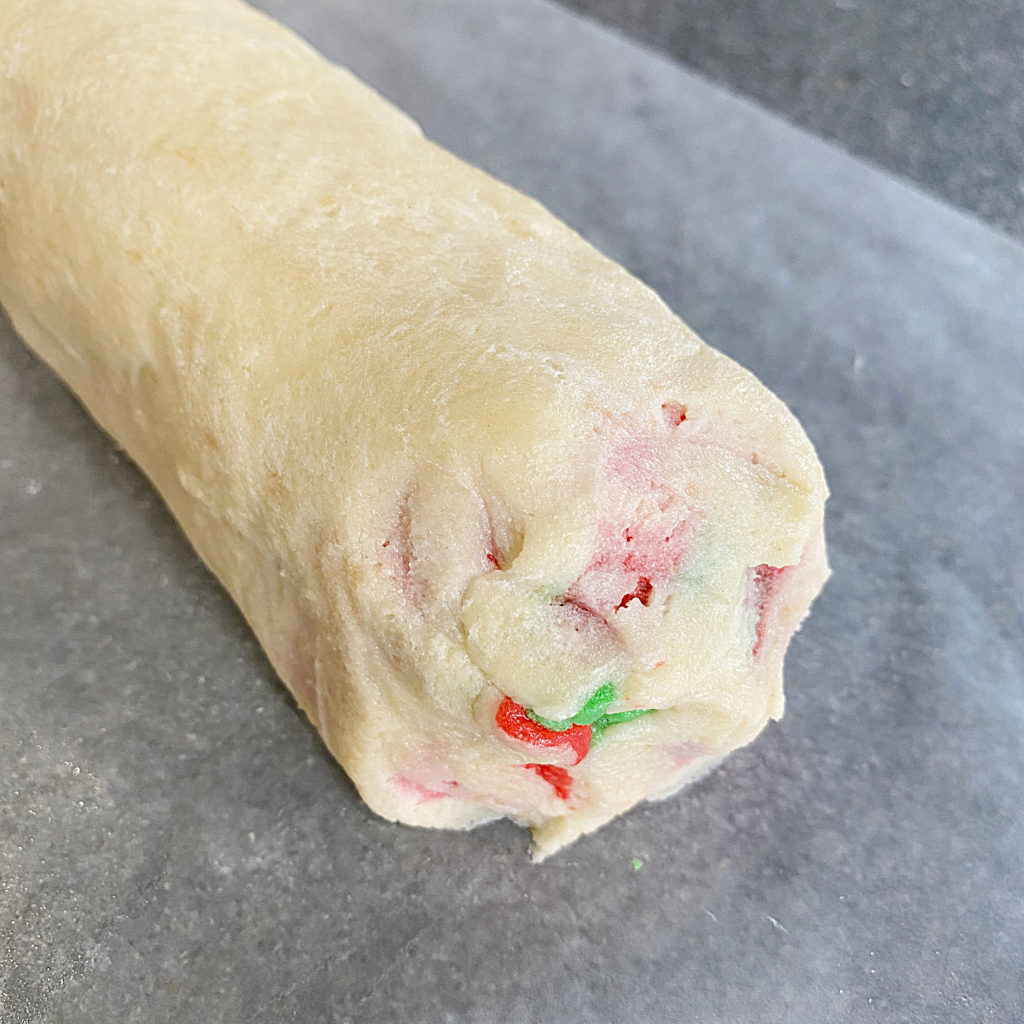
- IT’S TIME TO ROLL! The piece of wax paper the regular dough was sitting on and now all the dough is on will hep you roll the dough into a jelly roll. Lift and roll. Once the dough is rolled, lightly press it together to get rid of any air pockets. Wrap the dough in wax paper and refrigerate. After one hour check it to see if the dough is stiff enough to work with otherwise, I recommend refrigerating 2 hours. THIS WILL HELP WHEN IT COMES TIME TO CUT THE COOKIE DOUGH RIGHT NOW THE DOUGH IS TOO SOFT AND WILL COLLAPSE. TIP: If the dough is too hard after the 2 hours, simply let it rest on the kitchen counter. The amount of time depends on how warm your kitchen is.
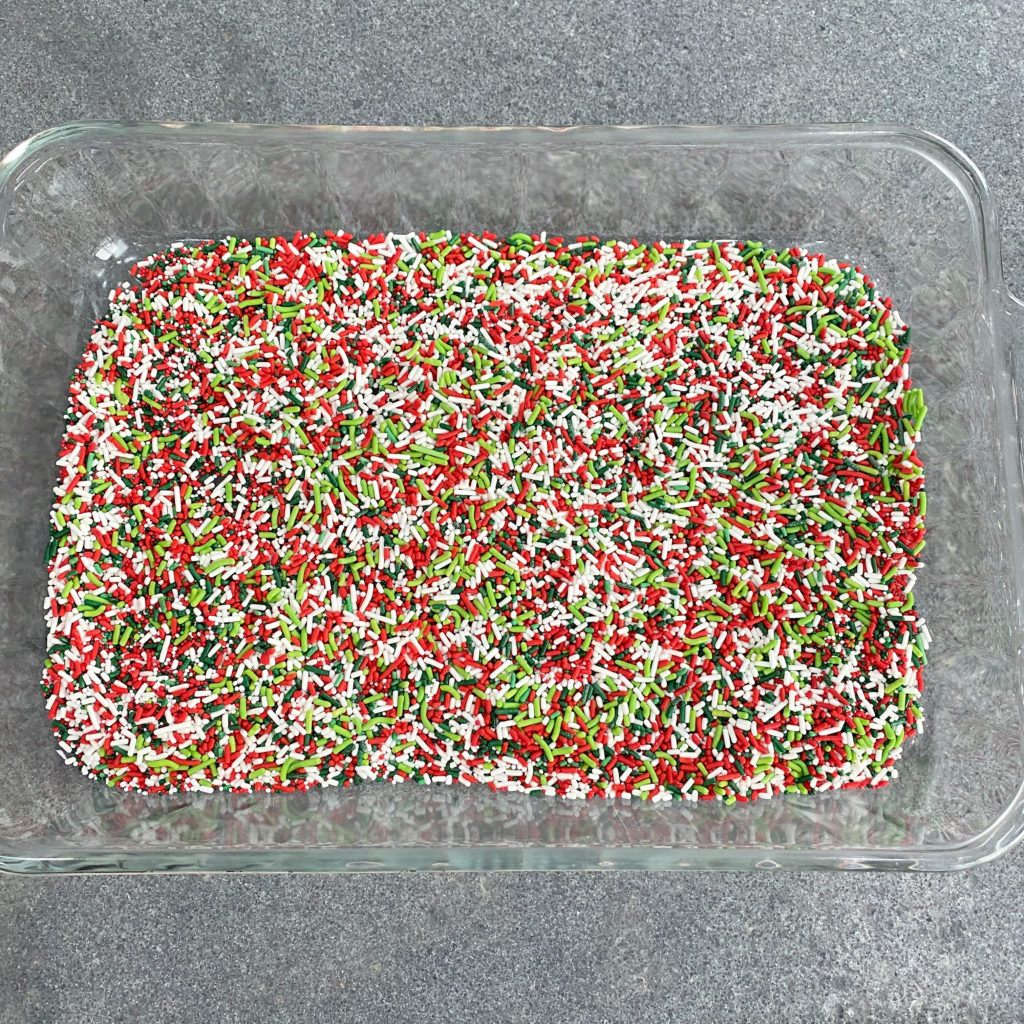
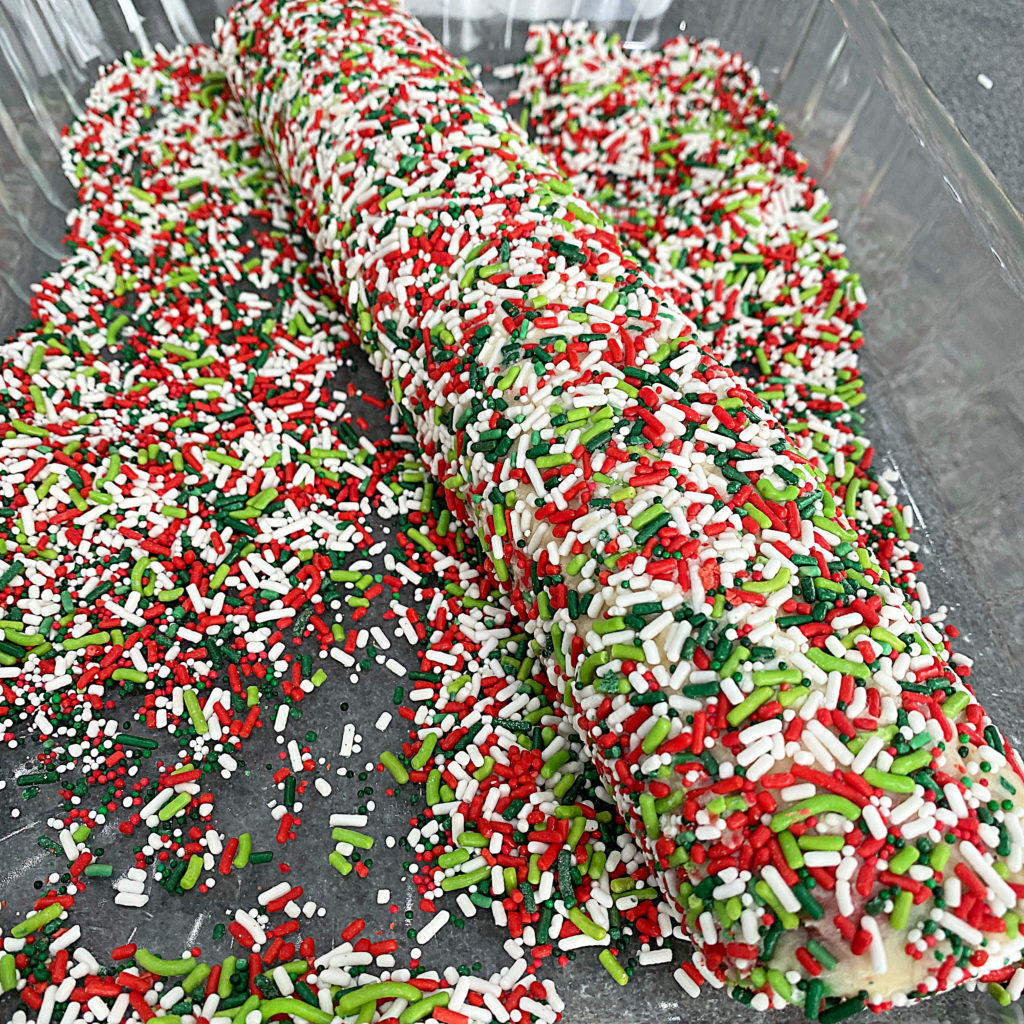
- Pour sprinkles into a 9 x 13 inch baking dish. Once the dough is soft enough for the sprinkles to stick to, unwrap the dough and place it in the prepared dish. Roll back and forth until the whole log is completely covered in sprinkles. Place on a cutting board, using a serrated knife slice into ½ inch pieces.
- Place on a baking sheet lined with parchment paper. Refrigerate 2 hours or until hard. Preheat oven to 350°. Bake 17-19 minutes or the cookies are brown around the edges. Slide parchment paper with the cookies still on it onto the counter to cool completely. Store in an airtight container.
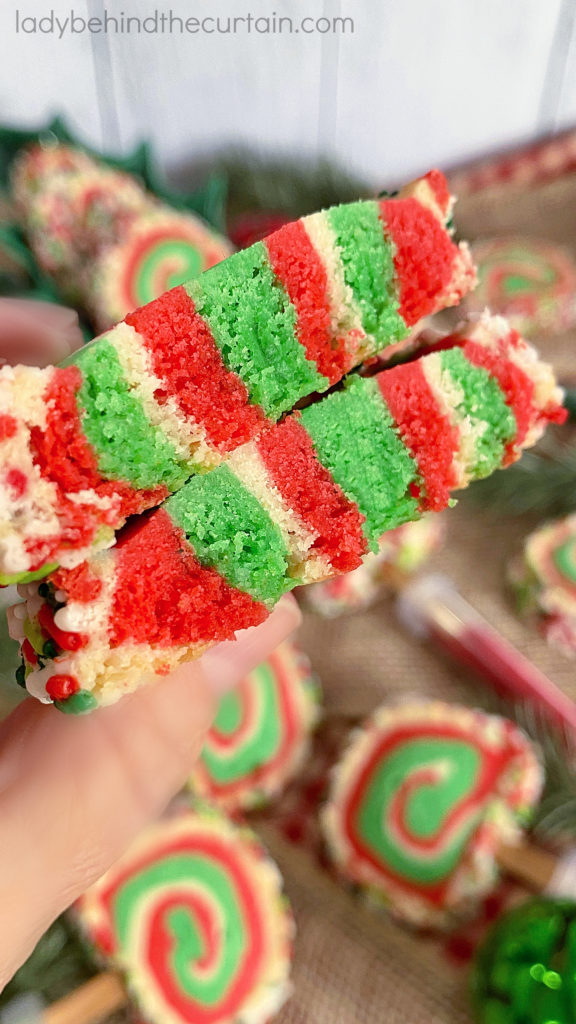
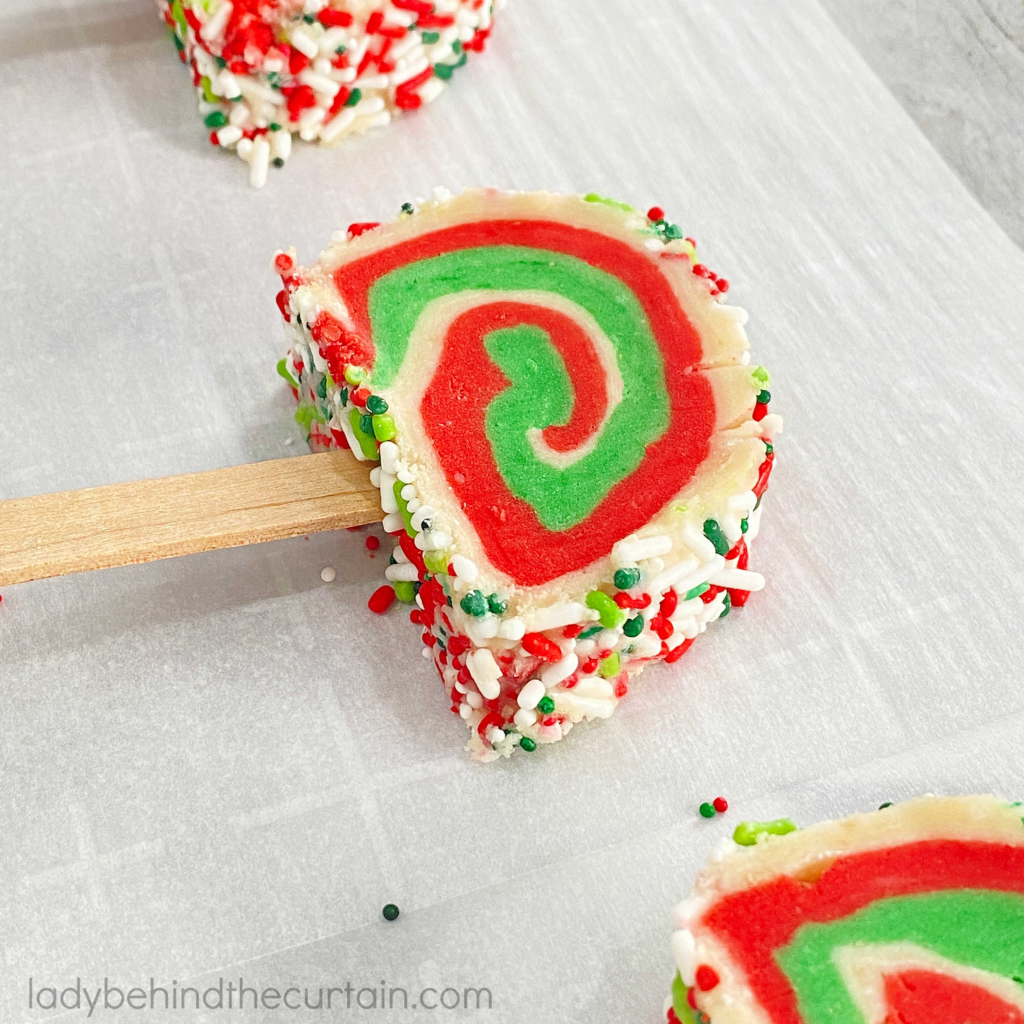
LOOK AT THOSE COLORFUL LAYERS!
MORE COOKIE RECIPES
Spiral Christmas Cookies
Yield:
Makes 18 (including the ugly ends)
Easy to make cute Christmas cookies for Santa, Party Favor, Holiday cookie tray or party dessert table.
Ingredients
- 2¼ cups all-purpose flour
- ½ teaspoon baking powder
- ¼ teaspoon salt
- 2/3 cup powdered sugar
- ¼ cup granulated sugar
- 1¼ cups unsalted butter, softened
- 1½ teaspoons vanilla extract
- gel food coloring (I used leaf green and super red)
- red, green and white sprinkles (1 cup combined)
- Optional: craft sticks (4½ inches tall x ¾ inch wide)
- Floral vials
Instructions
- In a large mixing bowl, add the flour, baking powder and salt; stir.
- To the same bowl add the sugars, butter and vanilla.
- Mix until everything is combined and forms a ball.
- Divide dough into THREE pieces (about 7.4 ounces each)
- Color one green, the other one red and leave the third one plain.
- NOTE: As the dough sits out while you're adding color to the other portions it will stiffen up a bit for you.
- Between two sheets of wax paper roll out one portion of the dough into a 18 x 8 inch rectangle and set aside. Repeat the same with the two remaining dough portions.
- TIP: The color you want on the outside is the color on the bottom.
- Take the piece of wax paper off the top of the regular dough color piece, making sure to leave the bottom piece of wax paper where it is.
- Next take the top piece of wax paper off the red dough (this will be the bottom or where the two doughs touch. LEAVE THE TOP PIECE OF WAX PAPER ON THE DOUGH.
- Carefully lay the red dough on top of the regular dough. TIP: Keeping the dough attached to the piece of wax paper on top allows you to reposition the dough until you're pleased.
- At this point the dough is still really pliable and easy to maneuver. If the dough is short in some areas and too big in others, lightly use your finger tips to move it.
- Now it's time to add the last dough piece (green). Use the same method as you did for the red.
- IT'S TIME TO ROLL! The piece of wax paper the regular dough was sitting on and now all the dough is on will hep you roll the dough into a jelly roll. Lift and roll. Once the dough is rolled, lightly press it together to get rid of any air pockets. Wrap the dough in wax paper and refrigerate. After one hour check it to see if the dough is stiff enough to work with otherwise, I recommend refrigerating 2 hours. THIS WILL HELP WHEN IT COMES TIME TO CUT THE COOKIE DOUGH RIGHT NOW THE DOUGH IS TOO SOFT AND WILL COLLAPSE.
- TIP: If the dough is too hard after the 2 hours, simply let it rest on the kitchen counter. The amount of time depends on how warm your kitchen is.
- Pour sprinkles into a 9 x 13 inch baking dish.
- Once the dough is soft enough for the sprinkles to stick to, unwrap the dough and place it in the prepared dish. Roll back and forth until the whole log is completely covered in sprinkles.
- Place on a cutting board, using a serrated knife slice into ½ inch pieces.
- Place on a baking sheet lined with parchment paper.
- Refrigerate 2 hours or until hard.
- Preheat oven to 350°.
- Bake 17-19 minutes or the cookies are brown around the edges.
- Slide parchment paper with the cookies still on it onto the counter to cool completely.
- Store in an airtight container.
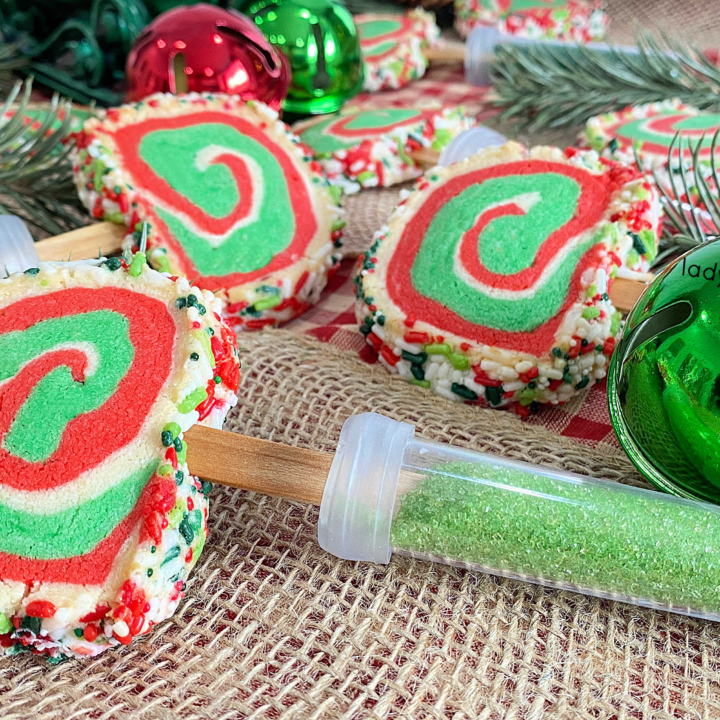
Lollipop Spiral Cookies:
- Follow the above instructions all the way and including step 19.
- Lightly lay the palm of your hand on top of the cookie and insert the craft stick making sure the stick doesn't go through the top.
- Bake and cool the same time as the above instructions.
Party Favor Spiral Cookies:
- Fill the vials (stop at about ¼ from the top) with colored sugar sprinkles.
- Insert craft stick.
NEVER MISS A POST







What a fun party favor. I love the use of the vial filled with candy and the spiral cookies look great too.
These are both creative and cute! I love how colorful and fun they are. Add a cellophane bag over the cookie and tie a bit of curly ribbon – so fun for a kiddo to take home! Thanks for sharing your creativity!
These are amazing and adorable!
Merry Christmas,
Wanda Ann @ Memories by the Mile
I do think these are the cutest ever. So very nice. Thank you for sharing, Blessings, Jo-Ann
Very cute idea!
As if the cookies on a stick weren’t absolutely adorable! But in the little tubes? So stinkin’ cute!!!
Wow! New follower to your blog! These are SO creative.
If you haven’t already, please come link up to my weekly Farm Girl Blog Fest: http://fresh-eggs-daily.blogspot.com/2012/12/farm-girl-friday-blog-fest-12.html
My party runs until Thursday night each week and a new party starts each Friday morning.
Happy Holidays!
Lisa/Fresh Eggs Daily
These are so fun! Thanks for a great tutorial. I hope you’ll share it at our Holiday Cookie Recipe Swap going on now: http://thedomesticatedprincess.blogspot.com/2012/12/holiday-cookie-recipe-swap-week-4.html
Wow, these are adorable, and so festive! Thanks so much for sharing on our Holiday Cookie Recipe Swap!
Steph
swtboutique.com
So festive, and fun! Thank you for linking up to the blog hop Adorned From Above. We are co-hosting and appreciate you joining the party! Have a great day!
Host: Debi @ adornedfromabove.com
Co-Host: Joye & Myrna @ thebusybhive.blogspot.com
Co-Host: Linda @ withablast.com
Thank you so much for sharing your awesome recipe with Full Plate Thursday. Hope you are having a great day and come back real soon!
Miz Helen
Thanks for posting on our Holiday Cookie Recipe Swap. I’m featuring you this week, so stop back by to grab a button: http://thedomesticatedprincess.com
Hi Sheryl,
These are so cute and look delicious. These are being featured at this weeks Wednesdays Adorned From Above Blog Hop. Thanks so much for sharing at Wednesday’s Adorned From Above Blog Hop. This weeks party is live. I hope to see you there.
http://www.adornedfromabove.com/2012/12/6-crafts-and-recipes-and-wednesdays.html
Debi @ Adorned From Above
Joye and Myrna @ The Busy Bee’s
Linda @ With A Blast
How adorable! Very great ideas for party favors. 🙂