


Western Themed Birthday Party Ideas + Video
▼ JUMP TO THE MINI NO-BAKE CHEESECAKE RECIPE
▼ JUMP TO THE CARAMEL RASPBERRY DARK CHOCOLATE PRETZEL RECIPE
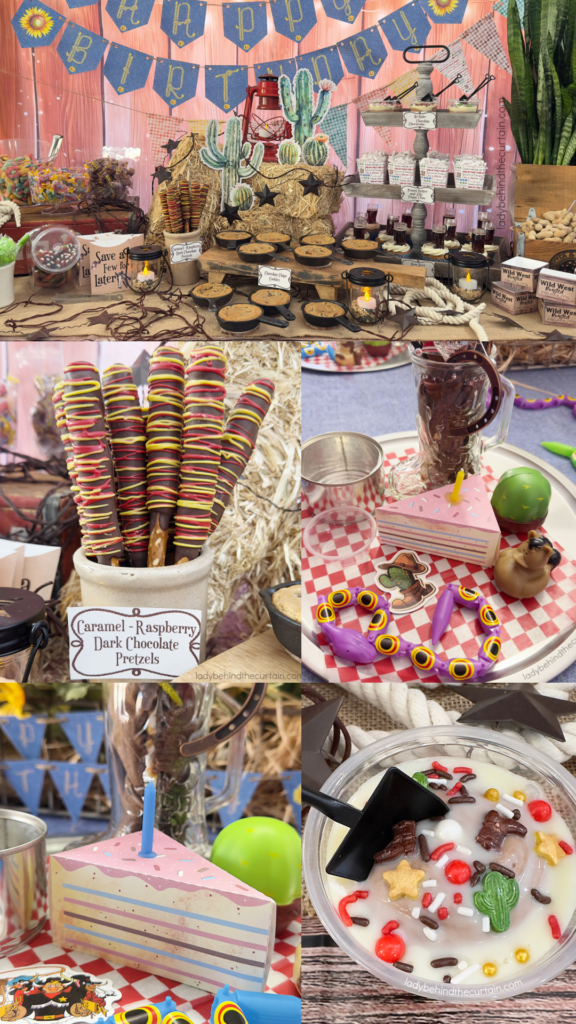
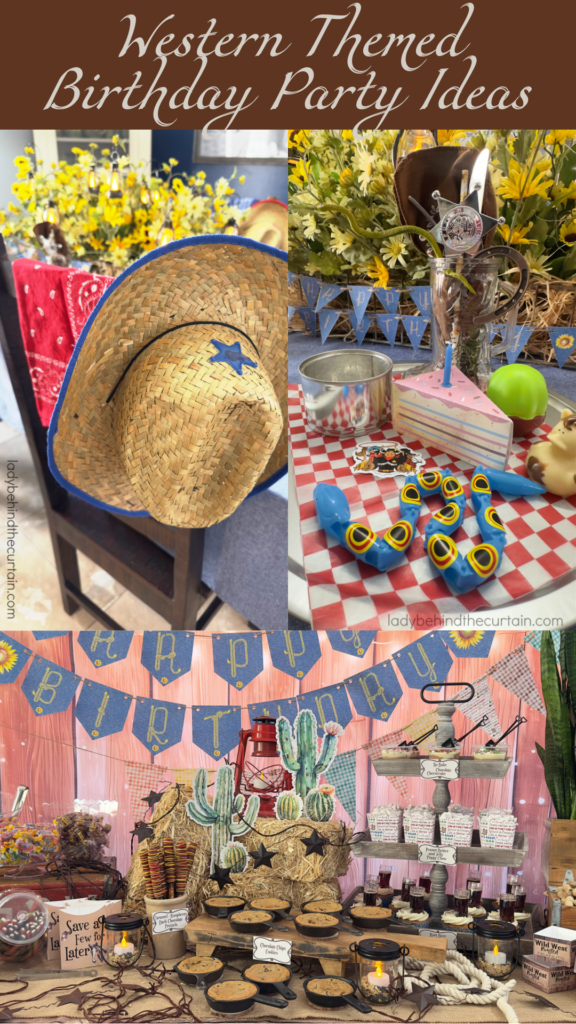
How to Throw the Ultimate Western-Themed Birthday Party. Yeehaw! Saddle up, partner, because we’re about to show you how to throw the ultimate western-themed birthday party without breaking the bank. With the help of free printables, you’ll be able to transform your space into a festive cowboy haven that will have your guests saying “Howdy” in no time. From cowboy hats to western-themed banners and treat boxes to cupcake wrappers, we’ve got all the tips and tricks you need to make your celebration a wild success. So grab your boots and get ready to wrangle up some fun – let’s get this party started!
Remember—and I can’t stress this enough—this table was not created with the intent of you having to create it exactly. It was created so you would have plenty of ideas to work with. Of course, you can make them all, but you don’t have to do so to have the BEST birthday party EVER!
Setting Up—Each Place Setting
To set the stage for your ultimate Western birthday party, start by decking out your space with cowboy hats and bandanas. These decorations will instantly transport your guests to the Wild West, creating a festive atmosphere that will have everyone in the cowboy spirit. Place a hat and banana on the backs of each chair, and everyone can enjoy the party in Western style!
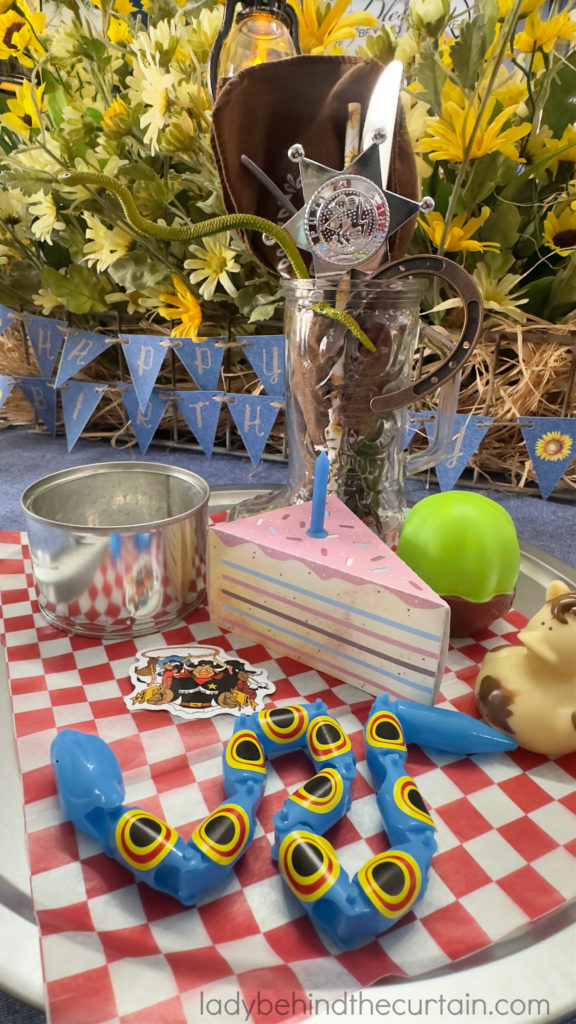
Bring the Wild West right to your own dining table with a Western-themed place setting. But this isn’t just any ordinary place setting – it comes with a special treat and even Western-themed toys! Surprise your guests with a unique dining experience. So saddle up and get ready to learn how to create a truly unforgettable Western-themed place setting. No matter the age of your guests, they will love these fun place settings adorned with a special treat, Western-themed toys, and everything they need for a rootin’ tootin’ time! This place setting is filled with suggestions. Add all of them, or choose a few!
- There are two choices for the plate (three if you add a normal plate to the list. A pie pan or a pizza pan. I normally would use a pie pan for a plate. Using a pie pan reminds me of the old West movies and the cowboys sitting around the fire eating. This meal required a larger plate. I chose to use Dollar Tree Pizza Pans for the plate and an empty, cleaned (pineapple rings) can as a bowl. I also chose to add a 2-ounce souffle cup for the ranch dressing or ketchup. I found the cups at Walmart. On the menu were grilled burgers with lots of toppings, french fries, and bean salad. On top of the pizza pan, I placed a piece of red checked parchment paper.
- Adorable Boot-Shaped Glass Mugs. I found these glasses at a restaurant supply store, but I have also seen them online and at antique malls. They are super cute! Inside the Mug: a bandana napkin, sunflower straw, cutlery, a small rubber snake, a sheriff’s badge, and a mini horseshoe.
- Other items include a jointed snake, a cowboy-themed sticker, a cactus squeeze ball, a horse duckie, and a birthday cake box filled with birthday cake fudge (the box is included in this free printable collection. Scroll down for the printable).
- A denim blue tablecloth was the perfect backdrop to all the goodies on the table
Dining Table Centerpiece
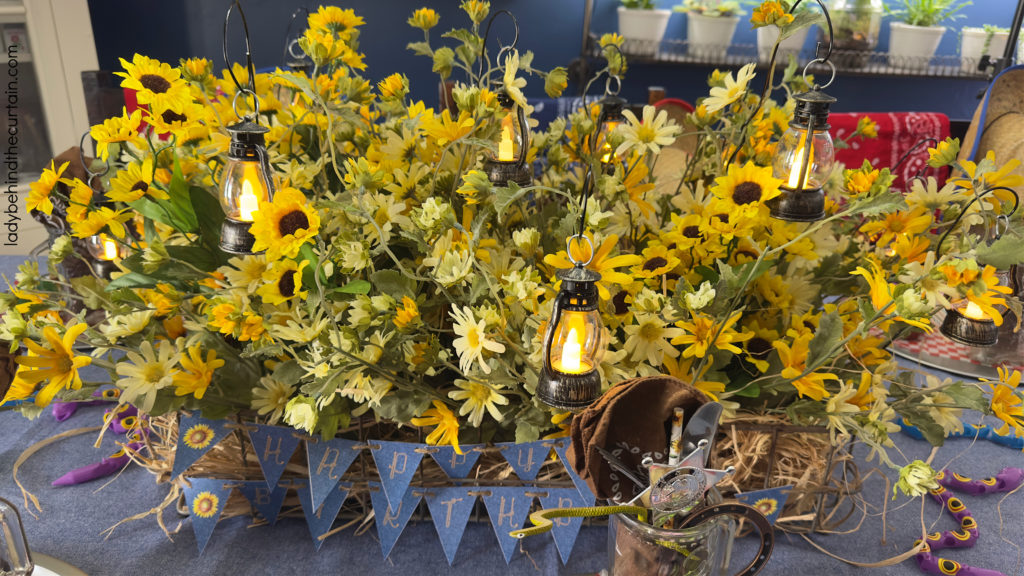
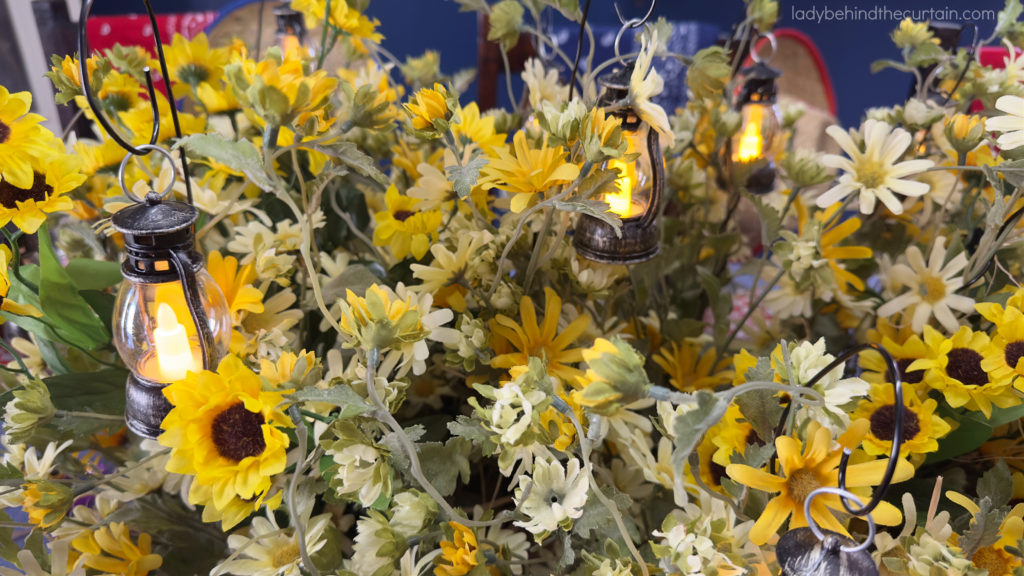
The centerpiece was made from things I had on hand. Sometimes, it pays to shop your house for props and decorations. The lanterns were purchased from Shein but are no longer available. I have seen mini lanterns at Dollar Tree. I made a floral arrangement, wound 12 gauge aluminum wire around some of the sturdier flower stems, and used my needle-nose pliers to make a loop at the end to hold the lanterns. It was super cute and easy to make.
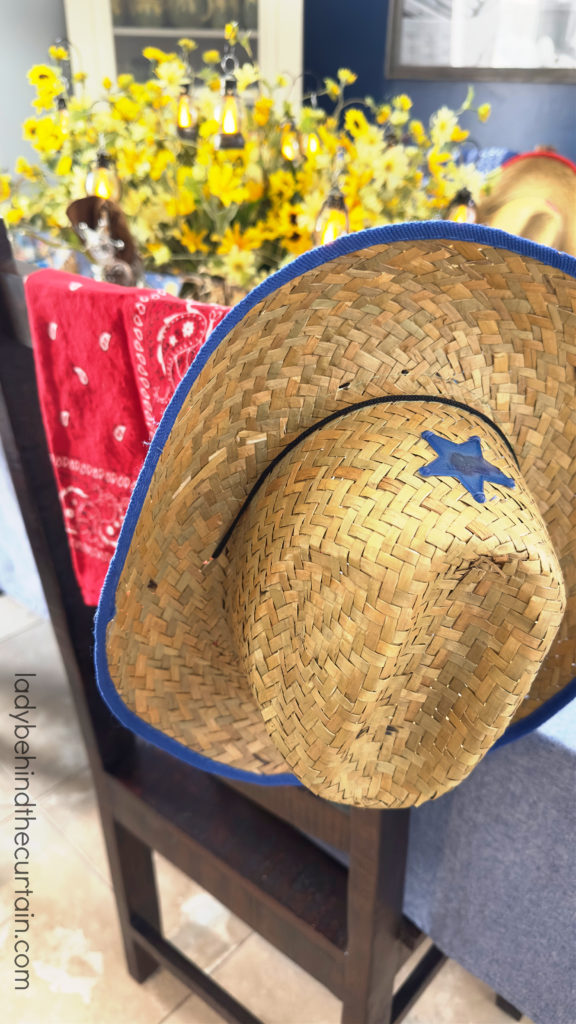
To really get your guests in the cowboy spirit, place cowboy hats and bandanas on the back of each chair for them to wear during the party!
How to Design a Dessert Table From Nothing
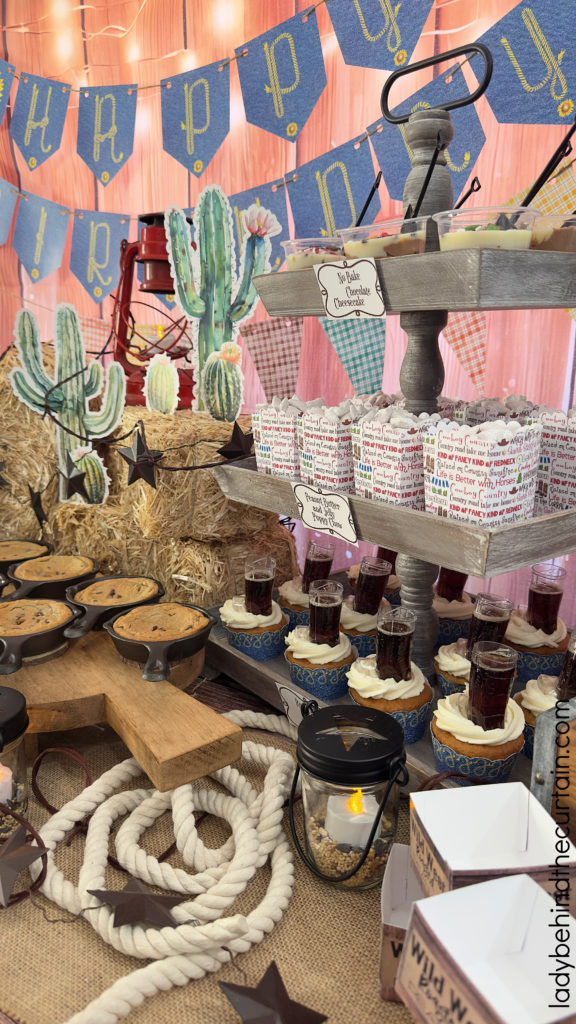
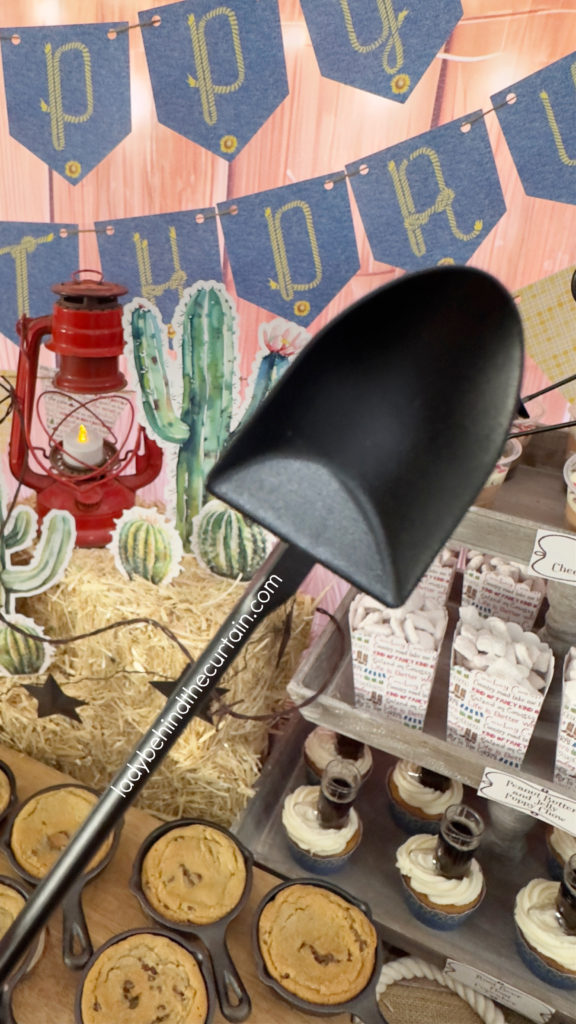
Transport your guests to the Wild West with a dessert table that is sure to please their taste buds and wow their eyes. Below, you will find an assortment of decor ideas along with easy-to-make treats. This Western-themed dessert table will have everyone hankering for more. Imagine an array of tantalizing treats, from root beer float cupcakes to chocolate chip cookies baked in a mini cast iron skillet, all set against a backdrop of FREE printable banners, hay, and printable cactus picks. With specific and descriptive tips, this post will guide you through the process of creating a dessert table that will be the talk of the town. Get ready to saddle up and explore the perfect combination of sweet and savory in this guide to crafting a Western-themed dessert table that your guests will never forget.
START WITH FOUR ELEMENTS: The backdrop, the table covering, the centerpiece, and the different height levels.
- BACKDROP: Anything that will give you a clean blank background. I used a cheap barn background I found on Shein. Click here for backdrop options→WESTERN BACKDROPS
- TABLE COVERING: Most of the table is covered with decorations and food, so I went with a cheap wood-grain plastic table cover. This is the one I purchased→BROWN WOOD GRAIN TABLE COVER
- CENTERPIECE: 3 mini bales of hay from Michaels Craft Store, an old lantern, and cactus printables from the Western Birthday Party Collection (link below)
- HEIGHTS: Snake plant from my home, tall three-tiered tray, upside-down crate
Adding the Final Touches Before Adding the Treats
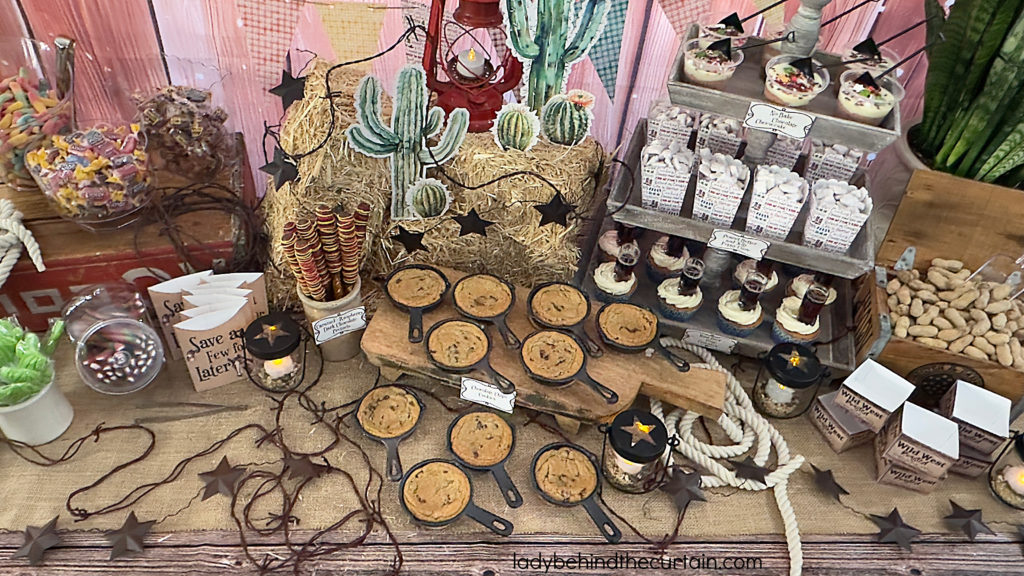
It could be argued that the final touches are just as important as the large items. These final touches are what bring everything together. For this party table, I used mason jar lantern lids from Dollar Tree. Here’s how I styled the jars. I added some birdseed to the bottom of each jar. I love how the seed brings a rustic look to the jars. Then, I added a battery-operated tea light. The tea light adds a warm glow. Metal Star Garlands were dropped and placed around the top of the table and the hay. Cotton Rope found at Dollar Tree was left in piles and strung around empty areas of the table. Faux Bobwire Cord found at Oriental Trading was by far my favorite find. Here is the link to the wire→18ft RUSTY FAUX TWISTED BARBWIRE
FREE WESTERN PARTY PRINTABLE COLLECTION
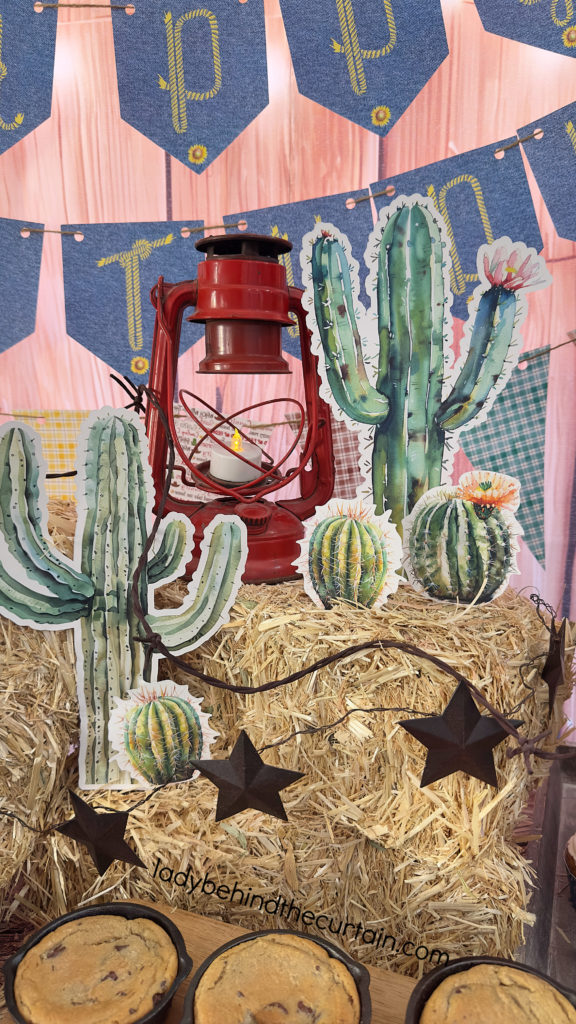
MULTIPLE SIZES OF CACTUS CUT-OUTS: It’s the little touches on a party table that really help it to stand out. My favorite area of my desert table was the cactus I poked into the mini bails of hay. The cactus cutouts come in several sizes. Glue a skewer to the backs and put them in assorted clay pots filled with rafia, or push them into mini bails of hay found at Michaels. SEE BELOW FOR THE LINK TO THE FULL WESTERN PARTY COLLECTION!
FREE WESTERN PARTY PRINTABLE COLLECTION
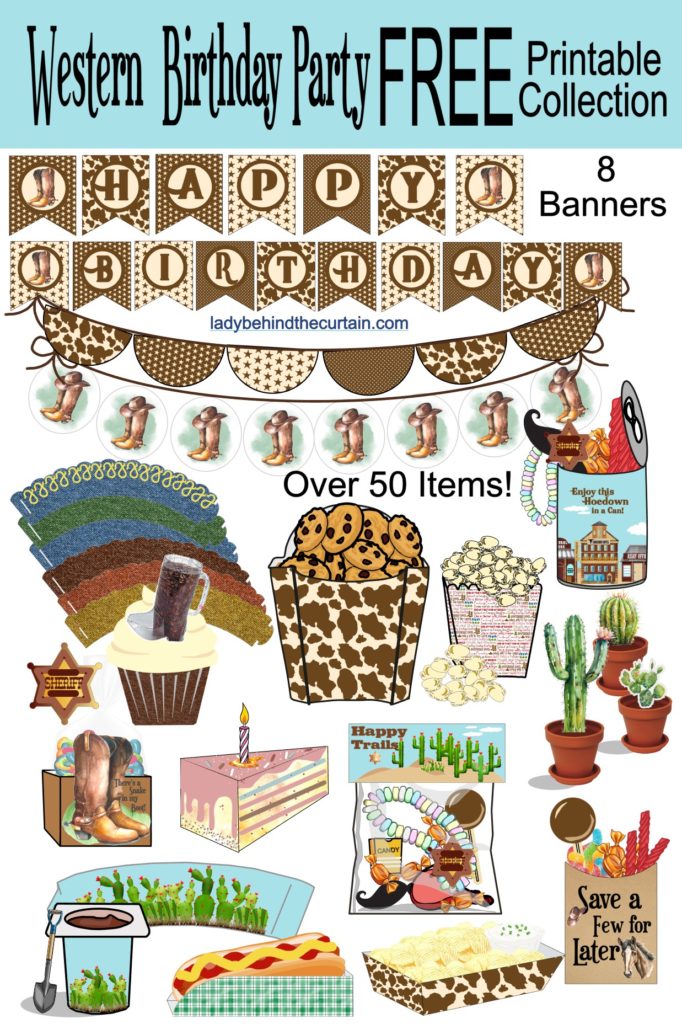
Attention all party planners and DIY enthusiasts! Are you looking for a unique and budget-friendly way to throw a Western-themed birthday bash? Look no further because we have just the thing for you. Introducing the Western Birthday Party FREE Printable Collection – a comprehensive set of downloadable and customizable templates to help you create the ultimate cowboy/cowgirl celebration. With these printables, you can easily transform your space into a Wild West wonderland, complete with everything from invitations to decorations to party favors. Don your cowboy hats and saddle up because, in this article, we’ll show you how to throw the perfect Western birthday party with the help of our free printables. CLICK HERE FOR THE WHOLE COLLETION→WESTERN BIRTHDAY PARTY FREE PRINTABLE COLLECTION
Homemade and Semi-Homemade Birthday Party Sweet Treats
Birthdays are the one day of the year when indulging in sweet treats is practically a requirement. That’s where homemade and semi-homemade sweet treats come in. From Root Beer Float Cupcakes, Semi Homemade Chocolate Chip Cookies, No Bake Chocolate Cheesecake, Peanut Butter and Jelly Puppy Chow to Caramel – Dark Chocolate Raspberry Pretzles, this party has something for everyone! In this portion of the post, I will show you how to make easy homemade and semi-homemade birthday party sweets, providing you with tips, tricks, and recipes to make your next celebration a sweet success.
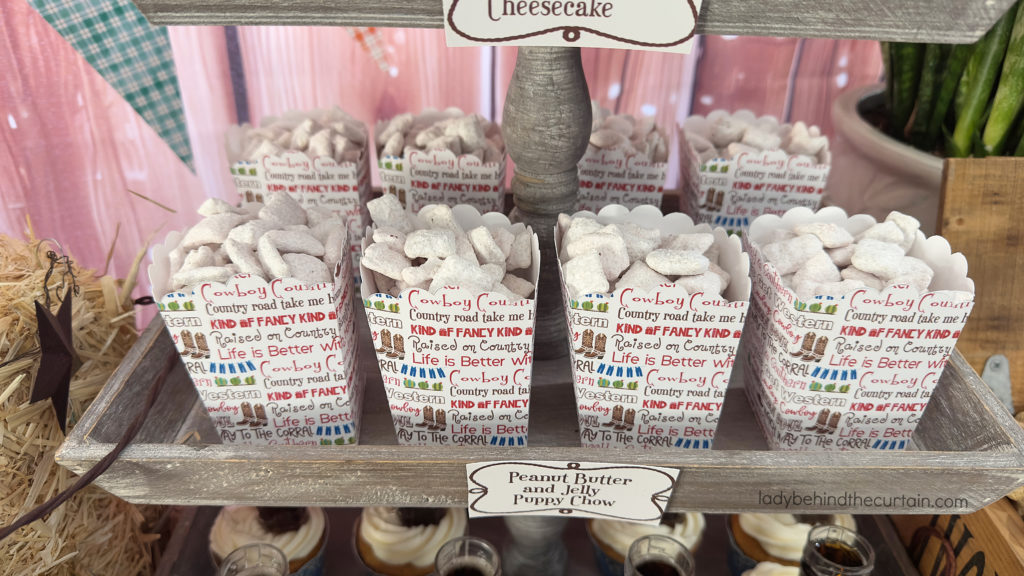
- PEANUT BUTTER AND JELLY PUPPY CHOW: This easy-to-make delicious treat takes a fun spin on the traditional peanut butter and jelly sandwich and gives it a sweet, crunchy makeover. Choose your favorite jelly flavor in Jello powder form (I used strawberry)! CLICK HERE TO FIND OUT HOW EASY IT IS TO MAKE→PEANUT BUTTER AND JELLY PUPPY CHOW
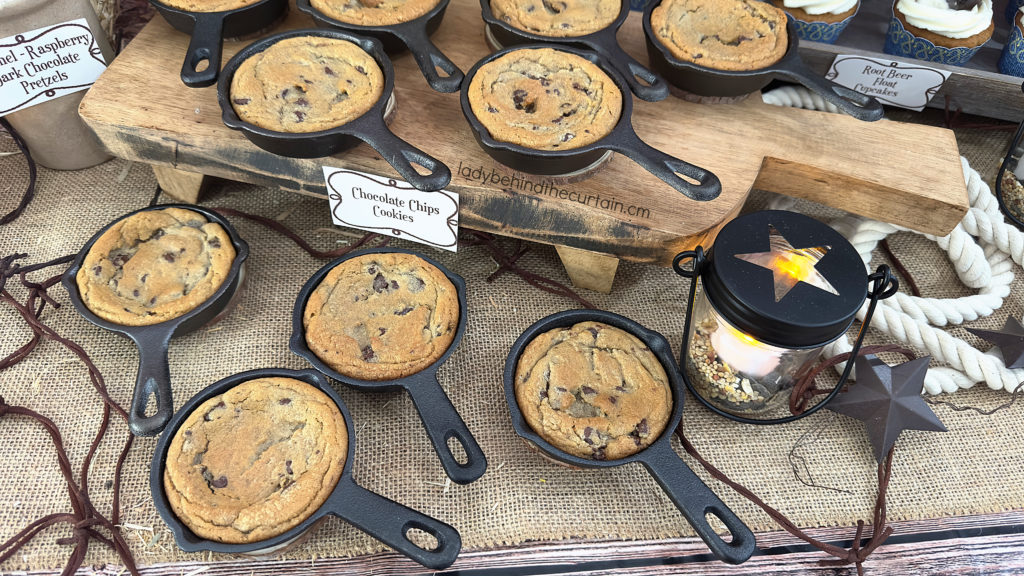
- CHOCOLATE CHIP COOKIES: Everything can’t be homemade. This is the perfect time for using store-bought refrigerated cookie dough. Place the dough into a mini cast iron skillet, and no one will notice or care if they’re not homemade. They’re about as close as you can get! You baked them, didn’t you? HERE IS THE LINK TO THE SKILLETS→MINI CAST IRON 3.5 INCH SKILLETS
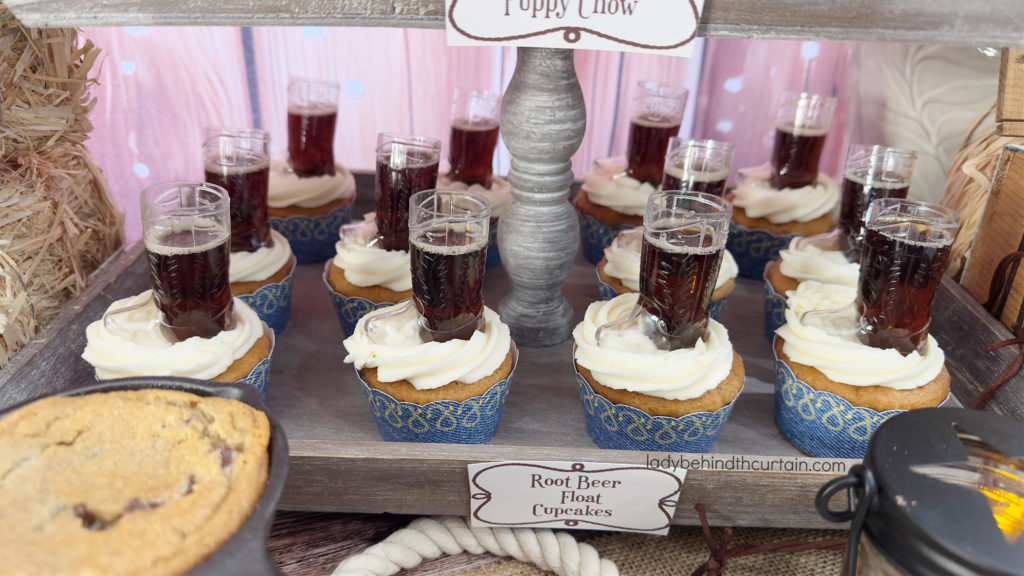
- ROOT BEER FLOAT CUPCAKES: These amazing cupcakes are made with real root beer along with a little help from root beer flavoring to create a fun party cupcake. There are several ways to make these cupcakes stand out from all the rest. 1. Simply cut up a paper straw and insert it at an angle into the frosting. 2. Unwrap a root beer barrel hard candy and place it on the cupcake. 3. (this is my favorite) Add a boot-shaped shot glass full of root beer to the top of your cupcakes! CLICK HERE FOR THE SHOT GLASS→ 2½-INCH, 1-OUNCE MINI BOOT
BIRTHDAY CAKE FUDGE: With the addition of a yellow cake mix, this cake batter fudge really tastes like a birthday cake! Cake batter fudge is the perfect solution for all your dessert desires. Not only is it incredibly easy to make, but it also satisfies the sweet tooth of even the most hardcore dessert lovers. With this irresistible combination of cake batter and fudge, you’ll understand why this recipe is a party pleaser. Get ready to indulge in a decadent treat that will leave your taste buds begging for more. HOW I USED THIS FUDGE: I cut the fudge into small pieces and placed three pieces inside the cake slice box. The boxes were then placed at each guest’s place setting. A delicious little reminder of the fun party! HOW TO STORE BIRTHDAY CAKE FUDGE: The fudge can stay out on the counter for a couple of days. To preserve the fudge longer, store it in an airtight container in the refrigerator. The fudge can also be made several days in advance. If you choose to make the fudge days in advance, I recommend storing it in the refrigerator until ready to serve. Bring the fudge to room temperature before serving.
SLICE OF CAKE BOX FILLED WITH CREAMY SOFT BIRTHDAY CAKE FUDGE-THE PERFECT PARTY FAVOR OR AFTER-DINNER TREAT
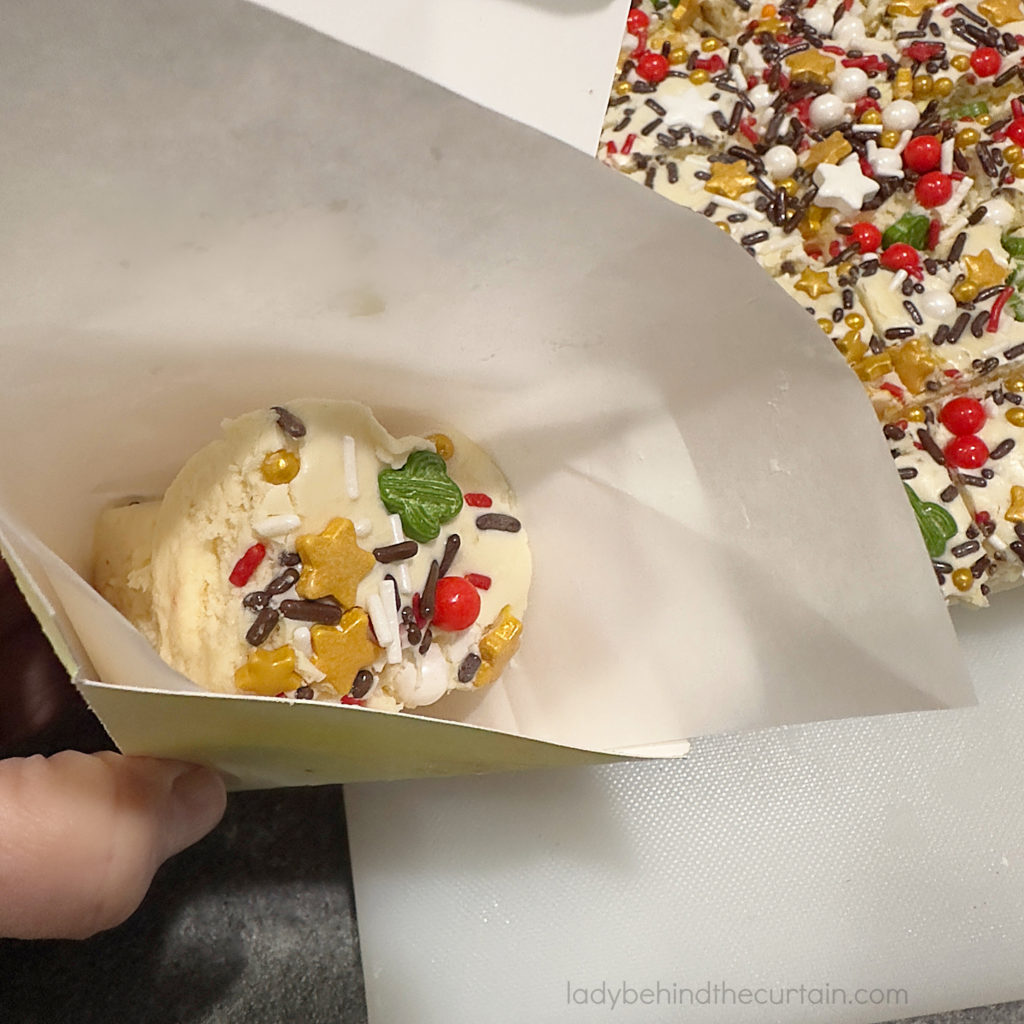
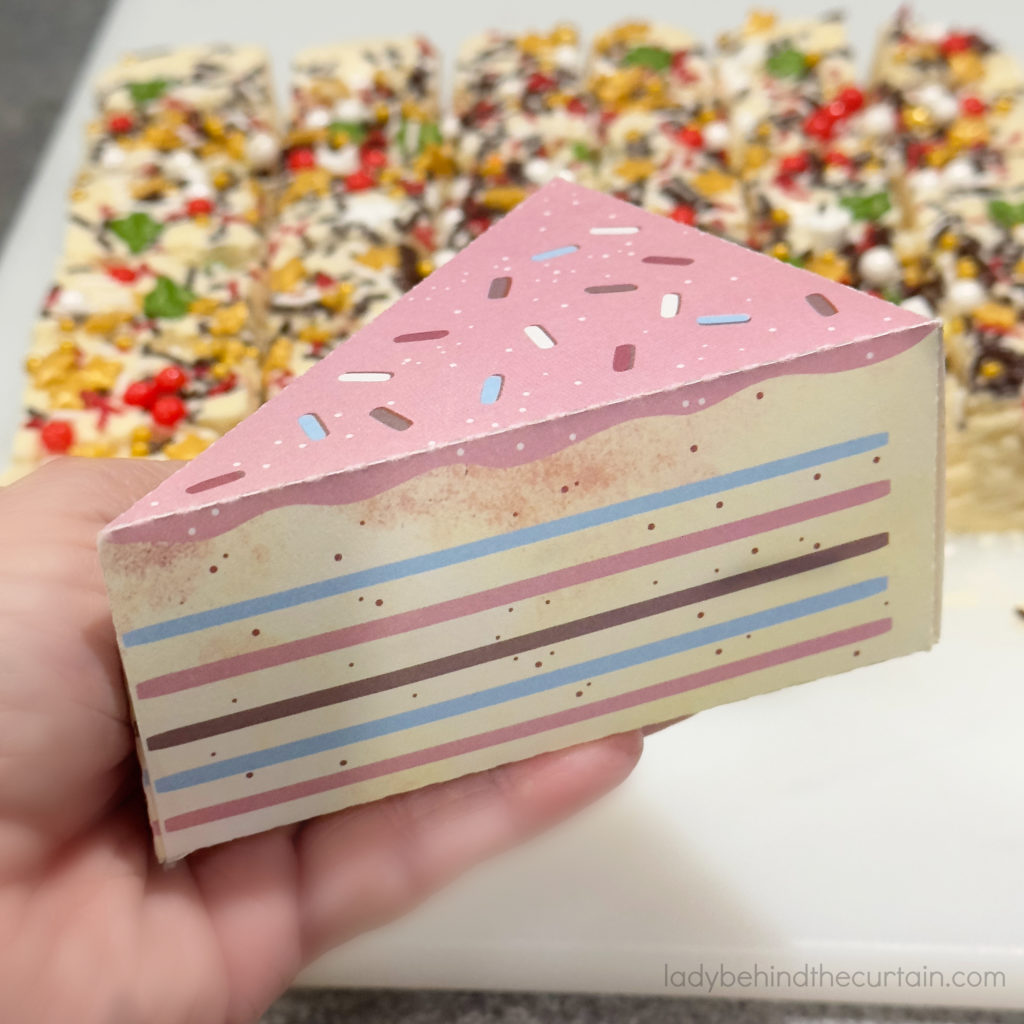
SLICE OF CAKE TREAT BOX: The cake box is NOT large enough for a slice of cake, but it will hold other cake-related treats like cake batter fudge. There are TWO options. A slice of cake with strawberry frosting and a slice of cake with chocolate frosting. Use both options or one. For an added touch, cut a birthday cake candle in half, use the section without the wick, and melt candle wax on top of the box. While the wax is still melted, press the piece of cand with the wick into the melted wax wick side up. TIP: ADD THE CANDLE AFTER THE TREATS INSIDE HAVE BEEN ADDED. CLICK HERE FOR THE FULL WESTERN PARTY, INCLUDING THIS BOX FREE PRINTABLE COLLECTION→WESTERN BIRTHDAY PARTY FREE PRINTABLE COLLECTION

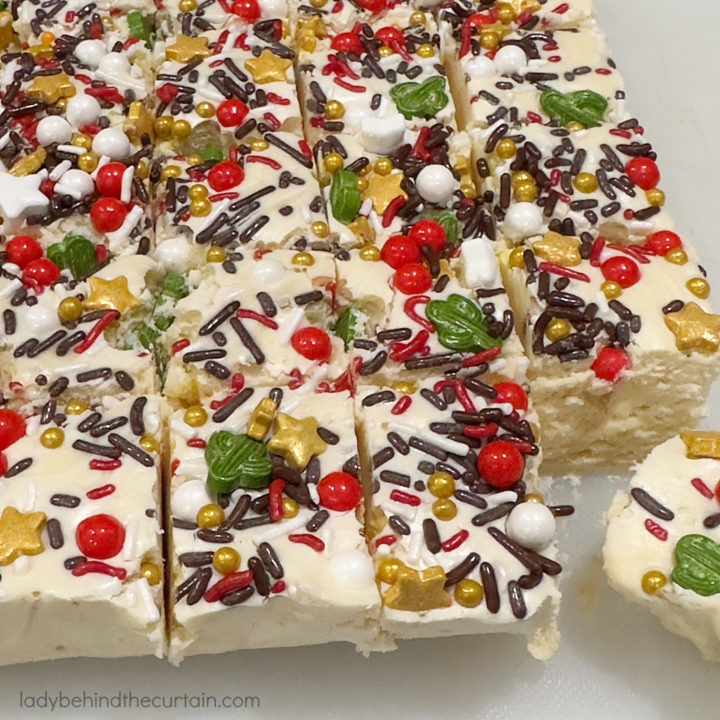
Cake Batter Fudge
Ingredients
- 3 cups white chocolate chips
- 1½ tablespoons unsalted butter
- pinch of salt
- 1 (14 ounce) can sweetened condensed milk
- 1 (7 ounce) jar marshmallow cream
- 2/3 cup dry yellow cake mix
- 8 tablespoons sprinkles
Instructions
- Line an 8x8-inch baking pan with foil, making sure the foil hangs over the edge.
- Mix the white chocolate chips, butter, salt, and condensed milk; heat until melted and smooth.
- Add the dry cake mix and stir until the mix dissolves.
- Add the marshmallow; stir until melted and smooth.
- Pour hot fudge into the prepared pan.
- Add sprinkles to the top and press down with the palm of your hand.
- Cover and refrigerate until set.
- Remove from refrigerator and cut into small squares.
HOW TO STORE BIRTHDAY CAKE FUDGE: The fudge can stay out on the counter for a couple of days. To preserve the fudge longer, store it in an airtight container in the refrigerator. The fudge can also be made several days in advance. If you choose to make the fudge days in advance, I recommend storing it in the refrigerator until ready to serve. Bring the fudge to room temperature before serving.
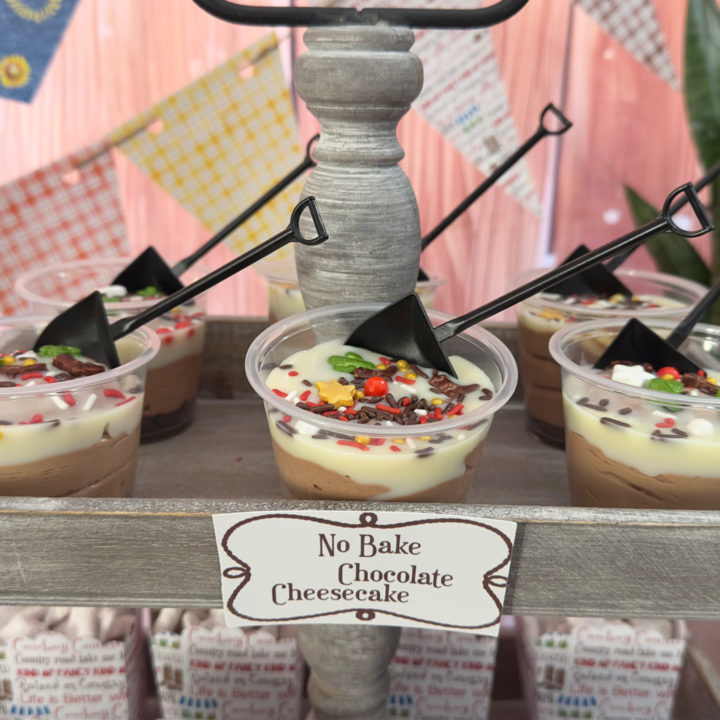
How to Make Mini No-Bake Chocolate Cheesecakes
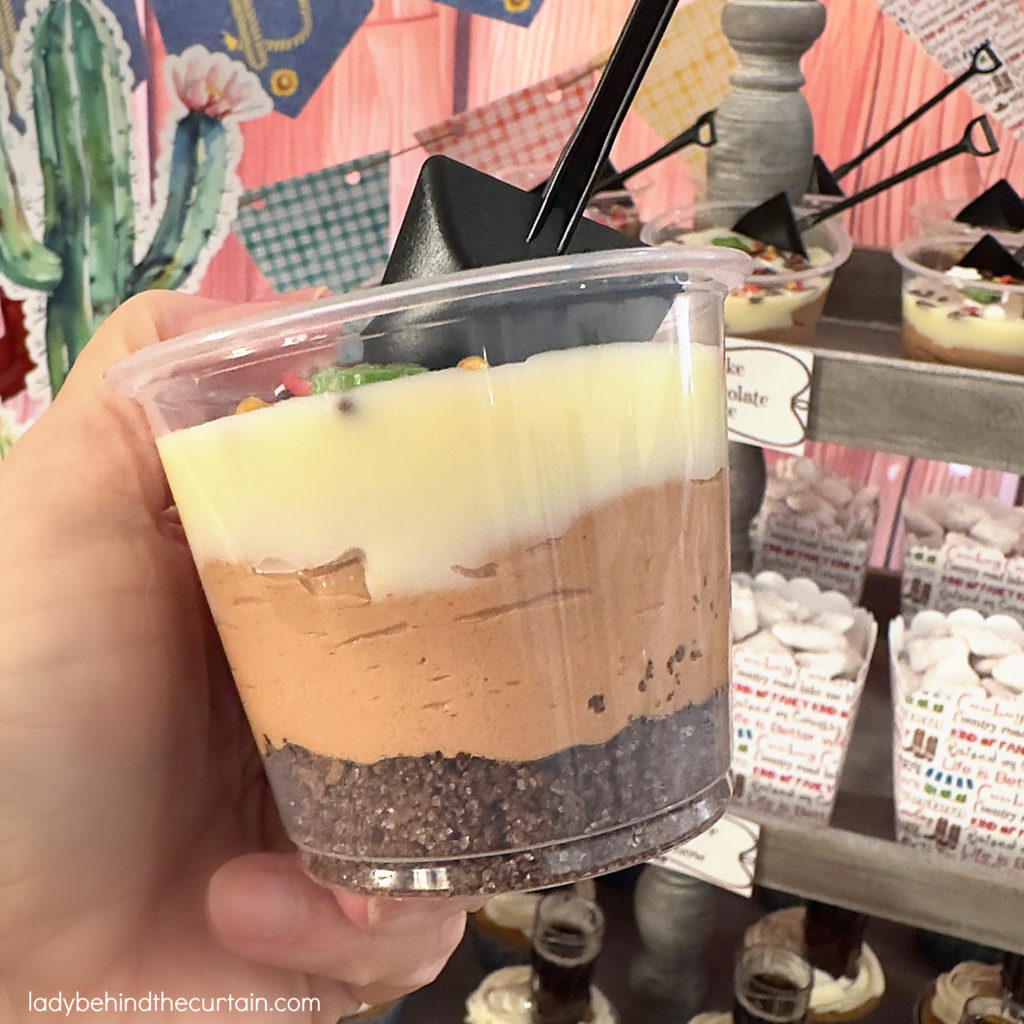
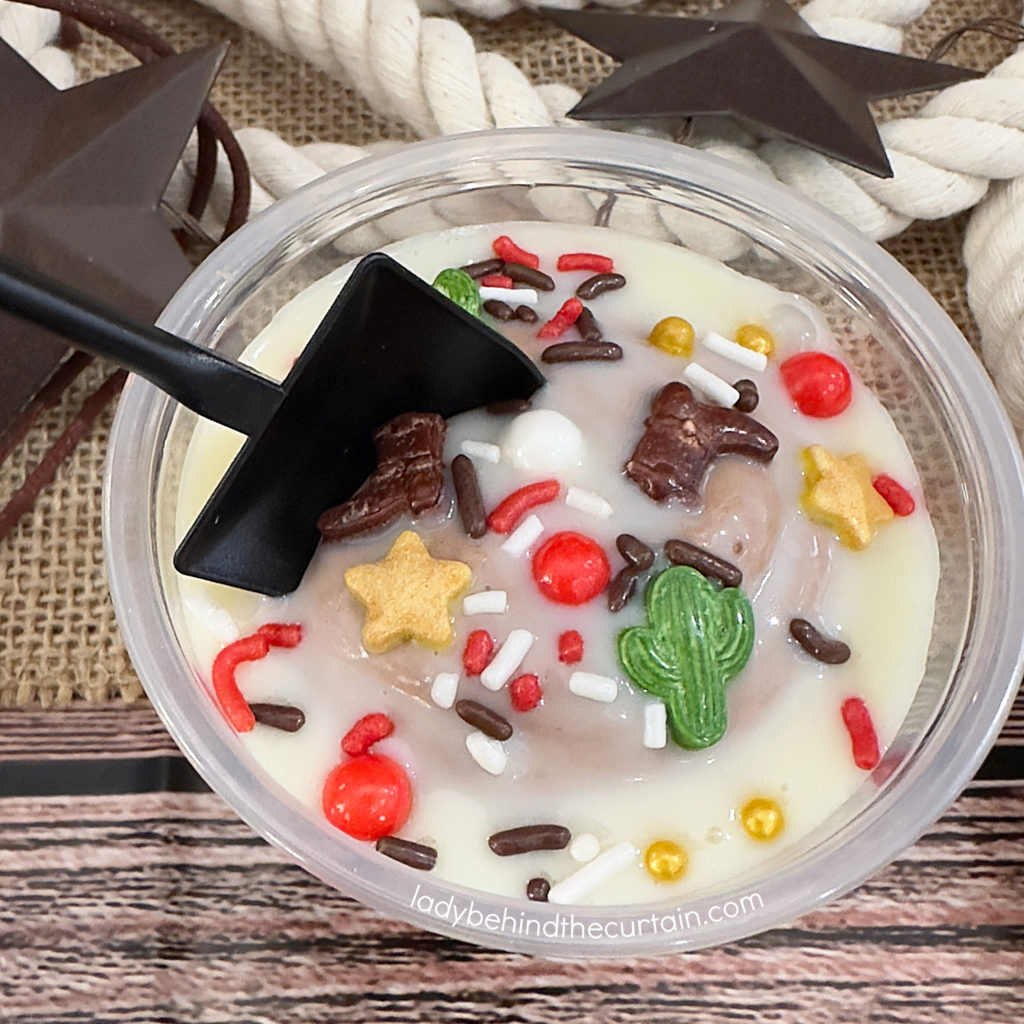
Indulgence without the hassle. That’s what we all crave, and what could be more satisfying than a mini no-bake chocolate cheesecake? This heavenly dessert combines the rich, velvety texture of cheesecake with the indulgent flavor of chocolate in a convenient, no-bake form. Whether you need a small treat for a dinner party, a dessert lover on the go, or just looking for a quick and easy sweet treat. This delicious chocolate dessert comes with easy-to-follow steps for creating your own decadent mini no-bake chocolate cheesecake. From ingredients to assembly, we’ll show you just how simple and delicious this dessert can be. So sit back, grab a fork, and get ready to treat yourself to a little slice of heaven. These fun treats were assembled in a 5-ounce cup and adorned with a shovel as a spoon. Here is the link→: MINI SHOVEL SPOONS. The 5-ounce souffle cups are the perfect size. Here is the link→5 OUNCE CUPS WITH LIDS
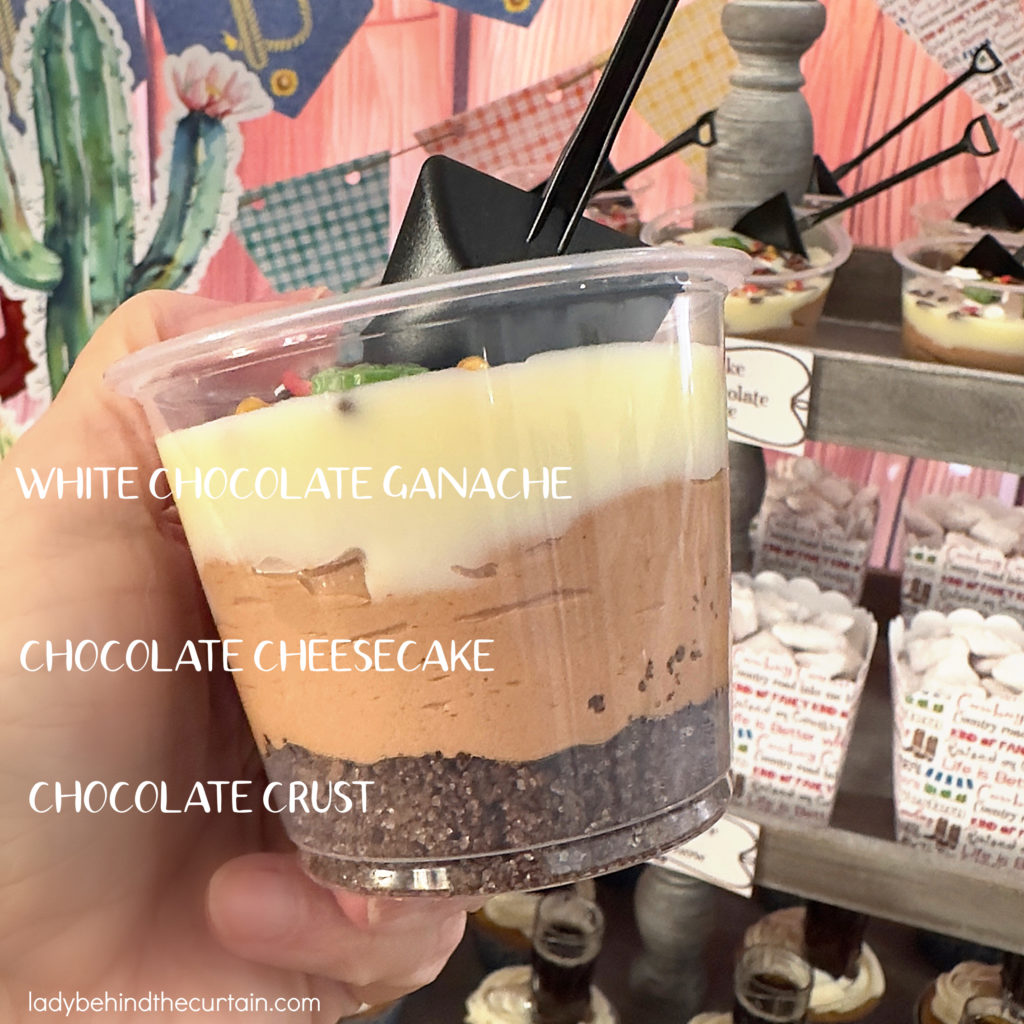
Triple chocolate no-bake cheesecake is a rich and indulgent dessert that combines layers of velvety chocolate flavors without the need for an oven. It starts with a buttery chocolate cookie crust, providing the perfect base for the creamy filling. The cheesecake layer features a luscious blend of cream cheese and cocoa powder, creating a smooth and decadent texture. To enhance the chocolate experience, a silky white chocolate ganache is drizzled on top, adding a glossy and irresistible finish. Perfect for chocolate lovers, this no-bake treat is easy to make and perfect for any occasion, offering a delightful balance of sweetness and richness in every bite.
TRIPLE CHOCOLATE DESSERT INGREDIENTS LIST-full printable recipe below in recipe card
CHOCOLATE CRUST
- 1 cup crushed chocolate graham crackers
- 4 tablespoons granulated sugar
- 4 tablespoons unsalted butter, melted
NO-BAKE CHOCOLATE CHEESECAKE FILLING
- 2 (8 ounce) cream cheese blocks, room temperature
- 1 (8 ounce) cool whip tub, defrosted
- 1/3 cup unsweetened cocoa powder
- 2 cups powdered sugar
WHITE CHOCOLATE GANACHE TOPPING
- 1 cup white chocolate chips
- ¼ cup heavy cream
- Optional sprinkles
REFRIGERATOR CHOCOLATE CHEESECAKE WITH WHITE CHOCOLATE GANACHE INSTRUCTIONS
CHOCOLATE CRUST
- Pour the crushed chocolate graham crackers into a medium bowl, add the sugar, and stir to combine.
- Pour the melted butter over the graham cracker mixture and stir to combine.
- Add two tablespoons of the mixture to the bottom of each 5-ounce cup and press down.
CREAMY NO-BAKE CHOCOLATE CHEESECAKE FILLING
- Add the cream cheese to a medium mixing bowl, whip until soft, and add the cool whip, cocoa powder, and sugar to the mixture. Continue mixing until combined, and there are no lumps.
- Spoon the mixture into a large piping bag, snip the end, and pipe into 5-ounce cups.
WHITE CHOCOLATE GANACHE TOPPING
- Pour cream into a small saucepan and heat until bubbles form on the side but NOT boiling.
- Pour the chips into the hot cream, set aside for a couple of minutes until the chips have melted, and stir until creamy.
- Spoon over the tops of each cheesecake cup.
- Add optional sprinkles while the ganache is soft.
HOW TO STORE MINI CHOCOLATE NO-BAKE CHEESECAKES: Cover the cheesecakes with the provided lid and store them in the refrigerator until ready to serve. They can stay fresh in the refrigerator for up to three days. NOTE: Do not leave them out at room temperature for more than 2 hours.
Mini No Bake Chocolate Cheesecakes
Ingredients
For the Chocolate Crust:
- 1 cup crushed chocolate graham crackers
- 4 tablespoons granulated sugar
- 4 tablespoons unsalted butter, melted
For the No Bake Chocolate Cheesecake Filling:
- 2 (8 ounce) cream cheese blocks, room temperature
- 1 (8 ounce) cool whip tub, defrosted
- 1/3 cup unsweetened cocoa powder
- 2 cups powdered sugar
For the White Ganache Topping:
- 1 cup white chocolate chips
- ¼ cup heavy cream
- Optional sprinkles
Instructions
For the Chocolate Crust:
- Pour the crushed chocolate graham crackers into a medium bowl, add the sugar, and stir to combine.
- Pour the melted butter over the graham cracker mixture and stir to combine.
- Add two tablespoons of the mixture to the bottom of each 5-ounce cup and press down.
For the Creamy No Bake Chocolate Cheesecake Filling:
- Add the cream cheese to a medium mixing bowl, whip until the cream cheese is soft, and add the cool whip, cocoa powder, and sugar to the mixture. Continue mixing until combined, and there are no lumps.
- Spoon the mixture into a large piping bag, snip the end, and pipe into 5-ounce cups.
For the White Chocolate Ganache Topping:
- Pour cream into a small saucepan and heat until bubbles form on the side but NOT boiling.
- Pour the chips into the hot cream, set aside for a couple of minutes until the chips have melted, and stir until creamy.
- Spoon over the tops of each cheesecake cup.
- Add optional sprinkles while the ganache is soft.
HOW TO STORE MINI CHOCOLATE NO-BAKE CHEESECAKES: Cover the cheesecakes with the provided lid. Store them in the refrigerator until ready to serve. They can stay fresh in the refrigerator for up to three days. NOTE: Do not leave out at room temperature any longer than 2 hours. Find the links to the shovel spoons and cups in the post above the recipe card.
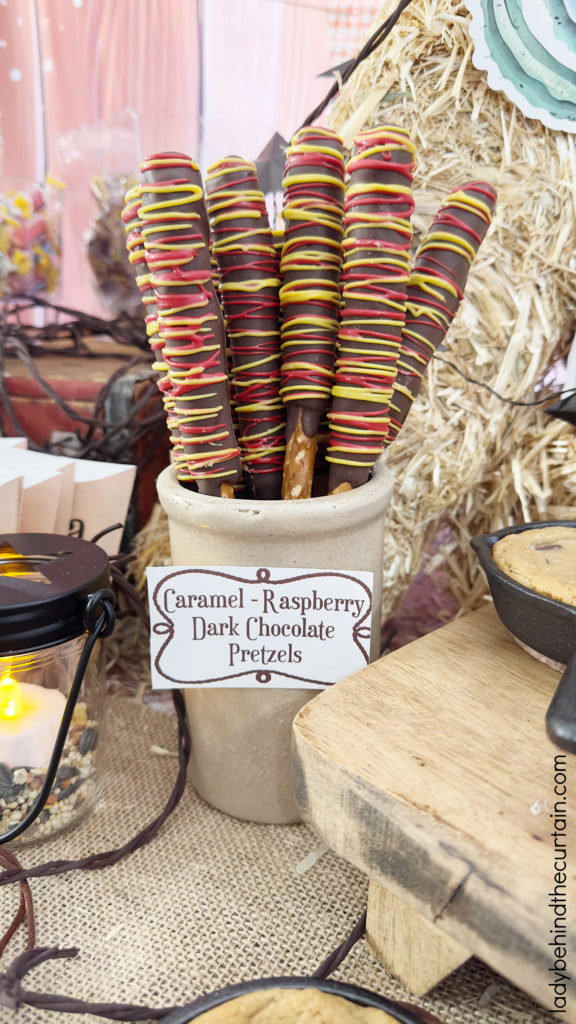
How to Make Dark Chocolate Raspberry Caramel Pretzels
CAN I DECORATE PRETZELS IN ADVANCE OF MY PARTY?
One of the best things about decorated pretzels (aside from the taste) is the convenience of being able to make them before your party. It’s every hostess’s dream to be able to make something this tasty before the craziness of the party prep starts. Ultimately taking some of the stress away from hosting a party. These adorable pretzels can be made as early as a week before the party.
MY FAVORITE CHOCOLATE FLAVORING
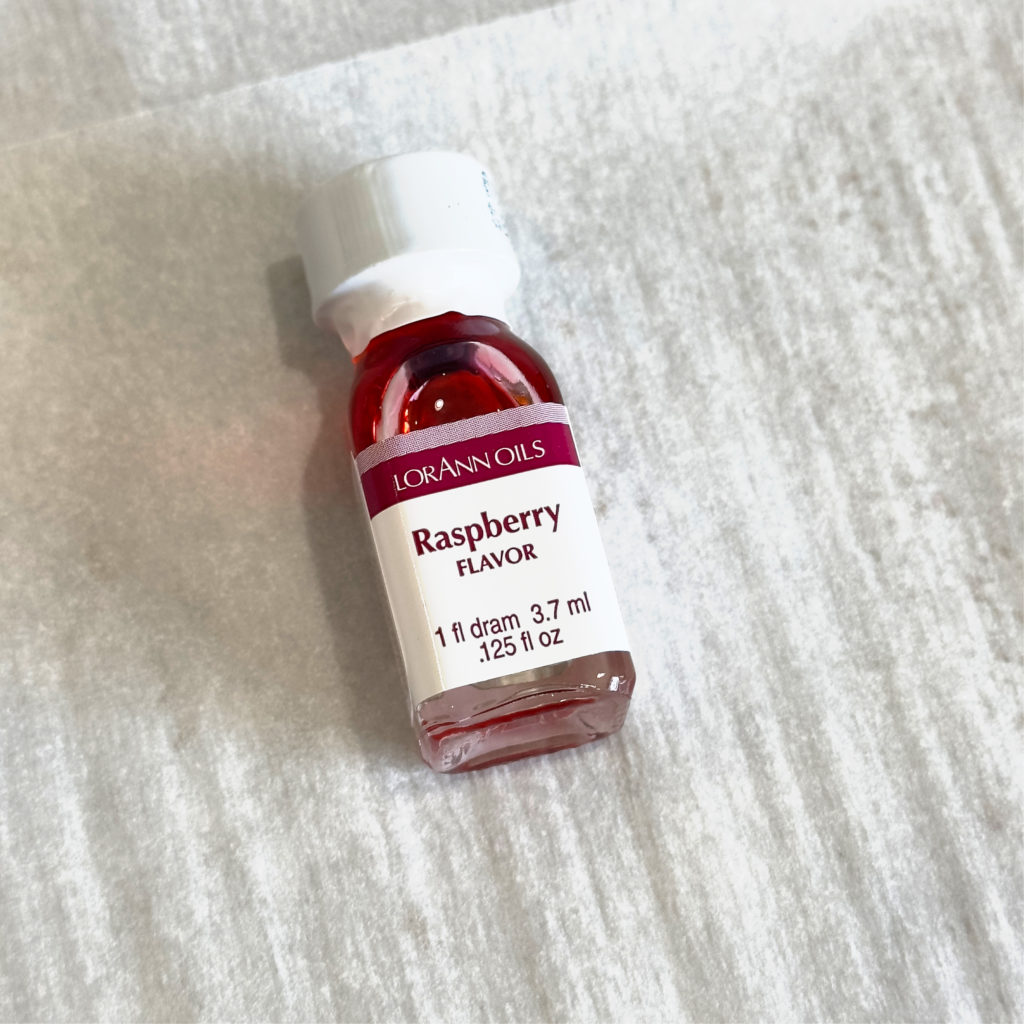
These highly concentrated flavorings from LorAnn perfectly flavor-melting candy. When using flavorings, it is important that they are oil-based and not water-based. Melting candies are fat-based; therefore, using water will cause your candy to seize and render it unusable.
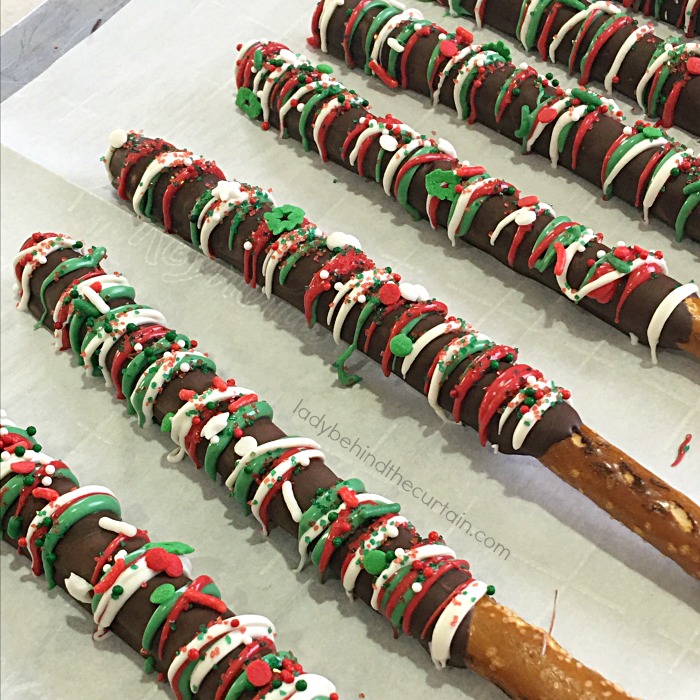
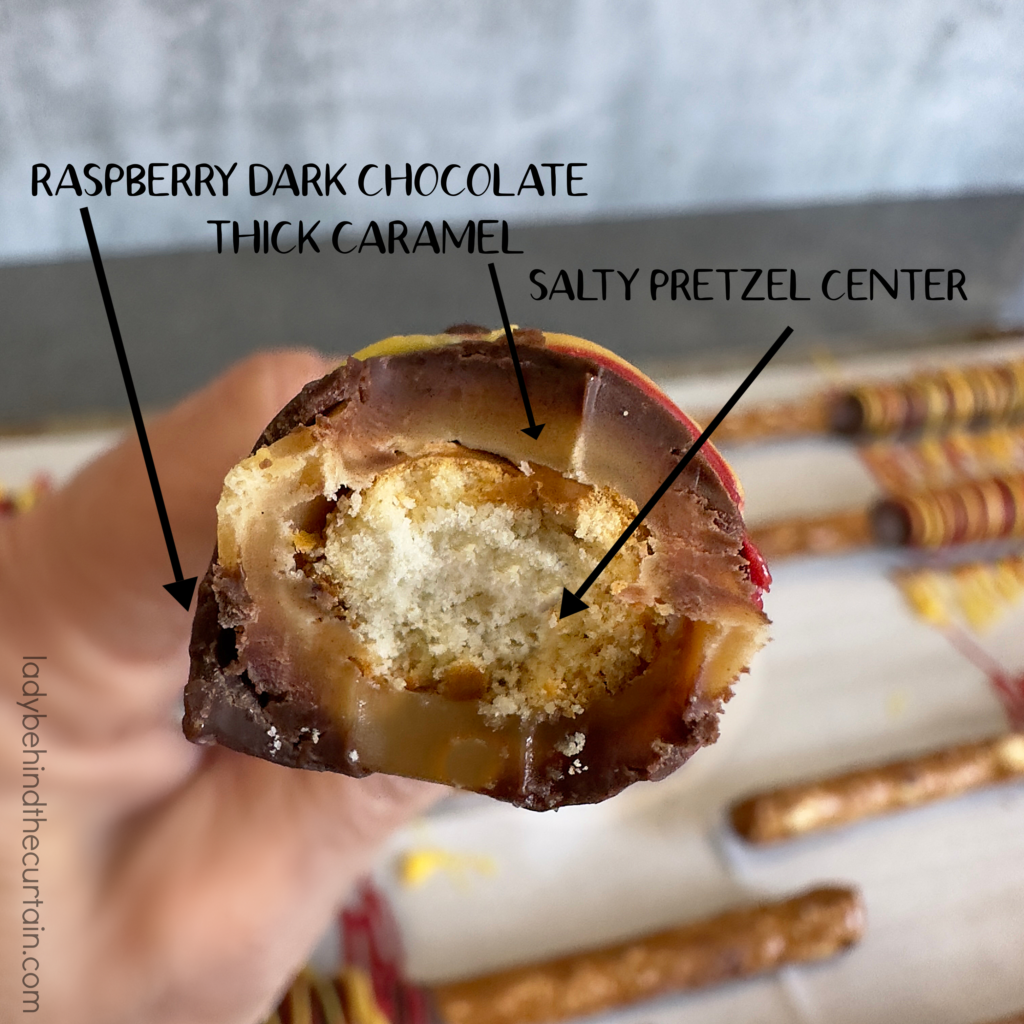
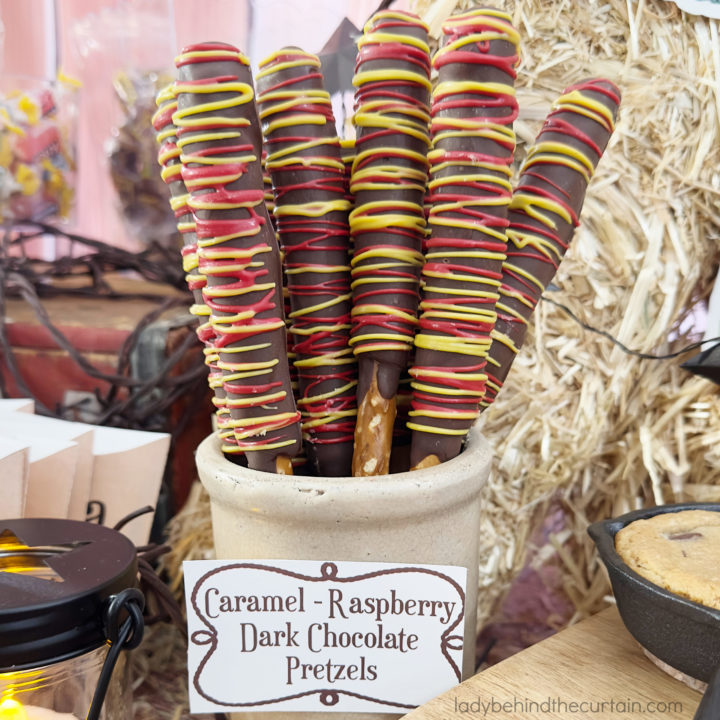
CARAMEL RASPBERRY DARK CHOCOLATE PRETZELS: Caramel Raspberry Dark Chocolate Pretzels are a delightful fusion of sweet, salty, and tart flavors, making them an irresistible treat for any occasion. These gourmet pretzels are first coated in a layer of rich, buttery caramel, adding a smooth and chewy texture that perfectly complements their crisp, salty base. They are then drizzled with vibrant raspberry-infused chocolate, offering a fruity tang that balances the deep, velvety richness of the dark chocolate coating. The result is a decadent, multi-layered indulgence where each bite delivers a harmonious blend of flavors—crunchy, creamy, sweet, and slightly tart. Whether enjoyed as a snack, a dessert, or a gift for chocolate lovers, these pretzels provide a truly gourmet experience.
To keep the pretzel rods fresh and crunchy, store them in an airtight container at room temperature, away from direct sunlight or heat sources. Provided everything is fresh, to begin with, and the container is clean, dry, and has a tight seal, partially covered pretzel rods can stay fresh for about 2-3 weeks. With these storage tips in mind, your salted caramel dark chocolate pretzel rods are sure to be a hit wherever they go. Enjoy the sweet and salty goodness of this irresistible treat!

RED AND YELLOW DARK CHOCOLATE CARAMEL PRETZEL RODS INGREDIENTS LIST-full printable recipe below in recipe card
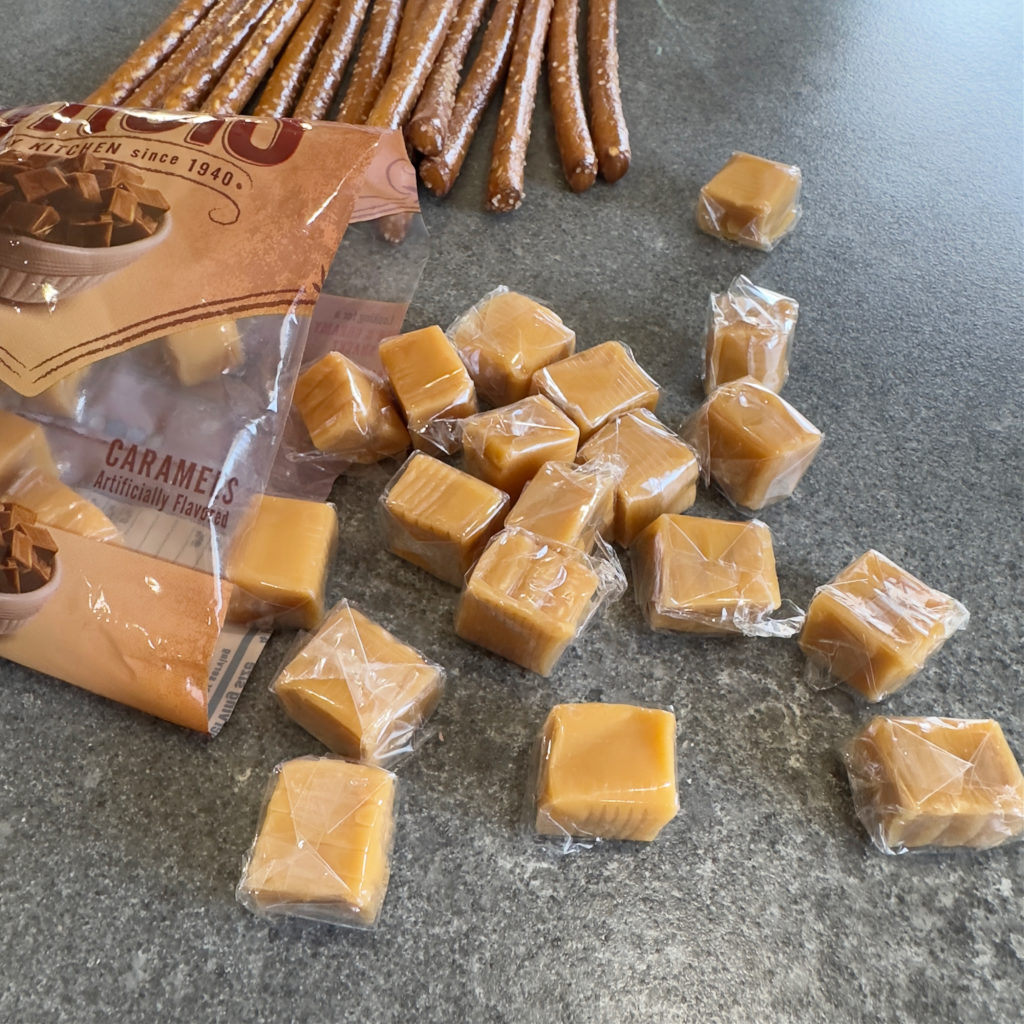
- 15 Pretzel Rods
- 1 (11 ounce) bag caramels
- 1 (10 ounce) bag of dark chocolate (Ghirardelli) melting wafers
- 1 tablespoon vegetable shortening
- 1 dram raspberry flavor concentrate (LorAnn Oils)
- 1 cup red melting wafers
- 1 cup yellow melting wafers
- optional sprinkles
HOW TO MAKE AND APPLY THE CARAMEL WRAP
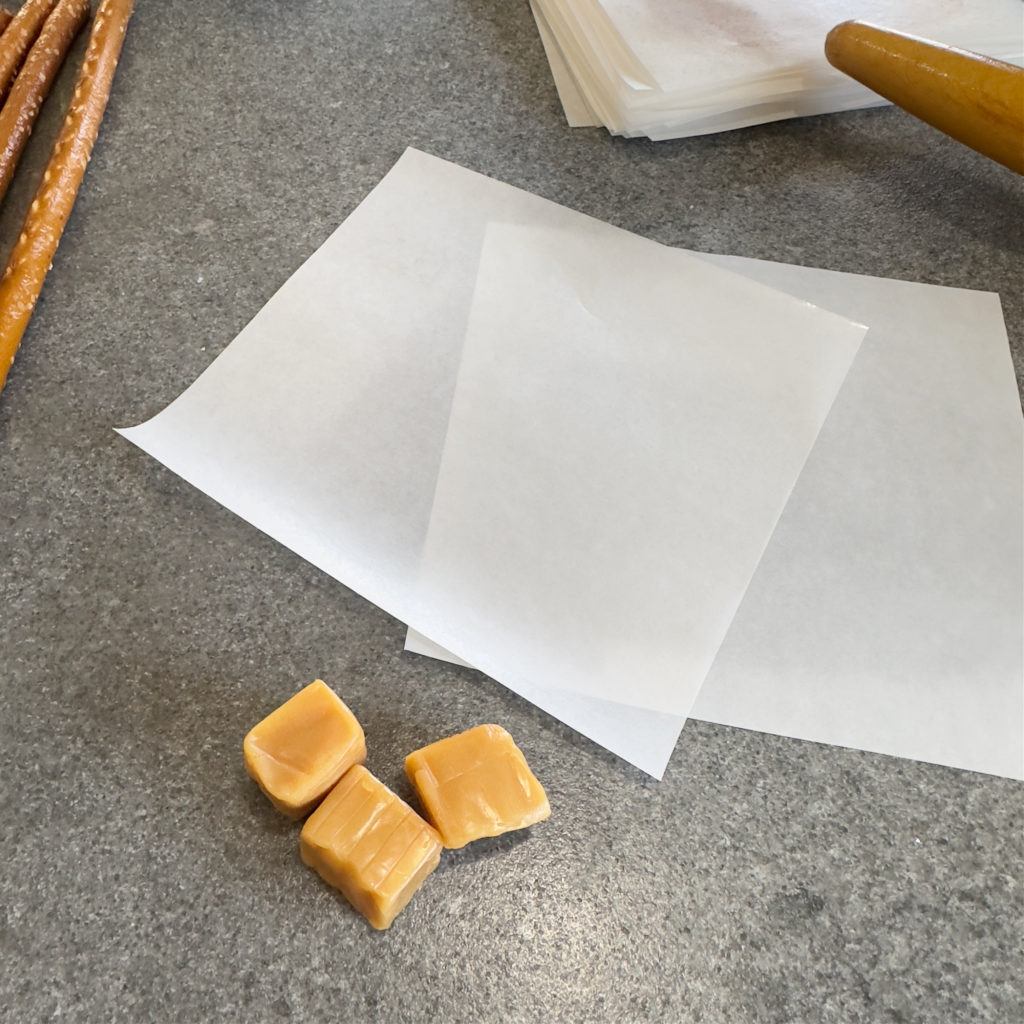
- Take off all the wrappers from around the caramel. Divide the caramels into two or three pieces. Depending on how thick you want the caramel layer. (I used two, and it was plenty)
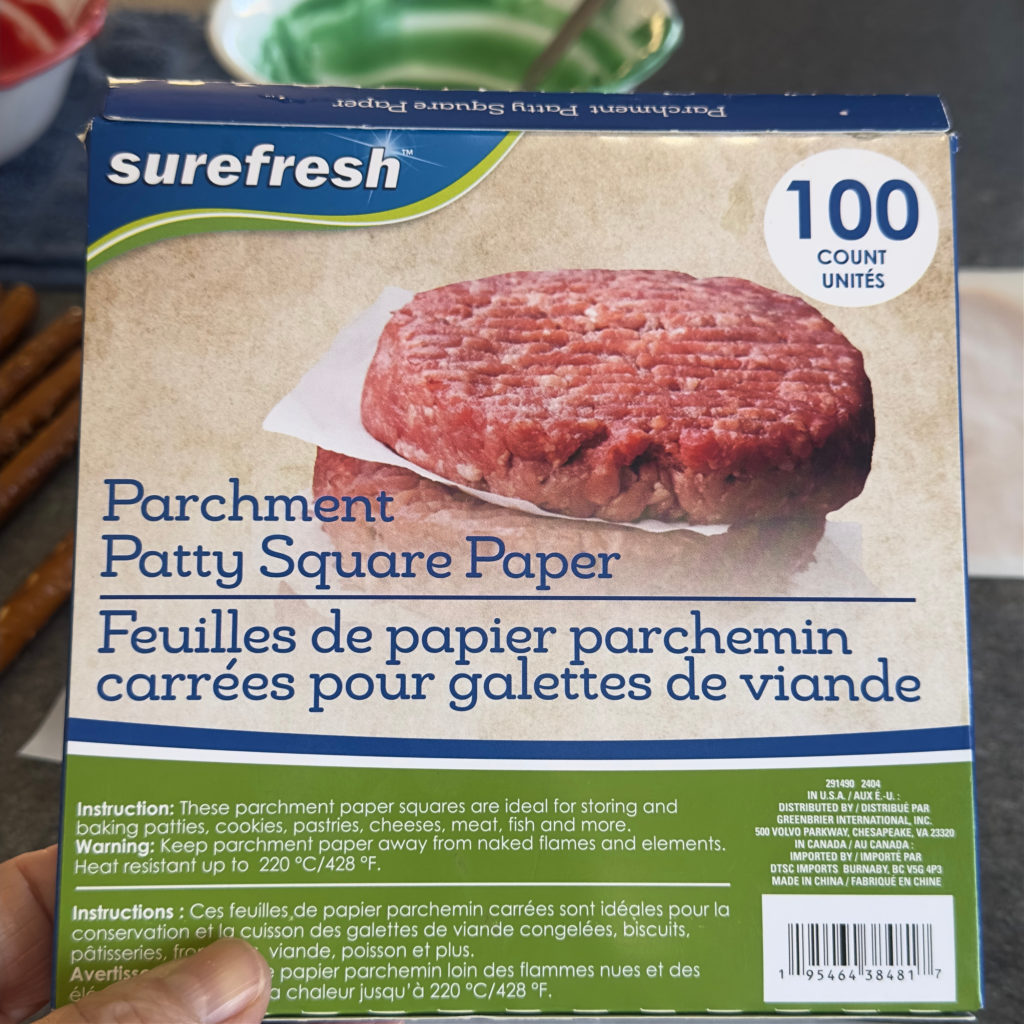
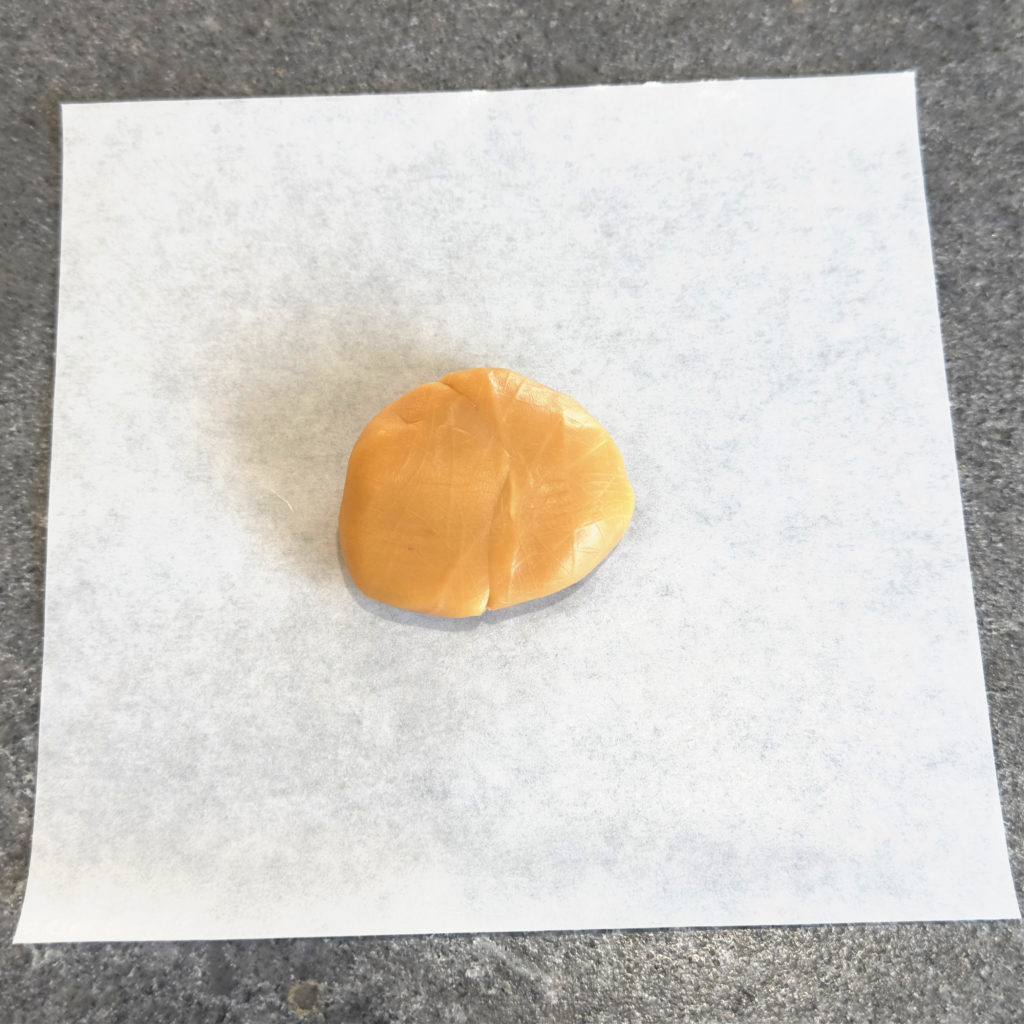
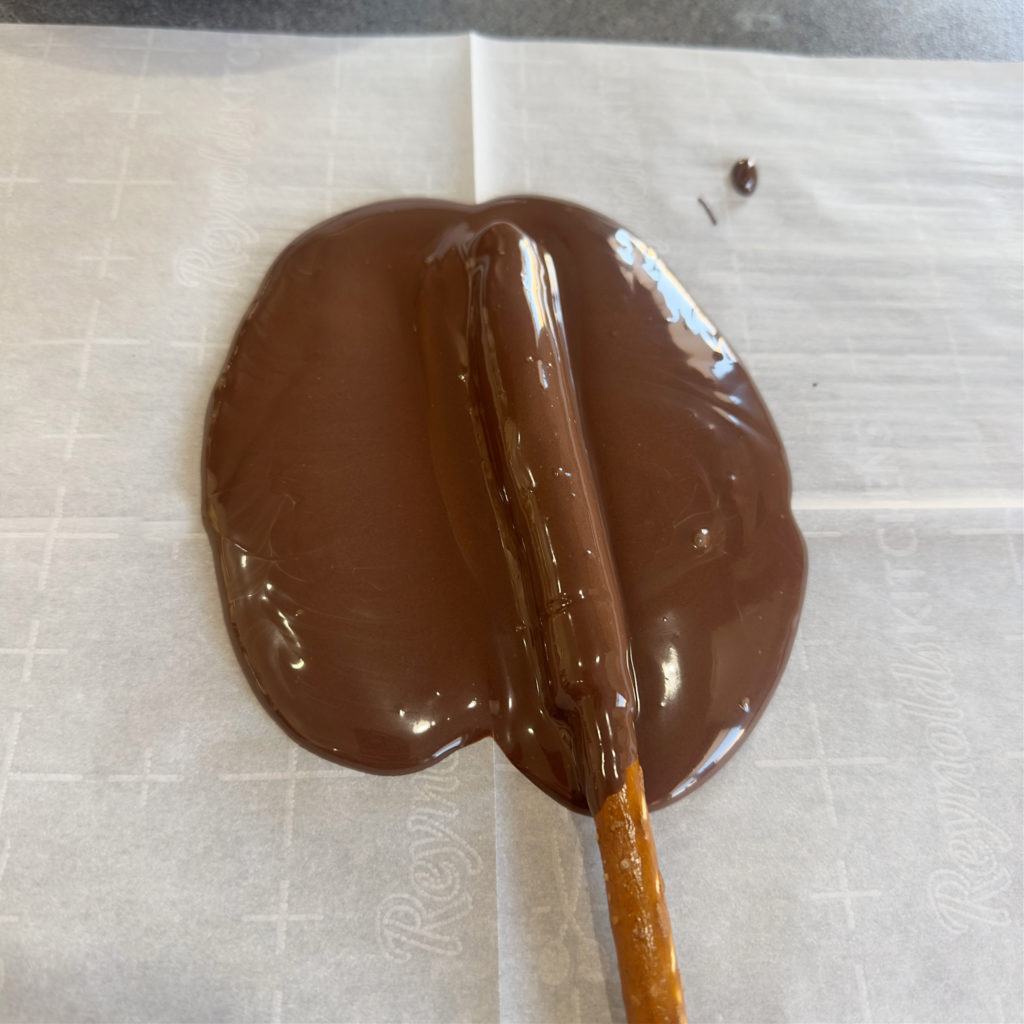
- Press three caramels together in your hand to warm them. Form into a disk and place on a piece of parchment paper.
- Add another piece of parchment paper on top of the caramel disk, then press it with the palm of your hand as if you were pressing a hamburger patty.
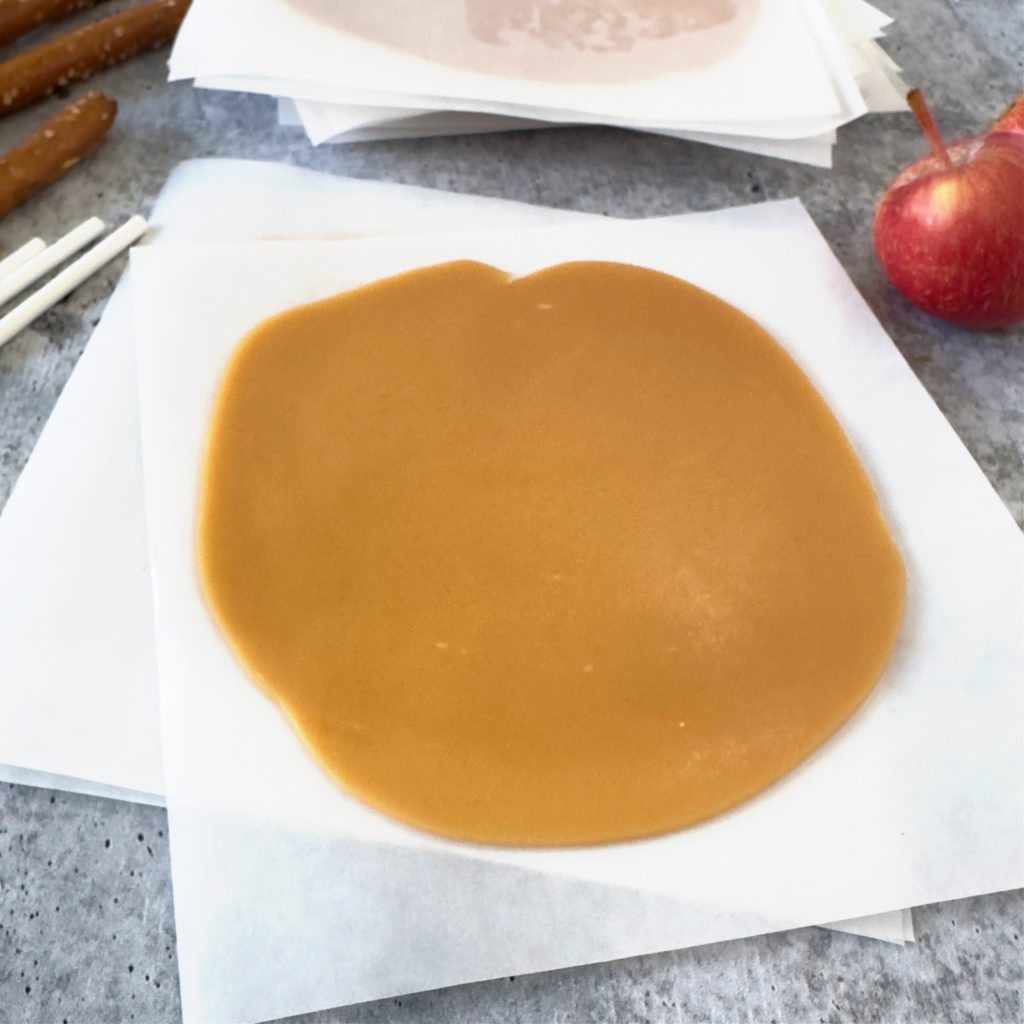
- Use a rolling pin to roll the caramel into a 4½ x 4½ inch round.
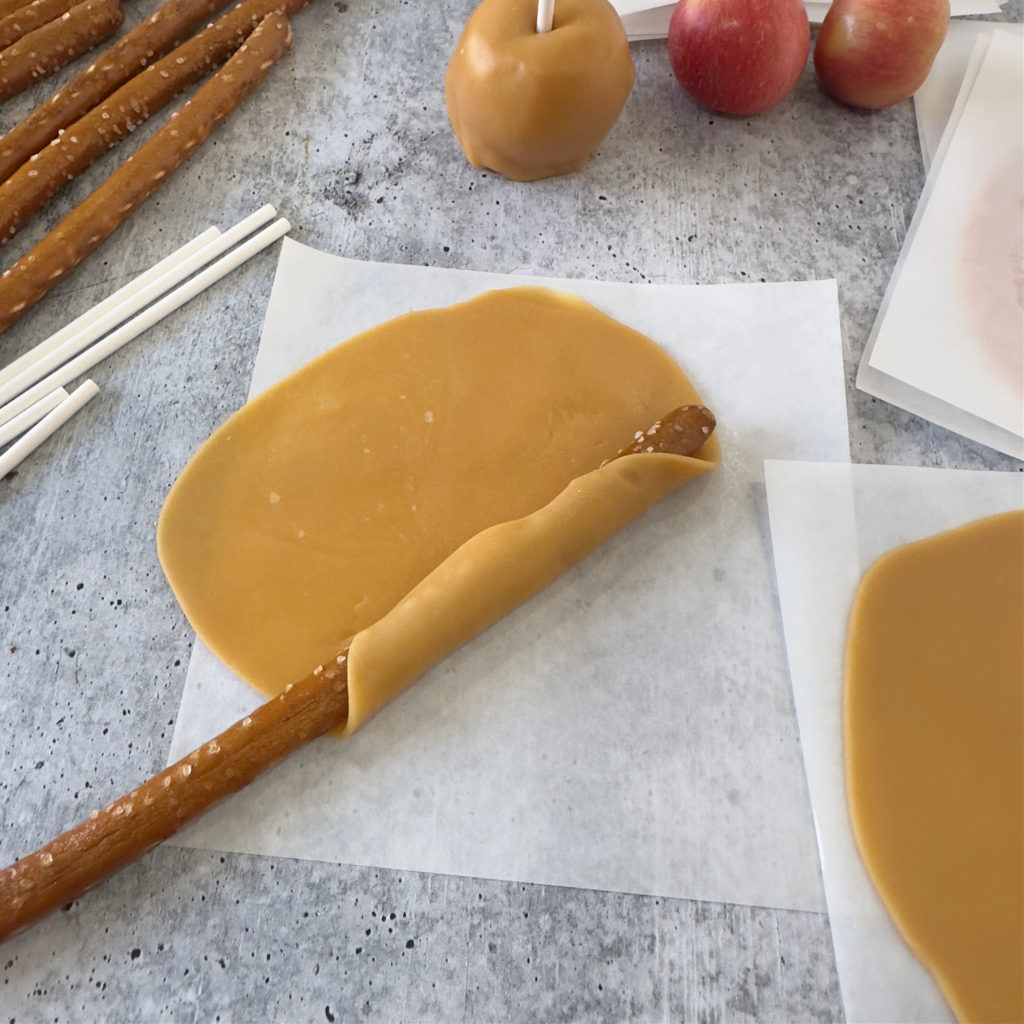
- Roll the pretzel rod on the caramel disk like a burrito.
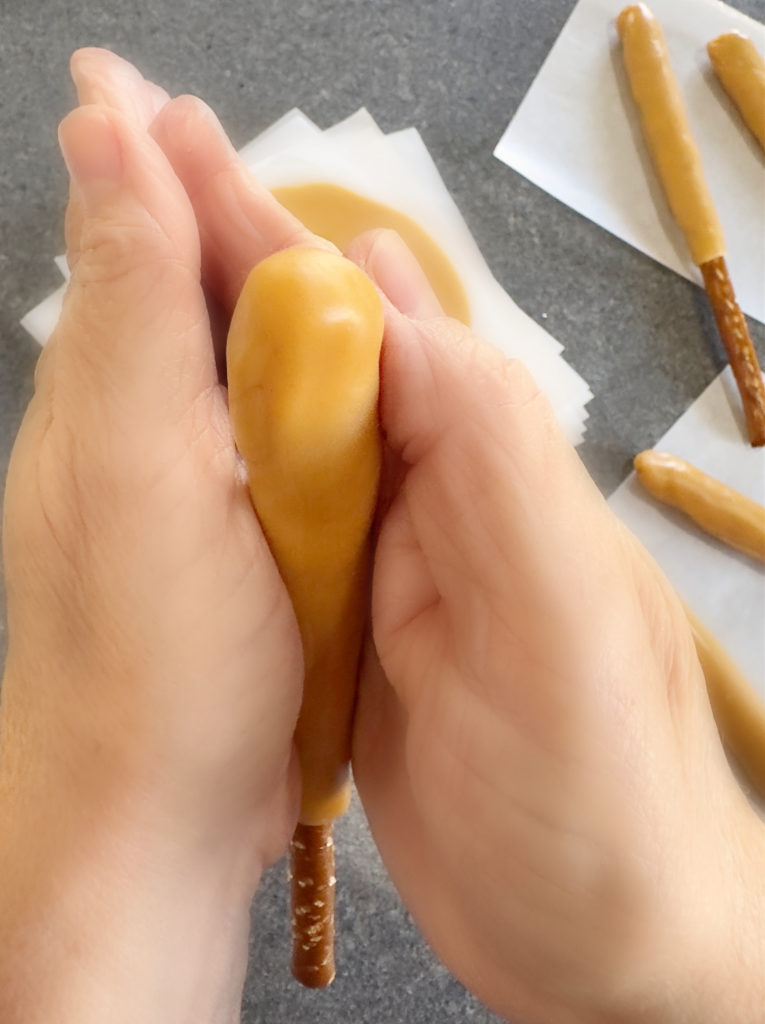
- Use the warmth of your hands to press the caramel to the pretzel.
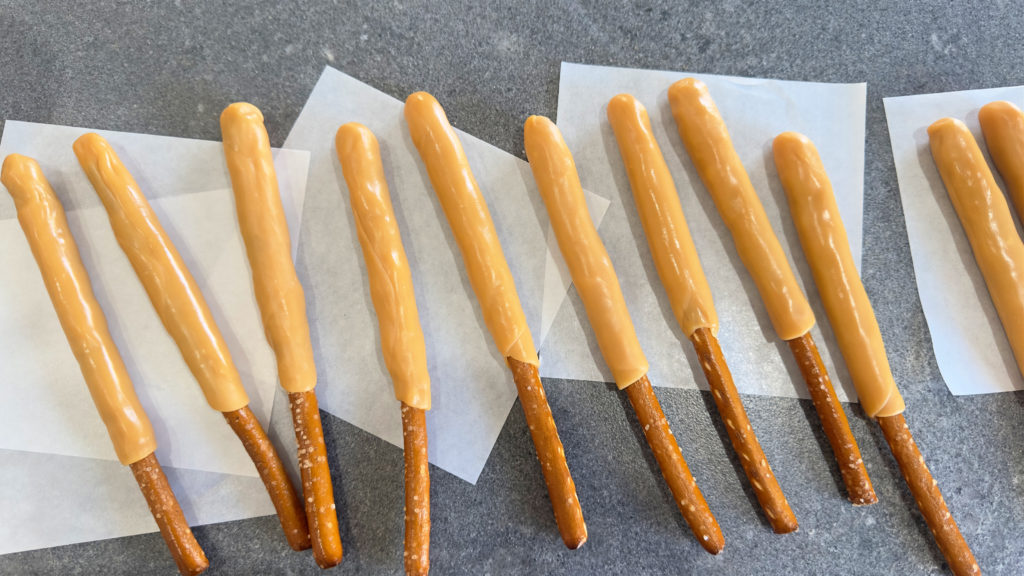
- If needed, roll the coated pretzel between your hands, as shown in the post. Set it aside; once all the pretzels have a caramel coat, prepare to melt the chocolate.
FOR THE RASPBERRY DARK CHOCOLATE LAYER
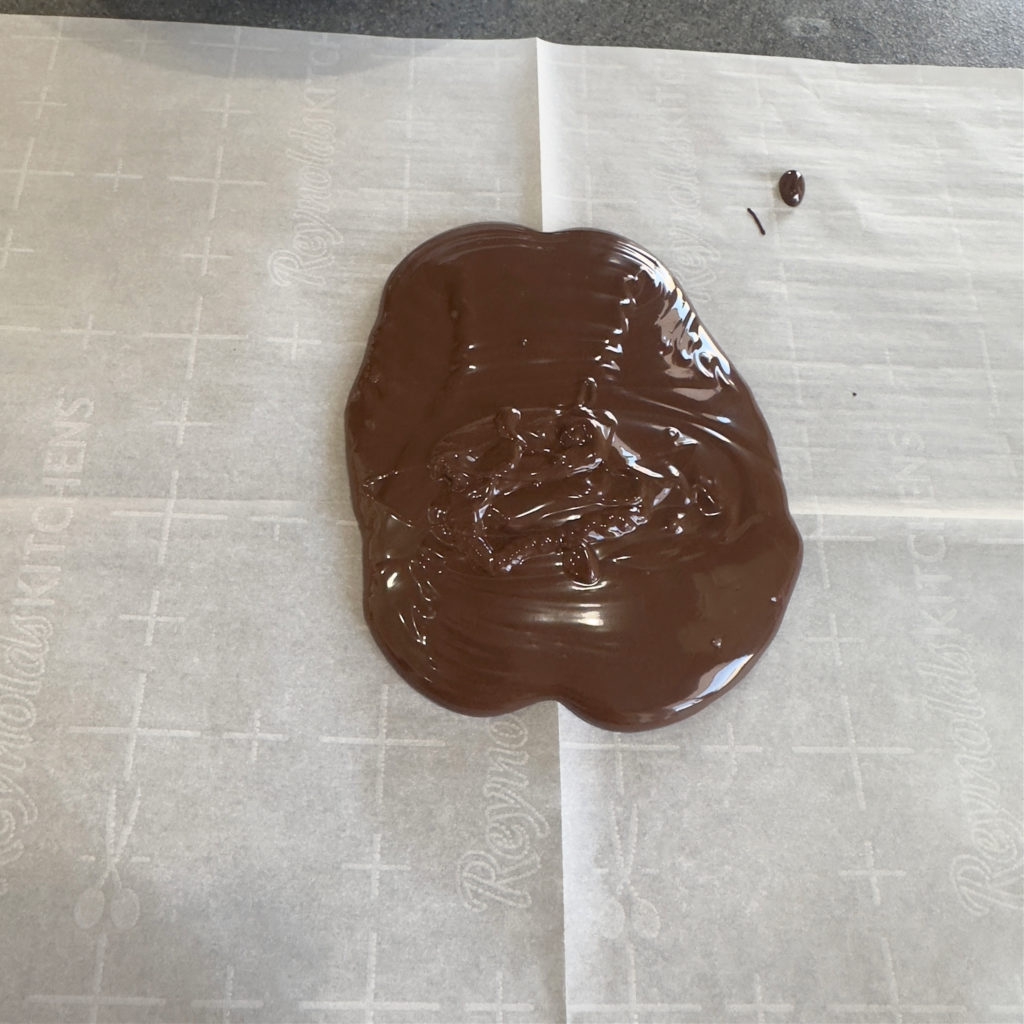
- Pour melting wafers and shortening into a microwave-safe bowl.
- Heat on high for 30 seconds, stir, and heat for an additional 30 seconds. Stir until the candy is melted and creamy.
- Add the raspberry flavoring to the melted chocolate and stir until combined.
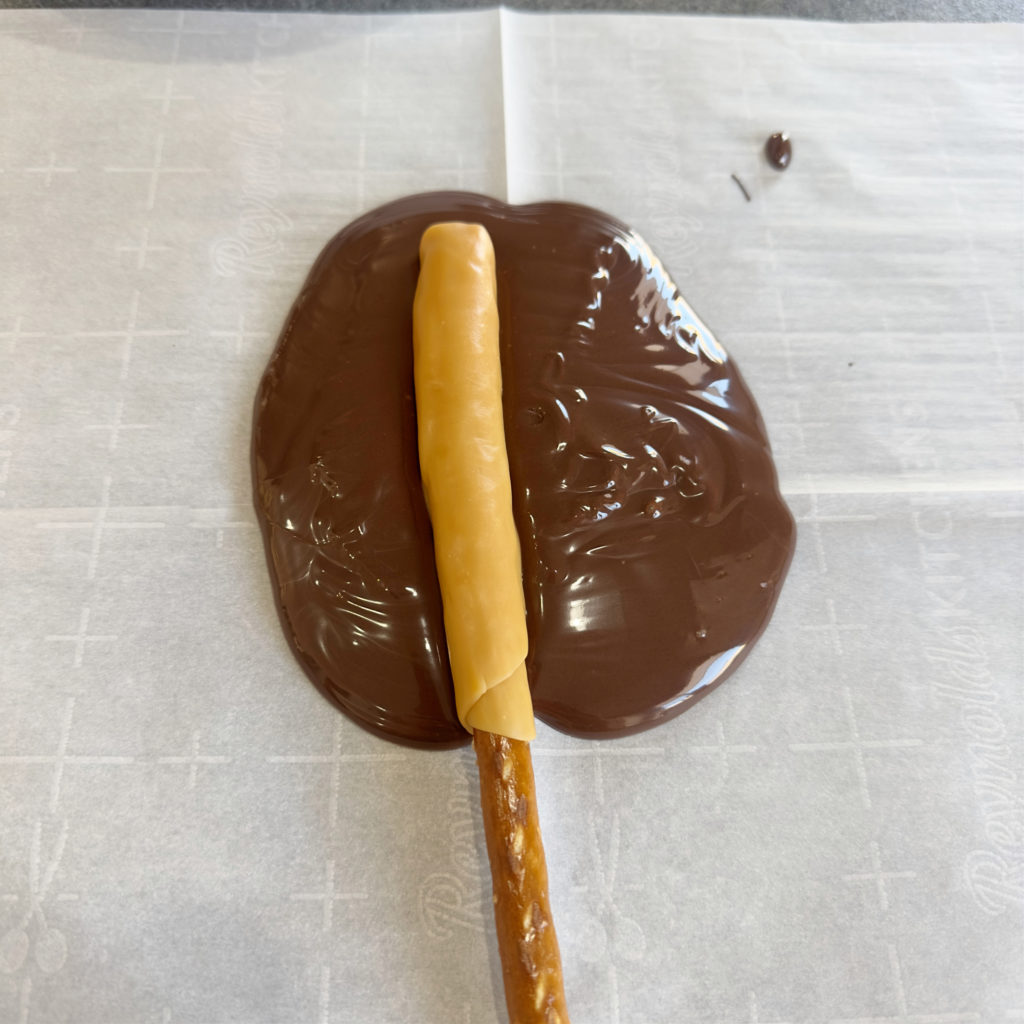
- Dip caramel-wrapped pretzel in melted chocolate and place on a cookie sheet lined with parchment paper.
- Continue these steps with each pretzel rod.
- Place the tray of coated pretzels in the refrigerator until the candy has hardened (about 10 minutes).
HOW TO APPLY THE MELTED CANDY DRIZZLE
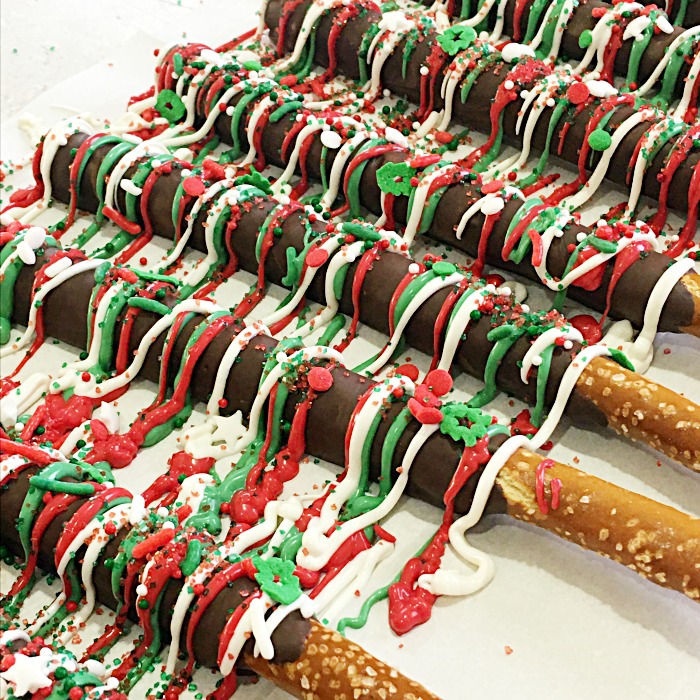
- While the chocolate coating is hardening, heat the coordinating colors (in this case, red and yellow).
- Pour ONE cup of each color into its own microwave-safe bowl.
- Heat one color at a time (the same as you did with the dark chocolate).
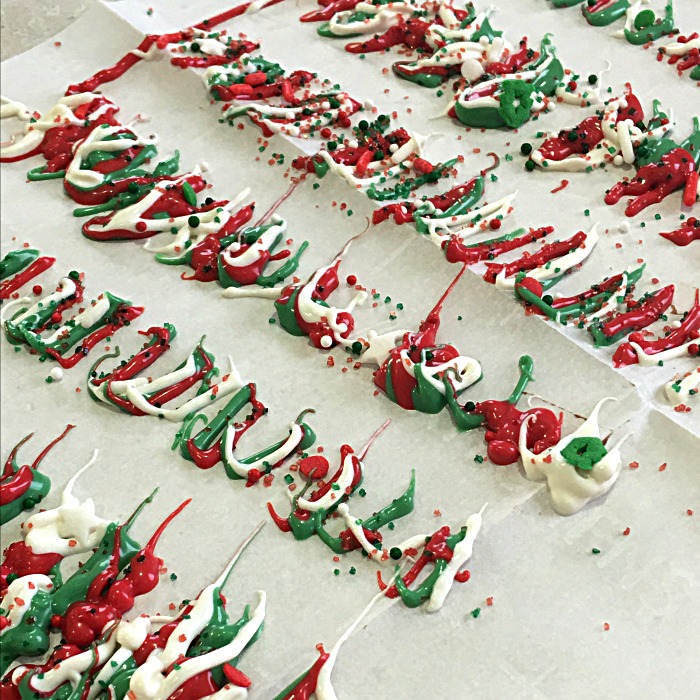
- Pour the melted candy into a small piping bag or zip-top bag. Set aside, and continue with the remaining color.
- Take the pretzels out of the refrigerator.
- Snip the end of each bag with the colored candy.
- In a sweeping motion back and forth, separately add a drizzle of each color. TIP: For the best effect, start with the darkest color (red) and end with the lightest color (yellow).
- Move the pretzel rods from the messy piece of parchment to a clean piece to harden. Place in the refrigerator to harden (about 10 minutes).
Caramel Raspberry Dark Chocolate Pretzels
Ingredients
- 15 Pretzel Rods
- 1 (11 ounce) bag caramels
- 1 (10 ounce) bag dark chocolate (Ghirardelli) melting wafers
- 1 tablespoon vegetable shortening
- 1 dram raspberry flavor concentrate (LorAnn Oils)
- 1 cup red melting wafers
- 1 cup yellow melting wafers
- optional sprinkles
Instructions
For the Caramel Wraps:
- Take off all the wrappers from around the caramel. Divide the caramels into two or three pieces. Depending on how thick you want the caramel layer. (I used two, and it was plenty)
- Press three caramels together in your hand to warm them. Form into a disk and place on a piece of parchment paper.
- Add another piece of parchment paper on top of the caramel disk, then press it with the palm of your hand as if you were pressing a hamburger patty.
- Use a rolling pin to roll the caramel into a 4½ x 4½ inch round.
- Roll the pretzel rod on the caramel disk like a burrito.
- Use the warmth of your hands to press the caramel to the pretzel.
- If needed, roll the coated pretzel between your hands, as shown in the post. Set it aside; once all the pretzels have a caramel coat, prepare to melt the chocolate.
For the Chocolate Dip Pretzels:
- Pour melting wafers and shortening into a microwave-safe bowl.
- Heat on high for 30 seconds, stir, and heat for an additional 30 seconds. Stir until the candy is melted and creamy.
- Add the raspberry flavoring to the melted chocolate and stir until combined.
- Dip caramel-wrapped pretzel in melted chocolate and place on a cookie sheet lined with parchment paper.
- Continue these steps with each pretzel rod.
- Place the tray of coated pretzels in the refrigerator until the candy has hardened (about 10 minutes).
For the Colorful Drizzle:
- Pour each color of the melting wafers into their own small microwave-safe bowl.
- Heat in 30-second intervals, stirring between each.
- Pour melted candy into their own squeeze bottle or small zip-top bag.
- If you're using a zip-top bag, snip the corner. In a back-and-forth motion, add the melted green, red, and white candy to the tops of the dipped pretzels. TIP: Before starting the decorating process, harden the dark chocolate. While the drizzled candy is still wet, add the holiday sprinkles. MAKES 15 DECORATED PRETZELS
Serve Yourself Candy Bar
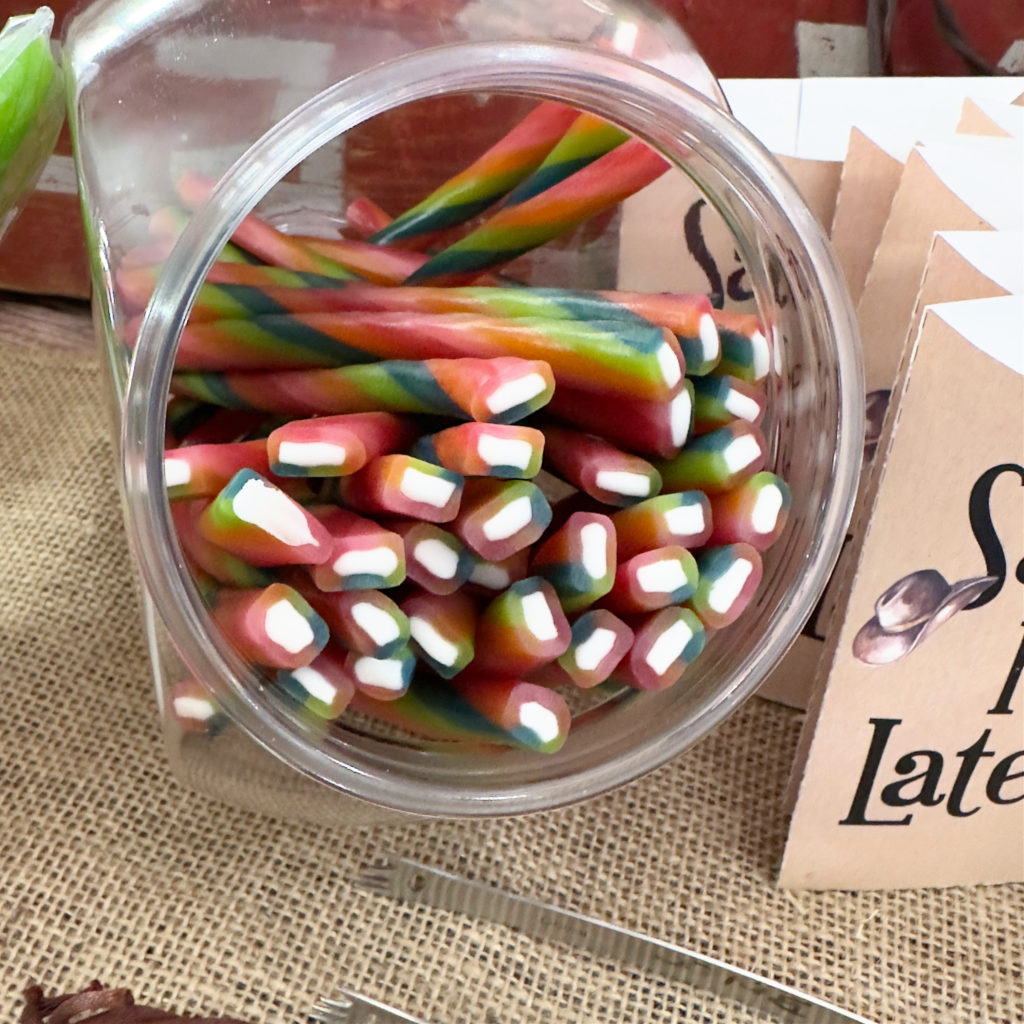
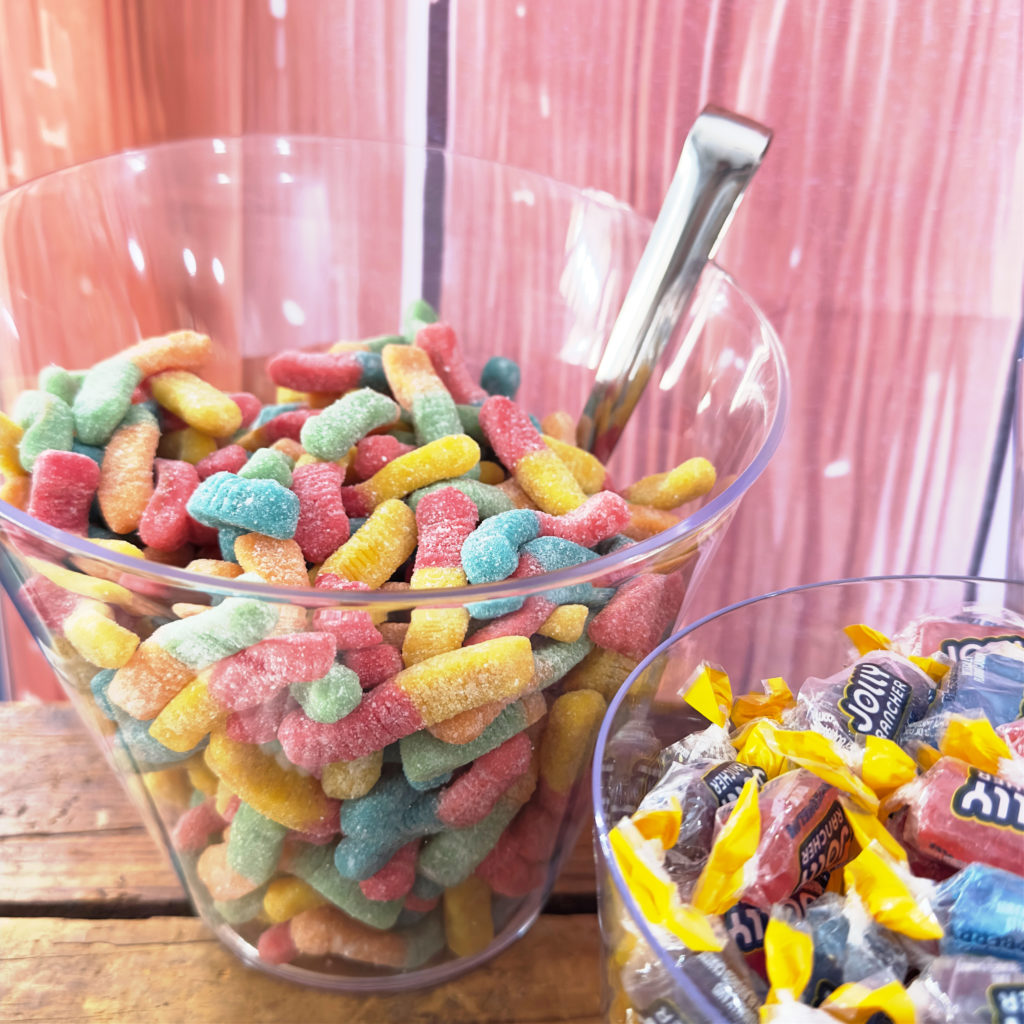
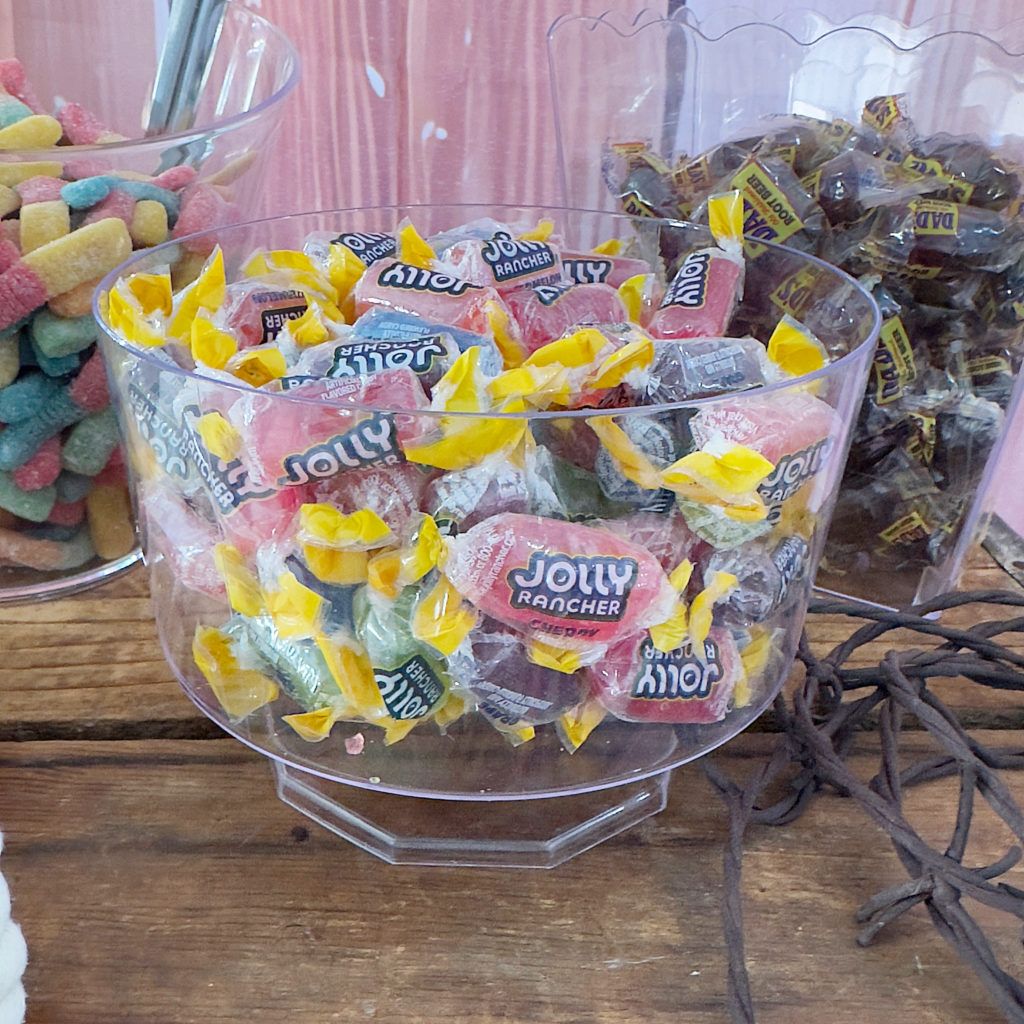
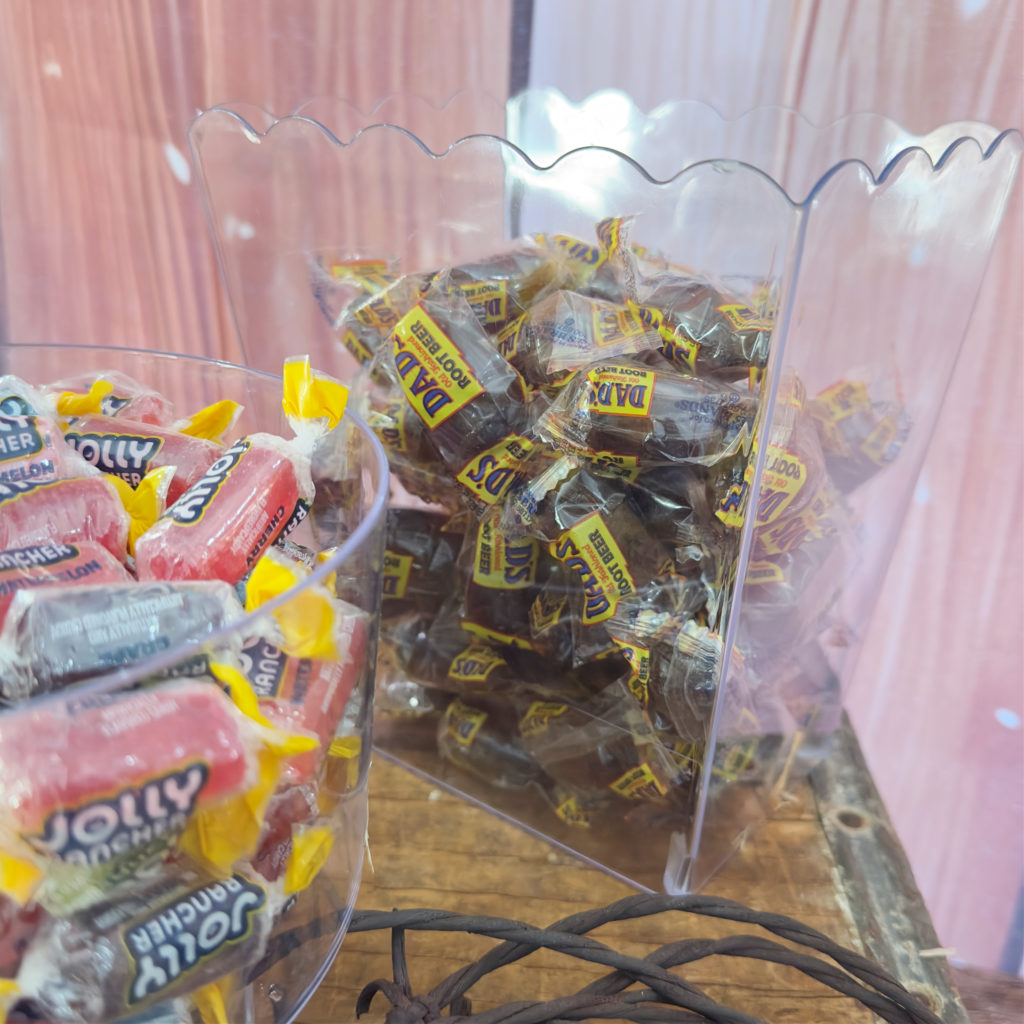
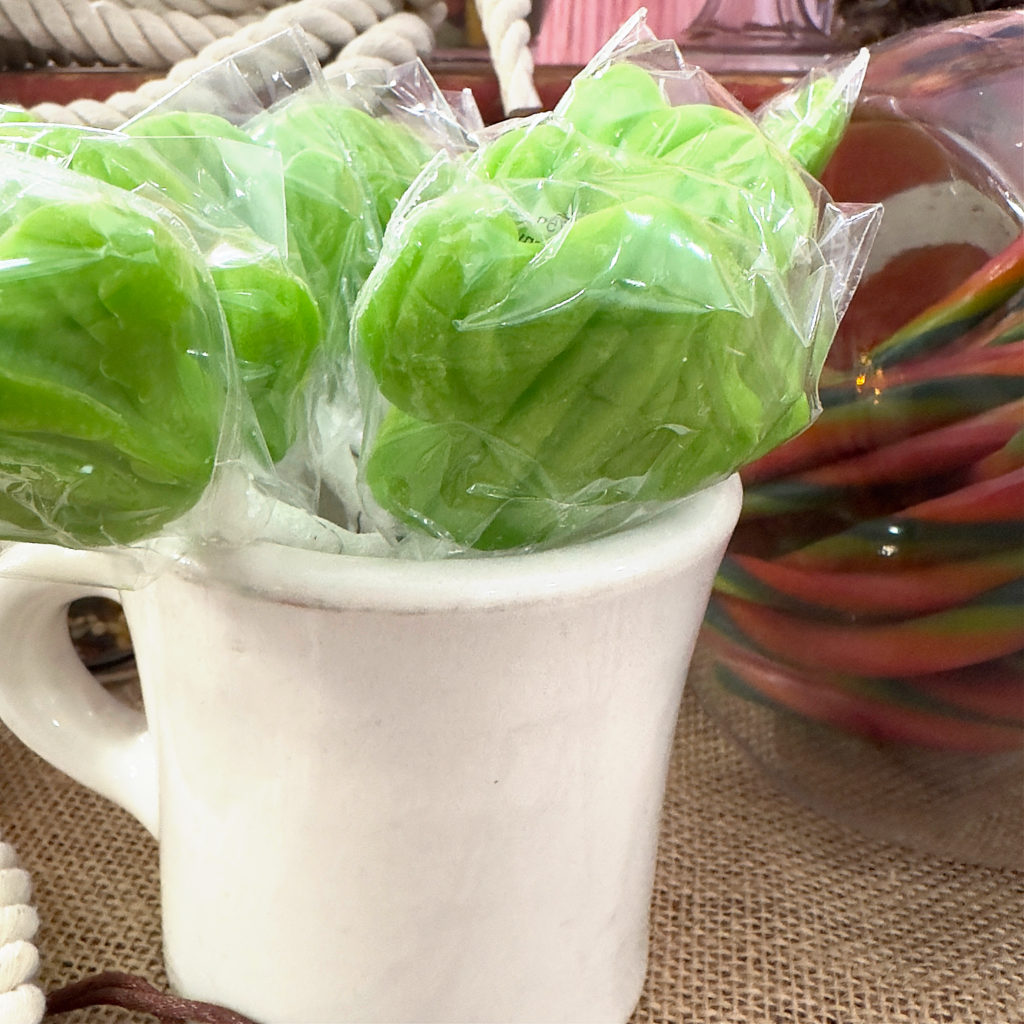
- CANDY: In addition to all the baked goods, consider adding Western-themed candy. Like SwetTart Ropes, Jolly Ranchers, Cactus Shaped Lollipops, Gummy Worms (Snakes), Root Beer Barrels, or Gold Nugget Bubble Gum. So saddle up and get ready to throw the ultimate Western birthday party!
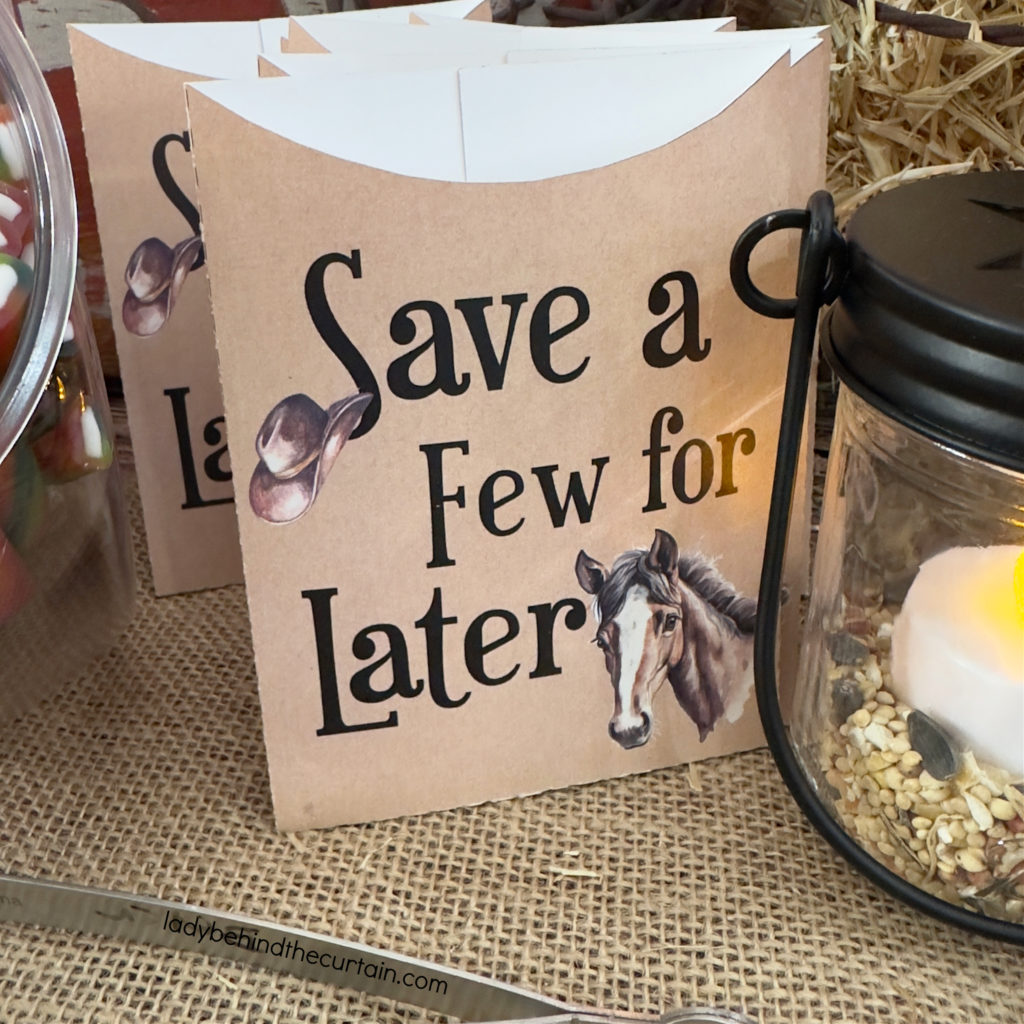
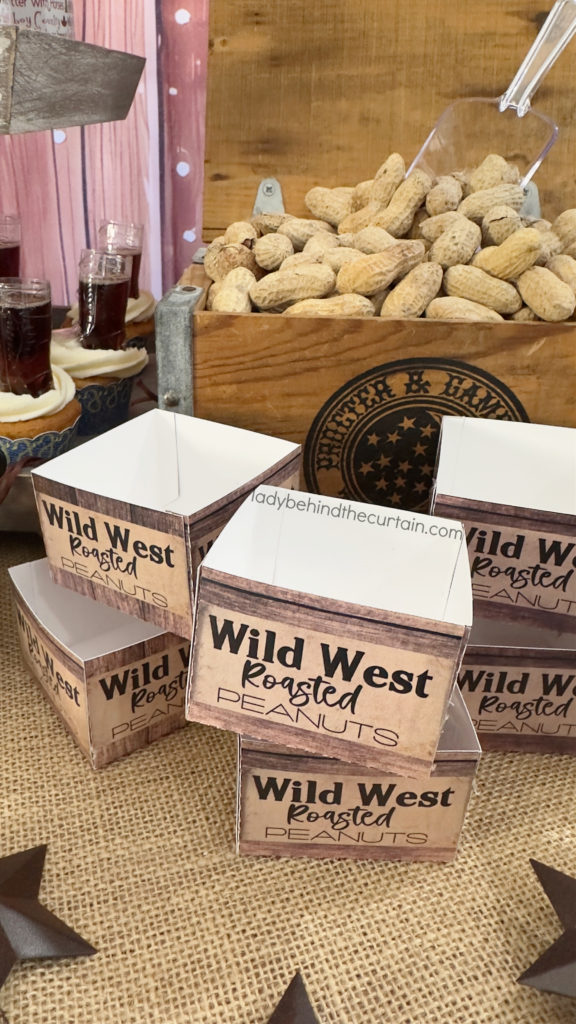
Need just one more thing on your party table? How about roasted peanuts? The salty nuts will complement the sweet treats, plus one less thing to prepare! CLICK HERE FOR THE FREE PRINTABLE PEANUT BOX→WESTERN BIRTHDAY PARTY FREE PRINTABLE COLLECTION
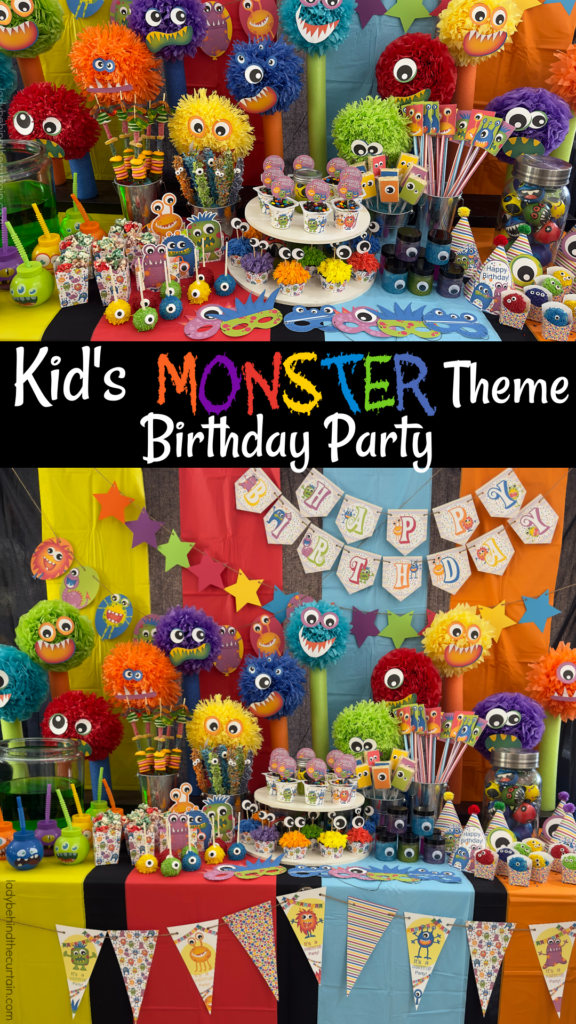
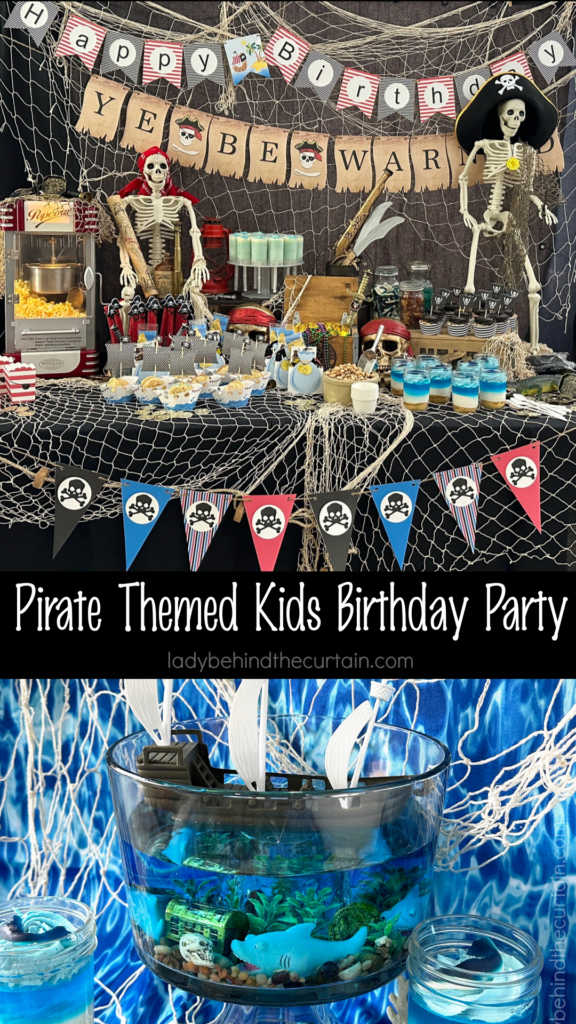
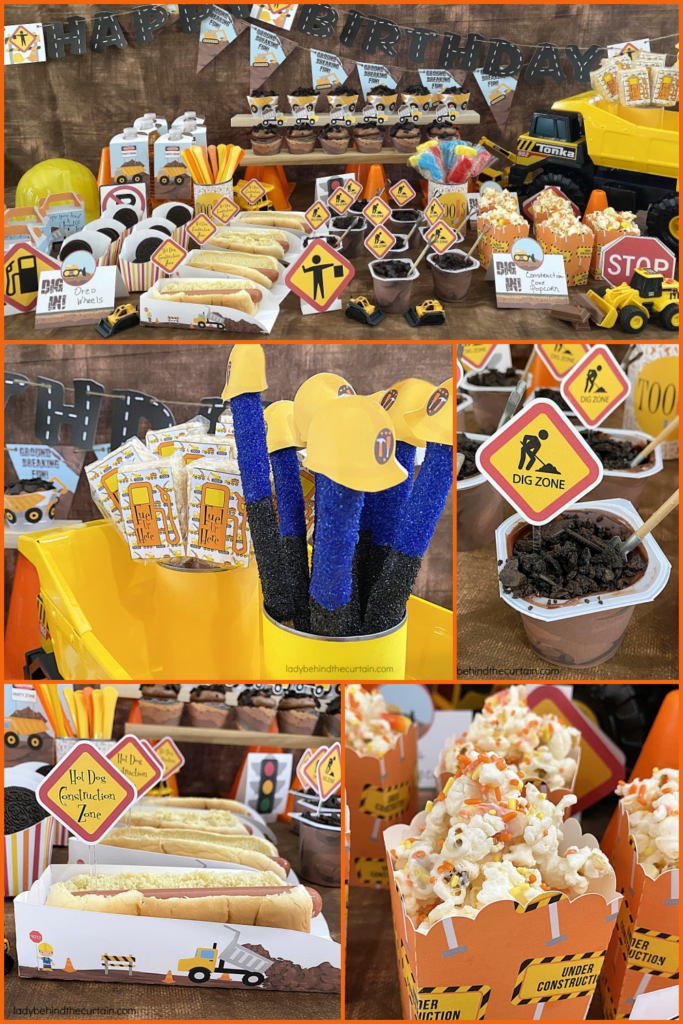
MORE KIDS BIRTHDAY PARTY IDEAS
Below are some of my favorite kids’ birthday parties. CLICK HERE FOR THE FULL COLLECTION→KIDS BIRTHDAY PARTIES
LATEST POSTS
In conclusion, transforming your ordinary birthday party into the ultimate Western celebration is as easy as pie. From cowboy hats to Western-themed banners and treat boxes to cupcake wrappers, every detail has been covered to ensure a memorable and fun-filled event. So why settle for the mundane when you can create an unforgettable experience for your guests? Don’t wait any longer – grab these ideas and get started today. Let your creativity run wild, and watch as your party becomes the talk of the town. After all, as they say, “Yeehaw! Let the good times roll!”  Sheryl
SIGN UP FOR THE LADY BEHIND THE CURTAIN NEWSLETTER

NEWSLETTER: Receive (twice a month) seasonally themed newsletters full of recipes, tips, and tricks. Sometimes even gifts! Click here for the Newsletter→CURTAIN CALL NEWSLETTER
THANKS FOR VISITING♥
Comments
Western Themed Birthday Party Ideas + Video — No Comments
HTML tags allowed in your comment: <a href="" title=""> <abbr title=""> <acronym title=""> <b> <blockquote cite=""> <cite> <code> <del datetime=""> <em> <i> <q cite=""> <s> <strike> <strong>