Witch Way To The Treats Halloween Sign
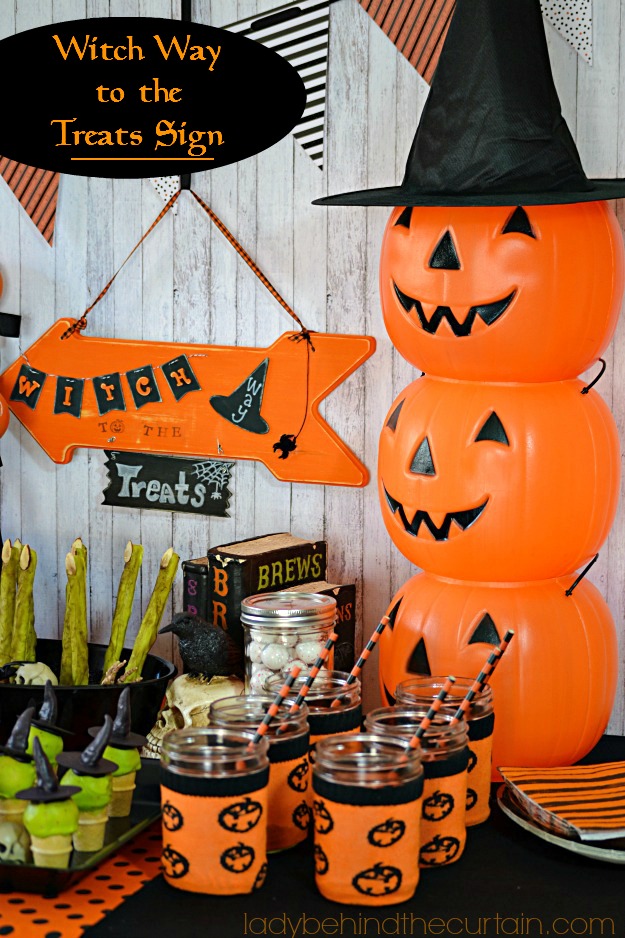
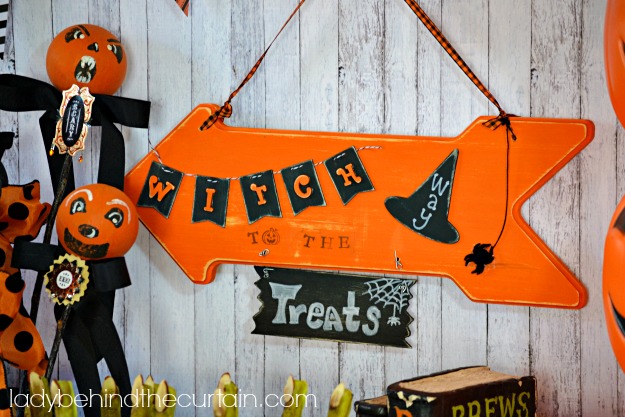
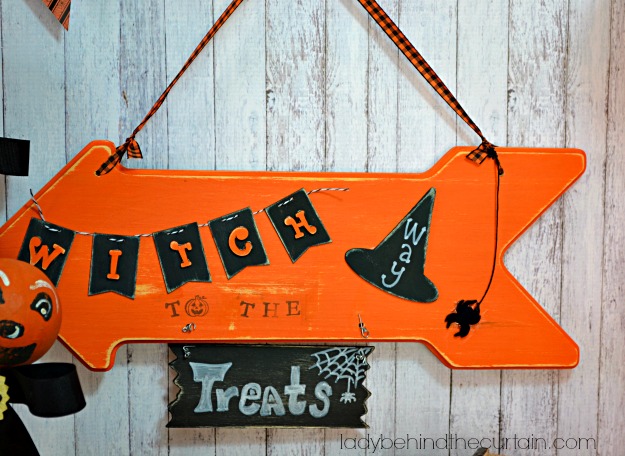
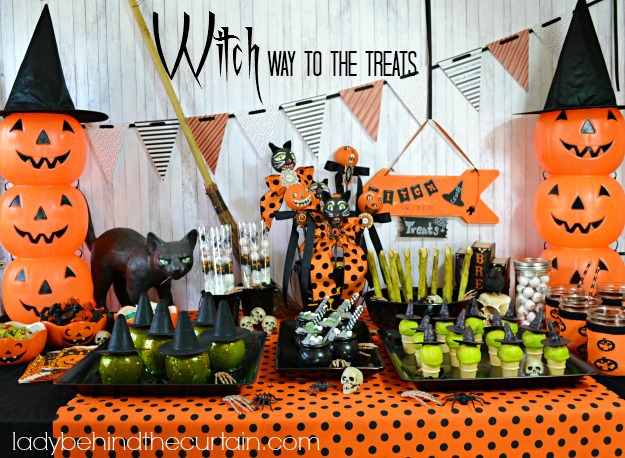
Add this fun Witch Way To The Treats Halloween Sign to your Halloween dessert party table. Throwing a witch theme Halloween Party is the way to go with this Witch Way To The Treats Sign. Made from a wooden arrow with fun embellishments.
Witch Way To The Treats Sign
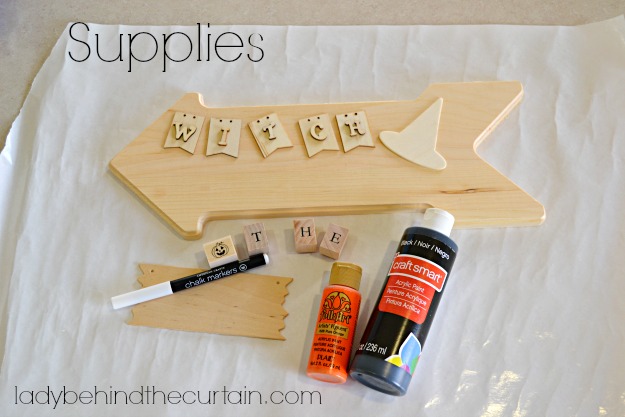
Supplies (I found all my supplies for this sign at Michael’s)
1 wooden arrow sign
wooden banner pieces
small wooden letter pieces (to spell WITCH)
wooden witches hat
wooden small sign
spider button
black ink pad
letter stamps
black and white twine
black crochet string
orange and black ribbon
20 gauge wire
black acrylic paint
orange acrylic paint
white chalk marker
sand paper
craft glue
Directions
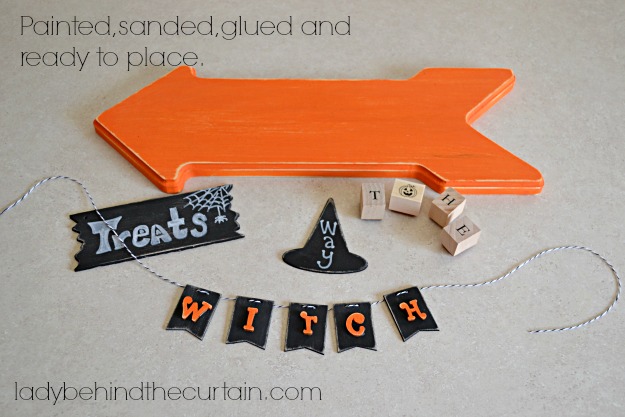
Paint the arrow and small wooden letters orange. Once the paint is dry sand edges and on top to give the pieces an old look.
Paint the small wooden banner pieces, hat and sign black. Once the paint is dry sand edges and on top to give the pieces an old look.
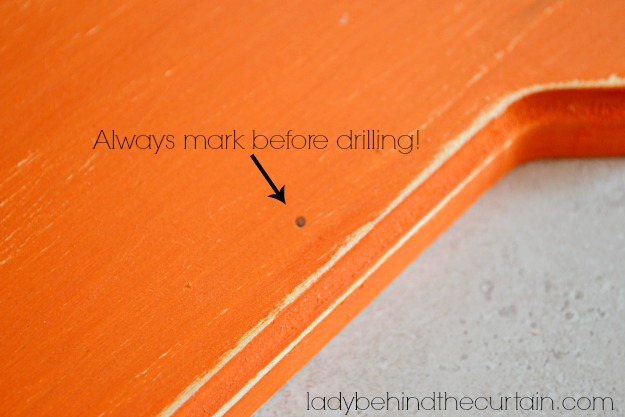
Drill holes on the top two sides and the center of the bottom of the arrow. The size of the holes is determined by the size of the wire and ribbon.
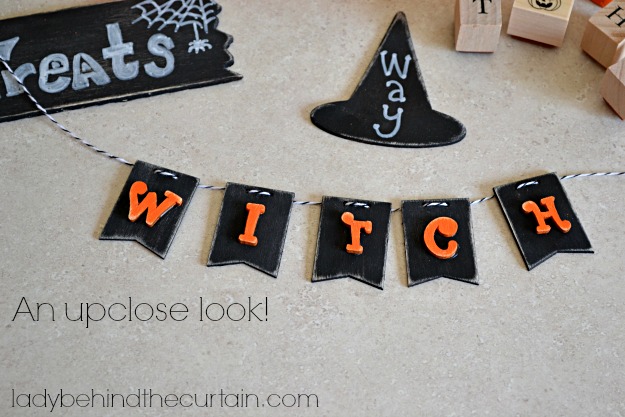
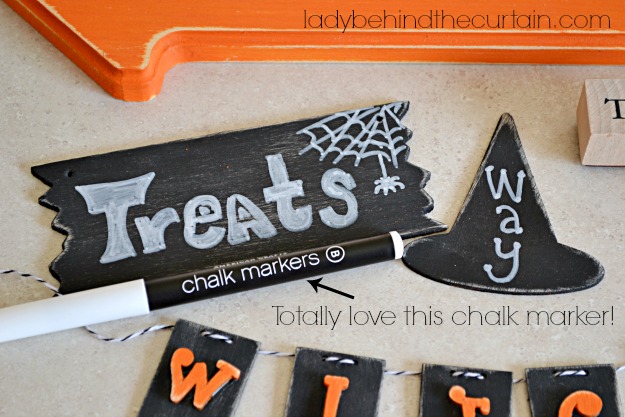
Glue the letters (that spell WITCH) to the wooden banner pieces, write WAY on the hat and TREATS on the small wooden sign with the white chalk marker (optional you can also draw a spider web with spider). Thread the banner pieces together using the black and white twine.
Lay out the letter banner and the hat to find where to stamp the words TO THE. Stamp on the words way to.
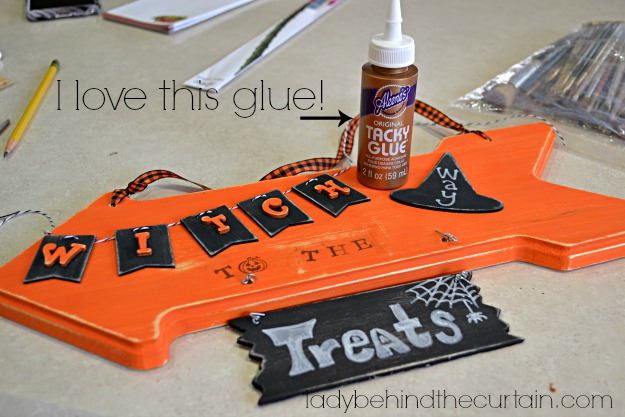
Glue on the banner and hat.
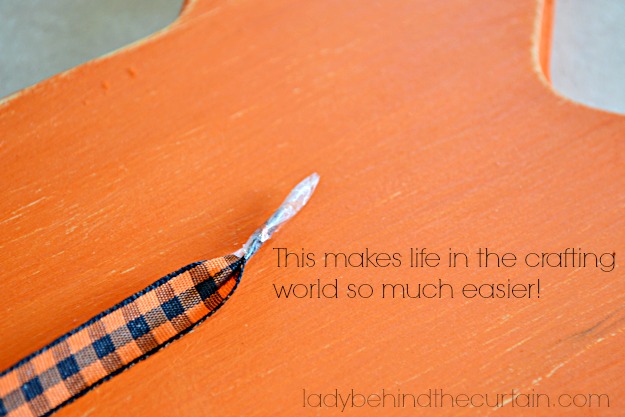
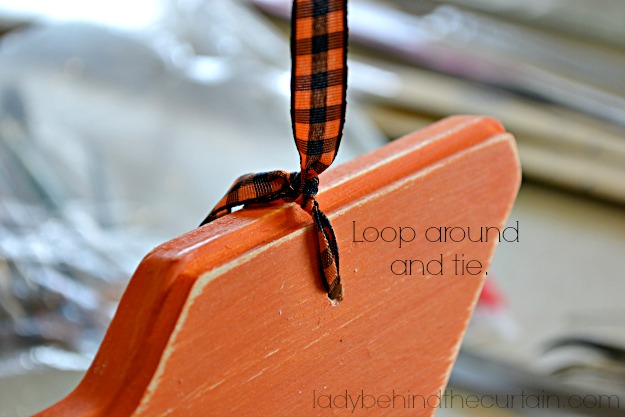
Thread the ribbon through the top holes and tie a loop. This will stop the sign from tilting forward.
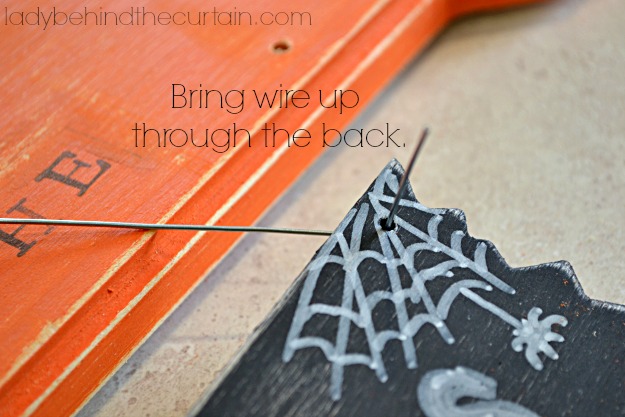
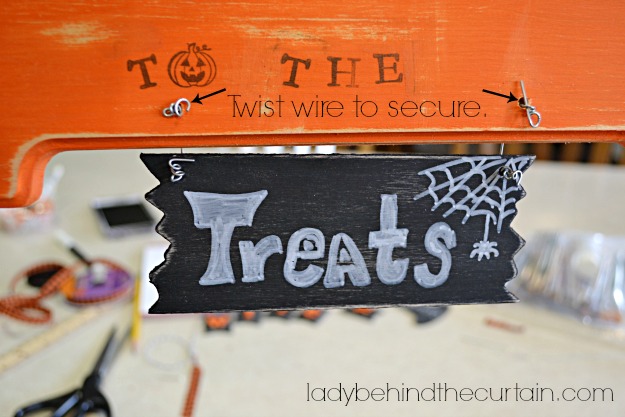
Wire the small sign to the bottom of the arrow.
Figure out where the spider will be, lay a piece of string and glue spider in place.
Look at that you just created a cute Witch Way To The Treats Sign for your dessert table!



Wish I had some of these ideas when my son was little.
Save them for the grand kids.